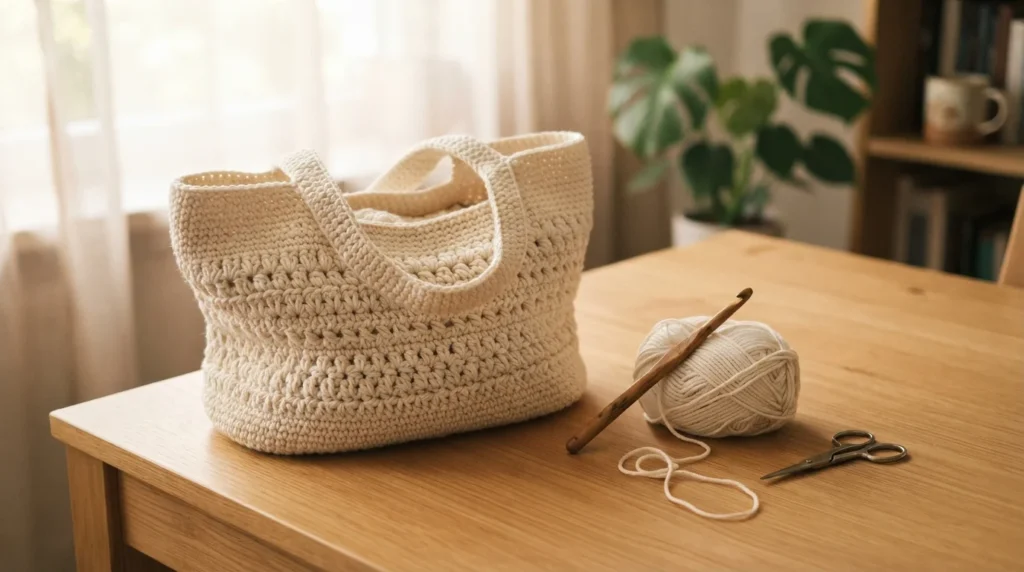
If you can make a chain and a single crochet, you can make a bag. That’s the whole skill list. No shaping, no counting rows in a pattern chart, no seven-page PDF with abbreviations you have to keep scrolling back to check.
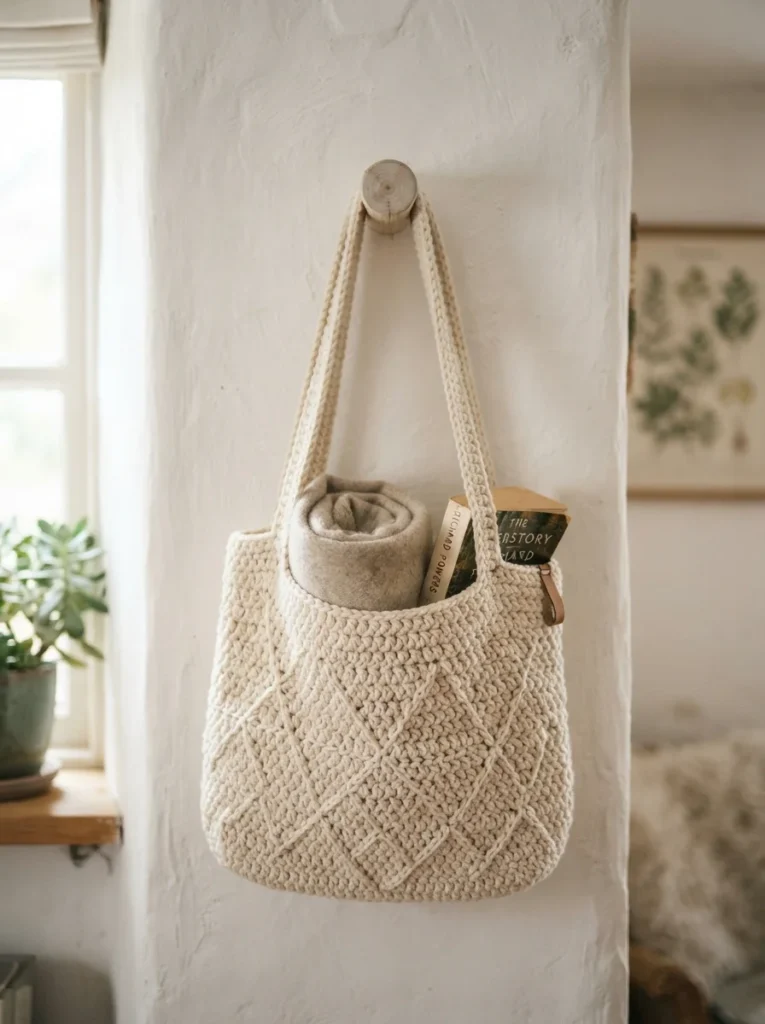
This tote is a rectangle folded in half. You crochet a flat piece, fold it, sew up the sides, add two straps, and you’re done. Most people finish it in a single weekend, and a few finish it in one long evening with a good show on in the background.
What You’ll Need
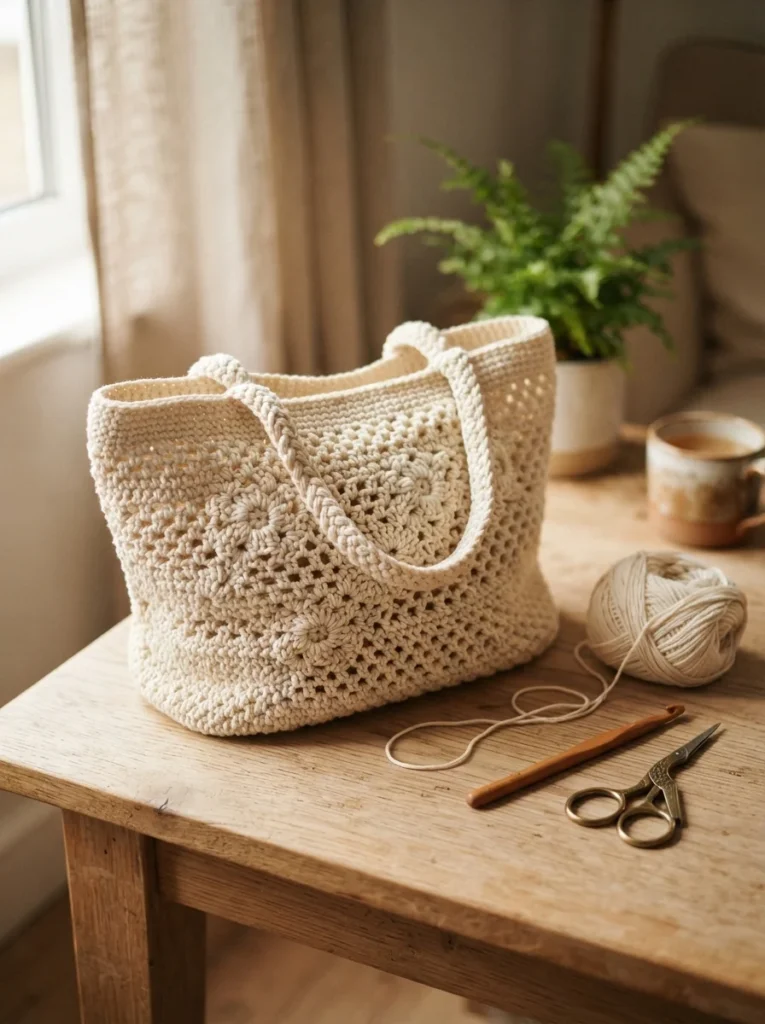
Keep the supply list short. Everything here fits in a small basket:
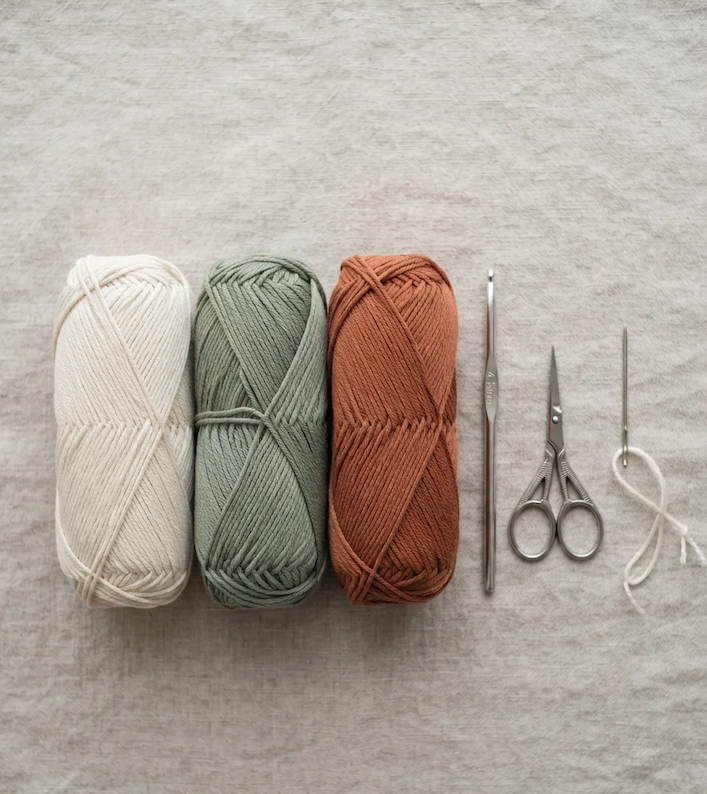
- Worsted weight cotton yarn — about 400 yards, or 2 to 3 skeins. Cotton holds its shape when the bag is loaded. Acrylic stretches and the bag sags within a week.
- 5mm (H-8) crochet hook — one size smaller than the label suggests, which gives you a tighter fabric.
- Tapestry needle — for seaming and weaving in ends.
- Scissors and a stitch marker (a bobby pin works).
One color is the easiest place to start. If you want stripes, buy two shades and switch every ten rows.
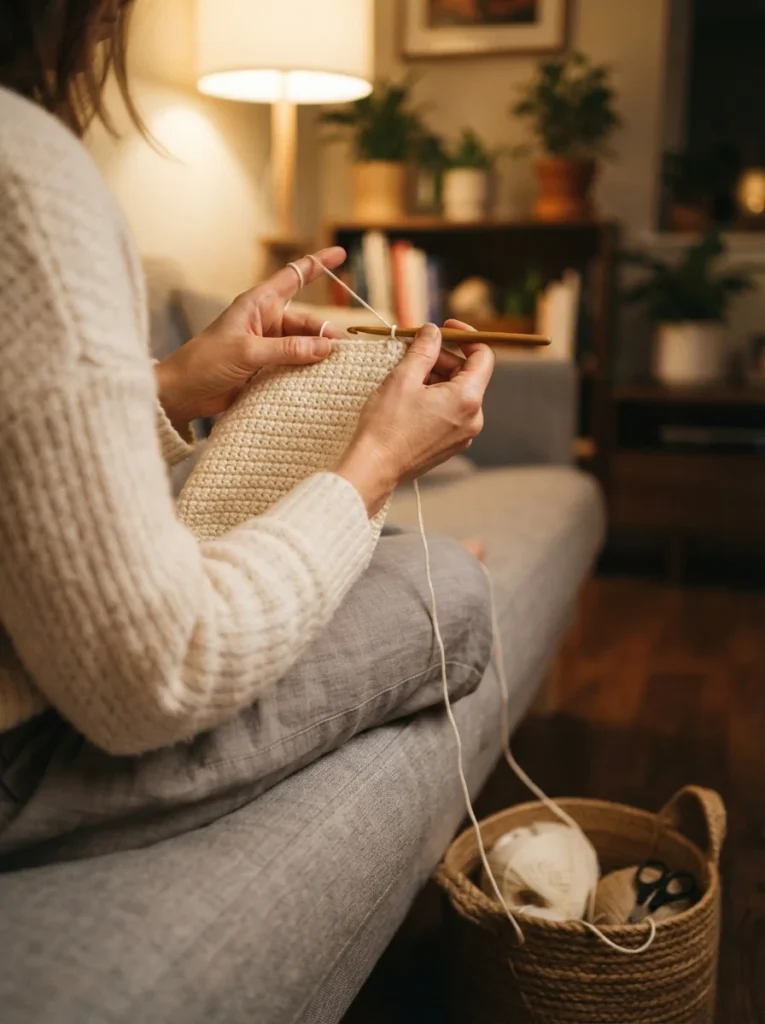
Step 1: Crochet the Main Panel
Everything below is single crochet. That’s the only stitch in this pattern.
- Foundation: Chain 41.
- Row 1: Single crochet in the second chain from the hook and in every chain across. You should have 40 stitches.
- Rows 2 to 60: Chain 1, turn, single crochet in every stitch across. 40 stitches each row.
Count your stitches every fifth row. Losing a stitch at the edge is the most common beginner problem, and it happens because the last stitch of the row is easy to miss. Look for the small V at the very end and work into it.
When you finish row 60, your panel should be roughly 12 inches wide and 24 inches long. Fasten off and leave a long tail for seaming.
Step 2: Fold and Seam the Sides
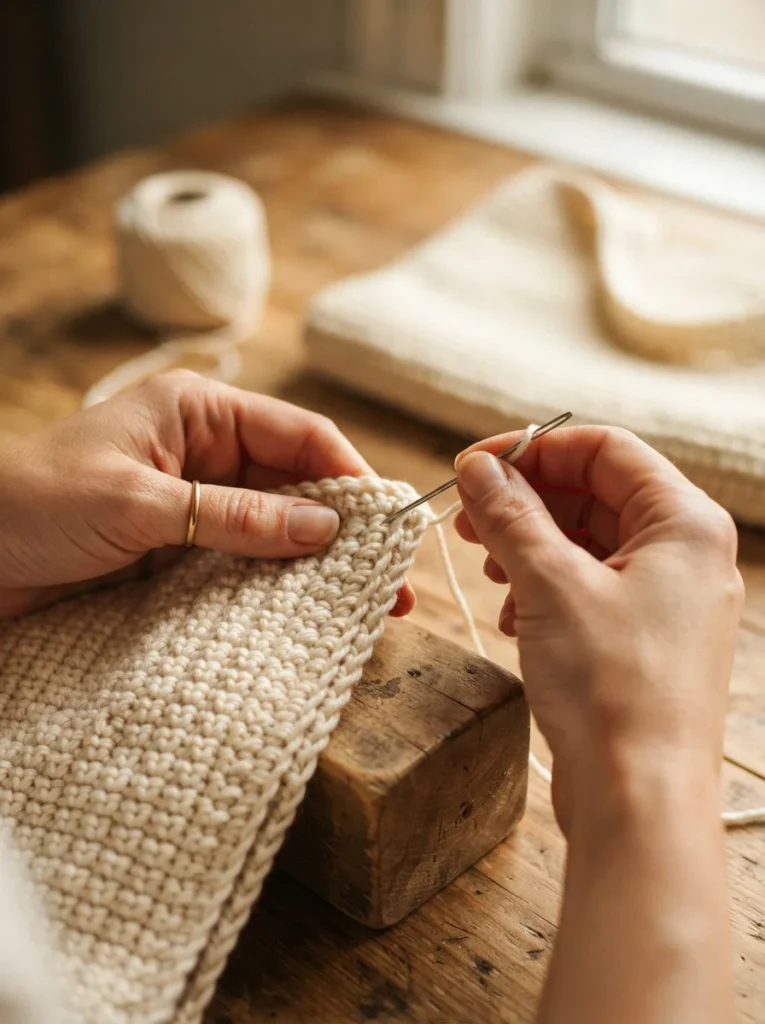
Fold the panel in half so the two short edges meet at the top. You now have a bag shape that’s 12 inches wide and 12 inches tall.
- Thread the long tail onto your tapestry needle.
- Line up the side edges and stitch through both layers using a whip stitch, catching one loop from each side.
- Work from the bottom fold up to the top opening, then repeat on the other side.
Pull the stitches snug but not tight. Tight seaming puckers the fabric and gives you a bag with wavy sides.
Step 3: Make the Straps
Straps carry all the weight, so this is the part worth doing properly.
- Chain 61.
- Row 1: Single crochet in the second chain from the hook and across. 60 stitches.
- Rows 2 to 4: Chain 1, turn, single crochet across.
- Fasten off, leaving a long tail. Make a second strap the same way.
Four rows gives you a strap that’s about an inch wide and thick enough to sit comfortably on a shoulder. A single-row chain strap looks fine on day one and stretches into a long droopy loop by month two.
Step 4: Attach the Straps
Pin each strap end about 3 inches in from the side seam, on the inside of the bag. Both straps should sit in matching positions on the front and back.
- Sew each end down with several passes of your tapestry needle.
- Stitch through the strap and the bag body in a small square shape, then cross through the middle.
- Give each strap a firm tug before weaving in the tail. If anything shifts, add more stitches now rather than after your first grocery run.
Step 5: Finish It Off
Weave in every loose end with your tapestry needle, running each tail through 2 inches of stitches in one direction and 1 inch back the other way. This locks it in place so nothing works loose in the wash.
A few finishing touches worth the extra hour:
- Add a lining. Cut two fabric rectangles slightly larger than the bag, sew them into a pouch, and hand-stitch it inside the top edge. Small items stop poking through the stitches.
- Block the bag. Dampen it, pat it into a neat rectangle, and let it dry flat. The edges straighten out.
- Sew in a magnetic snap at the top center if you want it to close.
Ready to Start?
Your first bag will have a wobbly edge somewhere. Everyone’s does, and once it’s on your shoulder with a water bottle inside, nobody will ever spot it.
Once you’ve made one, the same rectangle-and-fold method scales to anything. Chain 25 for a phone pouch, chain 60 for a beach tote, switch to chunky yarn for a market bag that works up in an afternoon.
Pin this pattern so you have it when your yarn arrives, and make your second one in a color you’d actually carry to work.

Lily Summers is a digital artist and creative storyteller who loves bringing colorful characters to life. With a passion for cartoons, fan art, and playful sketches, she inspires others to explore their imagination through art. When she’s not sketching, you’ll find her dreaming up new ideas for CraftedWizard.com to spark creativity in every artist. 🌈✨