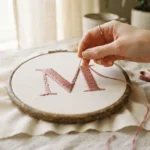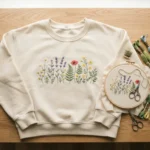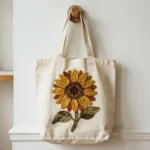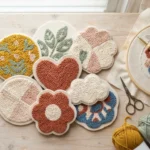
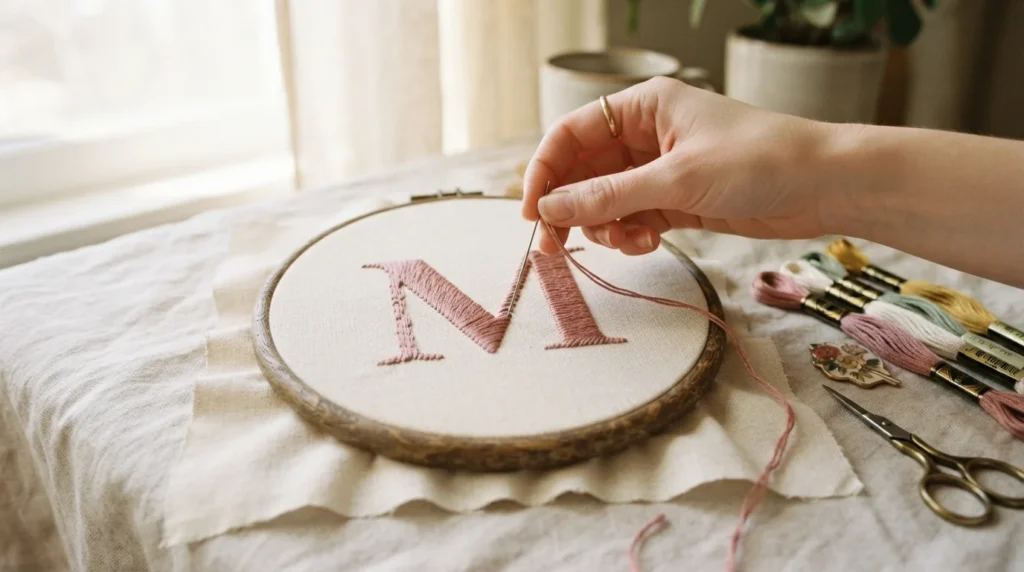
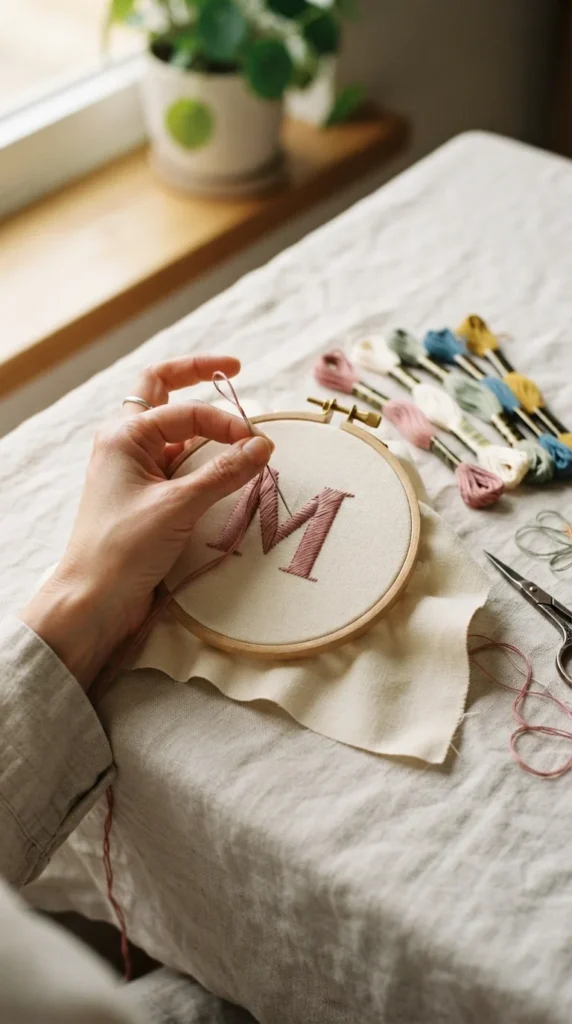
A single stitched letter can turn a tote bag, a baby blanket, or a plain tee into something that feels like it was made just for you. Names and initials are one of the most popular embroidery projects, and they’re a lot easier than they look. You don’t need fancy skills. You need a pencil, a steady hand, and about an hour.
Ready to stitch your first letter? Let’s go.
What You’ll Need
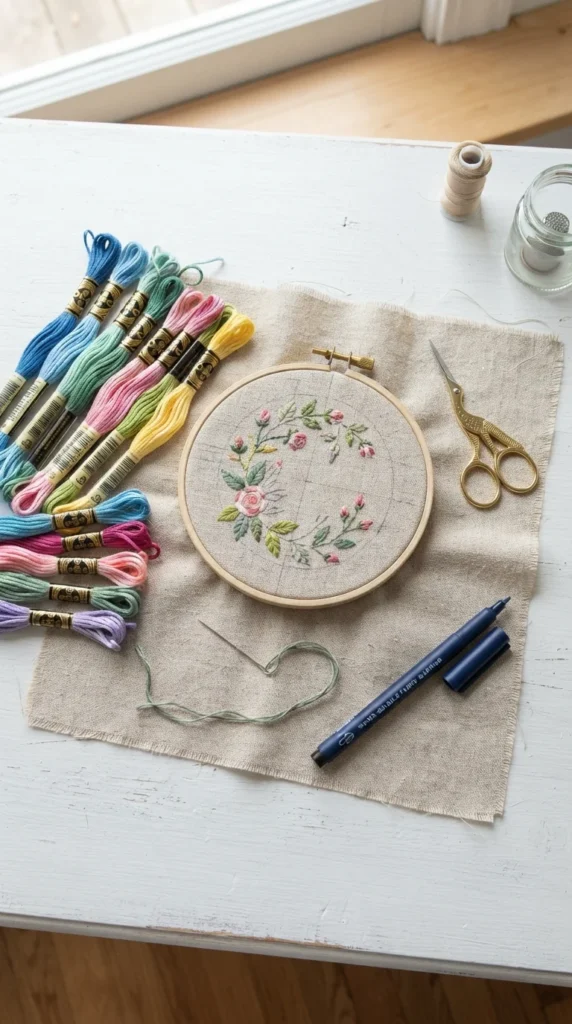
Keep your supplies simple. Here’s the starter kit:
- Fabric: Cotton, linen, or a medium-weight tee. Avoid stretchy or very thin fabric for your first try.
- Embroidery hoop: 5 to 6 inches works well for a name or a single initial.
- Embroidery floss: Six-strand cotton in your favorite color.
- Needle: A size 5 or 7 embroidery needle with an eye big enough for your floss.
- Water-soluble pen or pencil: For drawing your letters.
- Small, sharp scissors: For clean thread ends.
Tip: Pick a thread color that contrasts with your fabric. Cream on navy and rust on oatmeal both look beautiful.
Step 1: Choose and Draw Your Letters
Start with a simple font. Block letters and clean scripts are the easiest to stitch. Skip anything with tiny curls or very thin lines for now.
- Type your name or initials on your phone or computer.
- Print them at the size you want, usually 1 to 3 inches tall for initials.
- Tape the printout to a sunny window, place your fabric on top, and trace with a water-soluble pen.
No window? Use a light pad or a tablet screen turned to full brightness.
Tip: Leave extra space between letters. It’s easier to stitch when letters aren’t crowded.
Step 2: Hoop Your Fabric
Place the inner ring on a flat surface, lay your fabric over it, and press the outer ring on top. Tighten the screw and gently pull the fabric until it’s drum-tight.
Make sure your design sits in the center of the hoop. A loose hoop causes puckering, so take a moment to get this right.
Step 3: Pick Your Stitch
Different stitches give different looks. Here are the three best for letters:
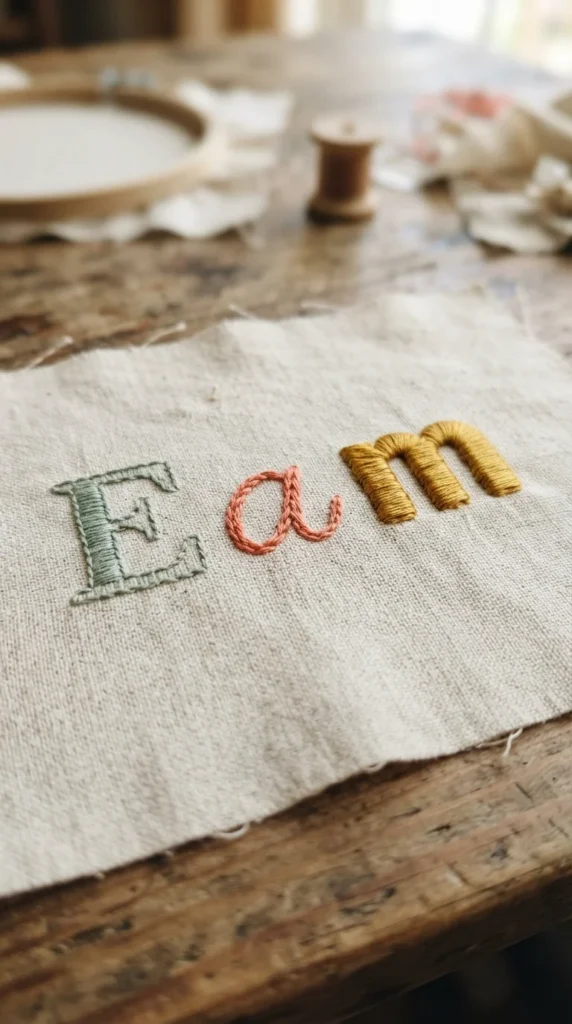
- Backstitch: Perfect for thin, outlined letters and cursive names. It’s the easiest stitch to learn.
- Stem stitch: Creates a rope-like line that curves smoothly. Great for script lettering.
- Satin stitch: Fills the letter with smooth, glossy parallel stitches. This is the classic monogram look.
New to embroidery? Begin with backstitch. Once you’re comfortable, try satin stitch on a single initial.
Step 4: Start Stitching
Cut an arm’s length of floss and separate out two or three strands. Thread your needle and knot the end.
For backstitch:
- Bring the needle up one stitch length ahead of your starting point.
- Insert it back down at the start of the line.
- Bring it up again one stitch length ahead and repeat.
Keep your stitches small and even, about an eighth of an inch. Shorter stitches follow curves better.
For satin stitch:
- Outline the letter in backstitch first. This gives you a neat edge.
- Bring the needle up on one side of the shape and down on the other.
- Lay stitches right next to each other so no fabric peeks through.
Tip: Keep every stitch running in the same direction. It catches the light evenly and looks polished.
Step 5: Finish Cleanly
When you reach the end of your thread, flip your hoop over and weave the needle under a few stitches on the back. Trim the tail close.
Once all your letters are done:
- Dab away pen marks with a damp cotton swab or rinse gently in cool water.
- Press the piece from the back on a folded towel so the stitches stay plump.
- Trim any stray threads.
Fun Ways to Use Stitched Names and Initials
Once you’ve learned the basics, the ideas are endless:
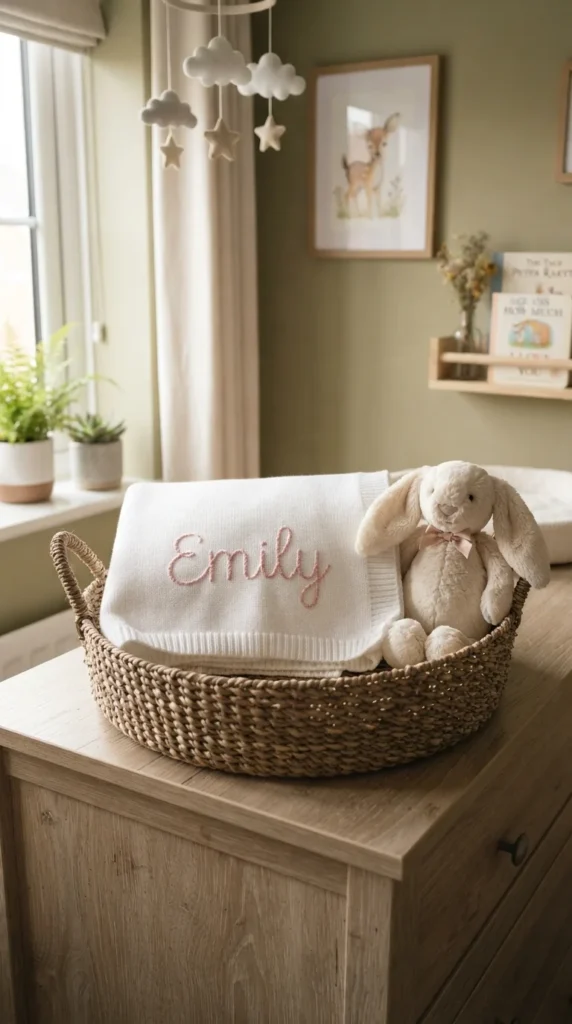
- Stitch a child’s name onto a pillowcase or lovey blanket.
- Add initials to the corner of a handkerchief or napkin set.
- Personalize a canvas tote or denim jacket pocket.
- Make a framed name for a nursery by leaving the piece in the hoop.
- Stitch a friend’s initial on a pouch for an easy handmade gift.
Common Mistakes to Avoid
- Pulling too tight: This puckers the fabric. Keep your tension gentle.
- Using all six strands: Too many strands make letters look bulky. Two or three is plenty for most names.
- Skipping stabilizer on stretchy fabric: Add a layer of tear-away stabilizer behind tees and knits to keep stitches flat.
- Rushing the outline: A clean outline makes every other step easier.
Final Thoughts
Stitching names and initials is one of the most rewarding beginner projects. It’s small, quick, and meaningful, and every stitch makes the finished piece feel more personal. Start with one letter, practice your stitches, and soon you’ll be adding names to everything in sight.
Lily Summers is a digital artist and creative storyteller who loves bringing colorful characters to life. With a passion for cartoons, fan art, and playful sketches, she inspires others to explore their imagination through art. When she’s not sketching, you’ll find her dreaming up new ideas for CraftedWizard.com to spark creativity in every artist. 🌈✨