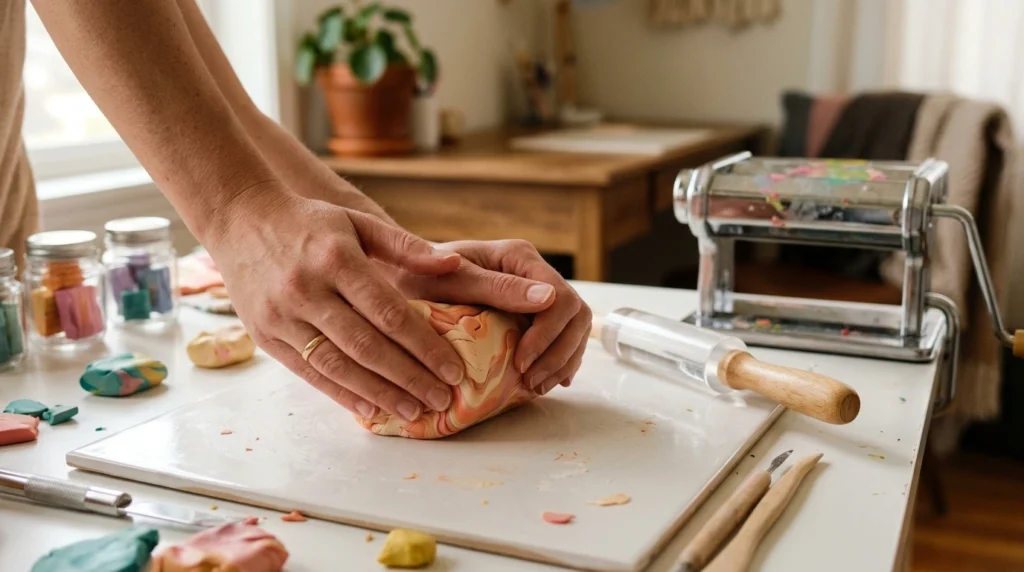
If your polymer clay feels dry, snaps when you bend it, or crumbles instead of becoming smooth, don’t toss it in the trash just yet. In many cases, the clay simply hasn’t been conditioned enough. Conditioning warms and softens the clay while distributing its ingredients evenly, giving you a smooth, flexible material that’s much easier to shape and less likely to crack during crafting.
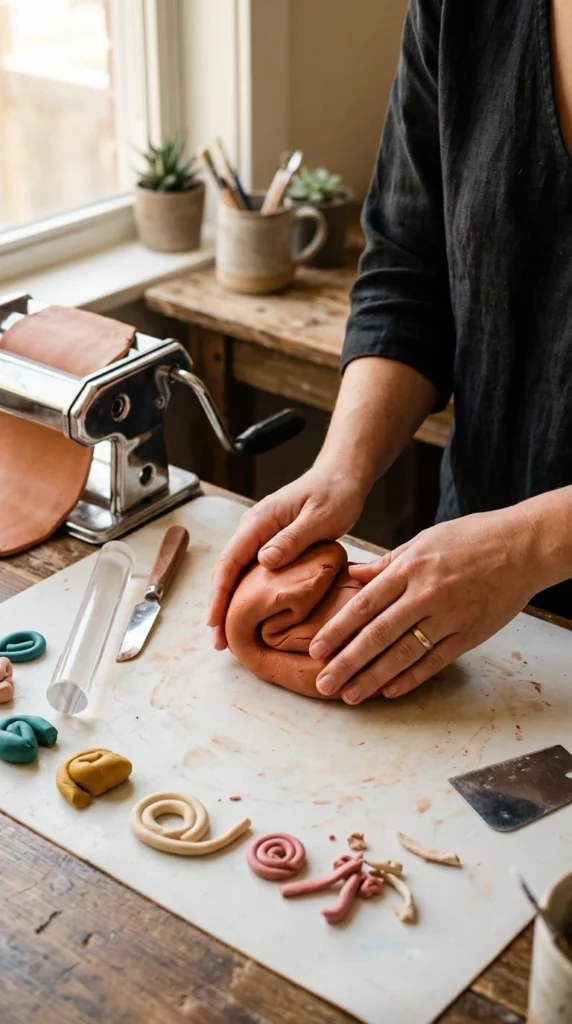
The good news? You don’t need fancy equipment to get started. With the right technique and a little patience, you can turn stiff polymer clay into a workable slab ready for earrings, charms, miniatures, ornaments, and other handmade projects.
What Does Conditioning Polymer Clay Actually Do?
Conditioning is the process of working polymer clay until it becomes soft, flexible, and evenly mixed. Unlike air-dry clay, polymer clay doesn’t harden simply because it sits exposed to air. It becomes firm because of its composition, age, temperature, and storage conditions.
When clay is properly conditioned, it should bend without breaking and roll into a smooth sheet without crumbling around the edges.
Good conditioning helps you:
- Reduce cracks and breaks while shaping.
- Make thin sheets that hold together.
- Create cleaner cuts with clay cutters.
- Mix colors more evenly.
- Make detailed miniature pieces easier to handle.
- Reduce fingerprints and rough-looking surfaces.
A common mistake is assuming that stiff clay is automatically bad clay. Sometimes it simply needs more warmth and working.
Start by Cutting the Clay Into Small Pieces
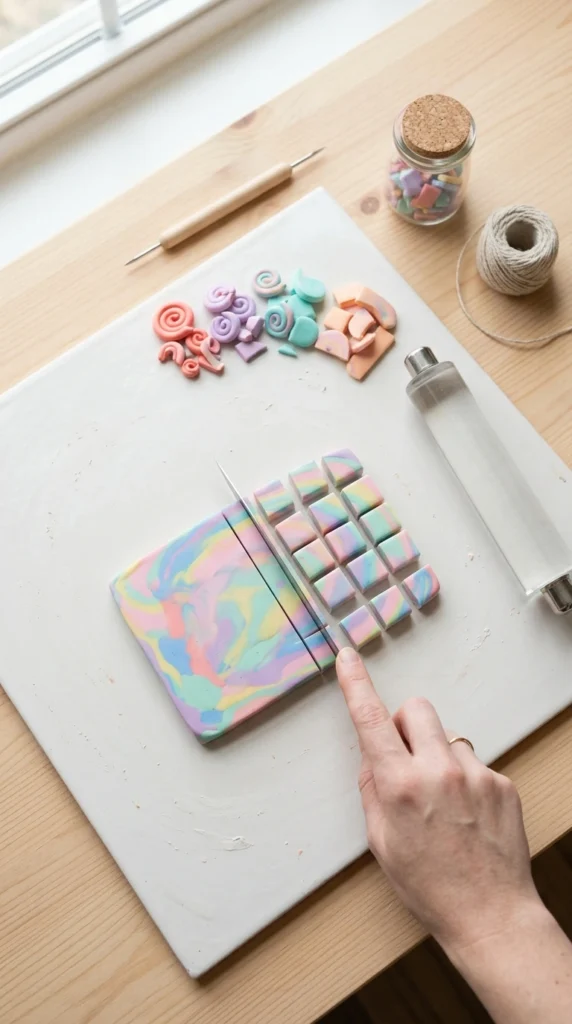
Don’t attack a large, cold block with your hands and expect it to soften immediately. Cut the clay into small pieces first. A craft blade or clay cutting blade makes this much easier.
Smaller pieces warm up faster because more of the clay is exposed to your hands. Take a few pieces and press them together repeatedly before moving on to the next batch.
If the clay is particularly firm, let the sealed package sit somewhere comfortably warm for a short while. Your hands can also warm individual pieces as you work them.
Avoid placing polymer clay directly on a hot surface or using excessive heat to soften it. Controlled hand pressure is slower, but it gives you much better control.
Knead, Fold, and Roll Until It Changes
Now comes the part that makes the biggest difference: work the clay repeatedly.
Start by squeezing and kneading a small piece between your fingers. Once it becomes slightly softer, roll it into a short log. Fold the log in half and press it together. Repeat this process several times.
You can also use an acrylic roller to flatten the clay, fold the sheet, and roll it again. If you have a pasta machine made for polymer clay, run the clay through the thickest setting first and gradually work toward thinner settings.
Watch the clay rather than relying on a specific number of minutes. Properly conditioned clay should become:
- Smooth rather than crumbly.
- Flexible rather than brittle.
- Easy to roll.
- Able to bend without splitting.
- Consistent in color and texture.
If the edges of a rolled sheet still crack when you bend them gently, keep conditioning.
Use the “Bend Test” Before You Start Your Project
One of the easiest ways to check your clay is with a simple bend test.
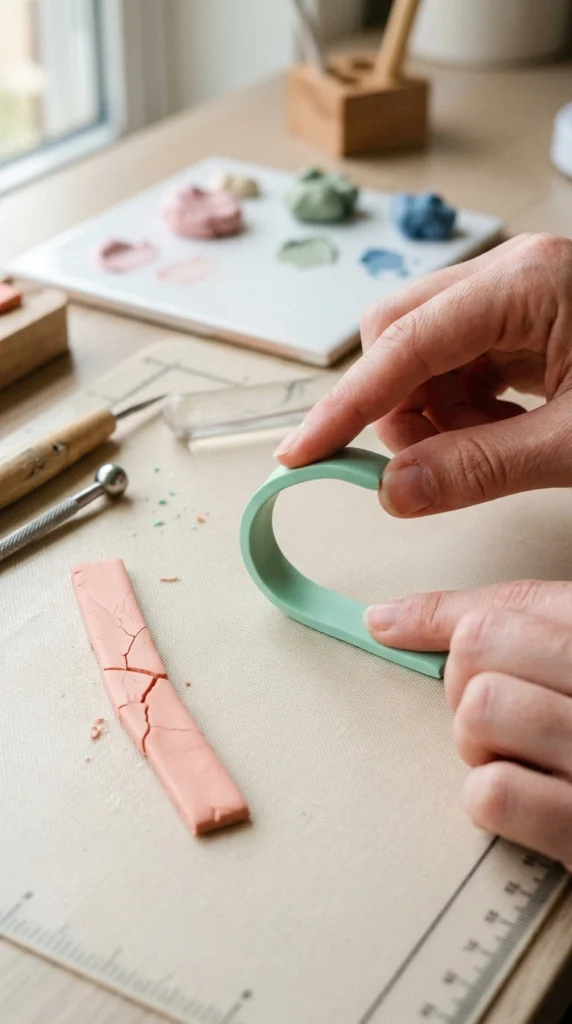
Roll a small piece into a thin strip and gently bend it into a curve. If the strip bends smoothly without breaking apart, you’re getting close.
If it snaps immediately, looks chalky, or develops lots of little cracks, continue working it.
Don’t confuse surface fingerprints with cracking. Fingerprints are mostly a finishing issue, while cracks that appear when the clay bends usually indicate that the material still needs more conditioning.
What If Your Polymer Clay Is Still Crumbling?
Sometimes clay remains difficult even after plenty of kneading. Before adding anything to it, check whether the clay is old, extremely dry-feeling, or from a firm formulation.
You can try warming small pieces in your hands and conditioning them gradually. Breaking the clay into smaller pieces can also make the process much easier.
If you’re tempted to add oils, water, lotion, or random softening products, stop first. These can change how polymer clay behaves during baking and may interfere with the finished result.
For stubborn clay, use a polymer-clay-compatible softener recommended by the clay manufacturer. Add only a tiny amount at a time and condition it thoroughly before deciding whether more is needed.
Don’t Overwork Clay That Has Already Been Conditioned
There’s also a flip side. Once polymer clay is smooth and flexible, you don’t have to keep kneading it endlessly.
Overworking isn’t usually the main cause of cracking, but excessive handling can make the clay warm and sticky. This can make clean cuts harder and cause fingerprints to show more easily.
If your clay becomes too soft while you’re crafting, let it rest briefly on your work surface. You can also work with smaller portions while keeping the remaining clay covered.
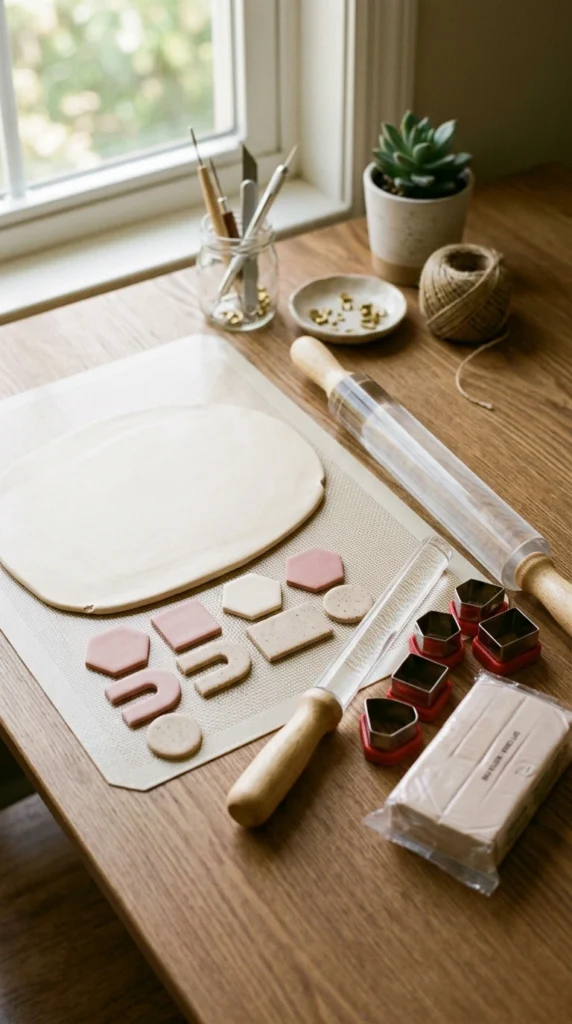
Store Your Clay So It Stays Workable
Proper storage can save you a lot of conditioning time later.
Keep unused polymer clay wrapped or sealed according to the manufacturer’s storage recommendations. Protect it from dust, lint, direct sunlight, and extreme temperatures.
A dedicated storage box with separate bags or compartments works well when you have several colors. Keep scraps separate by color family so you can easily reuse them for future projects.
Also pay attention to your work surface. Dust and fibers can stick to soft clay surprisingly quickly. A clean ceramic tile, glass surface, or other suitable smooth workspace makes conditioning and shaping much easier.
Final Tips for Crack-Free Polymer Clay
Before you start your next project, run through this quick checklist:
- Cut large blocks into smaller pieces.
- Warm and knead the clay gradually.
- Fold and roll repeatedly.
- Test a thin strip for flexibility.
- Keep conditioning until the clay feels smooth and consistent.
- Use only clay-compatible softening products when required.
- Keep unused clay protected while you work.
- Follow your clay manufacturer’s baking instructions carefully.
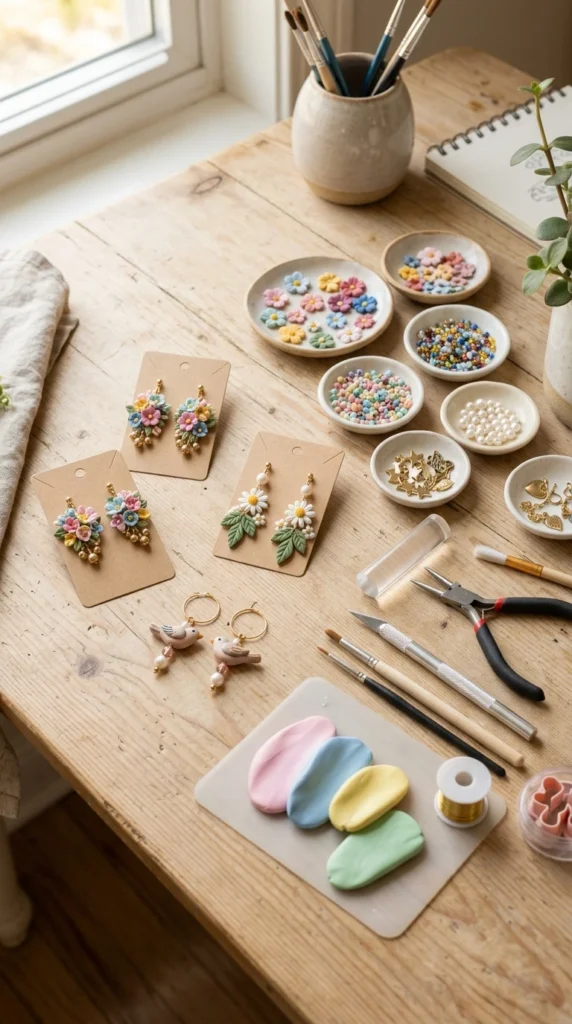
Conditioning doesn’t have to be the frustrating part of polymer clay crafting. Once you learn what properly conditioned clay feels like, you’ll start recognizing the right texture almost automatically. The next time your clay seems dry or crumbly, take a little extra time to cut, knead, fold, and test it before giving up.
Save this guide for your next polymer clay session, and you’ll have a quick reference whenever your clay refuses to cooperate.

Lily Summers is a digital artist and creative storyteller who loves bringing colorful characters to life. With a passion for cartoons, fan art, and playful sketches, she inspires others to explore their imagination through art. When she’s not sketching, you’ll find her dreaming up new ideas for CraftedWizard.com to spark creativity in every artist. 🌈✨