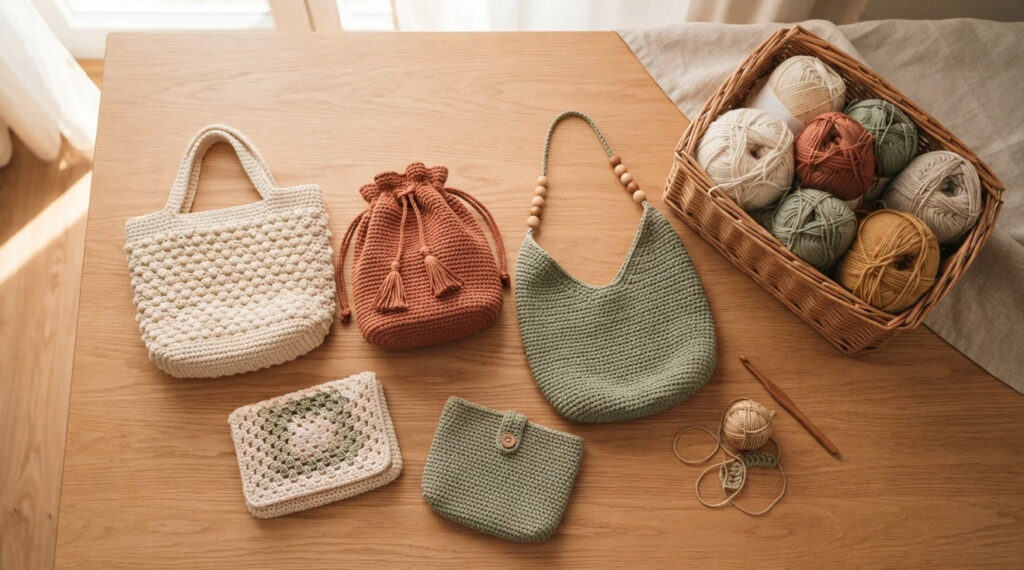
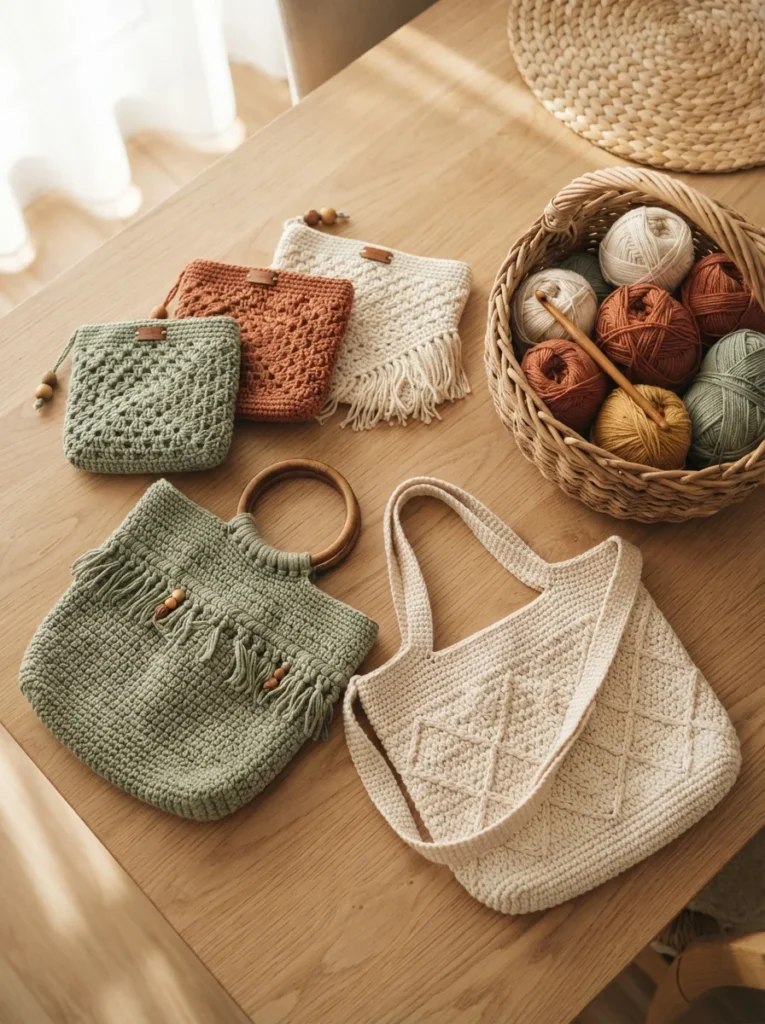
A crochet bag is one of the few projects you can start on Saturday morning and carry out the door on Sunday. Bags forgive small mistakes, they use up leftover yarn, and they turn into something you actually reach for instead of folding away in a drawer. The fifteen ideas below run from five-row beginner totes to structured shoulder bags that look like they came from a boutique shelf. Each one includes the stitch to reach for, the yarn that gives the best shape, and the small detail that separates a homemade bag from a handmade one. Pick the one that matches your skill level and your yarn stash, and you’ll have a finished bag before the weekend runs out.
1. Classic Granny Square Tote
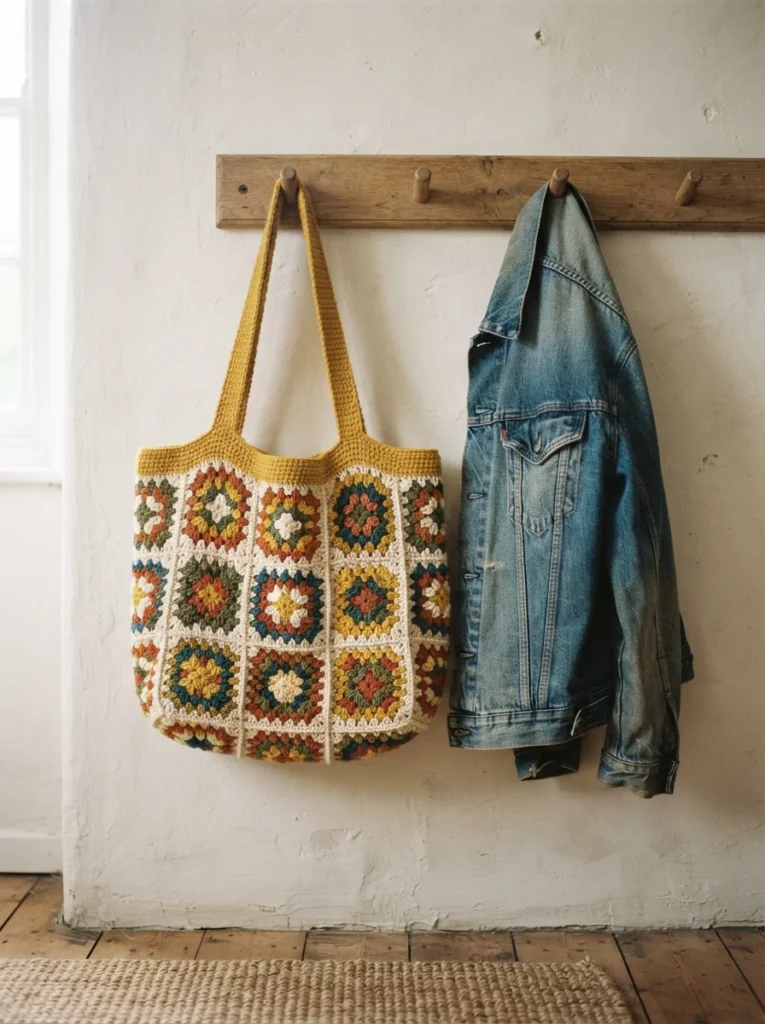
The granny square tote is the project almost every crocheter makes first, and for good reason. You work small, portable squares while watching TV, then seam twelve to sixteen of them into a panel bag over one evening. Six squares per side, two for the base, and two more folded into a strap gives you a roomy shoulder tote in a weekend.
Worsted weight cotton holds the square shape better than acrylic, which stretches once you load the bag with a water bottle and a book. Work your final round of every square in the same neutral color, even if the centers are wildly different, and the whole thing reads as intentional instead of scrappy.
This is also the cheapest bag on the list to make. Granny squares are the classic way to burn through half-skeins you couldn’t otherwise use, so most people finish this one without buying a single new ball of yarn.
2. Chunky T-Shirt Yarn Market Bag
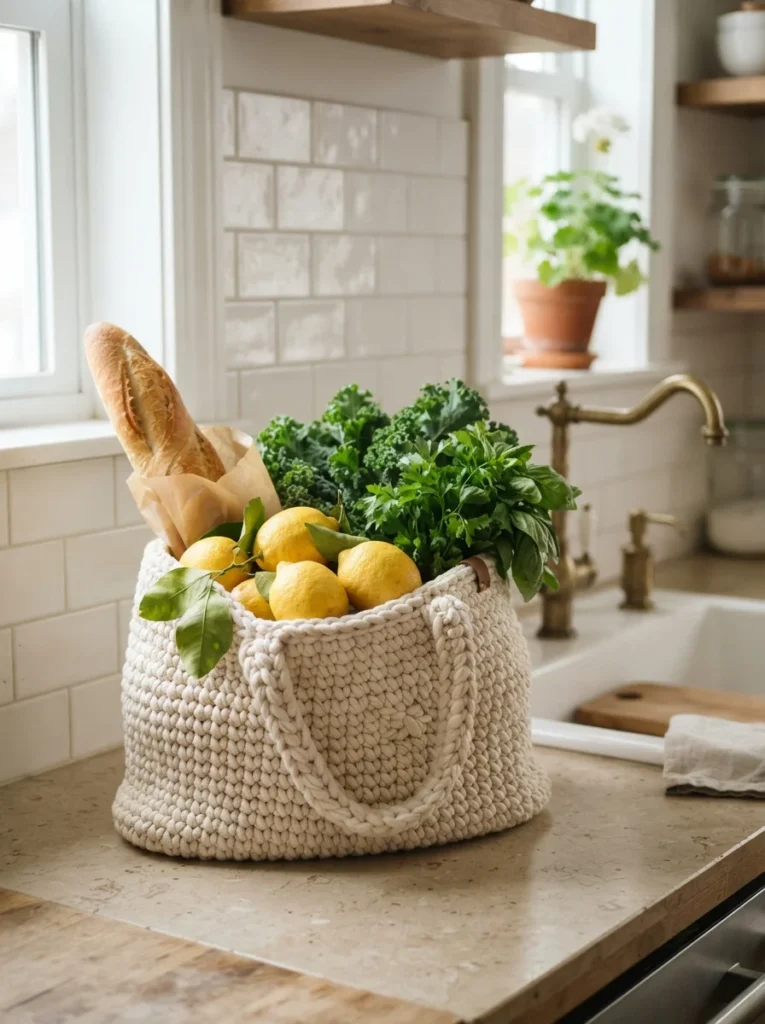
T-shirt yarn works up fast enough that a full market bag takes about three hours from start to finish. You crochet a flat circular base in single crochet, stop increasing, then work straight up the sides until the bag reaches the height you want. No pattern reading, no counting rows, just a spiral.
Use a 9mm or 10mm hook so the fabric stays soft rather than stiff. Tight tension with this yarn will wear out your hands within twenty minutes, and the bag ends up too rigid to fold flat in a car door pocket.
The finished bag holds a shocking amount of weight, which makes it the practical choice for groceries and beach gear. Cut your own yarn from old jersey t-shirts by spiraling around the body of the shirt in one continuous strip, and this becomes a free project made from clothes you were about to donate anyway.
3. Mini Crossbody Phone Pouch
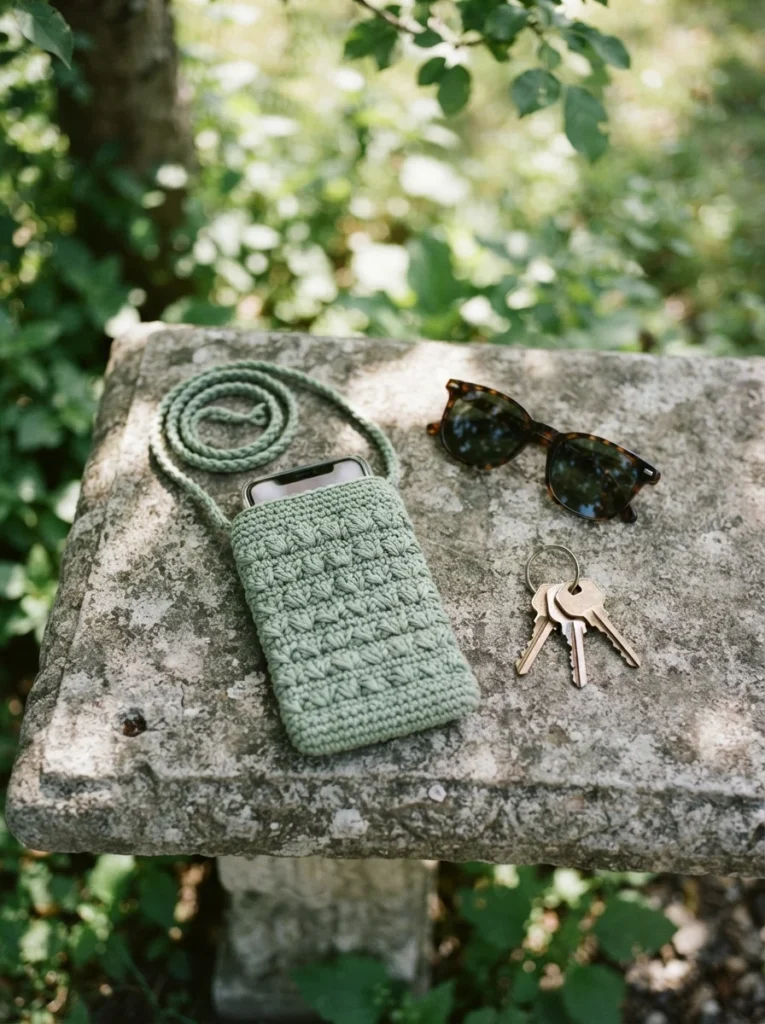
This is the bag for days when you want your hands free and only need your phone, a card and a lip balm. The body is a simple rectangle of single crochet folded in half and seamed up both sides, sized to your own phone with about half an inch of ease.
Work in the back loop only for a ribbed texture that grips your phone and stops it sliding out when you bend over. Add a long chain strap worked in slip stitch, which barely stretches even after months of daily wear, unlike a plain chain that sags by week three.
Small enough to finish in an evening, this one makes a good gift when you need something handmade and quick. Make three in different colors from the same skein and you have birthday presents sorted for the next few months.
4. Boho Fringe Shoulder Bag
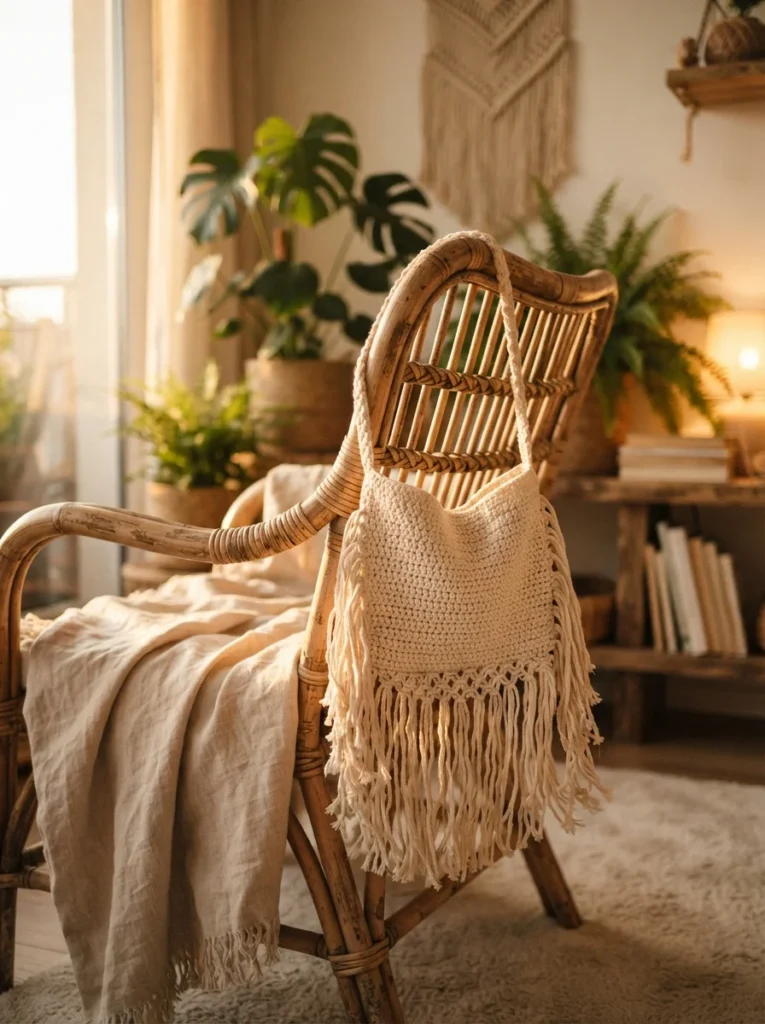
Fringe covers a multitude of sins, which makes this a forgiving project for anyone still fighting uneven edges. The bag itself is two rectangles seamed together, and the fringe hangs from the bottom seam, hiding any wobbly stitches along the way.
Cut your fringe strands to twice the finished length you want, fold each in half, and pull the loop through a bottom stitch with your hook before threading the tails through. Space them one stitch apart for a full curtain, or every second stitch for a lighter fall.
Cotton or a cotton-linen mix gives the fringe enough weight to hang straight instead of frizzing outward. Give the strands a quick trim with sharp fabric scissors once the bag hangs from your shoulder, because the natural curve of your body pulls the fringe unevenly and you can only judge the true line while it’s being worn.
5. Wooden-Handle Half-Moon Bag
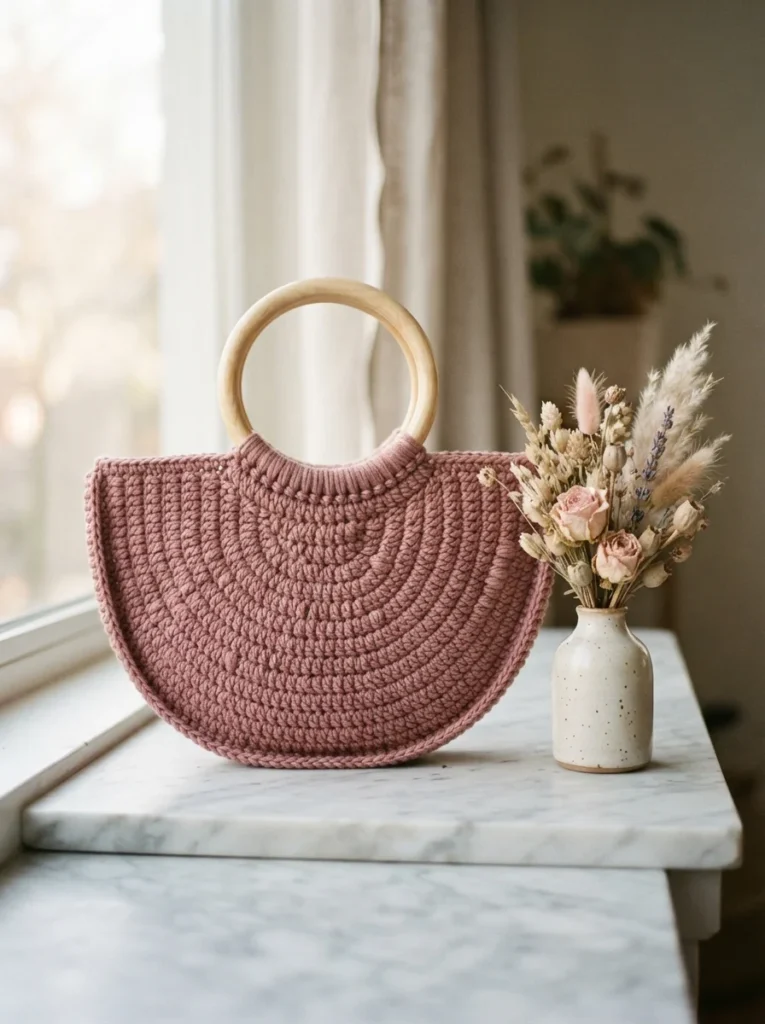
Wooden handles do most of the styling work here, turning a simple crescent-shaped panel into something that looks bought rather than made. You crochet two half-circles, seam them along the curve, and fold the top edges over the handles to stitch down.
Use a stiff cotton yarn and go down a hook size from what the label suggests. The tighter fabric keeps the half-moon shape from collapsing into a shapeless pouch the first time you carry it.
Round bamboo handles cost very little from craft shops or online, and a single pair carries the whole look. Adding a fabric lining makes the biggest difference to how this bag wears, since it stops small items poking through the stitches and gives the sides enough body to stand up on a table.
6. Drawstring Bucket Bag
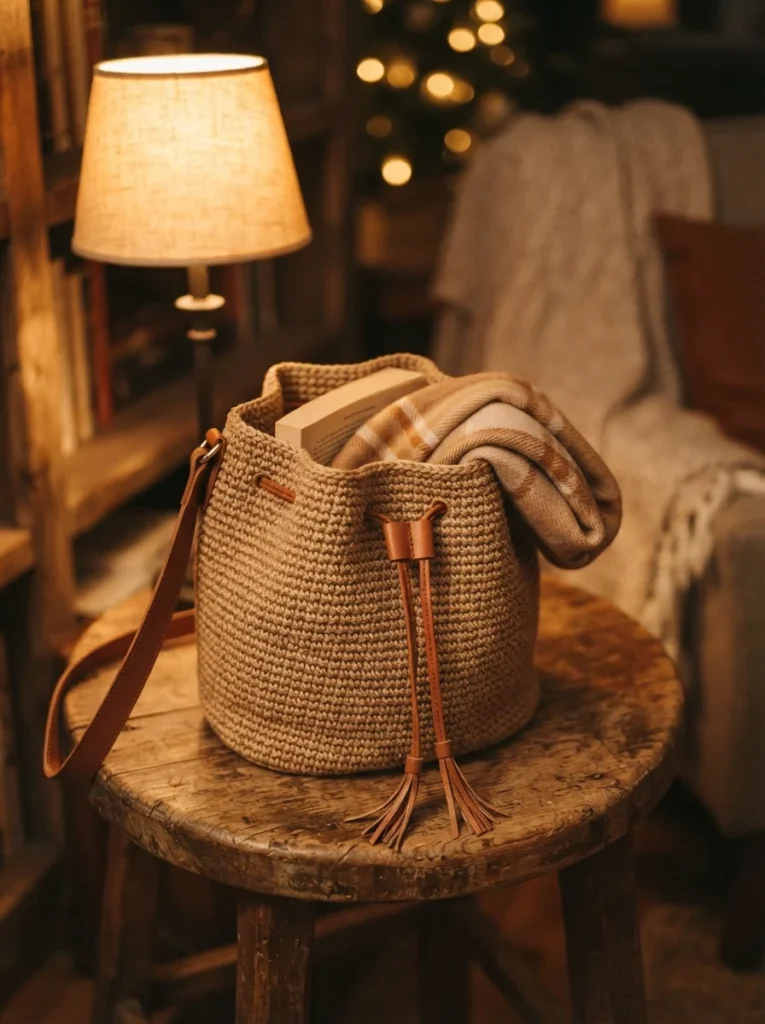
The bucket bag starts the same way as the market tote, with a flat circular base worked in the round. Once you stop increasing and work straight up, you add a round of double crochet with chain spaces near the top to thread the drawstring through.
Leather cord threaded through those spaces looks far more polished than a crocheted chain, and you can buy a metre of it for the price of a coffee. Knot both ends and let them dangle, or thread on a wooden bead before knotting.
Keep the base diameter around seven inches for a bag that holds daily essentials without sagging into a sack. If you want a bigger version for knitting projects or beach towels, widen the base rather than adding height, because a tall narrow bucket tips over every time you set it down.
7. Raffia Beach Tote
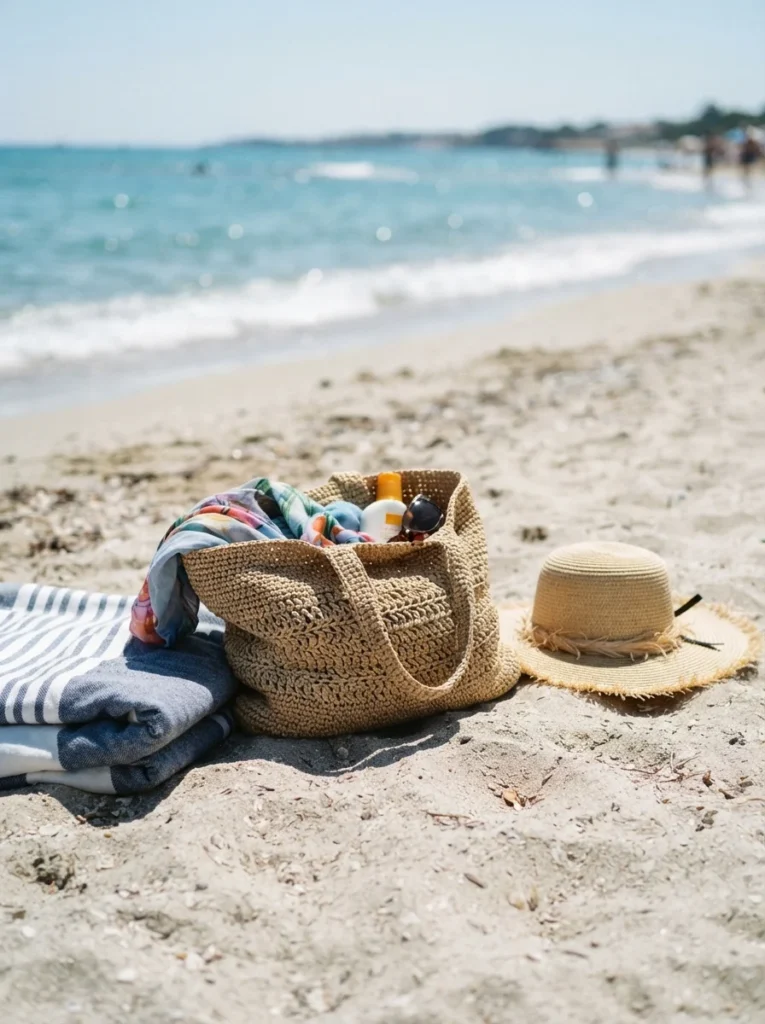
Raffia gives a bag that structured, sun-bleached look you see in summer shop windows, and it shrugs off sand and salt water in a way cotton doesn’t. Paper raffia yarn comes in cones and works up on a 4mm to 5mm hook with plain single crochet.
The material is stiffer than yarn and can feel rough on your fingers for the first hour. Work in shorter sessions and keep your tension loose, because fighting raffia with a tight grip is the fastest way to give up halfway through the base.
Straight sides in one solid stitch let the material speak for itself, so skip fancy stitch patterns here. A pair of leather straps riveted or stitched to the top edge finishes the bag properly and stops the raffia stretching out under the weight of wet towels.
8. Scalloped Shell-Stitch Clutch
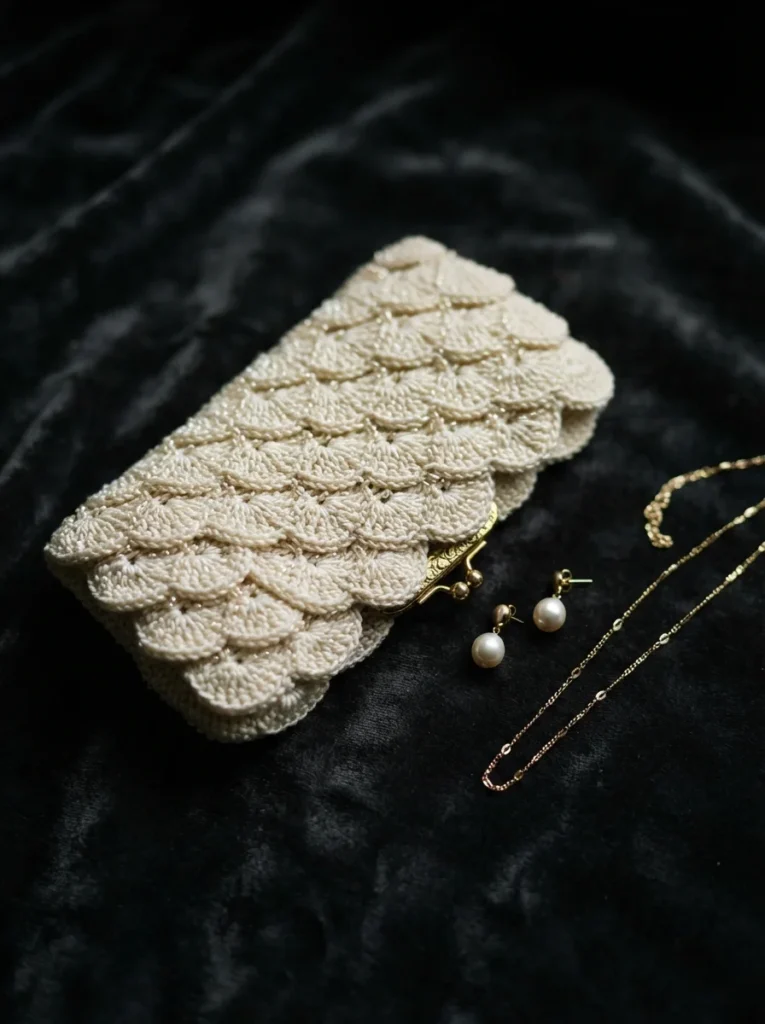
Shell stitch creates a scalloped edge without any extra work, which is why this clutch looks far more complicated than it is. You crochet a long rectangle in rows of shells, fold up two thirds of it, seam the sides, and let the remaining third fall as a flap.
A single magnetic snap sewn under the flap keeps everything shut, and it costs almost nothing at a fabric shop. Sew it through a small circle of felt on the wrong side so it doesn’t pull loose and leave a hole in your stitches.
Mercerized cotton in a single elegant color gives this bag its shine, and the smooth finish reflects light along every scallop. Made in ivory, black or deep green, it works for a wedding or a dinner out, and a full clutch takes only one evening once you have the shell repeat memorized.
9. Bobble Stitch Crossbody
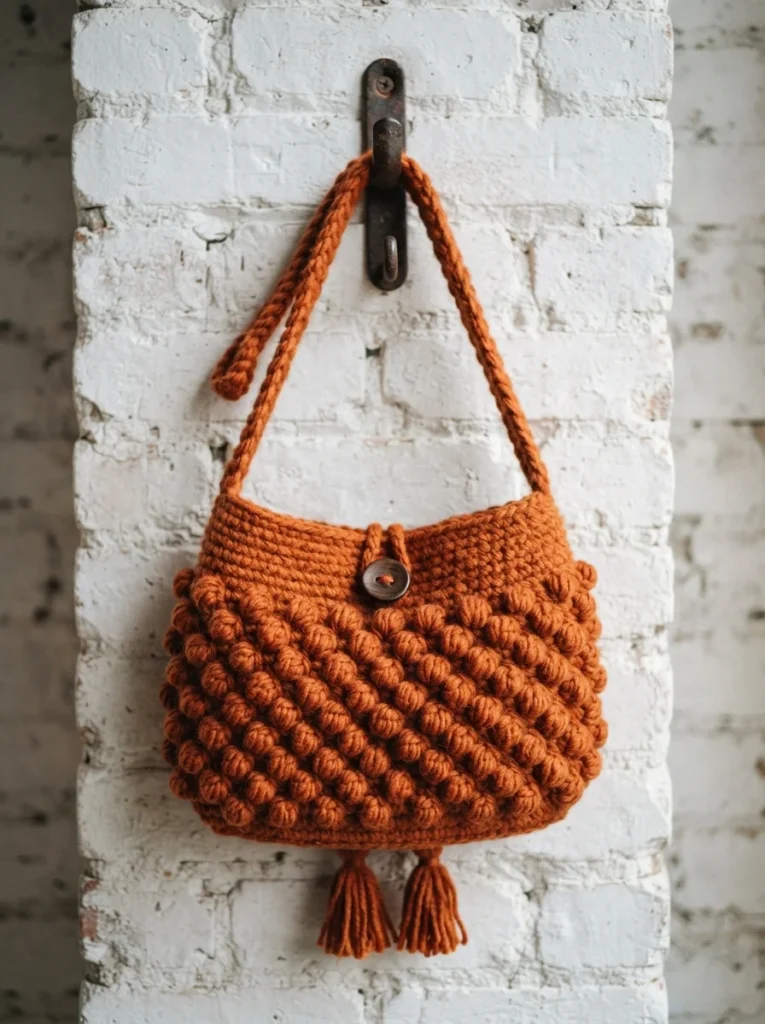
Bobbles turn a flat panel into something with real texture, and they hide the small tension differences that show up when you crochet across several sittings. Space them every third stitch and every fourth row for an even dotted grid across the front panel.
Bobbles eat yarn quickly, so buy an extra skein beyond what a plain bag of the same size would take. Working them in a slightly darker shade than the background gives a subtle shadow effect without needing two separate color changes mid-row.
Keep the back panel plain single crochet. The bobbles press uncomfortably against your hip when they’re on the body side, and leaving them off the back also saves you time and yarn. A long adjustable strap with a slider buckle lets the same bag sit at hip height or up under your arm.
10. Mesh Net Produce Bag
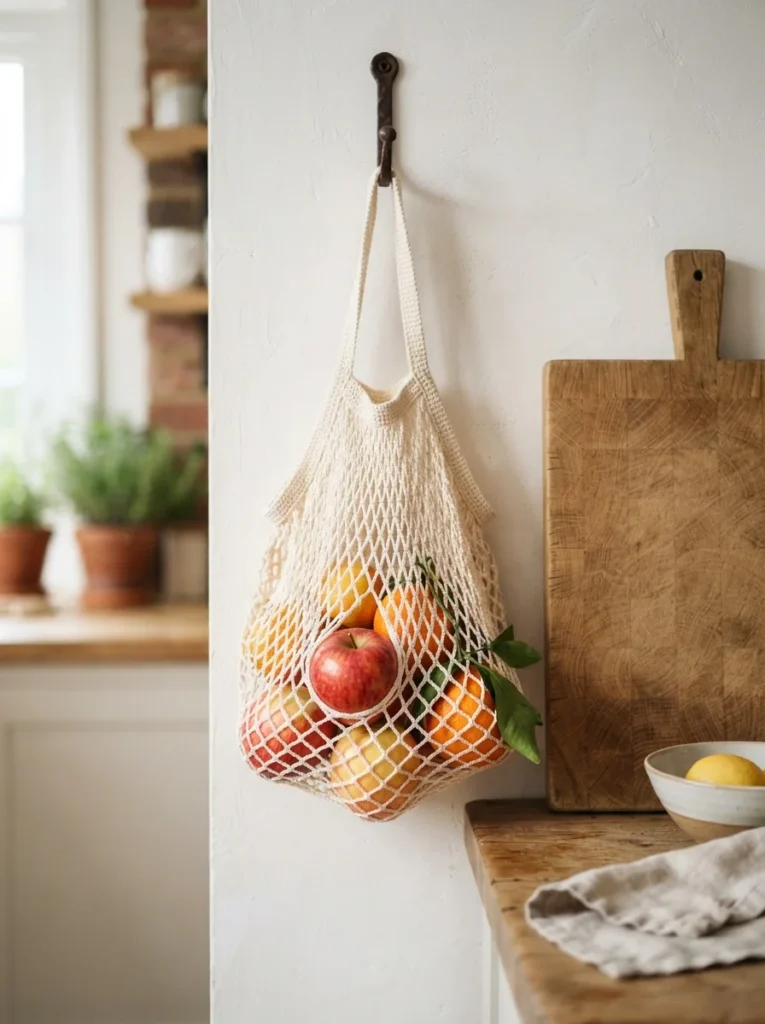
Net bags are the fastest project on this list. Chain spaces do all the work, so a full bag takes maybe ninety minutes, and the open mesh stretches to swallow a whole watermelon while folding down to fit in a coat pocket.
Work rounds of double crochet separated by two-chain spaces, skipping two stitches each time. The grid grows quickly and the bag looks finished long before you expect it to.
Thin cotton thread or a lightweight cotton yarn keeps the mesh strong without adding bulk. Make four or five of these in an afternoon and keep them by the door for shopping trips, and they’ll cover the plastic bags you’d otherwise pick up at the checkout every week.
11. Puff Stitch Backpack
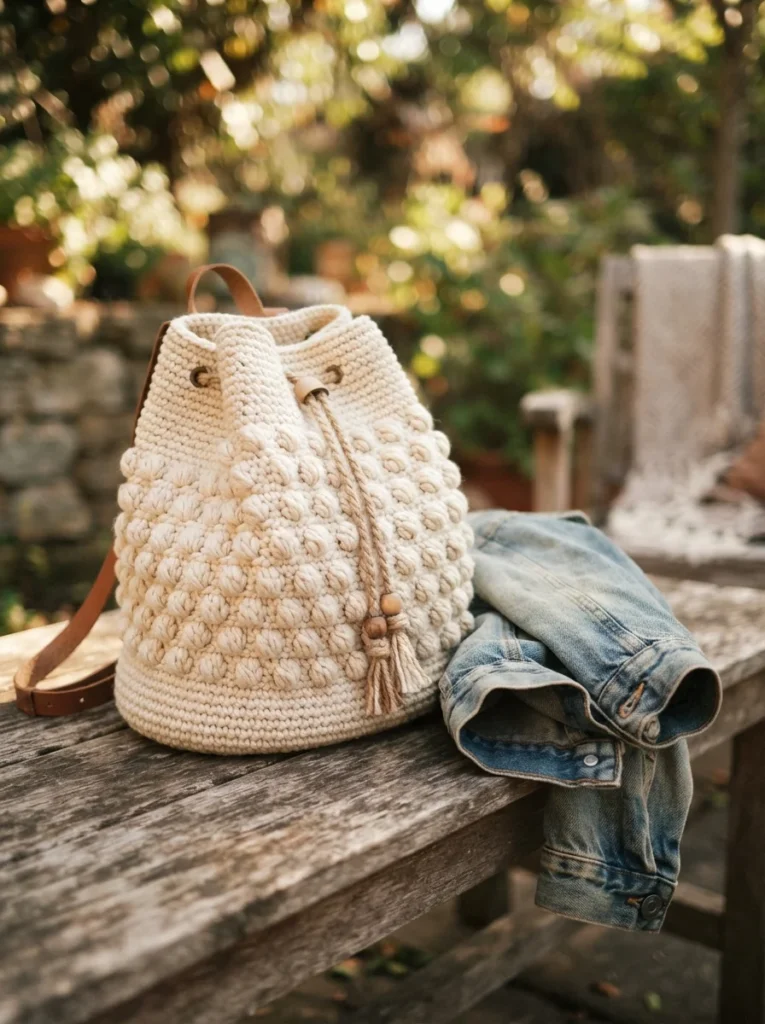
A crochet backpack sounds ambitious until you realize it’s a bucket bag with two straps and a flap. The base and body follow the same circular construction, and the puff stitch gives the sides enough thickness to hold their shape against your back.
Straps are the part worth taking care over. Work them in double thickness, or crochet around a length of cotton webbing, because single-layer crochet straps stretch under weight until the bag hangs somewhere near your knees.
Anchor the straps into the base round rather than partway up the body, spreading the load across the sturdiest part of the bag. Add a flap with a wooden button closure over the drawstring, and you have something that carries a laptop and looks good doing it.
12. Colorblock Laptop Sleeve Bag
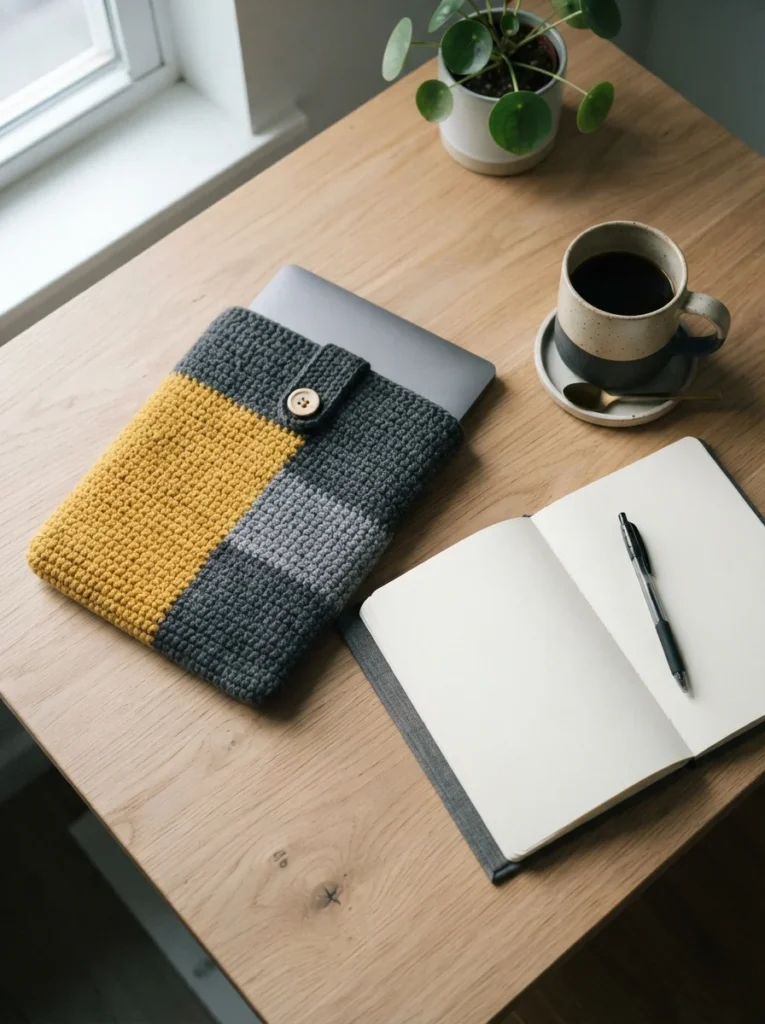
Colorblocking gives a modern look with zero pattern reading, since you simply switch yarn at set row counts. Two thirds in one shade and one third in another reads cleaner than even halves, which can look accidental.
Measure your laptop and add half an inch on all sides, then work a rectangle to twice the height plus a small allowance for the fold. Single crochet in the back loop produces a dense fabric with a little cushioning, which matters when you slide a laptop in and out every day.
Wool or a wool mix protects better than cotton because it has natural spring to it. Add a short handle at the top edge and the sleeve doubles as a slim carry bag for days when you only need your laptop and a notebook.
13. Tapestry Checkerboard Tote
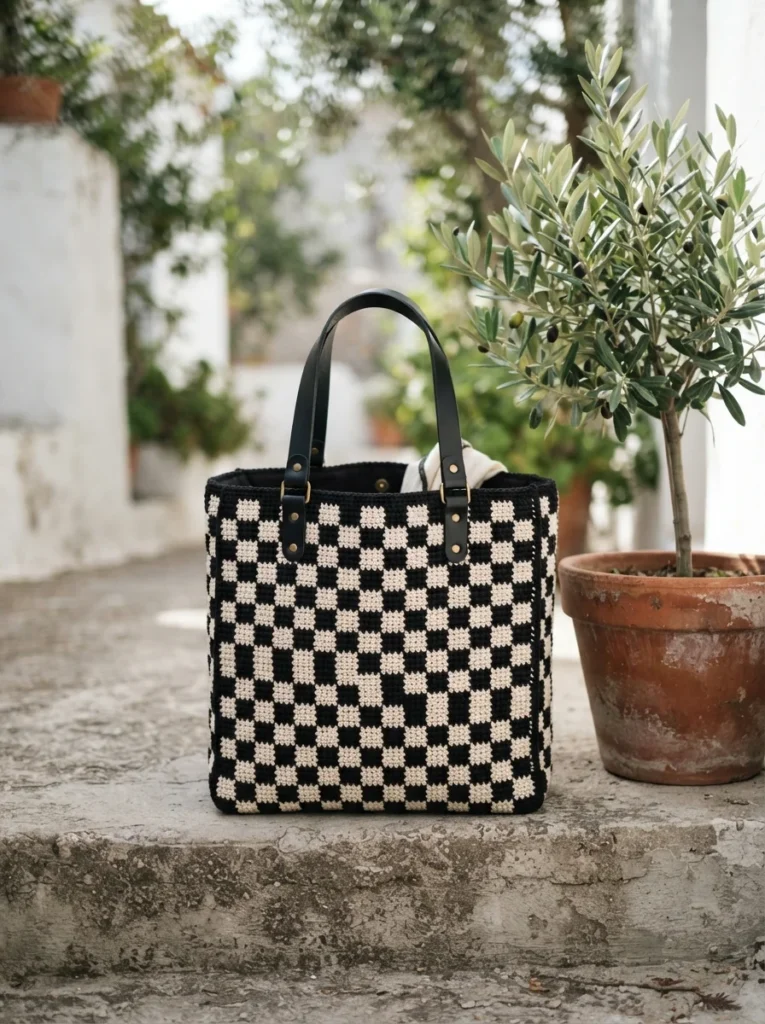
Tapestry crochet carries the unused color along inside the stitches, which produces a thick double-layered fabric and a crisp geometric pattern on the front. A checkerboard of five-stitch squares is the easiest place to start, since you only count to five.
Keep the carried yarn relaxed as you work over it. Pulling it tight puckers the fabric and warps your squares into rectangles by the third row, which is the mistake almost everyone makes on their first tapestry piece.
The double thickness makes this bag stand up on its own without any lining or interfacing, so it holds shape from the first day. It works up slower than the other totes here, but a determined weekend gets you there, and the finished bag looks like nothing else in the room.
14. Matching Coin Purse and Card Holder
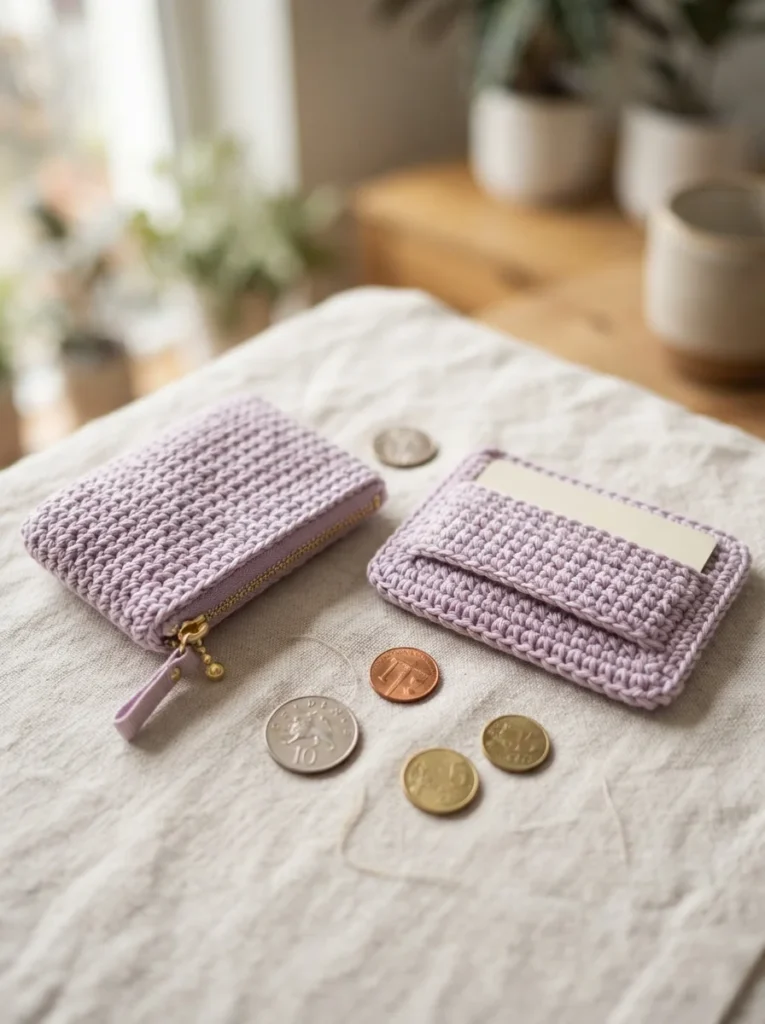
Small projects are where leftover yarn goes to be useful. A coin purse is a two-inch by three-inch rectangle folded and seamed, and a card holder is barely larger, so both together take under two hours.
Sewing in a zip is the only fiddly part, and the trick is pinning it in place first with the zip closed. Backstitch through the crochet stitches with matching sewing thread rather than yarn, which gives a flatter, tidier finish along the opening.
Make the pair in a color that matches a larger bag from this list and you have a coordinated set for very little extra effort. These also solve the problem of what to give someone who says they don’t want anything, since a handmade card holder is small enough that nobody feels awkward accepting it.
15. Round Bag with Chain Strap
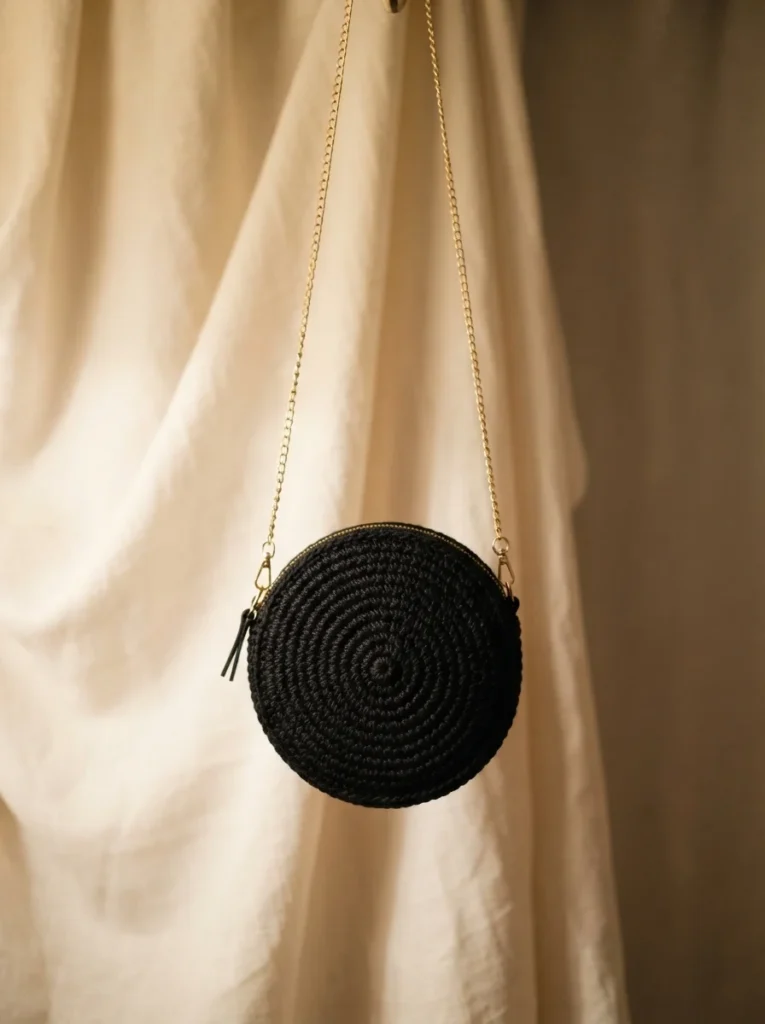
A round bag is two flat circles seamed around most of the edge, with the top left open for a zip or a magnetic snap. Crochet both circles to exactly the same round count so the edges meet without any easing or fudging.
The chain strap is what lifts this one. Buy a purse chain with clip ends, attach two small metal rings into the top corners of the bag, and clip the chain on so you can swap it for a leather strap whenever the mood changes.
Work in a smooth dark yarn and keep your stitches tight, since any gaps show more on a circle than on a rectangle. Block the finished circles flat by pinning them damp to a towel and letting them dry, which takes out the natural cupping that happens when you work too many rounds in the same direction.
Final Thoughts
Fifteen bags, and every one of them uses stitches you either already know or can pick up from a two-minute video. The granny square tote and the mesh produce bag are the softest landings if you’re still building confidence, while the tapestry checkerboard and the wooden-handle half-moon give experienced hands something to chew on. What they share is a short runway: cast on Saturday, carry it Sunday. Pick the one you keep scrolling back to, pull the closest matching yarn out of your stash, and start the base tonight.

Lily Summers is a digital artist and creative storyteller who loves bringing colorful characters to life. With a passion for cartoons, fan art, and playful sketches, she inspires others to explore their imagination through art. When she’s not sketching, you’ll find her dreaming up new ideas for CraftedWizard.com to spark creativity in every artist. 🌈✨