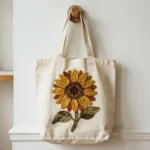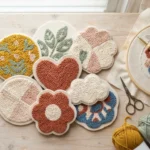

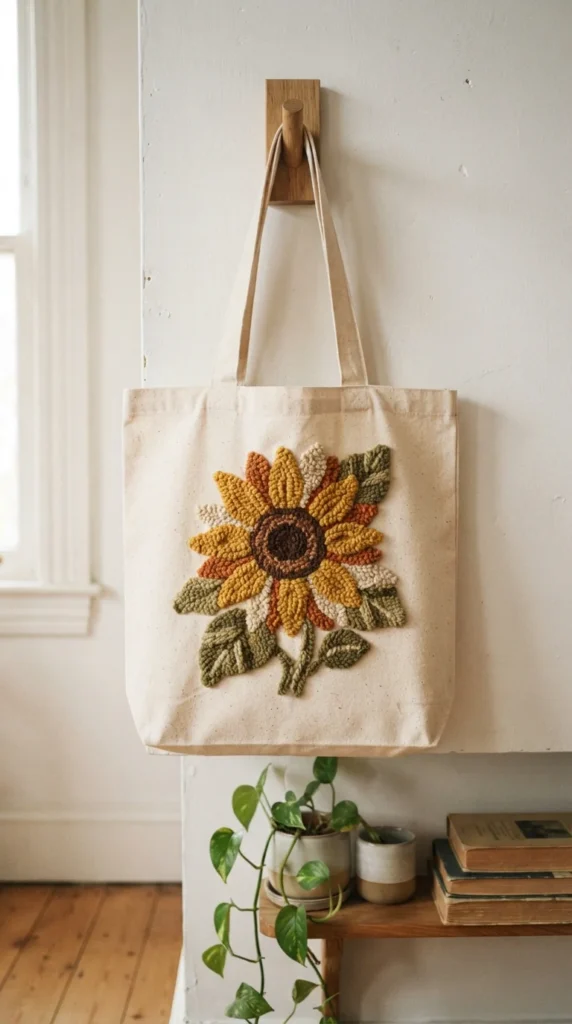
A plain canvas tote is nice. A tote covered in soft, looped yarn is the one people stop you on the street to ask about. The best part is that you don’t need years of craft experience. If you can follow a line and pull a needle up and down, you can make this bag in a weekend. Let’s turn a basic tote into a plush, handmade piece.
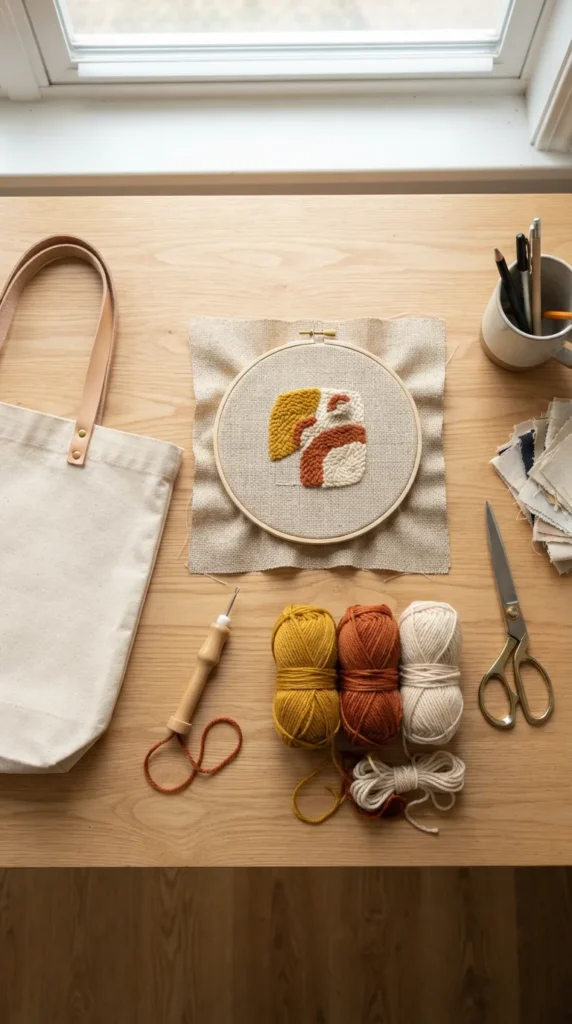
What You’ll Need
- A sturdy canvas tote bag (cotton or linen blend)
- Monk’s cloth or weaver’s cloth, about 2 inches larger than your motif on every side
- A punch needle tool (a regular size works for most projects)
- Wool or acrylic yarn in 3–4 colors, or embroidery floss for a finer look
- An embroidery hoop or gripper frame, 8 to 10 inches
- A washable fabric marker
- Sharp scissors
- Fabric glue or iron-on interfacing
- A needle and matching thread
Tip: Choose a tight-weave tote. Loose fabric lets your loops slip out, and the motif won’t last.
Step 1: Choose a Simple Motif
Pick a bold shape with clear edges. Fine details disappear in thick yarn, so keep it simple.
Easy ideas to start with:
- A sunflower or daisy
- A rainbow arch
- A mushroom cap with dots
- A wavy sun
- A single chunky initial
Aim for a motif about 5 to 7 inches wide. That’s big enough to make a statement and small enough to finish in an evening.
Step 2: Transfer the Design
Draw your motif on paper first, then trace it onto the monk’s cloth with a washable marker. Remember that punch needle works from the back, so the design shows up as a mirror image on the front. If your motif has letters or a direction, flip the drawing before tracing.
Stretch the cloth tight in your hoop. It should feel like a drum. A loose cloth is the number one reason loops come out uneven.
Step 3: Punch the Design
Thread your needle following the tool’s instructions, then get ready to punch. Work from the back of the fabric, where you’ll see a flat stitch line.
- Push the needle all the way down until the handle touches the cloth
- Pull it up just enough to slide along the fabric, without lifting it off
- Punch again about one stitch length away
- Keep your stitches close together so no fabric shows through
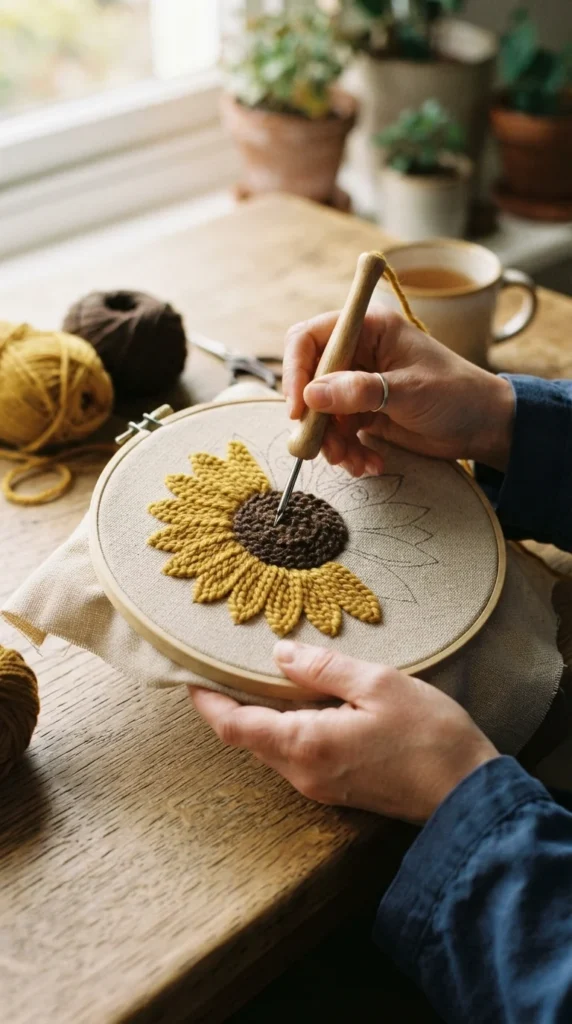
Outline the shape first, then fill it in with tight rows or spirals. Spirals work well for round shapes like flowers and suns. Work one color at a time, and leave tails of yarn on the back to trim later.
Step 4: Add Texture
This is where the motif comes alive. Texture makes a simple shape look special.
- Use two pile heights: Set the needle for a taller loop on the center of the flower, and a shorter one on the petals
- Cut the loops: Snip the loops on one area with sharp scissors for a velvety, fuzzy finish
- Mix yarn types: Combine chunky wool with a fine cotton to add contrast
- Add a border: Outline the motif in a single row of a contrasting color
Trim any uneven loops gently for a neat, polished surface.
Step 5: Attach It to the Tote
Once the punching is done, take the cloth out of the hoop. Apply a thin layer of fabric glue to the back of the motif to lock the loops in place. Let it dry fully.
Then follow these steps:
- Cut the cloth about half an inch beyond the motif’s edge.
- Fold the edges under and press with an iron.
- Pin the piece onto the tote where you want it, usually centered, about three inches below the top.
- Hand stitch around the edge with matching thread, using small, tight stitches.
- Add a few stitches through the middle for extra security.

Care Tips
Handmade pieces last longer with a little care.
- Spot clean with a damp cloth and mild soap
- Avoid soaking or machine washing
- Let the bag air dry flat
- Use a lint roller to lift dust from the loops
Wool yarn holds its shape best, so choose it if the bag will see everyday use.
Style It Your Way
Once you master one motif, the possibilities grow. Try a trio of small mushrooms on a pocket, a row of tiny stars along the strap, or a bold initial for a gift. A set of matching bags makes a lovely present for friends or a bridal party.

Save This for Later!
A punch needle tote is a simple project with a big payoff. Choose a bold motif, keep your cloth tight, and add texture with different pile heights. Gather your supplies this weekend and start punching.

Lily Summers is a digital artist and creative storyteller who loves bringing colorful characters to life. With a passion for cartoons, fan art, and playful sketches, she inspires others to explore their imagination through art. When she’s not sketching, you’ll find her dreaming up new ideas for CraftedWizard.com to spark creativity in every artist. 🌈✨