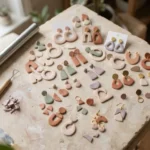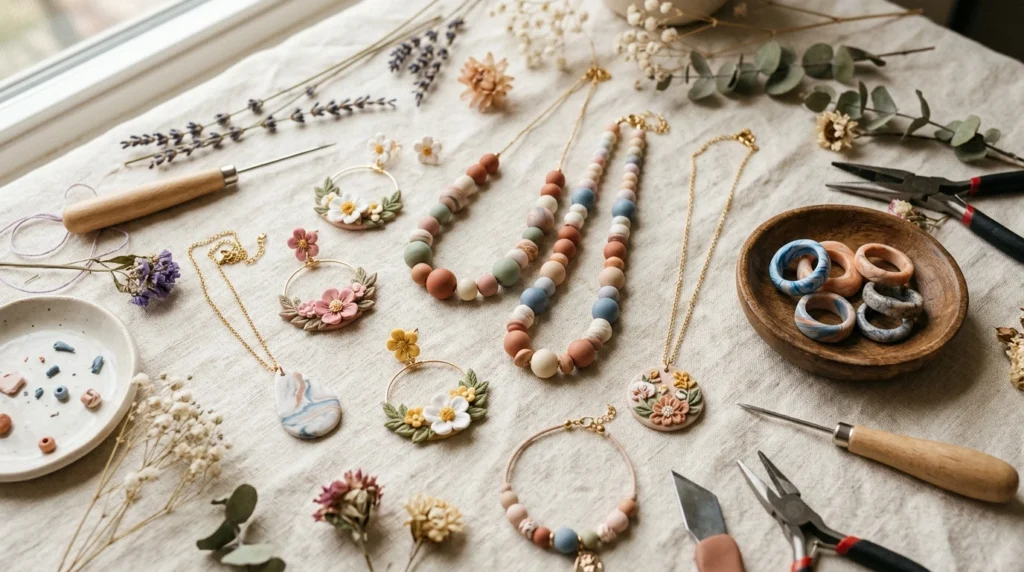
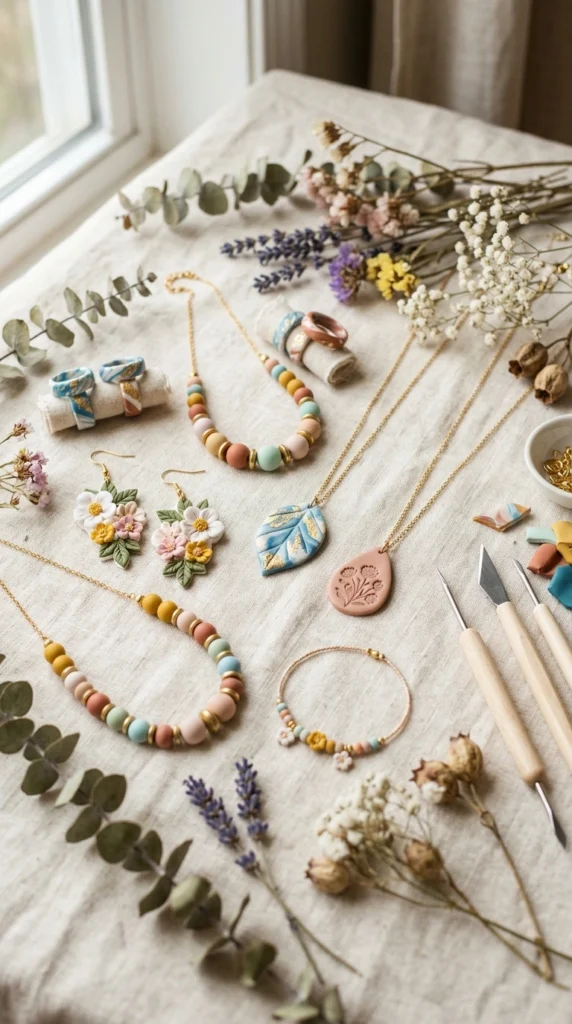
Polymer clay is one of those craft materials that can turn a quiet weekend into a jewelry-making session you actually want to keep going. You can shape it into flowers, beads, arches, fruit, abstract patterns, and tiny sculpted details without needing a large craft room. These 28 ideas range from simple beginner pieces to designs that let you experiment with texture and color. Pick a favorite, gather your clay, and spend a few hours creating jewelry that feels completely your own.
1. Marbled Clay Hoop Earrings
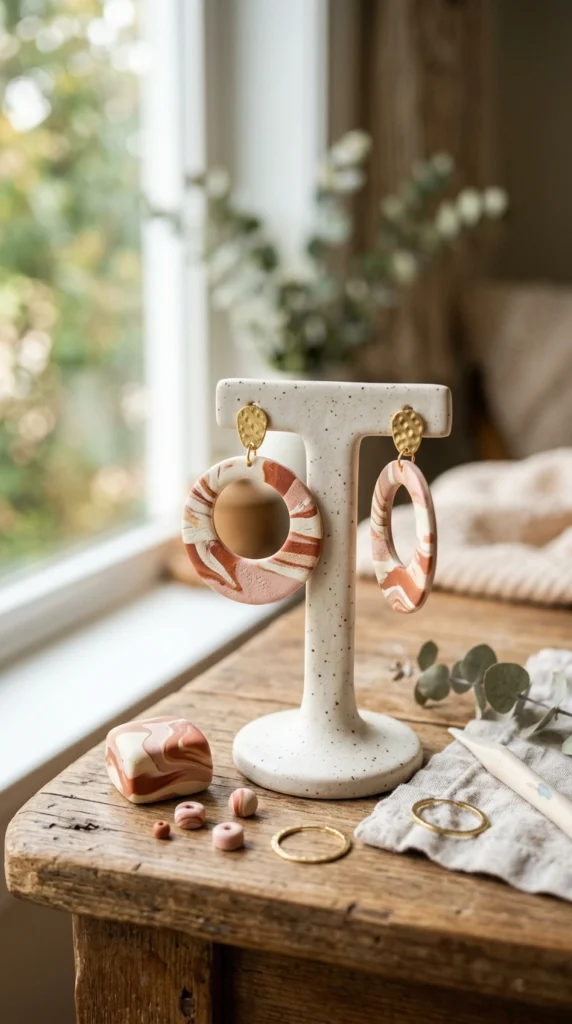
Marbled polymer clay creates an artistic look without requiring complicated sculpting. Start with two or three coordinating clay colors and roll each into thin ropes. Twist them together gently, then roll the mixture flat until you see soft swirls.
Cut matching hoop shapes with a round cutter or template. Make the pieces slightly thin so they stay comfortable when worn. Before baking, create the small openings for your jewelry findings.
Try cream with rust, sage with ivory, or pink with brown for a softer palette. Each pair will have a different pattern, which is part of the charm. After baking, attach simple metal hoops or hooks and give the surface a light buff for a smooth finish.
2. Polymer Clay Flower Studs
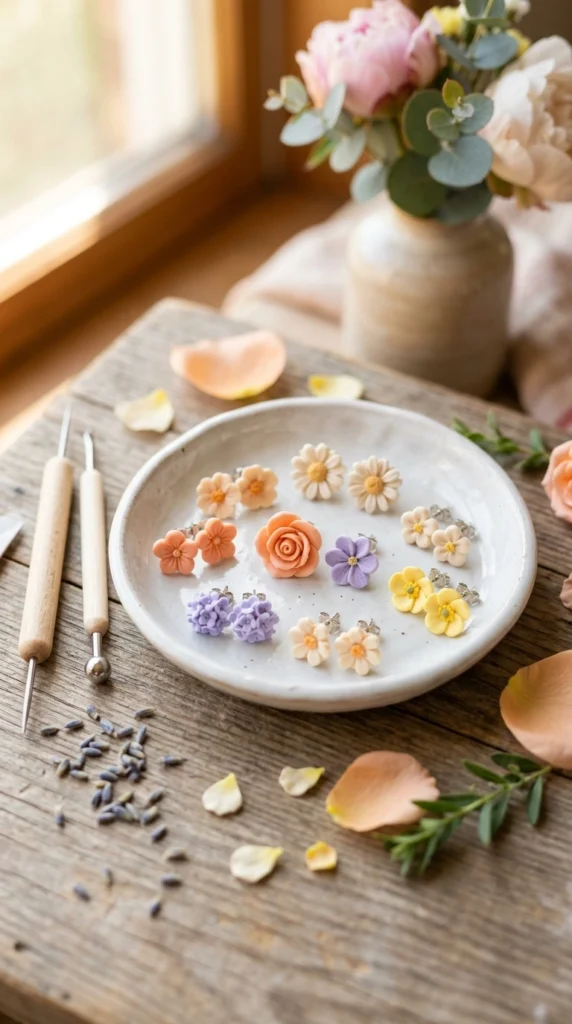
Small clay flowers make sweet everyday earrings. Roll tiny balls of clay, flatten them, and arrange five or six petals around a small center. A pointed tool can add a subtle crease to each petal.
Keep the flowers flat enough to sit comfortably against the ear. Add tiny contrasting centers using another clay color, then carefully attach earring posts after baking. A pair of simple flower studs can work with casual outfits as easily as with a summer dress.
For a more natural appearance, make each flower slightly different. Soft pink, butter yellow, cream, and lilac create a gentle collection, while red, black, and white give the same idea a stronger look.
3. Speckled Clay Bead Necklace
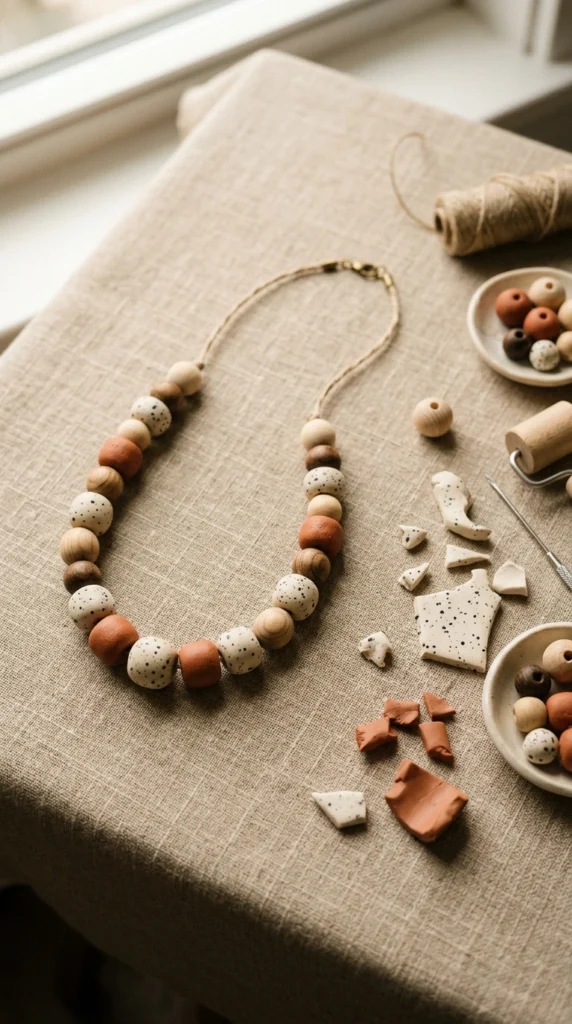
Speckled beads are simple to make and easy to customize. Condition a base color such as cream or beige, then add tiny pieces of contrasting clay across the surface. Roll gently so the speckles become part of the bead rather than sitting loosely on top.
Shape the beads into rounds, ovals, or short cylinders. Use a needle or bead tool to make a clean hole through each one before baking. Let the beads cool fully before stringing them onto elastic cord, nylon thread, or jewelry wire.
Add a few wooden or metal beads between the clay pieces for extra texture. A longer necklace works beautifully with sweaters and simple tops, while a shorter strand creates a neat everyday accessory.
4. Mini Clay Mushroom Earrings
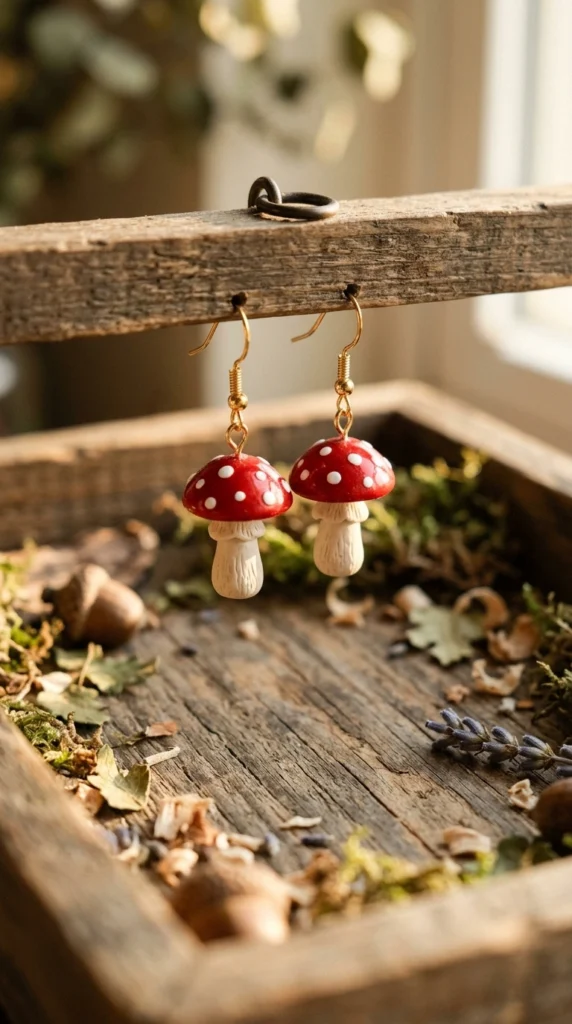
Mushroom earrings bring a playful woodland detail to a jewelry collection. Shape small stems first, then add rounded caps in red, brown, cream, or muted orange. Tiny white dots can be pressed onto the caps for a classic mushroom appearance.
Make a small hole near the top of each mushroom before baking. Once the clay has cooled, add jump rings and earring hooks. Keep the pieces compact so they do not pull heavily on the ears.
You can also make a group of mushrooms in different colors. A red-and-cream pair feels cheerful, while brown-and-beige versions have a more natural autumn appearance.
5. Polymer Clay Arch Earrings
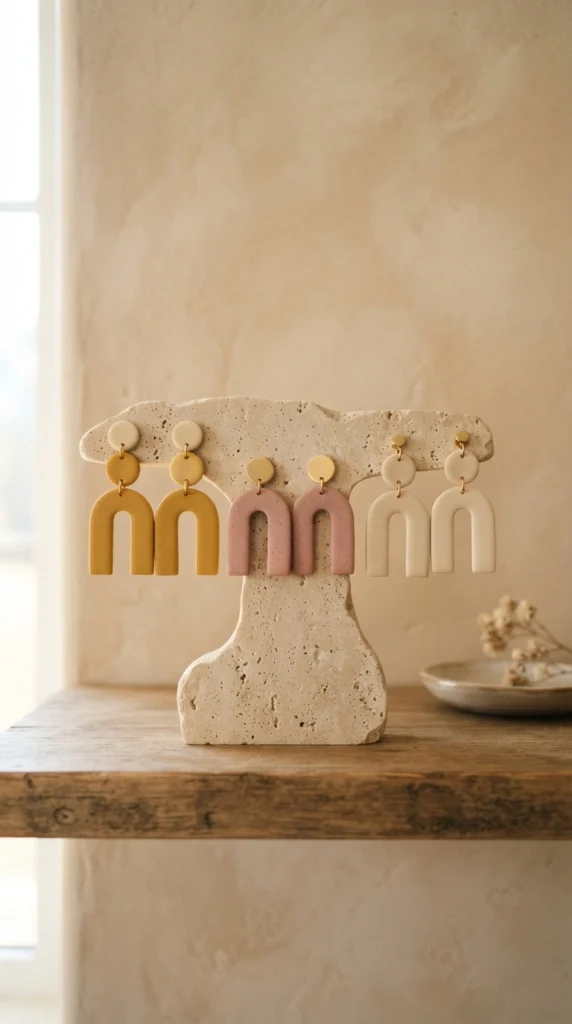
Geometric jewelry is a great place to start if floral designs are not your style. Arch earrings can be made from simple clay slabs cut into rounded shapes. Use a small cutter to remove the center and create the open arch.
Try two colors on each earring or keep the pair monochromatic. Lightly press the edges with your fingers to smooth them before baking. Make the hanging holes near the top while the clay is still workable.
These earrings look especially good in muted colors. Mustard, dusty rose, cream, olive, and chocolate brown create an easy-to-wear palette that works across several seasons.
6. Daisy Statement Earrings
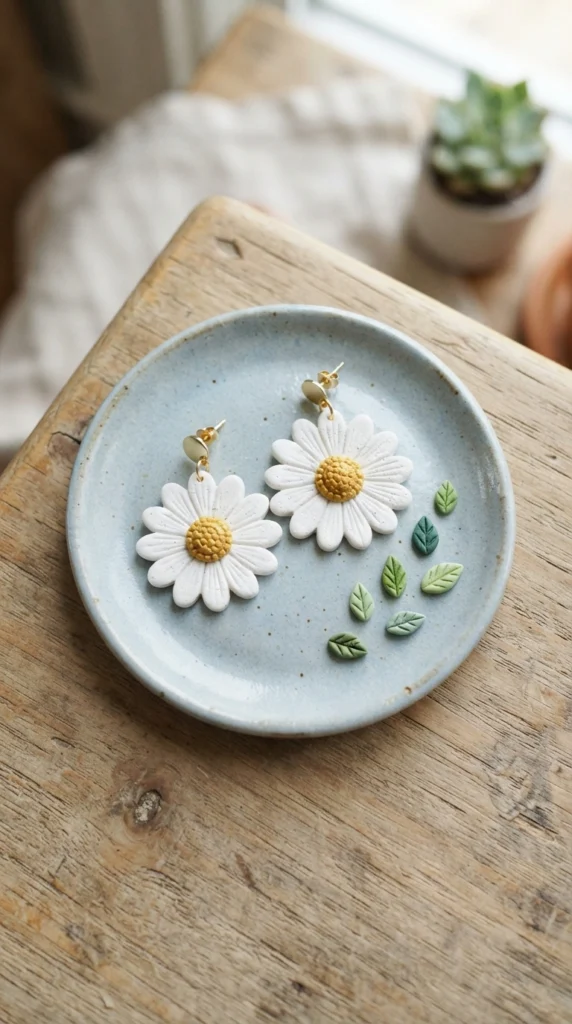
Daisy earrings are a fun project when you want something cheerful and eye-catching. Shape individual petals and arrange them around a round center. Press a few shallow lines into the petals with a fine sculpting tool for added detail.
Keep statement earrings thin rather than bulky. This makes them easier to wear while preserving the large floral shape. Add a hole at the top and attach simple hooks after the clay has baked.
White and yellow are classic, but you can switch the colors to suit your wardrobe. Pink petals with orange centers or lavender petals with cream centers can give the same design a completely different personality.
7. Clay Fruit Charm Necklace
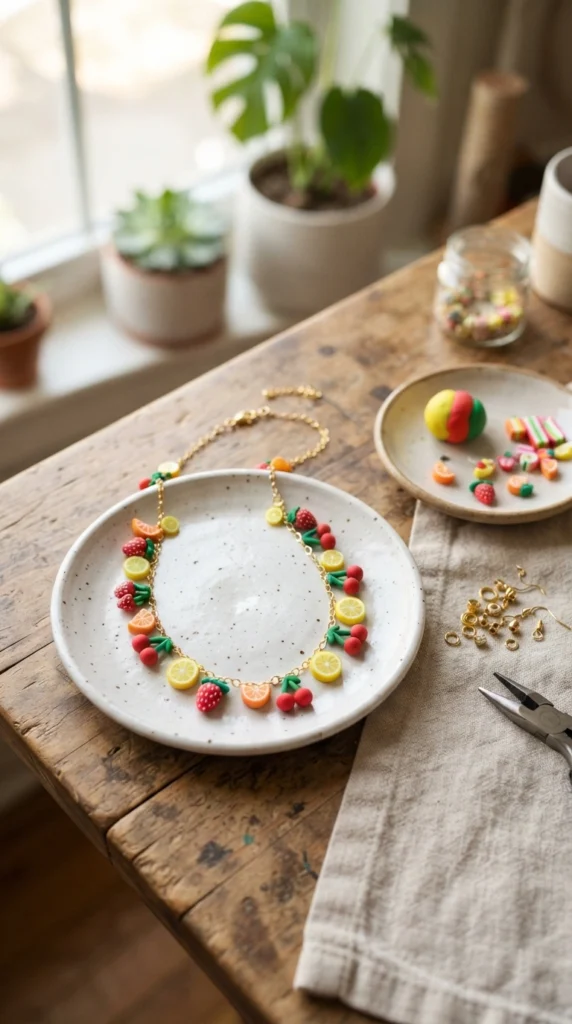
Tiny fruit charms are perfect for colorful handmade jewelry. Shape miniature strawberries, cherries, lemons, oranges, or apples from polymer clay. Add small leaves and simple surface details before baking.
Create a small hole through each charm so you can attach jump rings later. You can use one fruit as the main pendant or string several tiny pieces onto a chain for a playful necklace.
Fruit jewelry works particularly well during spring and summer, but darker red cherries and warm orange tones can also fit autumn outfits. Pair the charms with a simple gold or silver chain so the tiny shapes remain the focus.
8. Textured Leaf Pendant
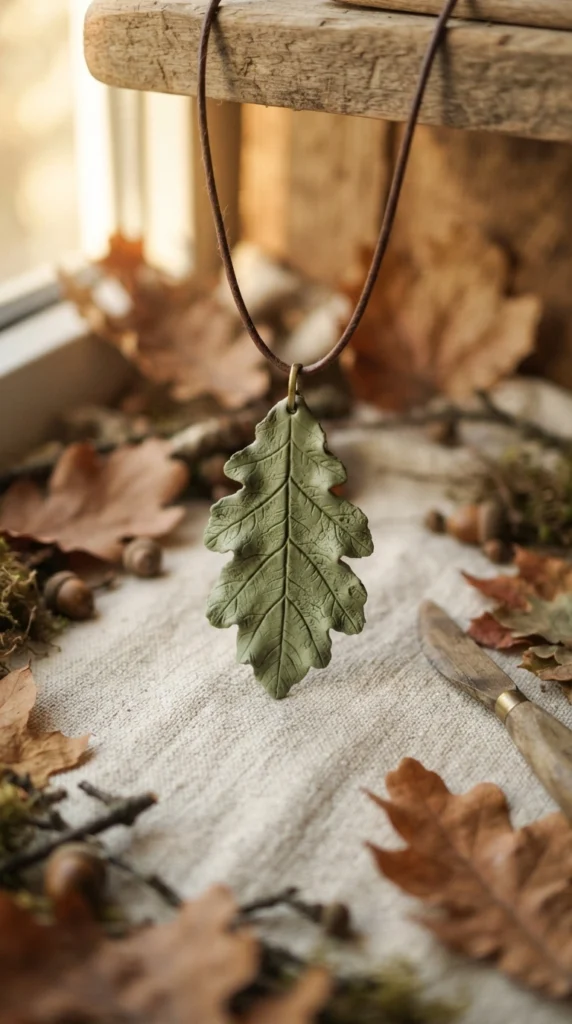
A leaf pendant is a simple way to bring natural texture into your jewelry. Roll green clay into a thin sheet and cut out a leaf shape using a small blade or template. Press the real leaf gently against the clay to transfer its vein pattern.
Remove the leaf carefully, then smooth any rough edges with your fingertips. Create a small hole near the stem before baking. Once cool, thread the pendant onto leather cord, cotton cord, or a delicate chain.
Sage, olive, terracotta, and cream all work well for botanical jewelry. You can also make several leaf shapes and turn them into a matching necklace and earring set.
9. Rainbow Clay Earrings
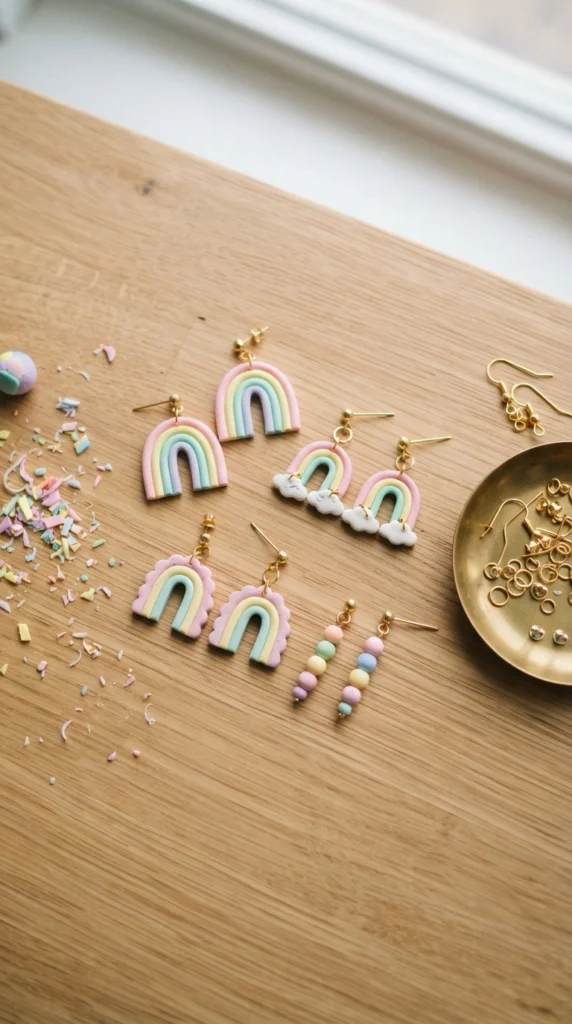
Rainbow earrings can be made from several thin clay strips arranged in curved layers. Use a small template to keep both earrings similar in size, then cut away the excess clay around the outer curve.
Choose pastel shades for a soft look or bright primary colors for a more playful accessory. A tiny white cloud or gold-colored clay detail can sit beneath the rainbow if you want another element.
Make the earrings lightweight by keeping the clay layers thin. After baking, attach hooks through small holes at the top. These are especially cute with casual outfits and make cheerful handmade gifts.
10. Polymer Clay Pearl-Style Beads
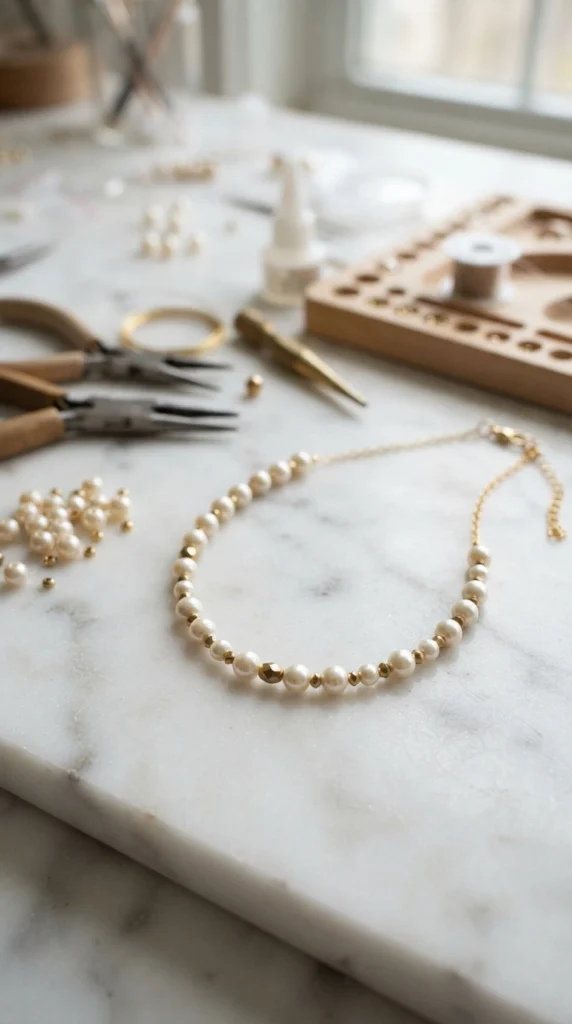
You can create a soft pearl-inspired necklace without using actual pearls. Roll smooth balls of ivory, cream, or pale blush polymer clay, then shape each bead carefully so the surfaces remain even.
Make different bead sizes for a more natural necklace. Before baking, pierce each bead straight through the center. A simple bead-rack setup can help keep the holes from closing while the pieces cure.
Pair the clay beads with small metal spacers for contrast. The finished necklace can look delicate and polished while still keeping the handmade character of polymer clay.
11. Checkerboard Earrings
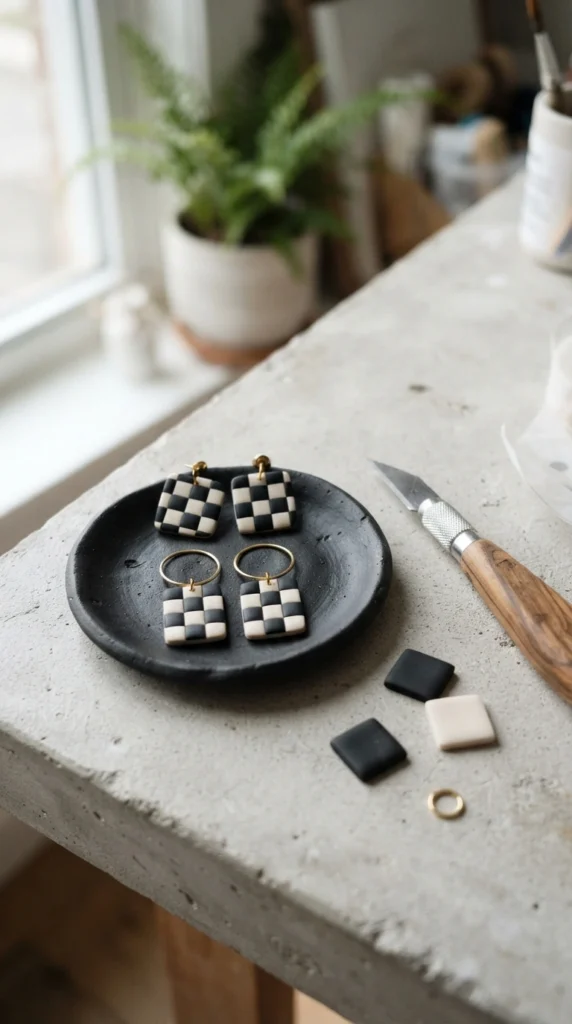
Checkerboard patterns make a strong statement with only two colors. Roll thin strips of black and cream clay, arrange them in alternating rows, and gently flatten the sheet so the squares hold together.
Cut the sheet into arches, circles, rectangles, or wavy shapes. Smooth the edges carefully and add holes before baking. Because the pattern already catches attention, simple shapes work especially well.
Try brown and cream for a softer version or pink and red for a playful pair. The same checkerboard sheet can create matching earrings, rings, pendants, and beads.
12. Tiny Strawberry Studs
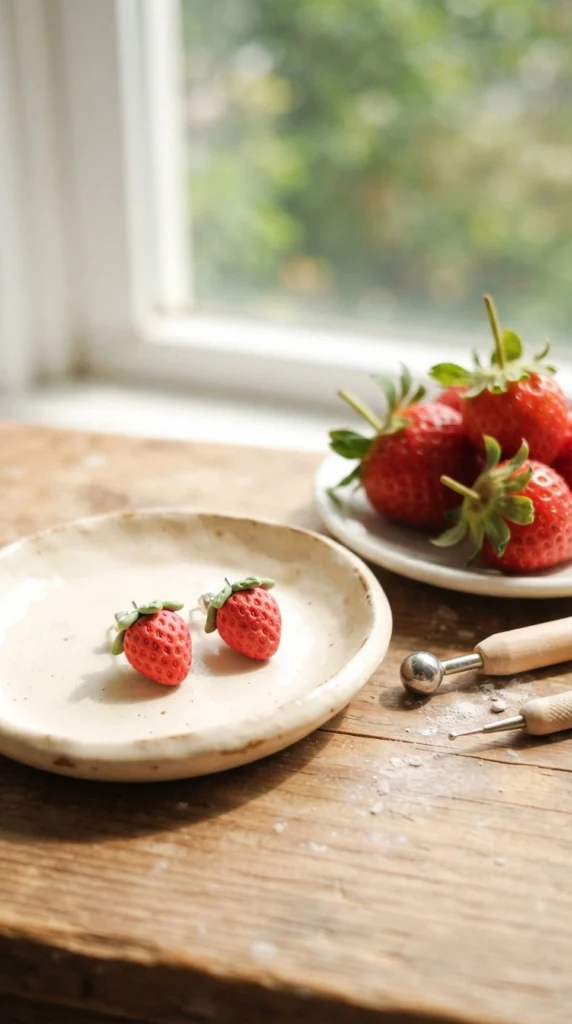
Strawberry studs are small enough for beginners and quick enough for a weekend craft session. Shape tiny red berry forms and gently taper the bottoms. Add tiny indentations across the surface to suggest strawberry seeds.
Top each berry with a small green leafy cap. Keep the details shallow so the earrings remain light and comfortable.
After baking, attach the pieces to earring posts. Make a matching strawberry charm for a necklace or bracelet if you want a complete fruit-themed jewelry set.
13. Abstract Swirl Pendant
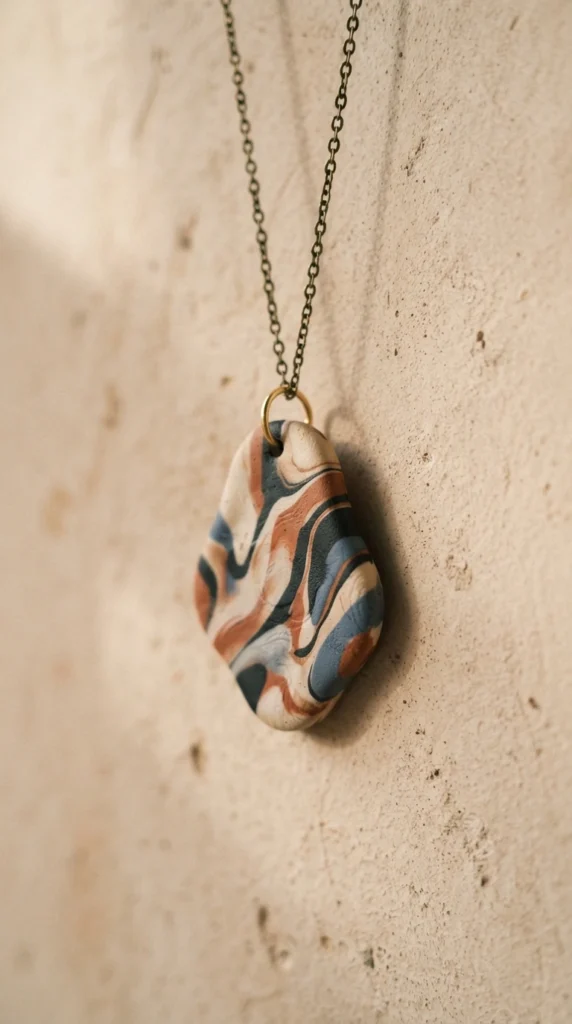
Abstract pendants are perfect when you prefer free-form designs. Combine thin ropes of several clay colors, twist them gently, and roll them together until you get a loose swirling pattern.
Flatten the clay and cut out an oval, circle, arch, or irregular shape. Avoid overworking the colors, since too much rolling can turn separate shades into one muddy color.
Add a hole near the top and bake according to the clay manufacturer’s directions. Attach a simple chain after cooling. Because every swirl develops differently, each pendant becomes its own little artwork.
14. Tiny Floral Hoop Charms
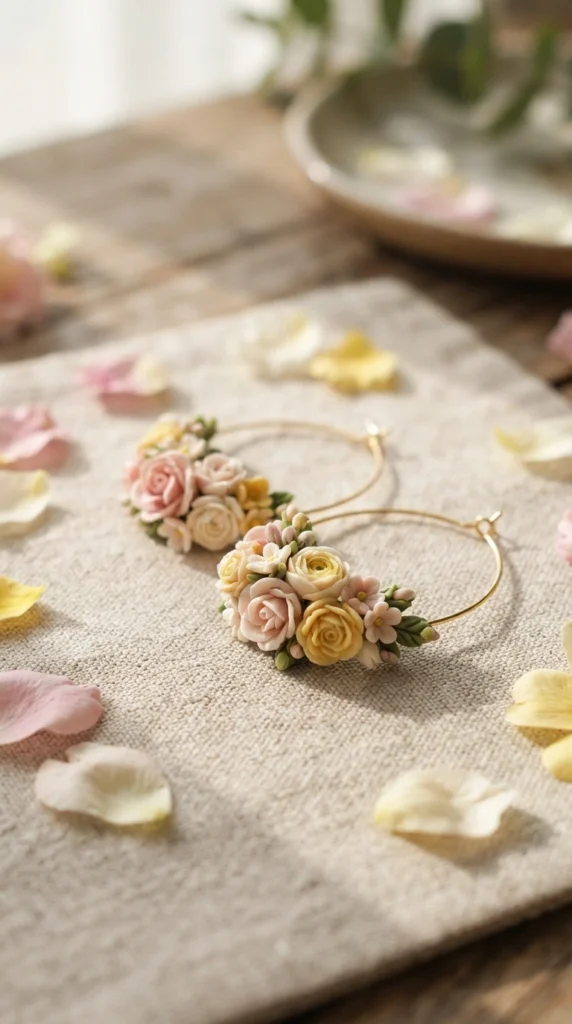
Tiny flowers can turn simple hoops into detailed handmade accessories. Shape miniature petals and leaves separately, then combine them into tiny floral clusters.
Keep the pieces small so they do not make the hoops heavy. Create holes through the flower centers or use suitable jewelry findings after baking to connect them securely.
Try one flower on each hoop for a subtle look or several tiny blooms for a fuller design. Pastel colors work beautifully, while dark red and black flowers can create a dramatic autumn version.
15. Clay Heart Pendant
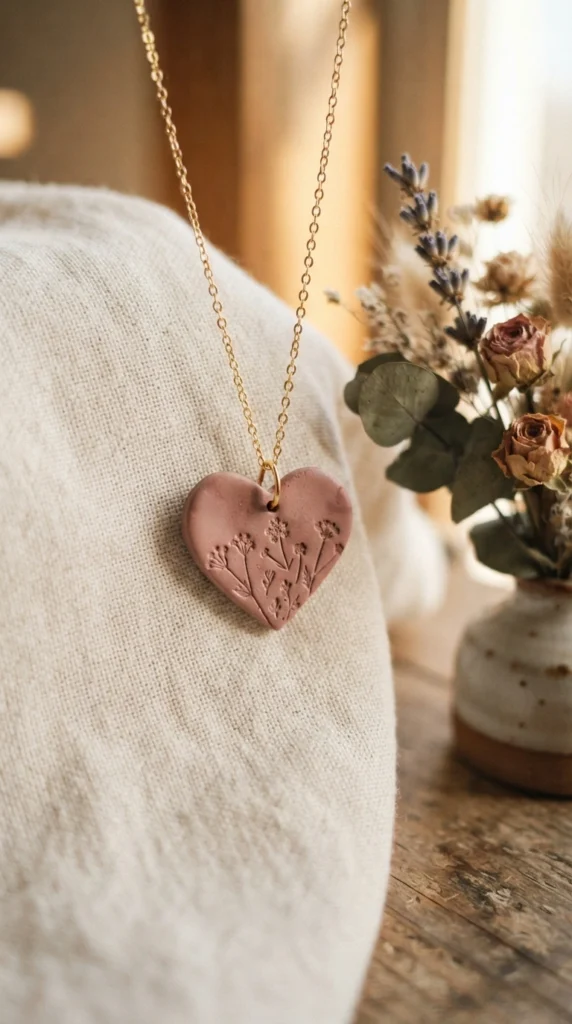
A clay heart pendant can be simple, textured, or completely abstract. Cut a heart from a rolled clay sheet, then smooth the edges with your fingertips. You can leave it plain or press a small flower, lace texture, or geometric stamp into the surface.
Create the hanging hole before baking. A slightly rounded heart will catch the light beautifully after a gentle buffing session.
Dusty rose, cream, burgundy, and chocolate brown are lovely choices for an autumn-inspired necklace. For a brighter piece, try coral, yellow, or lavender.
16. Mini Bow Earrings
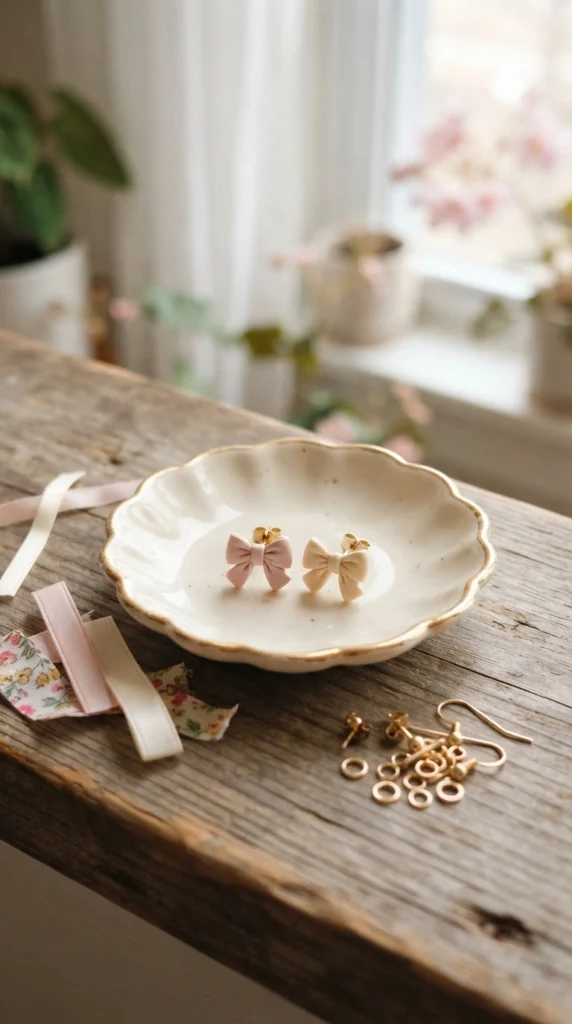
Bow earrings have a sweet shape that can be made with a few simple clay pieces. Form two small loops and a center knot, then press them together carefully.
Keep the bows thin and lightweight. Add a small hole at the top of each one before baking so they can hang from hooks or connect to studs.
Pink and cream create a soft look, while black bows can feel more polished. Tiny bows also work well as bracelet charms, necklace pendants, or additions to gift jewelry.
17. Terrazzo Clay Earrings
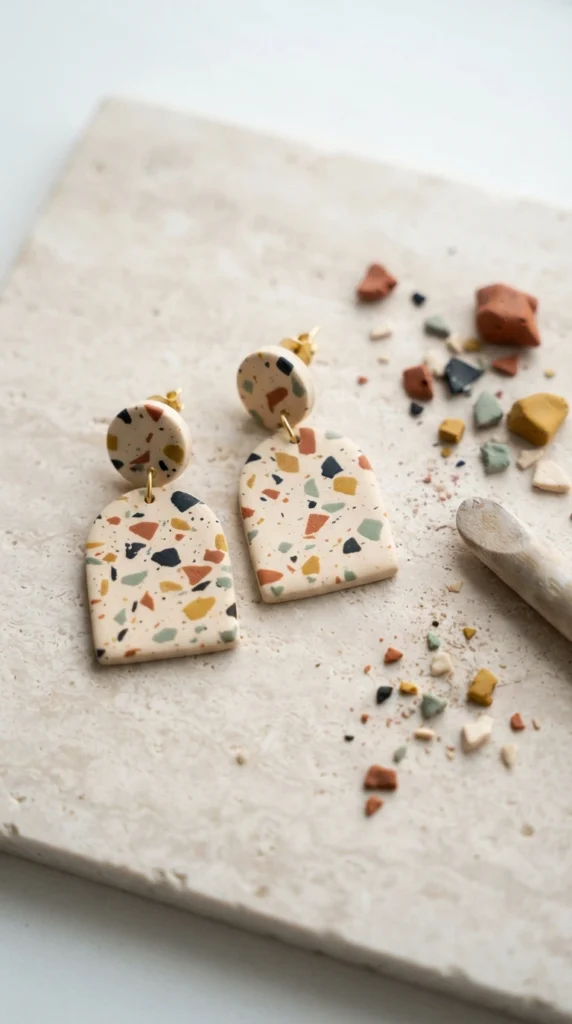
Terrazzo jewelry gives you a great way to use small leftover clay pieces. Roll a base sheet in cream or another neutral shade, then scatter tiny pieces of contrasting clay across the surface.
Cover the fragments with a thin layer of parchment or plastic and roll gently so they become embedded. Cut the sheet into your favorite earring shape and smooth the edges.
Use scraps from other projects to create the colorful pieces. That makes terrazzo earrings a smart project when your craft box has several half-used clay colors waiting to be used.
18. Moon Phase Necklace
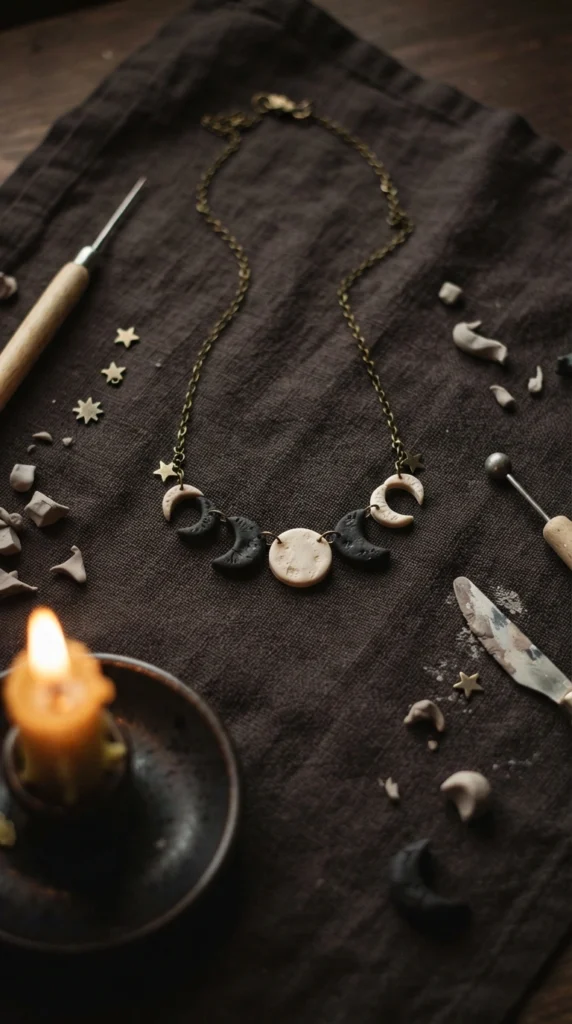
Moon phase jewelry has a simple graphic quality that works with many outfits. Shape several crescent and partial-moon pieces from clay, keeping them similar in thickness.
Arrange the pieces along a chain or use one larger crescent as the centerpiece. Small star charms can sit between the moon shapes if you want a little extra detail.
Cream, charcoal, navy, and muted gold tones create a calm celestial palette. Make the moons slightly different sizes for a more organic handmade appearance.
19. Clay Daisy Ring
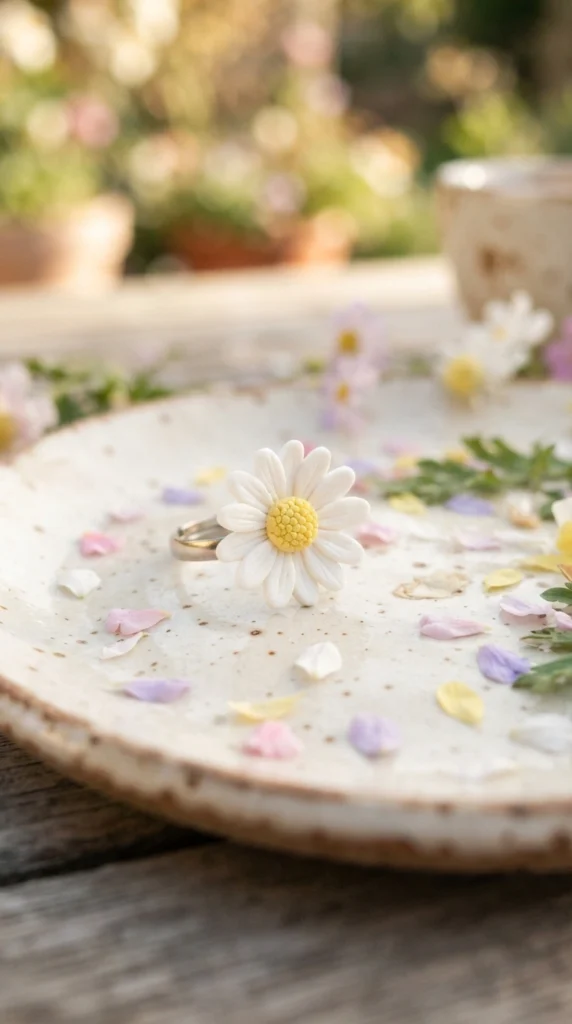
A tiny clay flower can become a charming statement ring. Create five or six small petals, press a center into the flower, and add a few subtle lines for texture.
Bake the flower separately if that makes handling easier. Once it has cooled, attach it securely to an adjustable ring base with suitable jewelry adhesive.
Keep the flower compact so it does not catch easily on clothing. A single daisy looks sweet on its own, while a few tiny flowers in different colors can create a playful ring collection.
20. Wavy Checker Rings
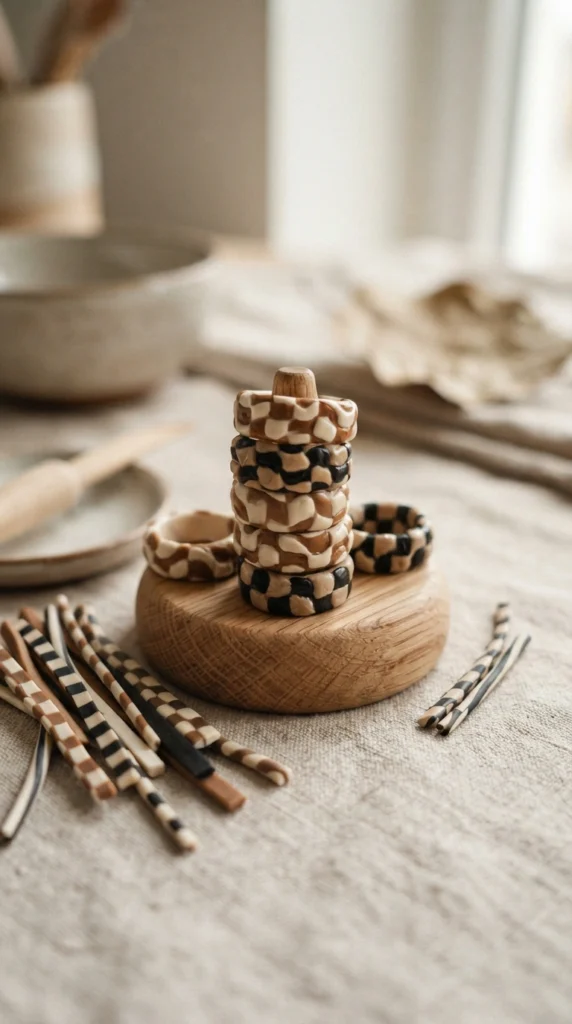
Wavy rings take the classic checker pattern in a softer direction. Roll alternating clay colors together, then shape the sheet into gentle waves before cutting narrow ring bands.
Use a ring mandrel or another smooth cylindrical tool to form the band. Keep the clay thickness consistent around the circle so the finished ring sits comfortably.
Try cream with chocolate brown for an earthy look or black with ivory for a sharper design. Test the size before baking because polymer clay rings are much easier to resize while they are still soft.
21. Pressed Flower Clay Pendant
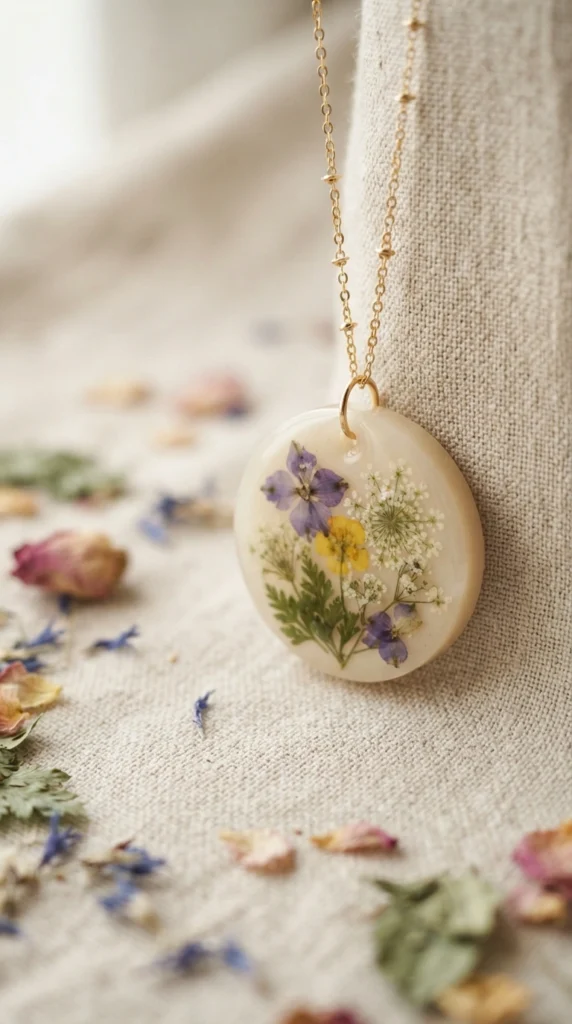
Pressed botanical details can give a clay pendant a delicate garden-inspired appearance. Flatten a light-colored clay sheet and gently position tiny dried flowers or petals on the surface.
Press them carefully into the clay so they sit securely without crushing the petals. A thin layer of suitable translucent clay can help create a soft embedded effect when baked according to the material instructions.
Choose tiny flowers that are already dry and flat. Keep the pendant simple so the botanical detail remains the main feature.
22. Color-Block Bar Earrings
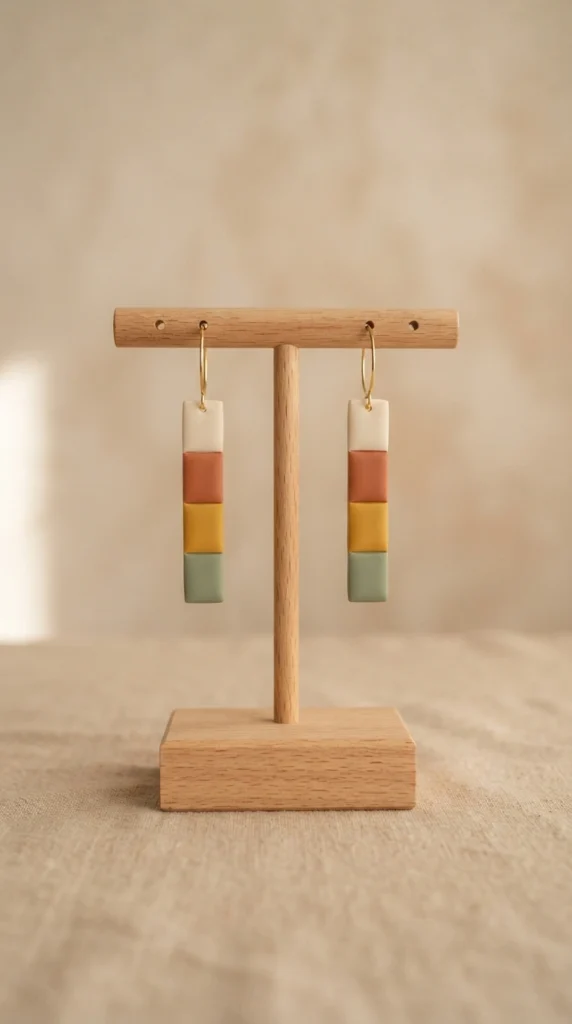
Color-block jewelry is easy to customize around the colors you already wear. Roll several thin clay sheets, stack them carefully, and cut a clean rectangular bar.
You can arrange two colors side by side or use three or four narrow sections. Smooth the outer edges before making the hanging hole.
These earrings pair nicely with neutral clothing because the colors become the main accent. Try repeating one shade from your wardrobe to create a coordinated handmade accessory.
23. Tiny Cloud and Raindrop Earrings
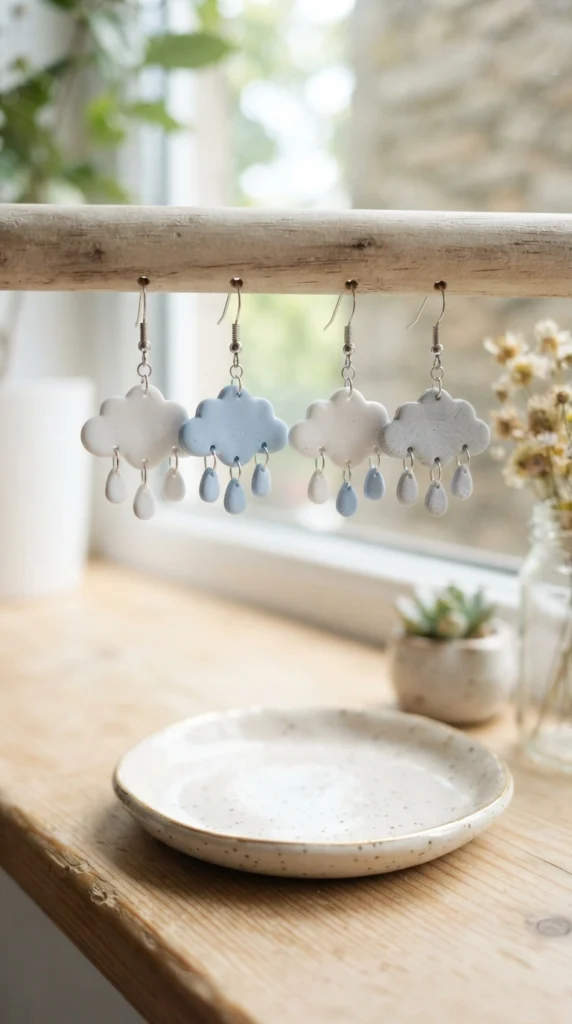
Cloud and raindrop earrings have a playful shape that is easy to sculpt. Flatten white clay and cut or shape small clouds, then form separate blue or gray raindrops.
Add small holes before baking and connect the pieces with short jewelry rings afterward. Keep the cloud slightly larger than the drops so the design remains balanced.
You can make a matching necklace by using one cloud as the pendant. Pale blue, lavender, cream, and soft gray give the set a gentle everyday appearance.
24. Clay Citrus Slice Earrings
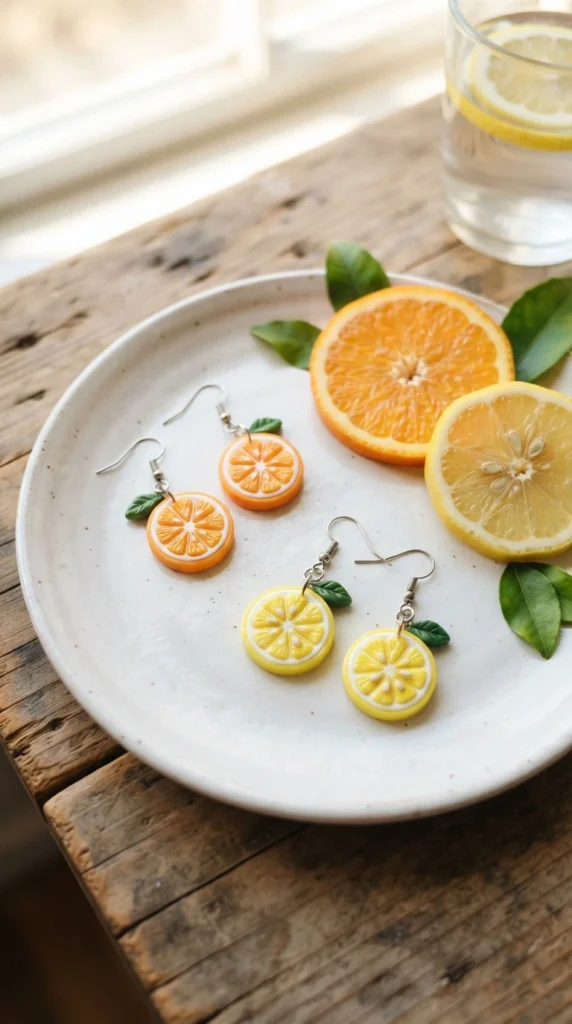
Citrus slices are made from simple round clay shapes with a few added details. Create a yellow or orange cylinder, add a lighter center, and press or cut small sections to imitate citrus segments.
Slice thin pieces from the finished cane and smooth the surfaces gently. Add tiny green leaves if you want the earrings to look like miniature fruit sprigs.
These colorful pieces are perfect for summer outfits. You can make lemons, oranges, limes, or grapefruit using the same basic technique and create a complete fruit collection.
25. Sculpted Butterfly Pendant
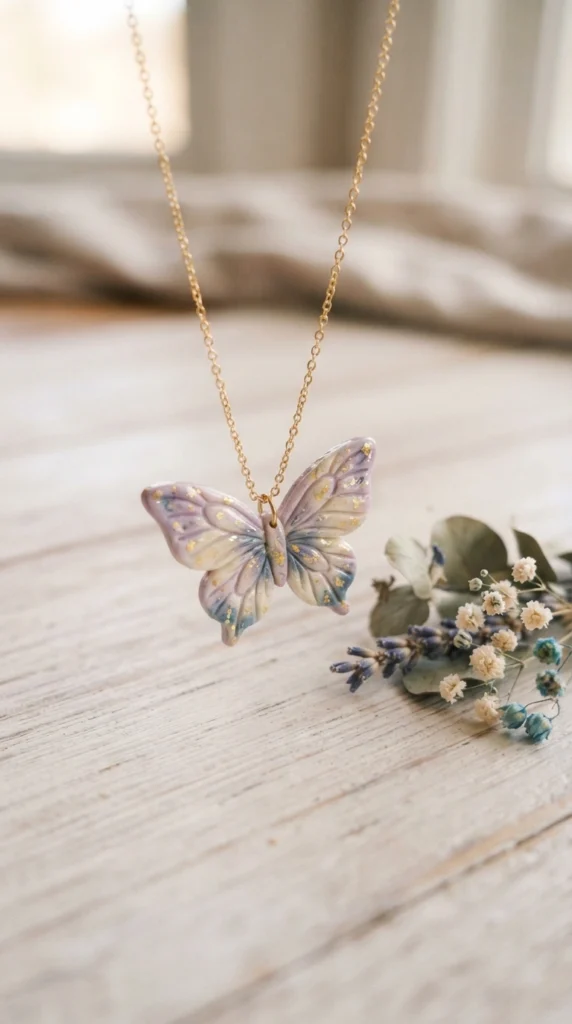
Butterfly pendants let you experiment with shape, color, and surface texture. Create a simple butterfly template or shape the wings by hand from thin clay.
Add small dots, lines, or raised details to the wings. Keep the body narrow and make a hole near the top center before baking.
A pastel butterfly works beautifully for spring jewelry, while navy, burgundy, and cream can give the same shape a richer autumn appearance. Pair it with a simple chain so the wings remain the star of the piece.
26. Polymer Clay Beaded Bracelet
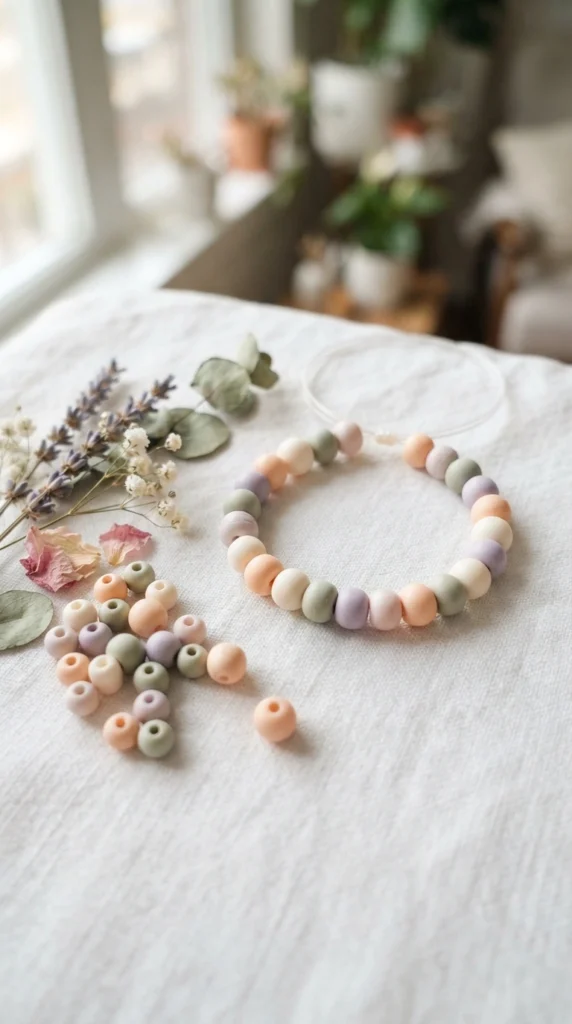
A beaded bracelet is one of the easiest ways to use polymer clay. Roll small balls in several colors and make a straight hole through each bead with a thin needle or bead tool.
Mix bead sizes to keep the bracelet from looking too uniform. You can also add tiny metal spacers between groups of clay beads for a little contrast.
String the cooled beads onto strong elastic jewelry cord and test the fit before tying the final knot. A few coordinated colors are usually enough to create a bracelet that looks cheerful without feeling too busy.
27. Gold-Fleck Clay Pendant
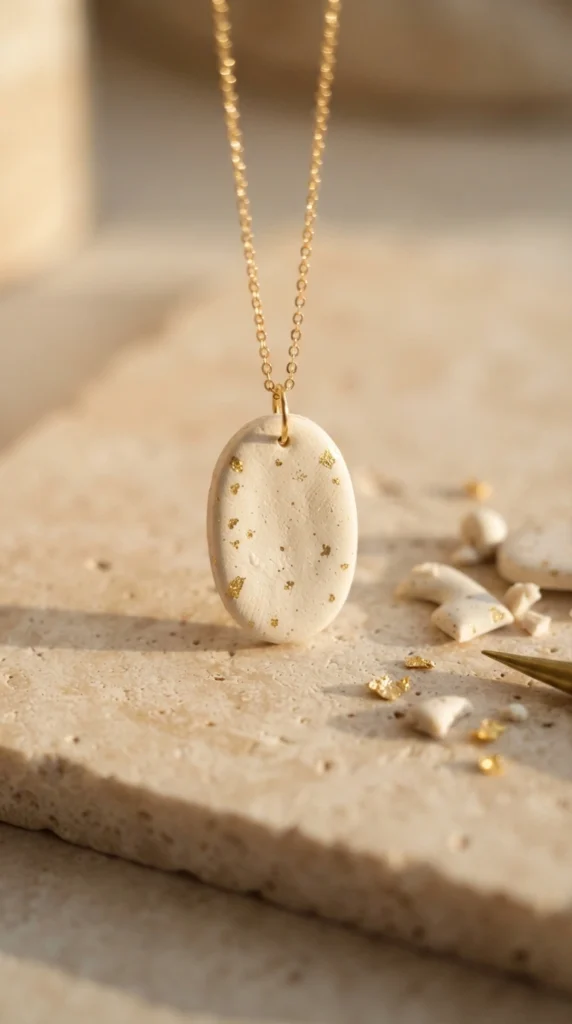
Gold-fleck pendants can look polished while keeping the construction simple. Start with cream, blush, or beige clay and add tiny pieces of suitable metallic-effect clay across the surface.
Roll gently so the flecks become part of the pendant without disappearing completely. Cut the shape into a circle, arch, oval, or organic form.
A simple chain works well with this style. Keep the rest of the design clean so the metallic details remain visible and the pendant can work with both casual and dressier outfits.
28. Mix-and-Match Jewelry Set
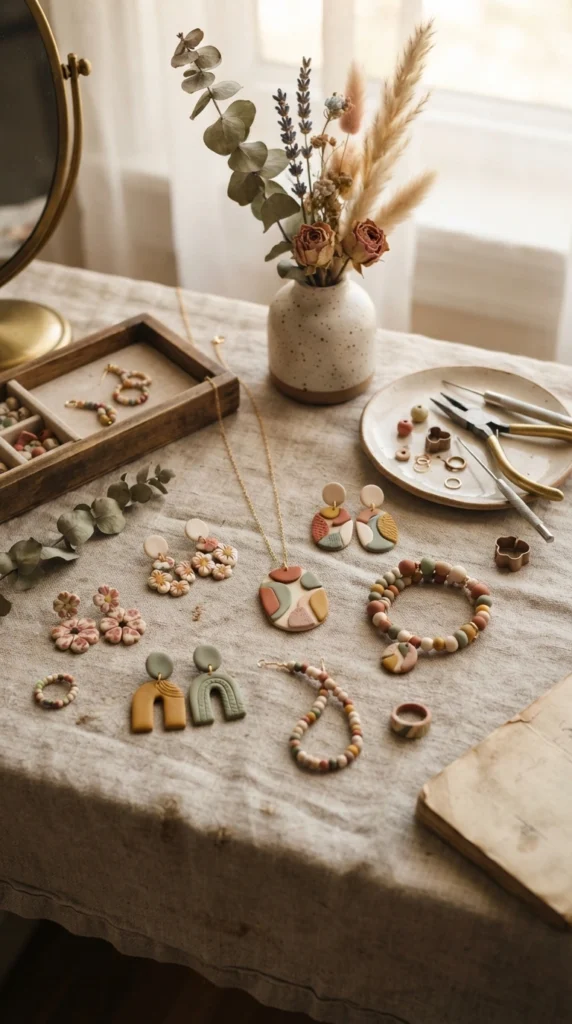
If you cannot choose just one project, create a small matching jewelry set. Pick three or four colors and repeat them across different shapes, such as flowers, beads, arches, leaves, and abstract pendants.
Start with the simplest pieces first, then use leftover clay for smaller accessories. Matching colors will make separate designs feel connected even when their shapes are completely different.
A coordinated set can include earrings, a bracelet, a necklace, and one or two rings. It is also a great way to practice several polymer clay techniques during one weekend while building jewelry you can actually wear.
Final Thoughts
These 28 polymer clay jewelry ideas give you plenty of ways to spend a creative weekend making pieces that match your style. Start with an easy project such as flower studs, simple beads, or a color-block pendant, then try a more detailed design when you feel comfortable. Pick one jewelry idea today, gather your clay and basic supplies, and make your first wearable piece before the weekend is over.

Lily Summers is a digital artist and creative storyteller who loves bringing colorful characters to life. With a passion for cartoons, fan art, and playful sketches, she inspires others to explore their imagination through art. When she’s not sketching, you’ll find her dreaming up new ideas for CraftedWizard.com to spark creativity in every artist. 🌈✨