
A crack can appear on a polymer clay project at the worst possible moment—right after baking, while adding the final details, or even days later. Before you toss your handmade piece aside, take a closer look. Many polymer clay cracks can be repaired, and with the right approach, your finished project can look smooth and polished again.

The trick is figuring out when the crack appeared and how deep it is. A tiny surface line calls for a different fix than a deep crack running through the entire piece. Here’s how to handle both.
Why Does Polymer Clay Crack?
Understanding the cause can help you repair the piece and avoid the same problem next time.
Common reasons include:
- Uneven conditioning: Dry or poorly conditioned clay can contain weak areas.
- Thin sections: Very thin clay can become fragile during handling or baking.
- Air pockets: Trapped air may expand during baking and create splits.
- Sudden temperature changes: Moving hot clay into a cold environment can contribute to stress.
- Overbaking or overheating: Excessive heat can damage the surface and weaken delicate details.
- Weak joins: Pieces attached without enough contact can separate or crack.
A crack that forms before baking is often easier to correct because the clay can simply be worked back together. A baked crack requires a different repair technique.
How to Fix a Crack Before Baking
If you notice a crack while your clay is still soft, stop working on the piece and inspect the area.
For a small crack, gently press the sides together with your fingers or a soft clay tool. Avoid squeezing too hard, since this can distort the design.
For a deeper split, add a tiny amount of the same polymer clay into the opening. Work it into the crack with a needle tool or silicone-tipped tool.

After filling the crack, smooth the surface carefully. A small amount of rubbing alcohol on a cotton swab can help clean fingerprints and tiny marks from many polymer clay surfaces.
Then bake the piece according to the clay manufacturer’s recommended temperature and time.
How to Repair Cracked Baked Polymer Clay
Already baked your project? Don’t panic.
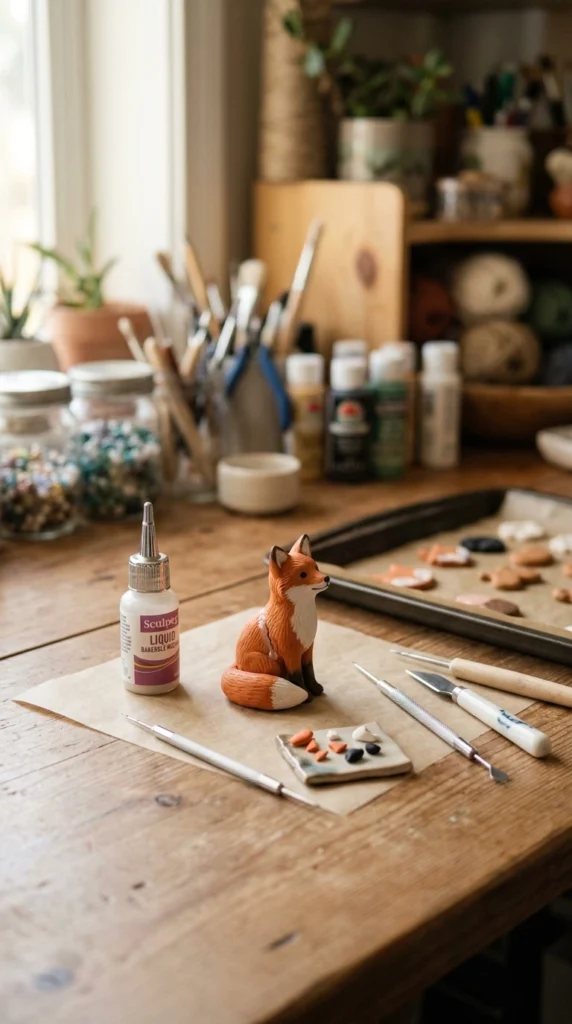
For a hairline crack, liquid polymer clay can work well as a bonding and filling material. Clean away dust from the damaged area first. Apply a small amount of liquid clay directly into the crack using a fine tool.
For a wider crack, press a tiny amount of matching polymer clay into the opening. Keep the repair slightly proud of the surrounding surface rather than leaving a dip.
Bake the repaired piece again according to the clay manufacturer’s directions. Multiple baking cycles are generally possible with polymer clay when the manufacturer’s temperature guidelines are followed.
What If the Crack Goes All the Way Through?
Deep cracks require more support.
If the piece has separated into two sections, gently clean both broken surfaces. Add a suitable polymer clay adhesive or liquid clay where appropriate, then reconnect the sections carefully.
For larger or heavier pieces, simply filling the outside crack may not be enough. A repair that reaches deeper into the damaged area can provide better support.
Once the repair material has been applied, remove excess material around the seam. Let the piece sit according to the product instructions before another baking cycle.
If the clay is extremely thin, crumbly, badly burned, or missing large sections, rebuilding part of the piece may be easier than trying to hide the damage.
How to Make the Repair Disappear
The repair itself is only half the job. The final surface treatment can make a big difference.
After the repaired area has cooled:
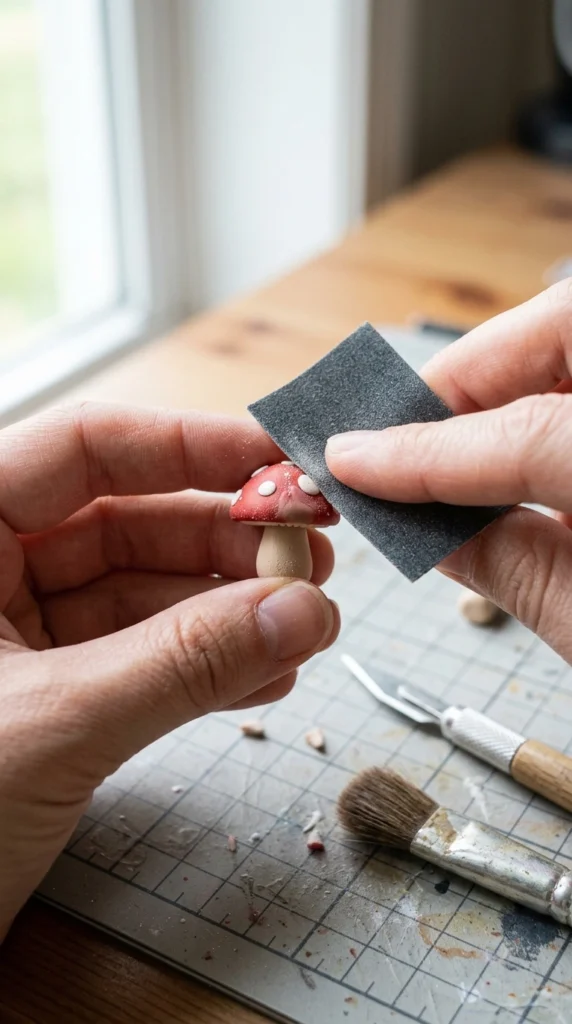
- Use fine-grit sandpaper to smooth raised areas.
- Sand gently rather than pressing hard.
- Wipe away sanding dust with a soft cloth.
- Add matching acrylic paint if the repaired spot has a slight color difference.
- Apply your preferred finish once the surface is clean and smooth.
For textured pieces, recreate the surrounding texture before the final bake whenever possible. For smooth pieces, careful sanding can make a repaired seam much harder to notice.
How to Prevent Future Cracks
A little preparation can save you from repeating the repair.
Before shaping your next project:
- Condition the clay thoroughly until it feels smooth and flexible.
- Avoid making unsupported areas extremely thin.
- Check for trapped air while layering clay.
- Press joined sections together firmly.
- Support delicate pieces while moving them to the oven.
- Follow the baking temperature and time listed by the clay manufacturer.
- Allow baked pieces to cool naturally before handling them heavily.
It also helps to inspect your project from different angles before baking. Small cracks are much easier to fix while the clay is still workable.
Final Thoughts
A cracked polymer clay project doesn’t automatically belong in the trash. Small cracks can often be filled, smoothed, baked again, and finished so the repair becomes difficult to spot. Take your time, use a light touch, and choose the repair method based on how deep the damage is.

Save this guide for your next polymer clay project, and give that cracked creation a second chance before starting over.

Lily Summers is a digital artist and creative storyteller who loves bringing colorful characters to life. With a passion for cartoons, fan art, and playful sketches, she inspires others to explore their imagination through art. When she’s not sketching, you’ll find her dreaming up new ideas for CraftedWizard.com to spark creativity in every artist. 🌈✨