
Your guests will forget the exact shade of your napkins. They will not forget the hand-painted sign that made them laugh at the entrance, or the little chalk message that told them where to find the cake. Handmade wedding signs say “this day is ours” in a way nothing store-bought can. The best part? You can make them yourself, even if you have never picked up a paintbrush.

Step 1: Decide Which Signs You Actually Need
Skip the urge to make twenty signs. Pick the ones that guide guests or tell your story.
- Welcome sign: the first thing guests see
- Seating chart or “choose a seat, not a side” sign
- Bar or signature drink menu
- Cards and gifts sign
- Directional signs for parking, ceremony, and restrooms
- Photo booth or guest book sign
Start with three to five. You can always add more once you get going.
Step 2: Gather Your Supplies
Keep it simple. Most of this is available at craft stores or in your own garage.
- Wood boards, framed mirrors, chalkboards, or thick foam board
- Acrylic paint or chalk markers
- Fine sandpaper and a clean cloth
- Pencil, ruler, and painter’s tape
- Clear sealant spray
- Stencils or a vinyl cutting machine, if you have one
Thrift stores are gold mines for old picture frames and mirrors. A coat of paint and some lettering can turn a dusty find into a showpiece.

Step 3: Prep Your Surface
A smooth base makes your lettering look professional.
- Sand the wood until it feels silky, then wipe away the dust.
- Paint a base coat in white, cream, or a soft color that suits your palette.
- Let it dry fully. Rushing this step causes smudges later.
- Add a second coat if the first looks patchy.
Mirrors and glass work best when cleaned with rubbing alcohol before you write on them.
Step 4: Plan Your Lettering Before You Paint
This is where most mistakes happen, so slow down.
- Write your wording on paper first and check the spelling twice.
- Sketch the layout lightly in pencil on the sign.
- Use a ruler to keep lines straight.
- Mix one fancy script for names with one simple font for details.
Not confident with handwriting? Print your design, rub pencil over the back of the paper, and trace it onto the board. Or use stencils for clean, even letters.
Step 5: Paint, Write, and Add Details
Now the fun part. Work slowly and use thin layers.
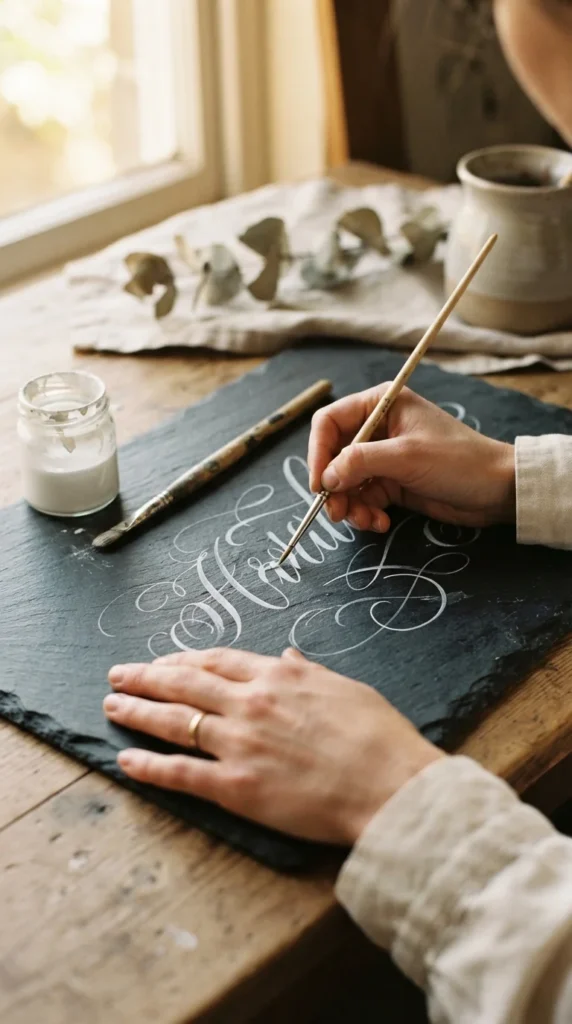
- Fill in lettering with a small, fine brush or a chalk marker.
- Let each color dry before adding the next.
- Fix mistakes with a cotton swab dipped in water or a dab of base paint.
- Add small details like leaves, florals, or a simple border.
Personal touches make the difference. Try adding your wedding date, the place you met, a favorite lyric, or a tiny drawing of your dog.
Step 6: Seal and Style
Once the paint is dry, spray on a light coat of clear sealant to protect your work from smudges and humidity. Skip this on chalkboards.
Then style your signs so they look as good as they read.
- Prop them on easels, hang them with ribbon, or lean them against hay bales or crates.
- Surround each one with flowers, candles, or greenery.
- Group a few signs together at the entrance for a bigger statement.

Quick Tips for Stress-Free Sign Making
- Start early. Give yourself at least three weeks.
- Practice first. Test your lettering on scrap wood.
- Ask for help. Turn it into a craft night with your bridal party.
- Keep the palette tight. Two or three colors look polished.
- Think reusable. Signs can decorate your home after the wedding.
Final Takeaway
Handmade wedding signs are budget-friendly, meaningful, and a joy to create. They turn simple wood and paint into memories your guests will talk about long after the last dance. Start with one sign this weekend, and you will be hooked.
Save this guide for later and share it with a friend who is planning her big day!

Lily Summers is a digital artist and creative storyteller who loves bringing colorful characters to life. With a passion for cartoons, fan art, and playful sketches, she inspires others to explore their imagination through art. When she’s not sketching, you’ll find her dreaming up new ideas for CraftedWizard.com to spark creativity in every artist. 🌈✨