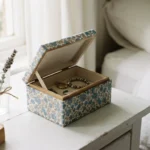
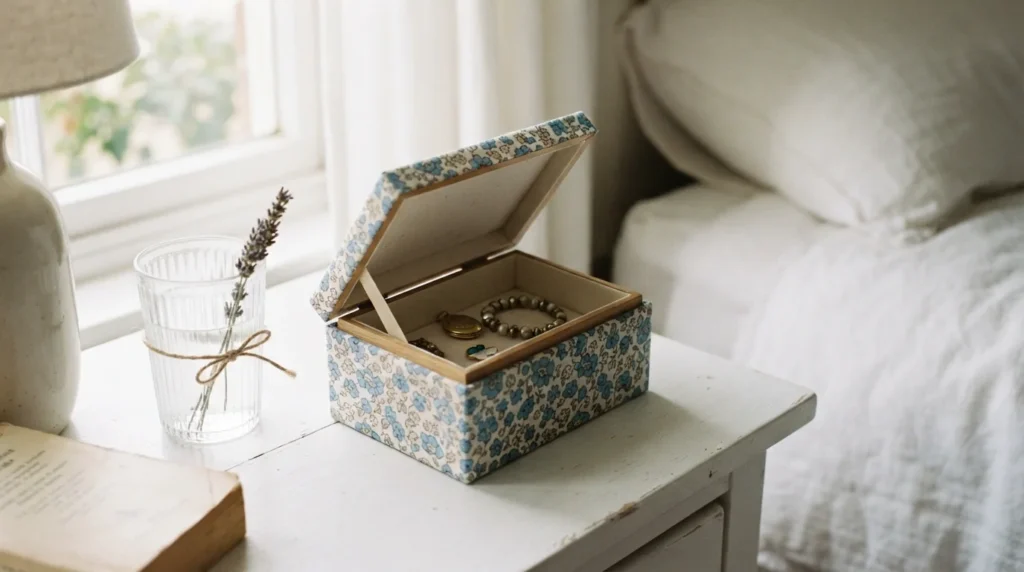
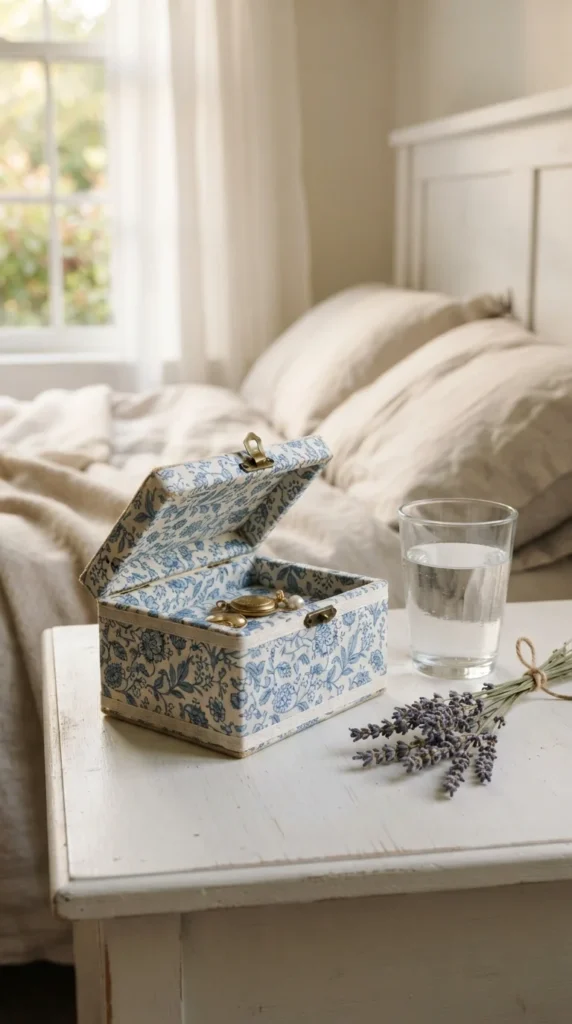
A plain wooden box can turn into the prettiest thing on your shelf with a scrap of fabric and a jar of glue. No sewing, no fancy tools, and no art degree required. If you can brush on glue and smooth out a wrinkle, you can do this.
Fabric gives you something paper can’t: soft texture, rich color, and patterns that look like they came from a boutique. Let’s make one.
What You’ll Need
Set everything out before you start. Glue waits for no one.
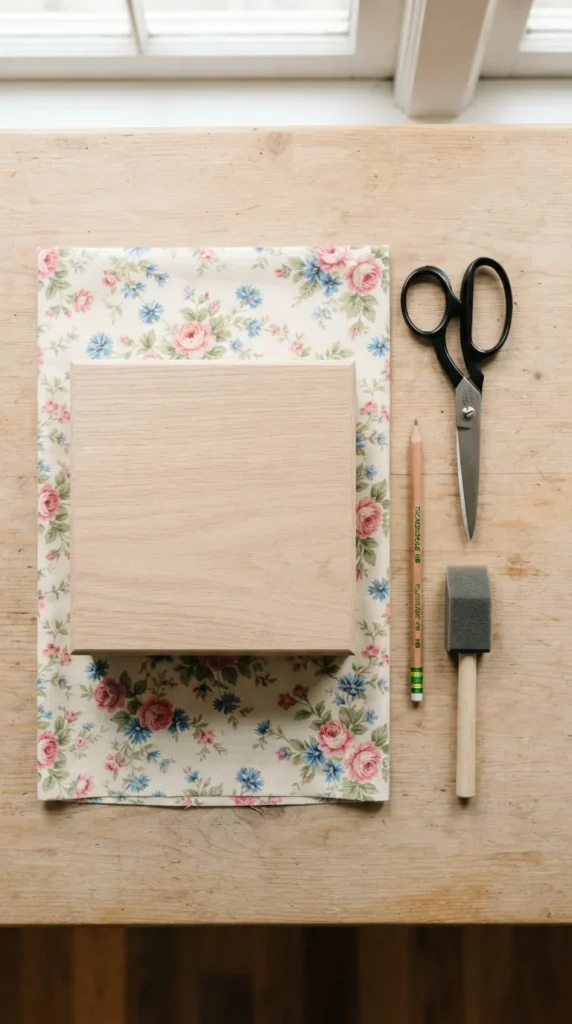
- Small unfinished wooden box with a lid
- Cotton fabric (quilting cotton is the easiest to work with)
- Decoupage medium (Mod Podge or a similar brand)
- Foam brush or flat paintbrush
- Fine sandpaper (220 grit)
- Fabric scissors and a pencil
- Craft knife or small sharp scissors
- Acrylic paint for the inside (optional)
- Water-based sealer (matte or satin)
Tip: Pick a fabric with a small or medium print. Giant patterns get lost on a small surface, and tiny prints hide any slight misalignment.
Step 1: Prep the Box
Sand the outside of the box lightly to remove rough spots and any glossy finish. Wipe away the dust with a dry cloth.
If you want a colored interior, paint it now with acrylic paint and let it dry fully. Painting first keeps drips from landing on your finished fabric later.
Press your fabric with an iron so it’s smooth and wrinkle-free. Wrinkles you leave in will show up under the glue.
Step 2: Measure and Cut Your Fabric
Cut separate pieces for each section instead of wrapping the whole box in one sheet. It’s much easier to smooth and gives cleaner corners.
- Lid top: Trace the lid on the back of the fabric and add 1/2 inch all around.
- Lid sides: Cut a long strip as tall as the lid edge, plus 1/2 inch.
- Box sides: Cut one strip for each side, or one long strip to wrap around.
- Bottom: Optional, but a nice finishing touch.
Fabric frays at the edges, so cut with sharp scissors and handle the pieces gently.
Step 3: Glue the Fabric Down
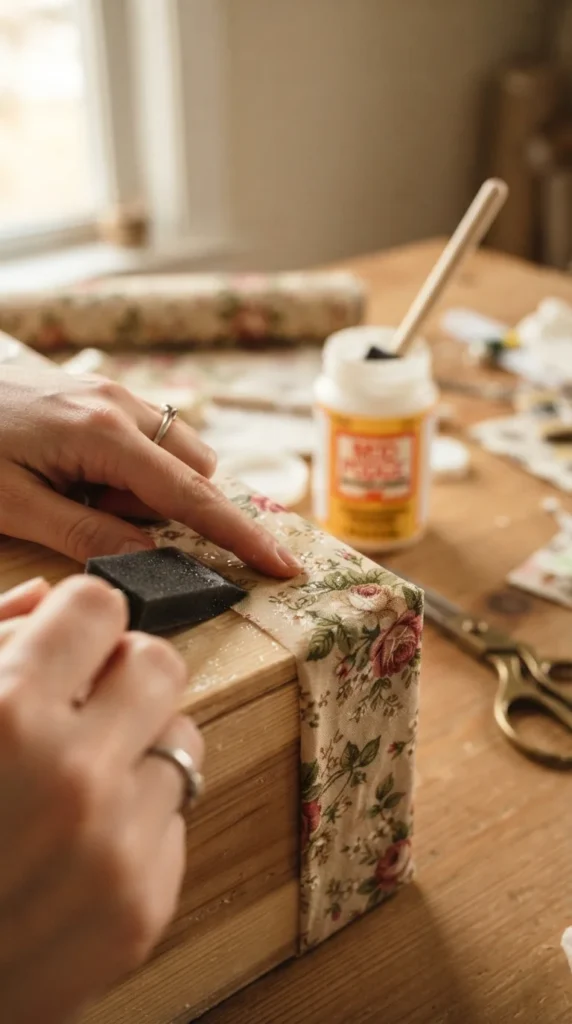
Work on one section at a time. Brush a thin, even coat of decoupage medium over the wood, all the way to the edges.
Lay the fabric on top and smooth it from the center outward with your fingers. Use a credit card or a flat spatula to push out air bubbles and wrinkles.
Here’s the order that works best:
- Start with the lid top.
- Fold the excess over the lid edge and glue it down.
- Cover the box sides, overlapping the seams slightly.
- Wrap the fabric over the top rim and tuck it inside.
Don’t overload the brush. Too much glue soaks through the fabric and leaves dark patches.
Step 4: Trim and Clean the Edges
Wait about 20 minutes until the fabric is mostly dry. Then trim the extra fabric along the lid edge and rim with a craft knife or small scissors.
Corners are the tricky part. Fold the fabric like you’re wrapping a gift, then glue the fold flat. If any threads fray, brush a dab of glue onto them and press them down.
Step 5: Seal for Protection
Once the fabric is completely dry, brush a layer of decoupage medium over the entire surface. This locks down the fibers and stops fraying.
Let that coat dry, then add two or three more coats, waiting between each one. Finish with a water-based sealer in matte or satin.
- Brush in one direction for a smooth finish.
- Let the box dry for 24 hours before using it.
- Skip glossy finishes on dark fabrics, since they can look sticky.
Fun Ways to Customize Your Box
Once you’ve mastered the basics, try one of these ideas:
- Mix two fabrics: Use a pattern on the lid and a solid color on the sides.
- Add trim: Glue a thin ribbon or lace around the lid edge.
- Use fabric scraps: Patchwork pieces make a cozy, scrapbook-style look.
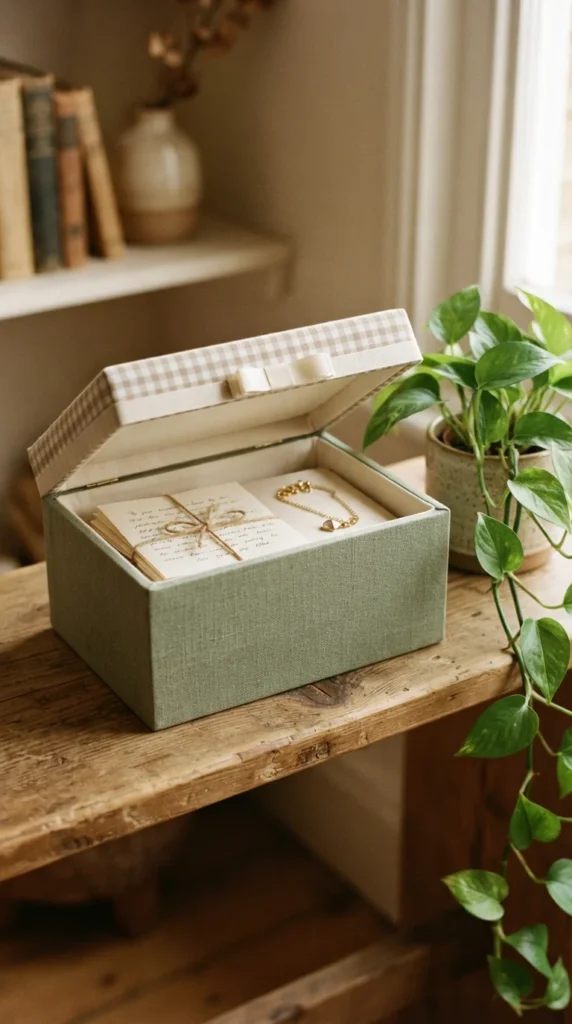
- Line the inside: Cut felt to fit and glue it in for a soft jewelry box.
- Swap the knob: Replace the lid pull with a small brass or ceramic one.
Troubleshooting Tips
- Bubbles? Smooth them toward the nearest edge with a flat tool right away.
- Fabric lifting at the corner? Add a dab of glue and hold it for 30 seconds.
- Glue showing through? Use thinner coats and a lighter hand next time.
- Sticky surface? Let it cure longer, and add another coat of sealer once dry.
Your Turn to Make One
A fabric-covered box makes a sweet gift, a handy catch-all for your dresser, or a simple way to rescue a plain thrift store find. Grab a scrap of your favorite fabric and give it a try this weekend.

Lily Summers is a digital artist and creative storyteller who loves bringing colorful characters to life. With a passion for cartoons, fan art, and playful sketches, she inspires others to explore their imagination through art. When she’s not sketching, you’ll find her dreaming up new ideas for CraftedWizard.com to spark creativity in every artist. 🌈✨