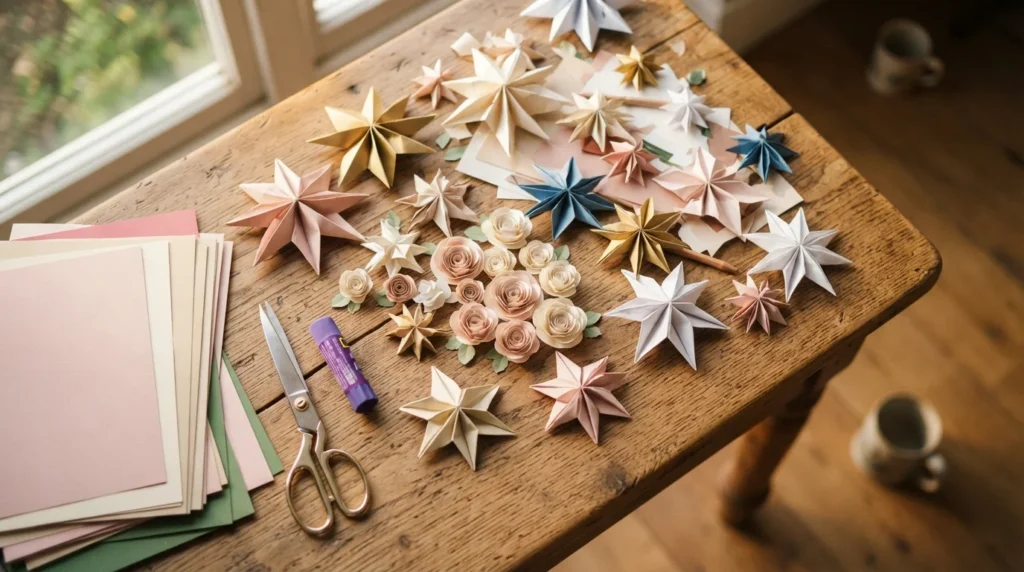
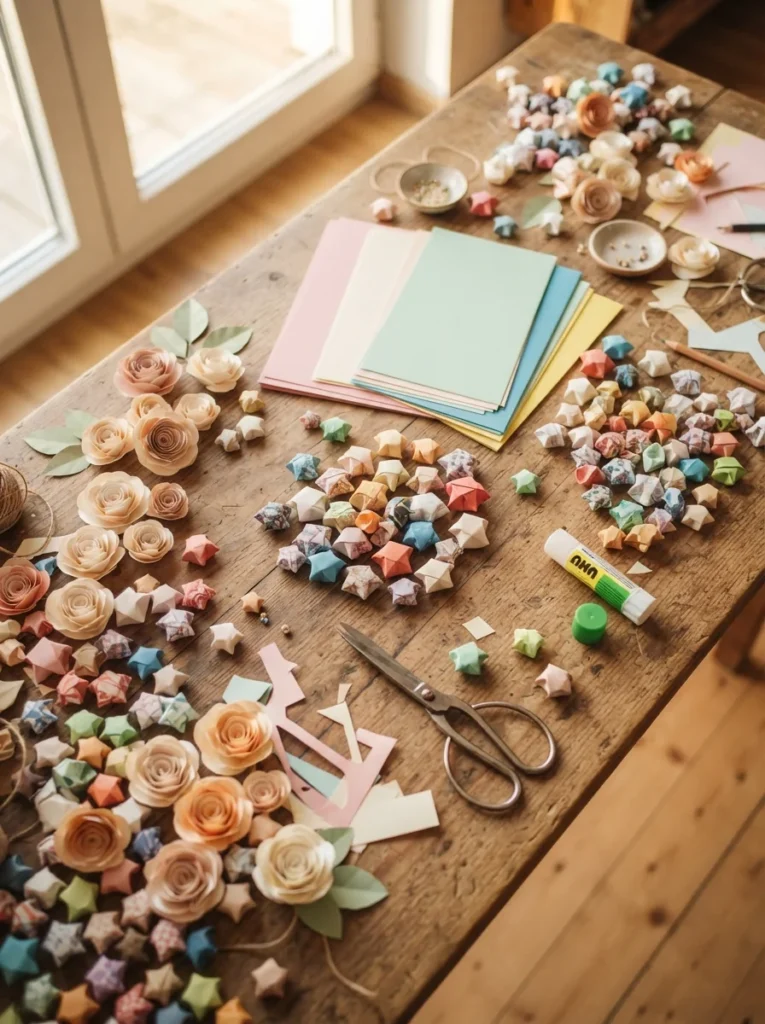
Paper is the cheapest craft supply in your house, and it can turn into almost anything. A stack of printer paper, an old magazine, a few sheets of cardstock from the dollar store — that’s genuinely all you need to start. The projects below take anywhere from five minutes to an afternoon, and none of them ask for special tools or previous experience. Grab your scissors and pick one that catches your eye.
1. Rolled Paper Roses
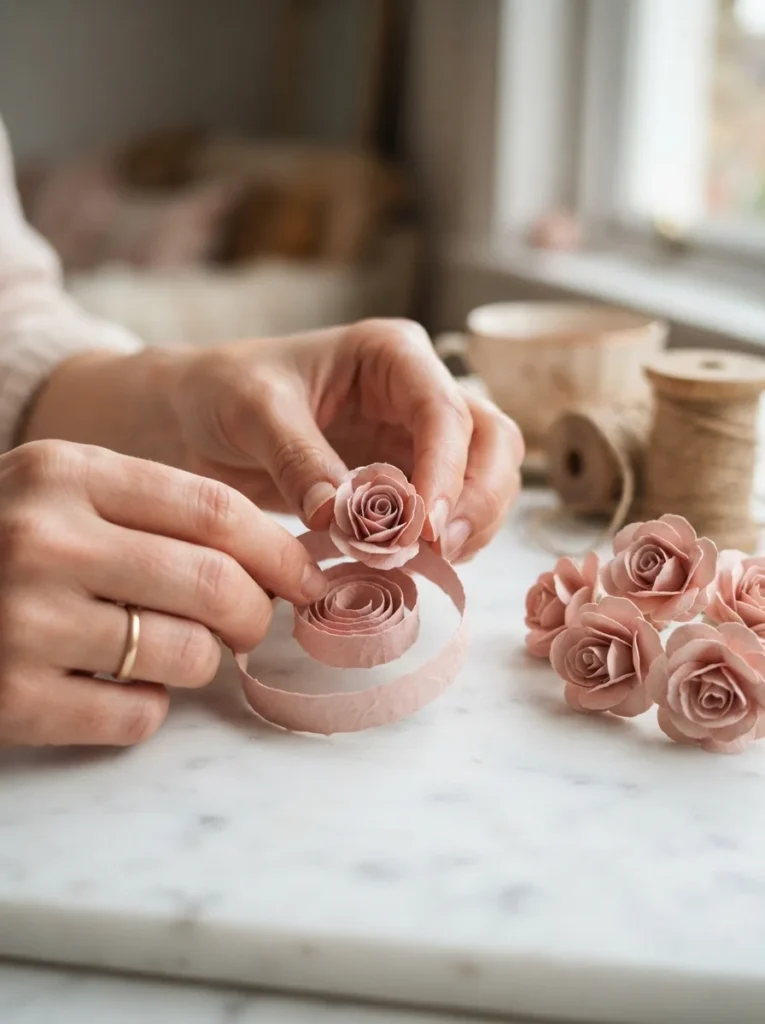
Rolled roses look far more complicated than they are. Draw a circle on cardstock, cut a spiral inward from the edge, then roll the strip from the outside in and let it relax into a bloom. A dot of hot glue on the flat base holds everything in place.
The shape of your spiral controls the shape of your flower. A wavy spiral gives you loose, garden-rose petals, while a smooth spiral makes a tight bud. Cut a few of each so your bouquet doesn’t look uniform.
Stick them to a foam wreath form for a door piece, glue them onto plain gift boxes, or line them up along a mantel. Double-sided scrapbook paper gives the best result because you see a second color peeking through the petals as they curl.
2. Origami Paper Cranes
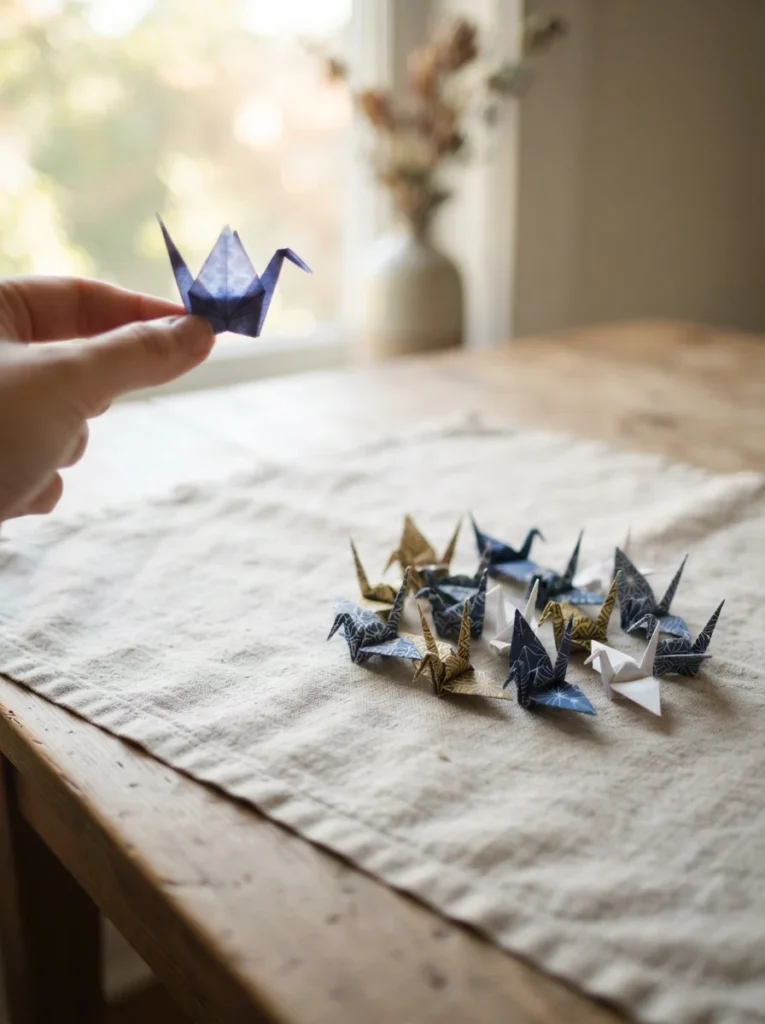
The crane is the origami project everyone recognizes, and it takes about fifteen folds once you know the sequence. Start with a perfect square — trim a sheet of printer paper if you don’t have origami paper — and work slowly through the preliminary base before shaping the neck and tail.
Your first crane will look lopsided. Your fifth will look right. The trick is pressing each crease with your thumbnail so the paper remembers where it should bend.
Thread finished cranes onto fishing line for a hanging mobile, or make a string of them for a window. Folding a dozen while watching TV is oddly calming, and a jar of small cranes makes a thoughtful gift for someone going through a hard week.
3. Paper Chain Garland
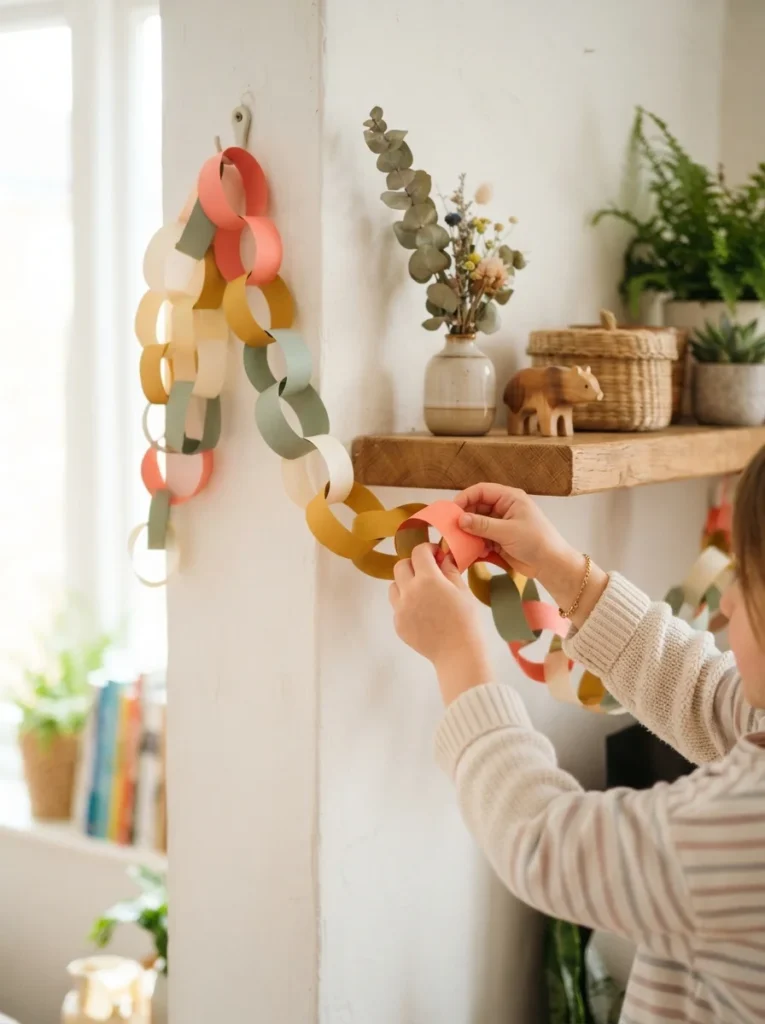
Paper chains are the first craft most of us ever made, and they still earn their place at every birthday party. Cut strips about one inch wide and eight inches long, loop one, glue the ends, then thread the next strip through before gluing it closed.
Where grown-up chains differ is the paper. Skip construction paper and use patterned scrapbook sheets, old book pages, or strips cut from magazine photos in a single color family. The result looks intentional rather than childish.
Kids can run this whole project themselves with a glue stick, which makes it a solid rainy-afternoon activity. Measure your wall or doorway first so you know roughly how many links to cut, then let everyone go.
4. Six-Pointed Paper Snowflakes

Most people fold paper in quarters and cut four-pointed snowflakes, which real snowflakes never are. Fold your square in half diagonally, then fold that triangle into thirds before the final fold, and every flake you cut will have the correct six points.
Cut small notches rather than big chunks. Thin, lacy shapes hold together better and look more delicate when you unfold them. If the paper tears, your cuts were too deep or your paper too thick.
Tape them straight to windows, string them across a bookshelf, or press them flat under a heavy book overnight and use them as gift tags. Coffee filters work beautifully here and cost almost nothing for a hundred of them.
5. Folded Paper Lanterns
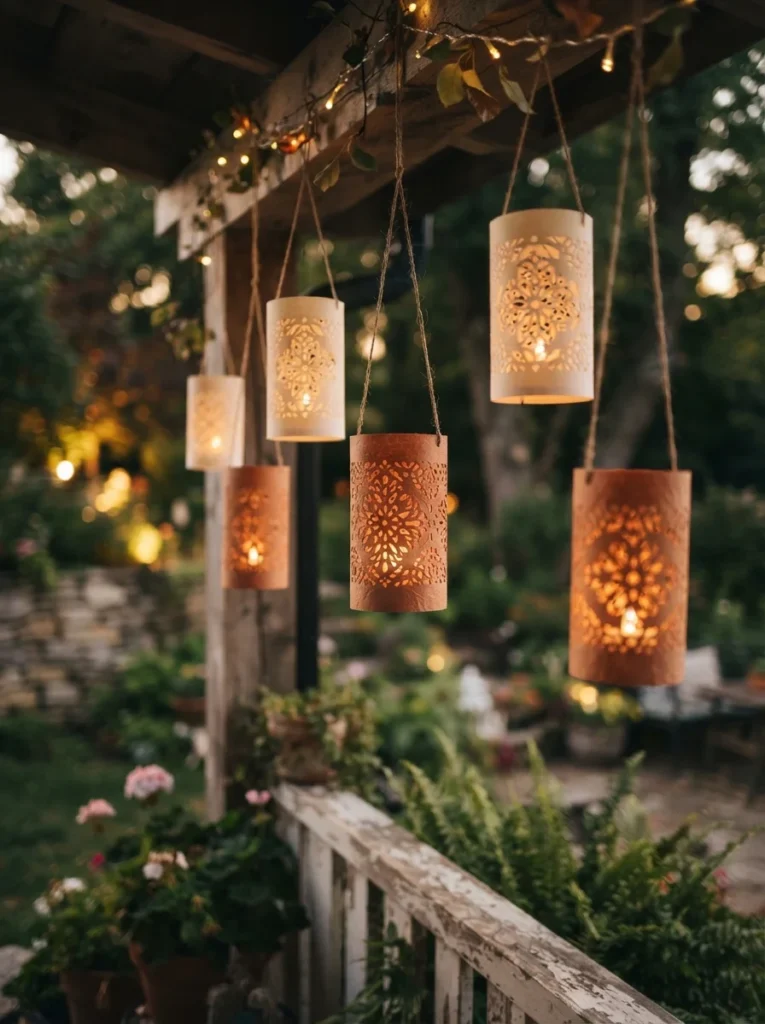
The classic lantern is a rectangle of paper folded in half lengthwise, cut into evenly spaced slits from the folded edge toward the open side, then unfolded and rolled into a cylinder. Glue the two short edges together and the cut strips bow outward.
Add a strip of paper across the top as a handle. Keep your slits about half an inch apart and stop a good inch from the open edge, or the whole thing collapses when you roll it.
Drop a battery tea light inside — never a real flame — and hang a row of them along a patio railing for summer evenings. Vellum or tracing paper glows the most beautifully, though plain cardstock in warm colors looks just as good on a porch.
6. Corner Bookmarks

Corner bookmarks slip over the top corner of a page and never fall out. Start with a square, fold it into a triangle, then fold the two side points up to the top point and tuck them into the pocket you’ve created.
That’s the base. Everything after is decoration — glue on paper ears and a snout for a fox, add googly eyes for a monster, or leave it plain in a color you like and add a hand-lettered initial.
They take about four minutes each, which makes them ideal for a classroom party or a stack of small gifts. Use cardstock rather than printer paper so the pocket keeps its shape after a few weeks of use.
7. Origami Gift Boxes
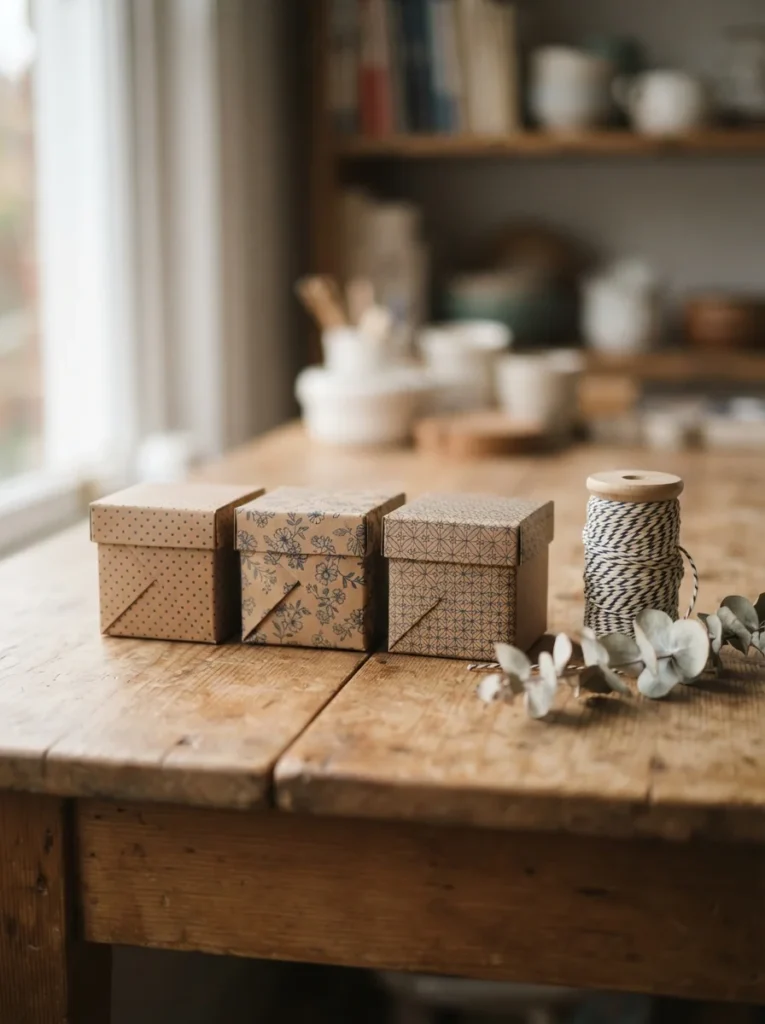
A folded box needs two squares of paper: one for the base and one slightly larger for the lid. Fold each square into sixteenths, cut four short slits, then fold the walls up and tuck the corners inward. No glue required.
The size difference matters. Cut your lid square about a quarter inch larger on each side than the base square, or the lid will jam or slide right off.
These solve the problem of wrapping small awkward gifts — earrings, a gift card, a handful of chocolates. Sturdy scrapbook paper holds a crisp edge, and a length of twine tied around the middle finishes it without any tape.
8. Paper Mache Bowls
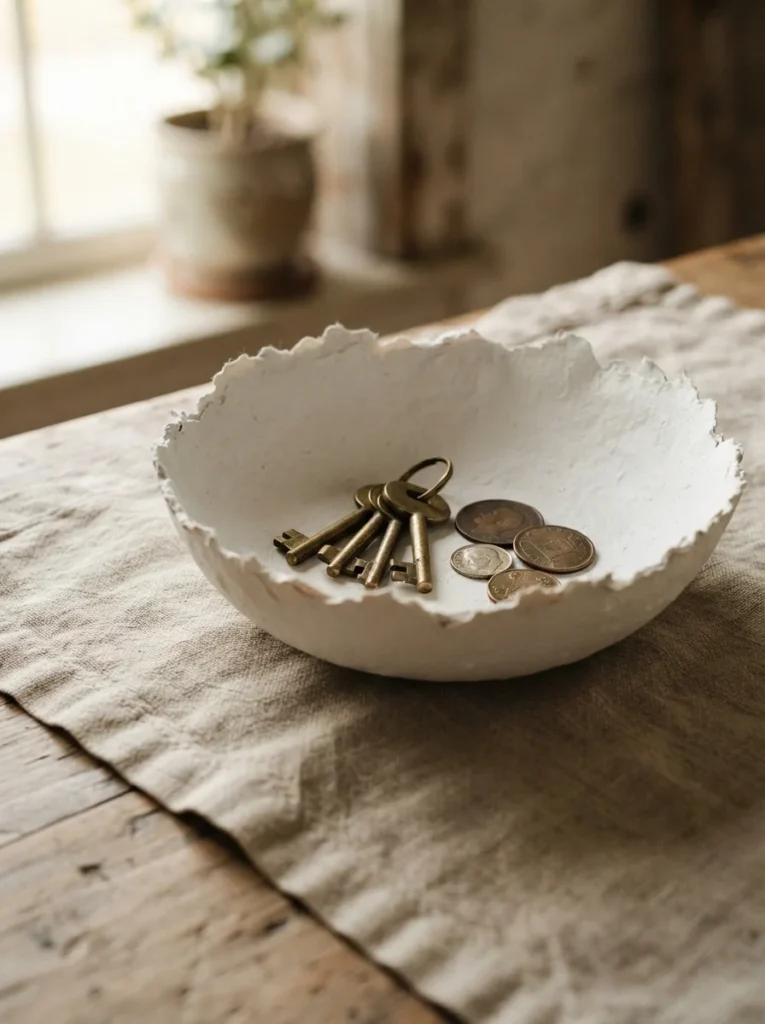
Tear newspaper into strips, dip them in a paste of one part flour to one part water, and layer them over the outside of a bowl covered in plastic wrap. Four or five layers gives you something sturdy.
Let it dry completely — usually a full day, longer in humid weather — before you pop it off the mold. Rushing this step leaves you with a soft, warped bowl that never firms up.
Once dry, trim the rim with scissors and paint it. A coat of white acrylic with a gold-leafed edge turns yesterday’s newspaper into a catchall that looks like a boutique purchase. Use it for keys and jewelry rather than food.
9. Quilled Paper Monogram
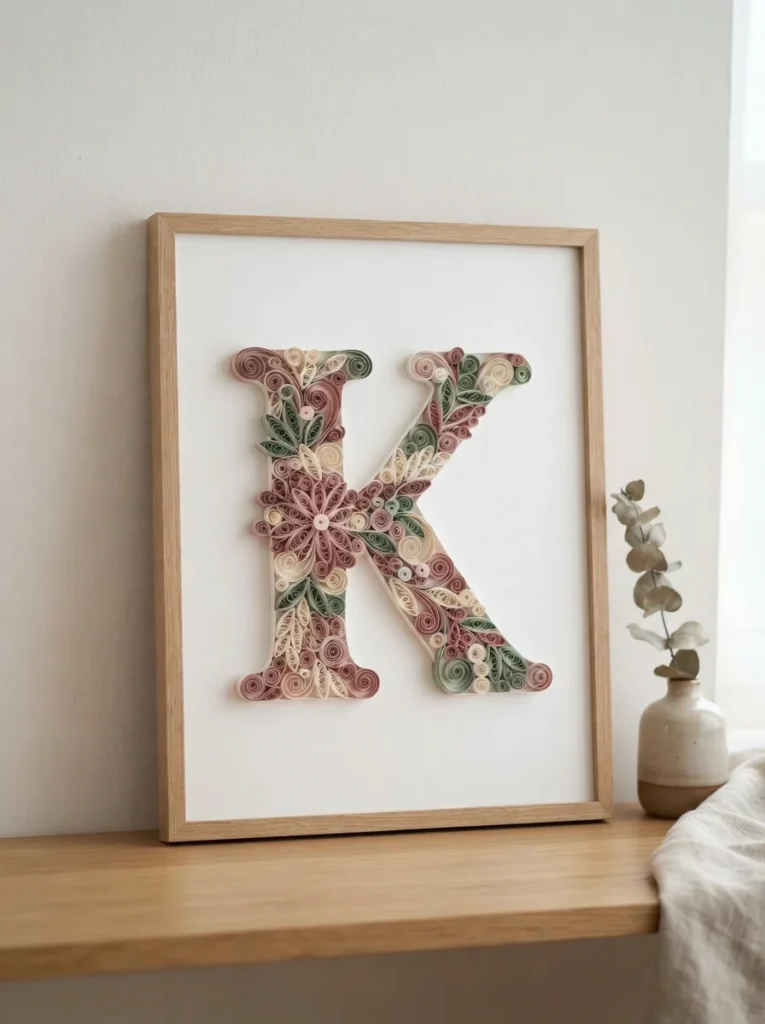
Quilling means rolling narrow paper strips into coils and arranging them into a design. Cut quarter-inch strips, wind each one tightly around a toothpick, let it loosen slightly, then glue the tail down.
Draw a large letter on cardstock and outline it with strips of paper set on their edge. Fill the inside with coils, teardrops, and loose scrolls in two or three colors until no white shows through.
A single monogram takes an evening and looks remarkable framed above a crib or on a gallery wall. You can buy pre-cut quilling strips, but a paper trimmer and a stack of cardstock offcuts does the same job for a fraction of the cost.
10. Spinning Pinwheels
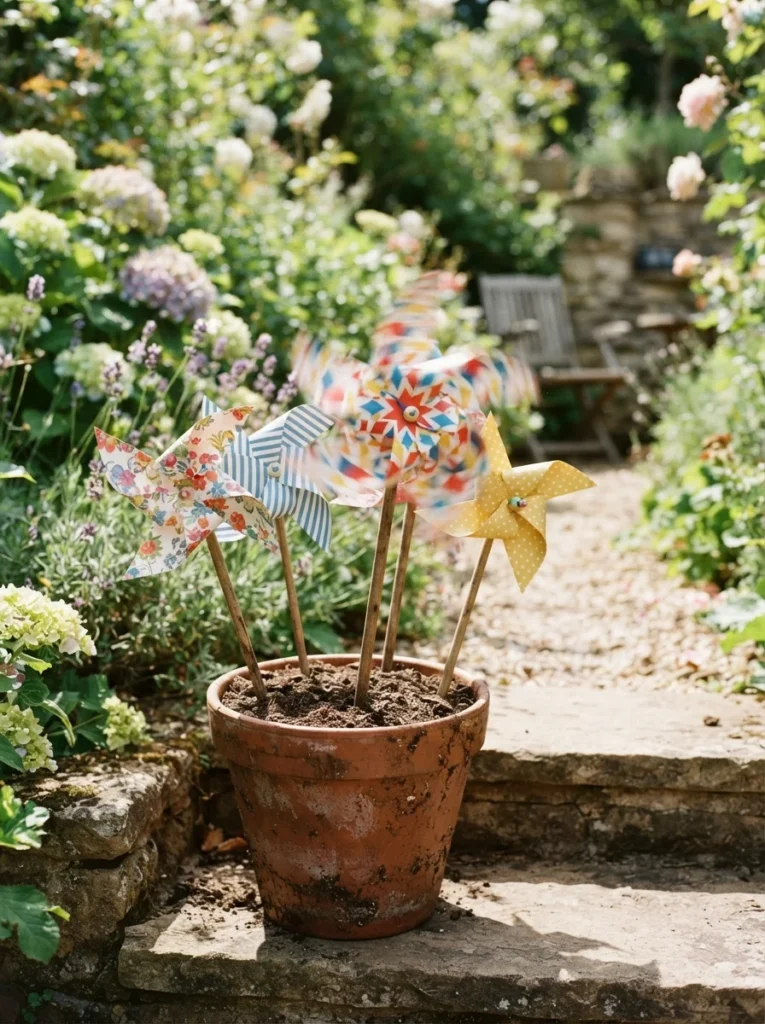
Cut a square, snip diagonally from each corner toward the center but stop short of the middle, then bring every other point into the center and pin them all through with a push pin into a wooden dowel or pencil eraser.
Add a small bead between the paper and the dowel. That tiny gap is the difference between a pinwheel that spins in a breeze and one that just sits there.
Double-sided paper makes the spin visually interesting because two colors flash as it turns. Plant a row of them in flower pots for a garden party, or hand one to every kid at an outdoor birthday and let them run.
11. Accordion Paper Fans
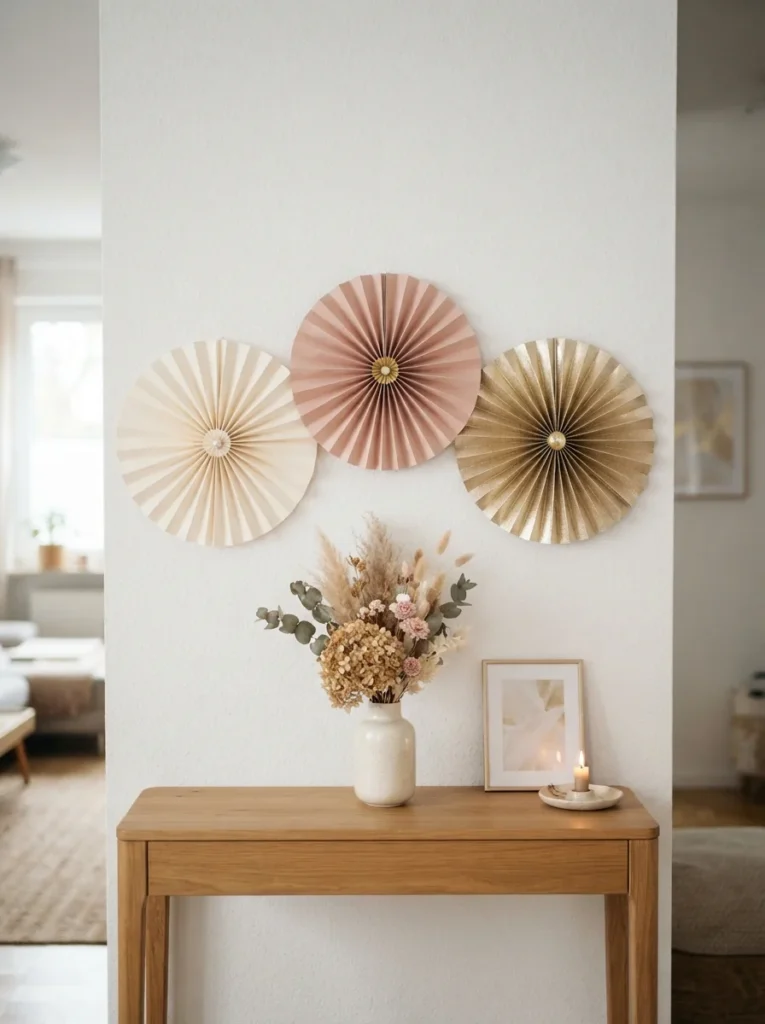
Accordion-fold a long rectangle of paper into half-inch pleats, fold it in half, and glue the two inner edges together. You get a half circle. Make a second one and glue the two halves into a full rosette.
Even pleats are what separate a crisp rosette from a floppy one. Score fold lines with a ruler and a bone folder first if your paper is heavier than standard cardstock.
Cluster three or five rosettes in different sizes on a wall behind a dessert table and the whole party photographs better. Wrapping paper works well here and comes in patterns you’d never find in a craft store’s cardstock aisle.
12. 3D Paper Butterfly Wall Cluster
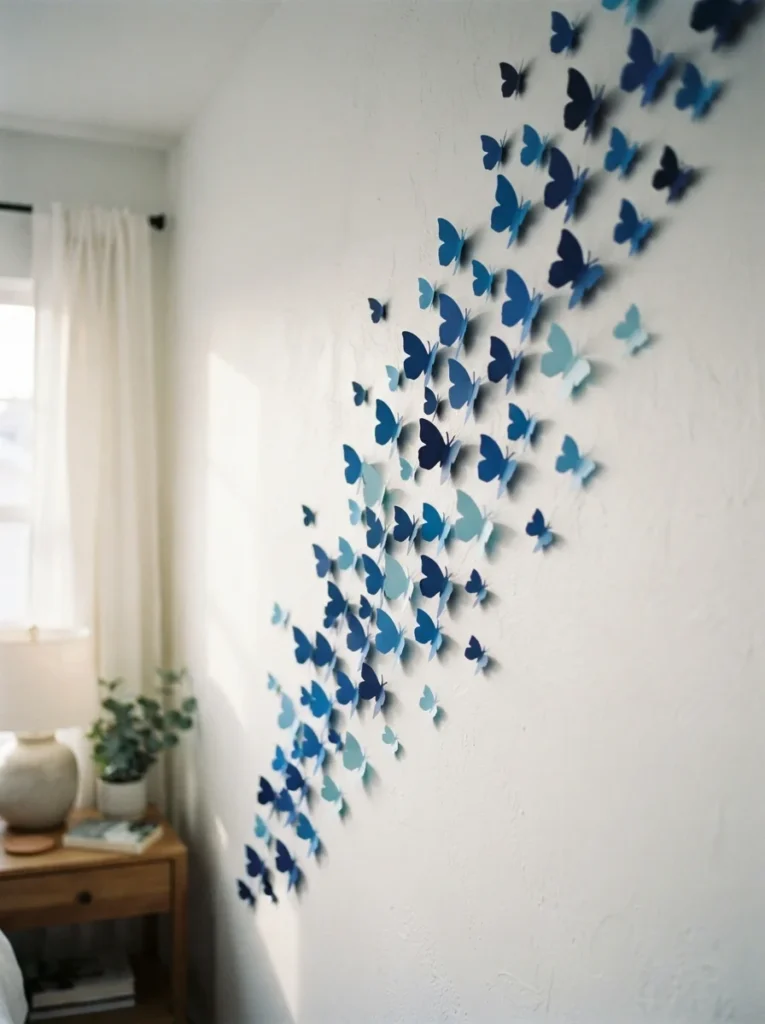
Fold paper in half, draw half a butterfly against the fold, and cut. Open it up and bend the wings slightly upward so they lift away from the wall when mounted.
Cut them in three or four sizes and in a graduated color range — pale blue through deep navy, say — then arrange them in a loose swarm that gets denser toward the bottom. Random spacing looks better than a grid.
Attach each one with a small rolled loop of tape behind the body only, leaving the wings free to cast shadows. It’s a bedroom wall transformation for the price of a pack of cardstock, and it peels off cleanly when you want to change it.
13. Rolled Paper Beads

Cut long triangles from magazine pages, roll each one tightly around a toothpick starting at the wide end, and glue the narrow tip down. The colors of the printed page swirl into stripes as they wrap.
Seal the finished beads with a coat of clear nail polish or matte varnish. Without a sealant they soften over time and start to unravel at the tip.
Alternating the triangle length gives you beads of different shapes for one necklace — long thin triangles make round beads, short wide ones make tube shapes. String them with a few wooden beads between and you have jewelry made entirely from a magazine that was headed for recycling.
14. Paper Plate Animal Masks
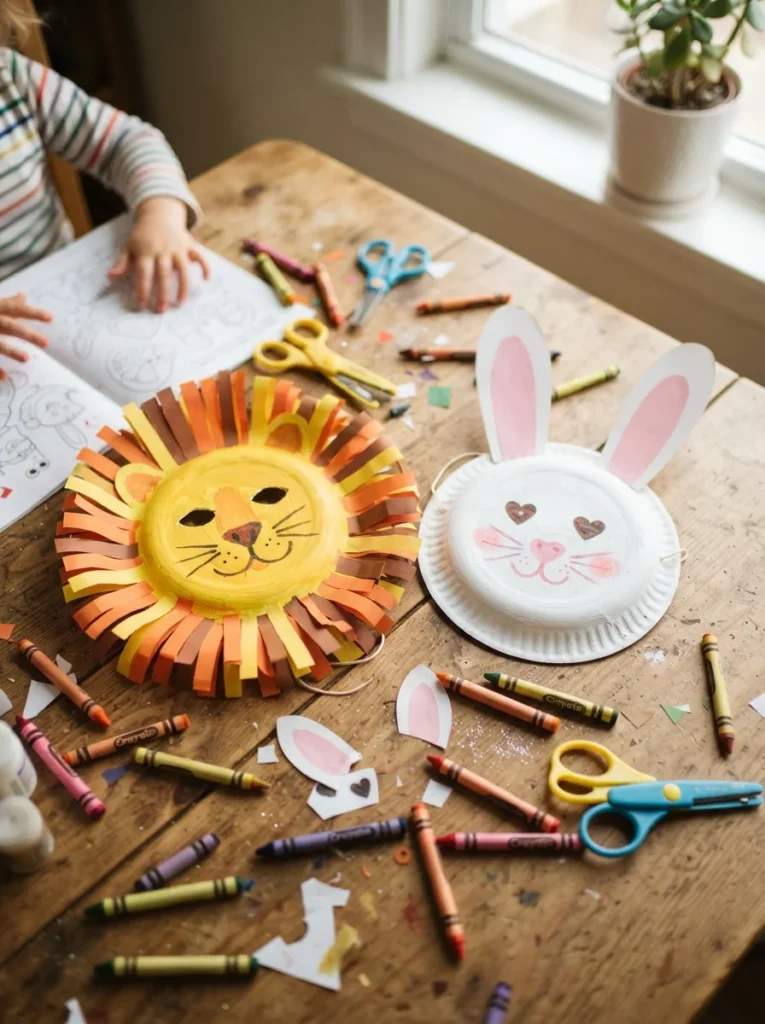
Cut two eye holes in a paper plate and the rest is imagination. A ring of snipped paper strips glued around the rim becomes a lion’s mane, two tall ovals become rabbit ears, and a small folded triangle becomes any animal’s nose.
Tape a craft stick to the bottom edge instead of using elastic. Kids hold the mask up rather than wearing it, which avoids the tangled-hair fight entirely.
This is the project to reach for when you have a group of children and thirty minutes to fill. Keep a stack of plain plates in the craft cupboard — they cost pennies each and they’re stiffer than any paper you’ll buy by the sheet.
15. Pop-Up Greeting Cards
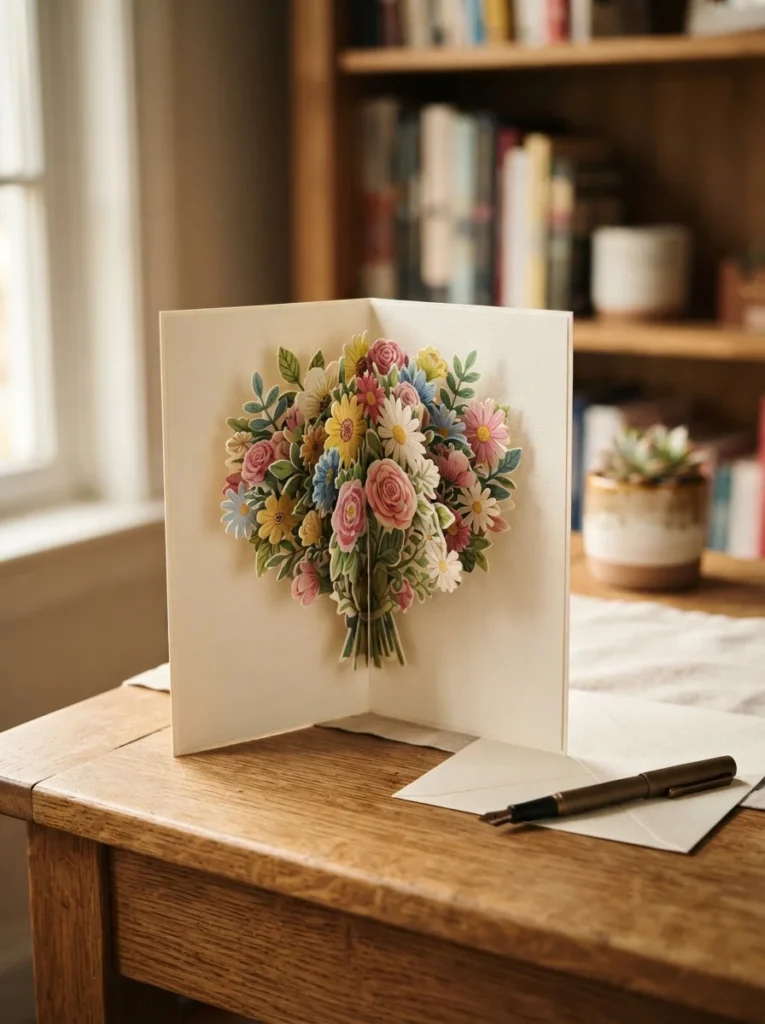
The simplest pop-up is two parallel cuts into the folded edge of a card, pushed inward to form a step. Glue a cut-paper shape onto the face of that step and it springs upright when the card opens.
Test the mechanism before you decorate. Close the card fully and check that nothing pokes past the edge, because a pop-up taller than the card gets crushed in the envelope.
Layer two or three steps of different depths and you can build a bouquet, a birthday cake, or a small skyline. A handmade card costs about twenty cents and gets kept in a drawer for years, which is more than most store-bought ones manage.
16. Hanging Paper Star Mobile
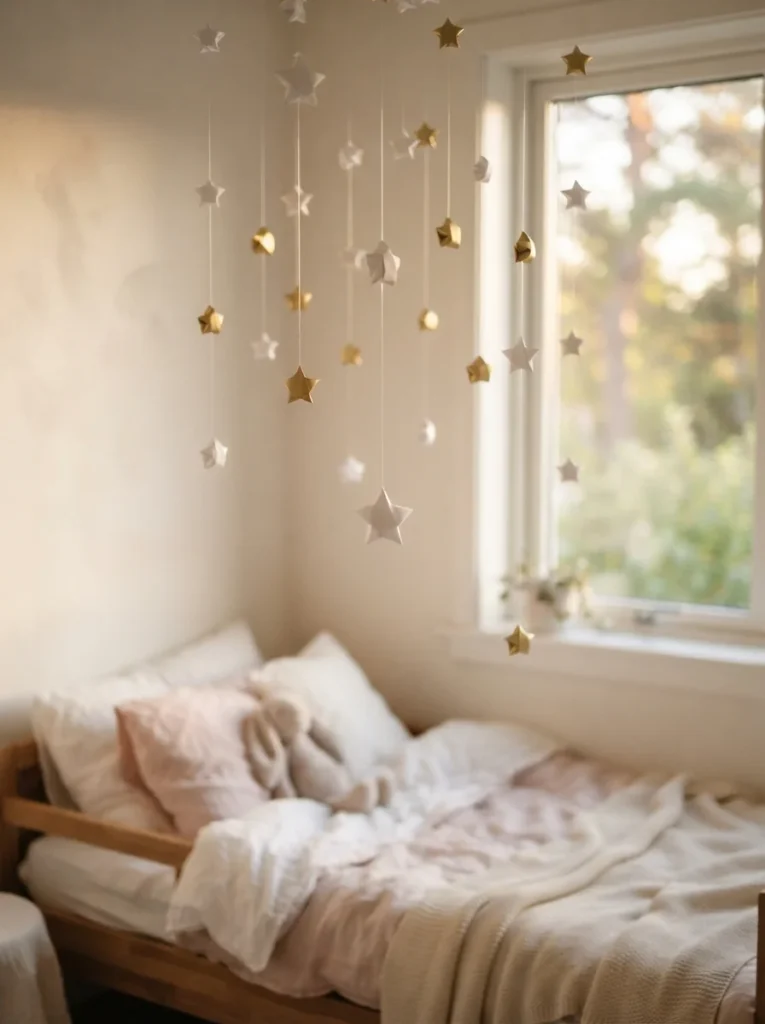
A mobile is just a hoop and some string. Use an embroidery hoop or a bent wire hanger as the frame, then hang cut or folded shapes from it on clear thread at staggered heights.
Balance is the whole game. Hang your heaviest pieces closest to the center and distribute the rest evenly around the ring, adjusting until the hoop sits level when you lift it.
Paper stars, moons, and clouds suit a nursery, while geometric shapes in one color work over a desk. Keep the whole thing well out of reach of small hands and hang it where a draft from a window can move it gently.
17. Woven Paper Placemats
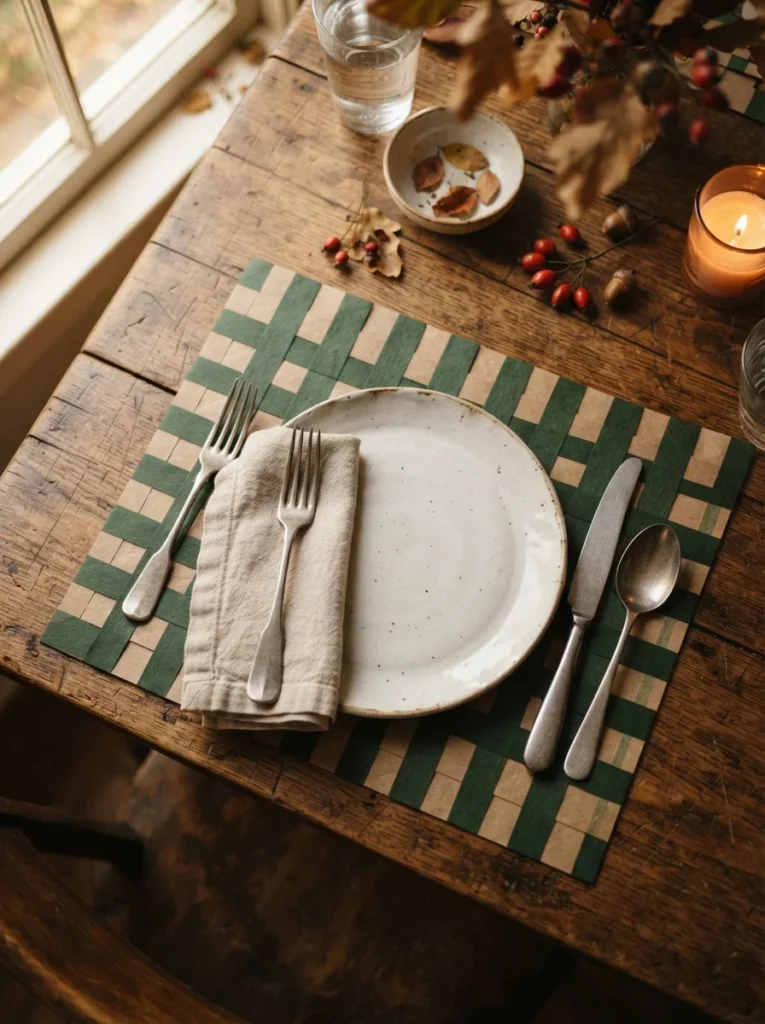
Take a large sheet of cardstock, fold it in half, and cut evenly spaced slits from the fold toward the open edge without cutting all the way through. Open it flat and weave contrasting strips over and under across the slits.
Push each new strip snug against the previous one and alternate where you start — over, then under — so the checkerboard pattern reads clearly. Glue the strip ends down at the edges.
Run the finished mat through a laminator or cover it with clear contact paper and it survives a real dinner. Kids can weave their own for a holiday table, and two shades of kraft paper look surprisingly refined for a project made from a single sheet.
18. 3D Paper Stars

Cut two identical star shapes, score a line from each point to the center of both, then fold along those lines so each star becomes dimensional. Glue the two halves back to back and you have a star with depth on both sides.
Score before you fold. Running a dull knife or a bone folder along a ruled line gives you a sharp, straight crease that free-hand folding never matches on heavy cardstock.
Make them in three sizes and string them on twine for a mantel garland, or hang single large ones in a window. Metallic cardstock catches candlelight and costs a few dollars for a pack that yields dozens of stars.
19. Paper Bag Puppets
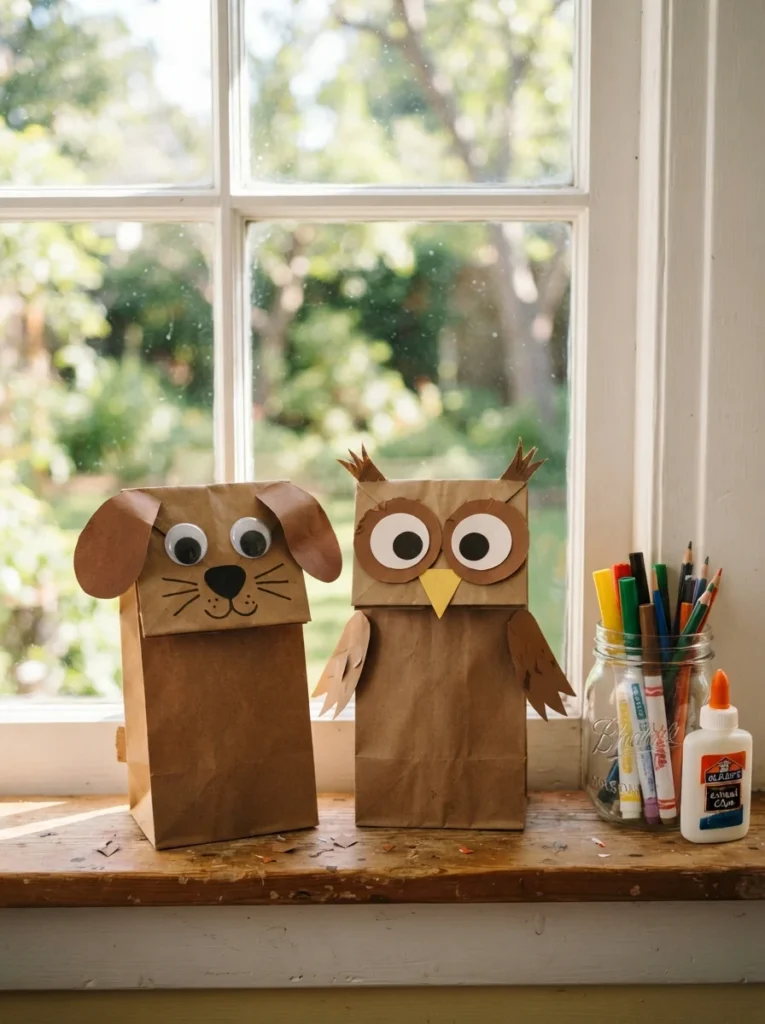
The flat folded bottom of a paper lunch bag is a mouth waiting to happen. Glue the top half of a face onto that flap and the lower half onto the bag body underneath, so the mouth opens when your hand moves.
Add features with cut paper rather than drawing them. Layered shapes give the puppet a bit of dimension and they photograph better when your kids inevitably want to put on a show.
A pack of a hundred lunch bags costs about the same as a single craft kit, which makes this a good project for a birthday party or a classroom. Let each child invent a character rather than following a template — the results are always more interesting.
20. Cut Paper Silhouette Portraits
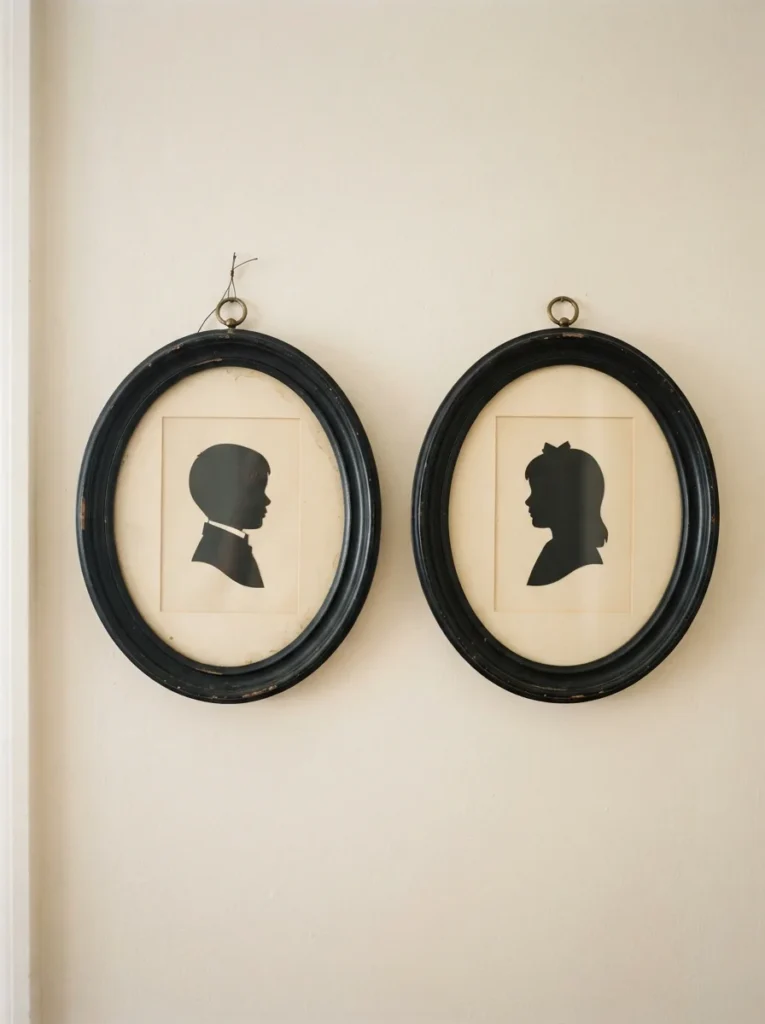
Photograph someone in profile against a plain wall, print the photo, and cut around the outline. Trace that shape onto black cardstock, cut it out, and mount it on cream paper.
Cut slightly outside the traced line rather than on it. Silhouettes read better with a fraction of extra space around the hair and chin, and it hides any wobble in your scissors.
Frame one for each child and hang them in a row up a staircase. It’s the kind of project that looks like a commissioned heirloom, and the whole thing costs a frame plus two sheets of paper. Redo them every couple of years and the changing profiles become a record of how fast everyone grew.
21. Magazine Collage Art
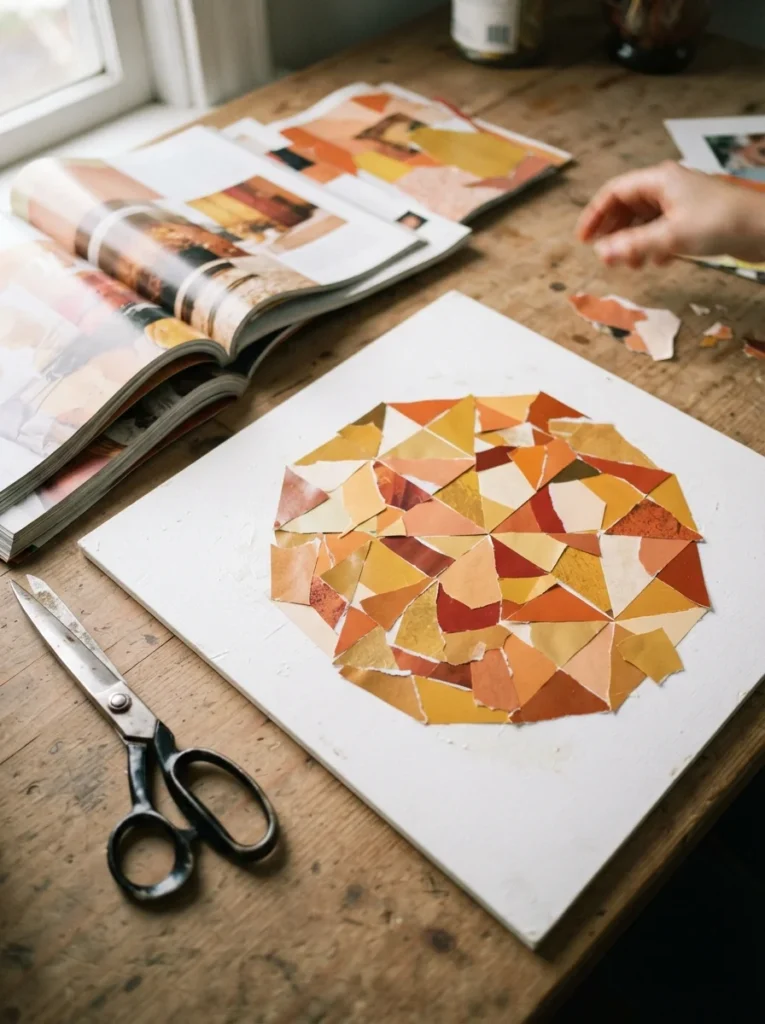
Collage stops looking like a school project the moment you limit your palette. Flip through old magazines and tear out anything in one color family — all the rusts and terracottas, say — ignoring what the images actually show.
Tear rather than cut for a soft edge, then arrange the pieces into a simple shape: a mountain range, a circle, a single large leaf. Glue them down with a matte medium, overlapping as you go.
Mount the finished piece on white board and frame it with a wide mat. From a few feet away nobody reads the individual scraps — they see a piece of abstract art you made from magazines that were already in the recycling bin.
22. Marbled Paper with Shaving Cream
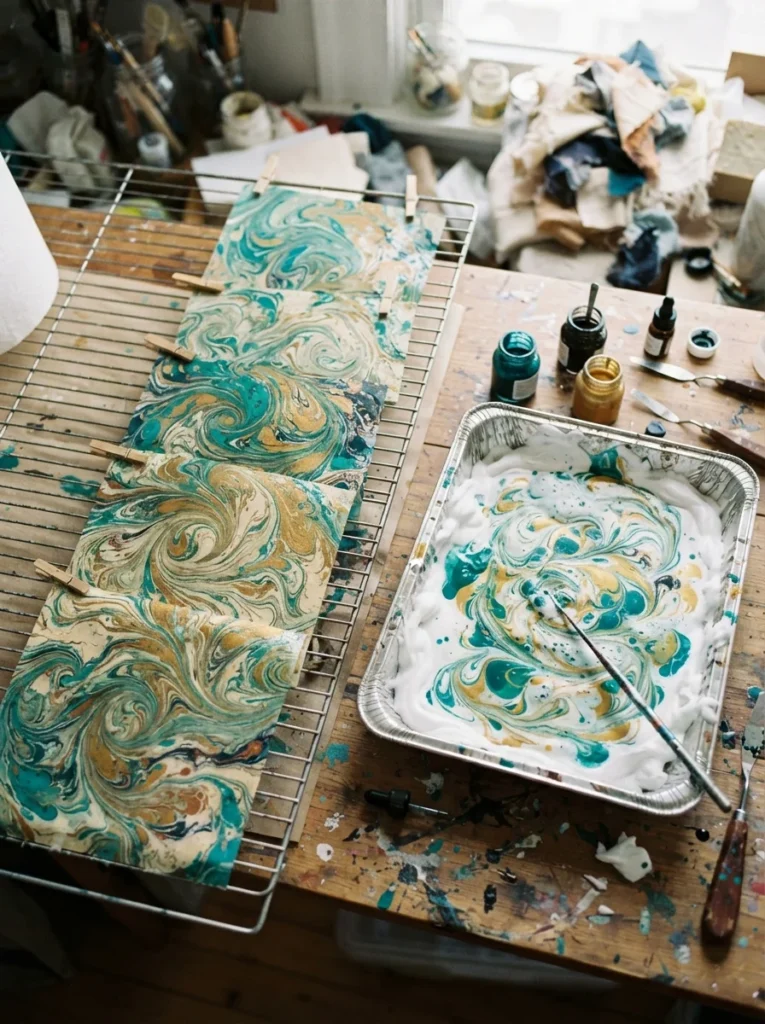
Spread a flat layer of shaving foam in a baking tray, drop liquid watercolor or food coloring across the surface, and swirl it once with a skewer. Press a sheet of cardstock face down onto the foam, lift, and scrape the foam off with a ruler.
Swirl once, not five times. Over-mixing turns your colors muddy grey, and the pattern you see in the foam is exactly the pattern you’ll get on the paper.
Let the sheets dry flat overnight. Marbled paper becomes the raw material for half the other projects on this list — gift boxes, bookmarks, rolled beads — and it makes gift wrap that nobody else at the party will have.
23. Paper Photo Frames
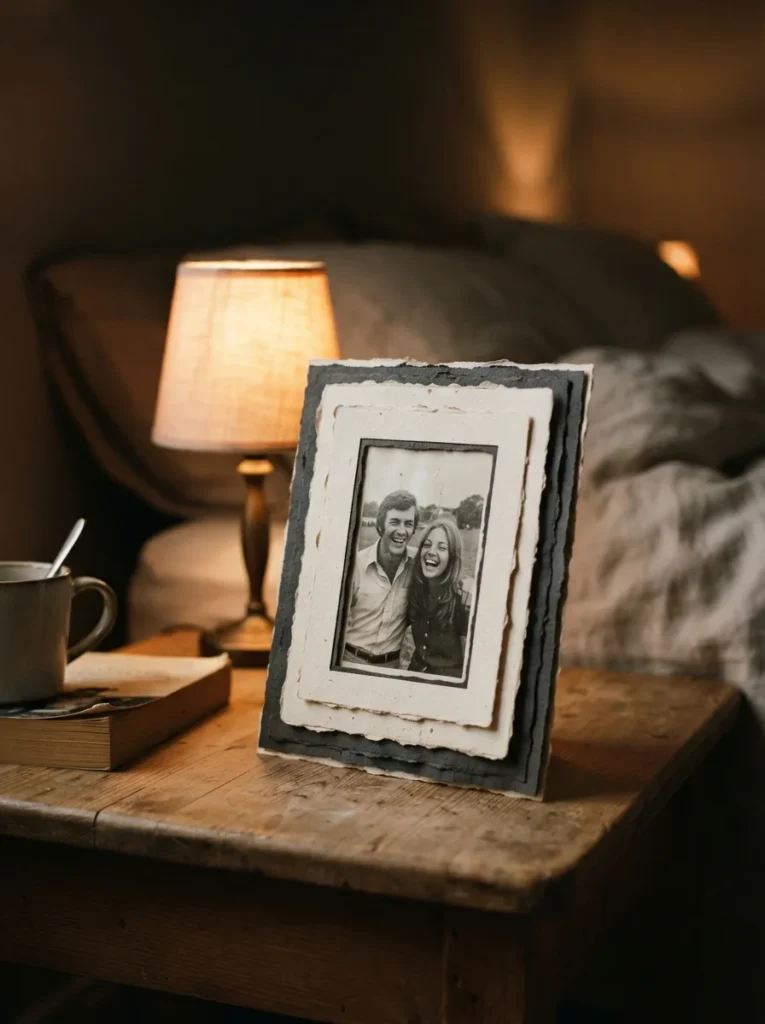
Cut two rectangles of heavy cardstock the same size. Cut a window out of the center of one, glue the two together along three edges only, and slide a photo in through the open fourth side.
For the stand, cut a right triangle, fold a half-inch tab along one edge, and glue that tab to the back. Angle matters — a stand that’s too upright makes the frame tip forward.
Layer two windows in contrasting colors for a matted look, or cover the front panel in your marbled paper. A wall of these holding instant photos costs a few dollars total and suits a dorm room or a rented apartment where you can’t hang anything heavy.
24. Book Page Paper Wreath
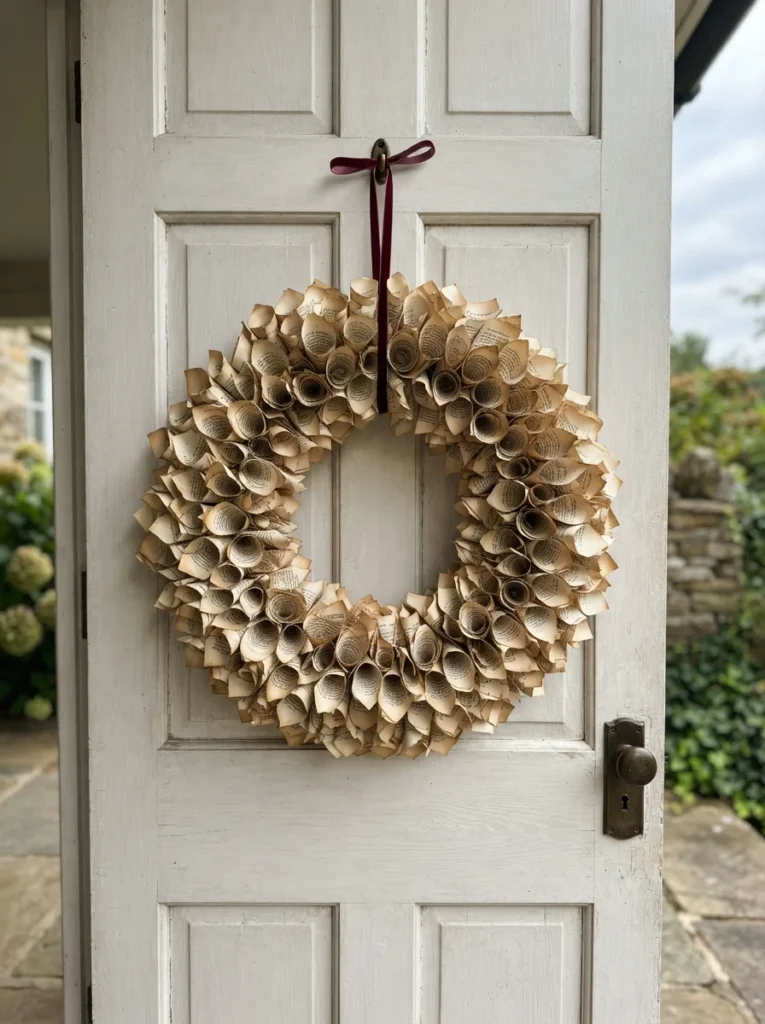
Roll pages from a damaged paperback into loose cones, secure each with a dab of glue, and attach them point-first to a cardboard ring cut from a moving box. Work in overlapping rings from the outside inward.
Vary the cone sizes. A wreath made from identical cones looks mechanical, while a mix of tight and loose rolls gives it the texture of a real dried flower wreath.
Tea-stain the pages first if your book is too white — a quick dip and an hour of drying gives everything a warm aged tone. Tie a ribbon at the top and hang it on an interior door or a covered porch, out of the rain.
25. Triangle Bunting Banner
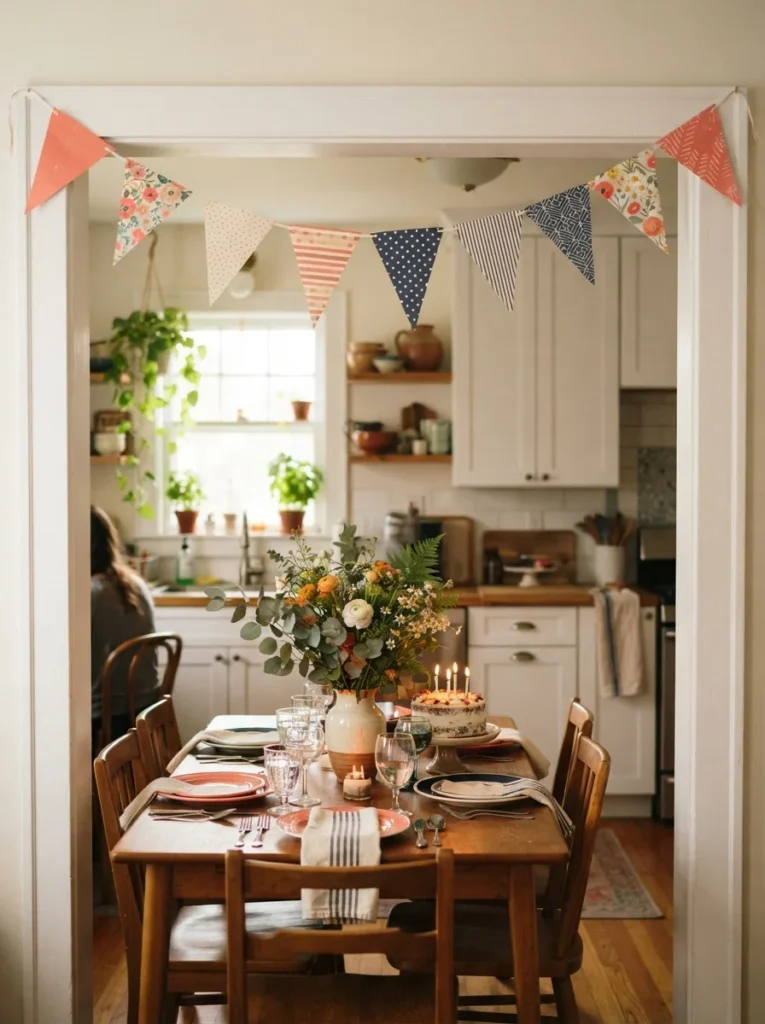
Cut a triangle template from cardboard, trace it onto patterned paper, and cut as many flags as your span requires. Fold the top inch of each flag over a length of twine and glue it down.
Space the flags evenly, roughly two inches apart, and leave a foot of bare twine at each end for hanging. Measure your doorway before you start cutting so you’re not left with twelve extra flags or three too few.
Alternate two patterns and one solid color for a banner that looks designed rather than random. Swap the paper and you have a decoration for any occasion — pastels for a shower, black and gold for New Year’s, kraft paper for a fall table.
Final Thoughts
Every project on this list started with paper you probably already have — printer sheets, old magazines, lunch bags, a paperback missing its cover. That’s the appeal of paper crafting: the barrier to starting is almost nothing, and the results genuinely look worth displaying. Pick the one that matches the time you have right now, whether that’s four minutes for a corner bookmark or an afternoon for a quilled monogram. Pull out your scissors, choose a single project, and finish it today — then save this list for the next rainy weekend.

Lily Summers is a digital artist and creative storyteller who loves bringing colorful characters to life. With a passion for cartoons, fan art, and playful sketches, she inspires others to explore their imagination through art. When she’s not sketching, you’ll find her dreaming up new ideas for CraftedWizard.com to spark creativity in every artist. 🌈✨