Want to give your bedroom a stylish makeover without spending a fortune on new furniture? A DIY headboard is one of the easiest ways to transform your bed into a beautiful focal point while keeping your decorating costs low. With affordable materials, a little creativity, and a free afternoon, you can create a headboard that looks custom-made. Whether you love rustic wood, soft upholstered designs, or simple modern decor, these practical ideas will help you get the look you want without stretching your budget.
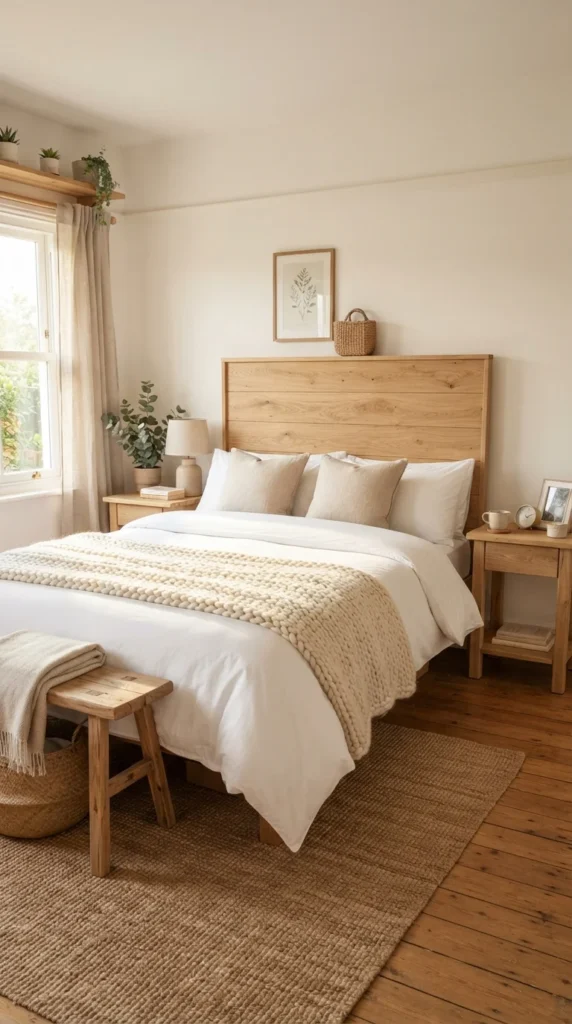
1. Choose a Headboard Style That Fits Your Budget
Before buying materials, decide which style works best with your bedroom decor. A clear plan helps you avoid unnecessary purchases and makes the project easier to complete.
Here are a few affordable styles to consider:
- Rustic wood: Use inexpensive pine boards or reclaimed timber for a warm, natural look.
- Upholstered headboard: Cover plywood with foam and fabric for a soft, comfortable finish.
- Painted headboard: Create a painted shape directly on the wall for a clean, modern appearance.
- Reclaimed door headboard: Repurpose an old wooden door or decorative panel for a unique focal point.
- Fabric panel headboard: Cover lightweight panels with affordable fabric for a simple, coordinated design.
Choose a style that complements your existing bedding, wall color, and furniture. For example, neutral fabric works well in a minimalist bedroom, while natural wood suits farmhouse and rustic interiors.
2. Gather Affordable Materials and Tools
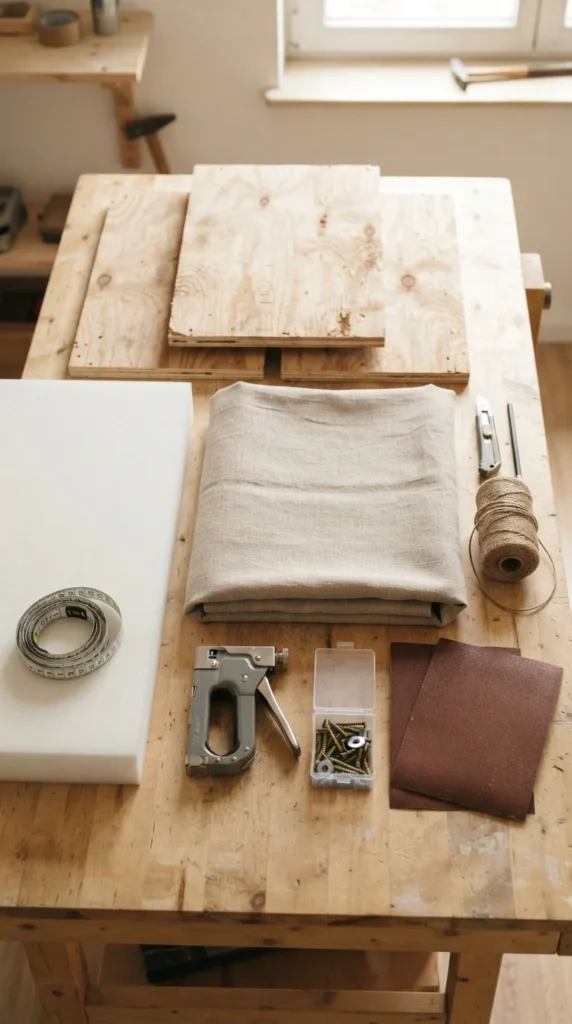
You don’t need expensive equipment or professional woodworking skills to make an attractive headboard. Many projects use materials available at local hardware stores, fabric shops, or salvage yards.
Depending on your design, you may need:
- Plywood or inexpensive wooden boards
- Upholstery foam or an old foam mattress topper
- Fabric, such as cotton, linen-look material, or canvas
- Batting for a softer upholstered finish
- Screws, brackets, or suitable wall-mounting hardware
- Measuring tape, pencil, and level
- Staple gun, scissors, or a saw, depending on the project
- Sandpaper and paint or wood stain
Check what you already have at home before shopping. Leftover paint, unused curtains, spare timber, and sturdy fabric can all reduce the cost.
3. Measure Your Bed Before Starting
Accurate measurements help your finished headboard look balanced rather than oversized or too narrow.
Measure the width of your bed frame and decide how tall you want the headboard to be. A headboard that matches the bed’s width creates a simple, tidy appearance, while a slightly wider design can frame the bed and make it feel more substantial.
For a standard DIY project, follow these steps:
- Measure the width of your bed frame.
- Choose a height that suits your mattress and bedroom wall.
- Mark the dimensions on your plywood or wooden boards.
- Check the measurements again before cutting.
- Plan how the headboard will attach to the wall or bed frame.
Consider nearby electrical outlets, switches, and bedside lights before deciding where to place it. If you’re renting, a lightweight freestanding design or a removable wall-mounted option may be easier to manage.
4. Make a Simple Wooden Headboard
A wooden headboard is a great choice if you want a rustic or modern farmhouse look. It offers natural texture, and the finished piece can look expensive even when you use basic materials.
Start with pine boards or reclaimed timber in good condition. Cut the boards to your planned dimensions, sand rough edges, and arrange them horizontally on a backing panel. Secure the pieces with appropriate screws, then apply a wood stain or clear protective finish.
For a more decorative result, combine two or three related wood tones. You can also leave small gaps between the boards for a relaxed, plank-style appearance.
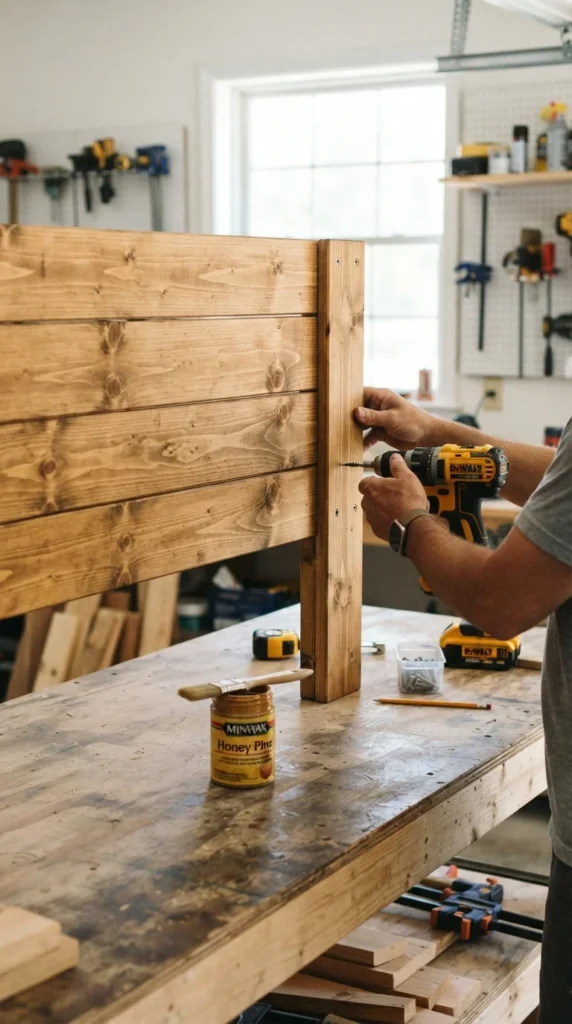
If reclaimed wood is your choice, inspect it for loose nails, splinters, moisture damage, and insect activity before bringing it indoors. Sand and clean the material carefully, and use secure mounting hardware suited to the finished headboard’s weight.
5. Create an Upholstered Headboard for Less
Prefer a softer, more polished bedroom? An upholstered headboard can deliver a comfortable, tailored appearance without the price of a store-bought design.
Cut a plywood panel to size, then add upholstery foam and a layer of batting. Lay your chosen fabric over the front, pull it evenly around the edges, and staple it securely to the back. Work from the center of each side toward the corners to keep the fabric smooth.
Affordable fabric options include cotton canvas, plain woven material, and discounted upholstery remnants. Choose a shade that coordinates with your curtains or bedding so the headboard looks like part of the room’s original design.
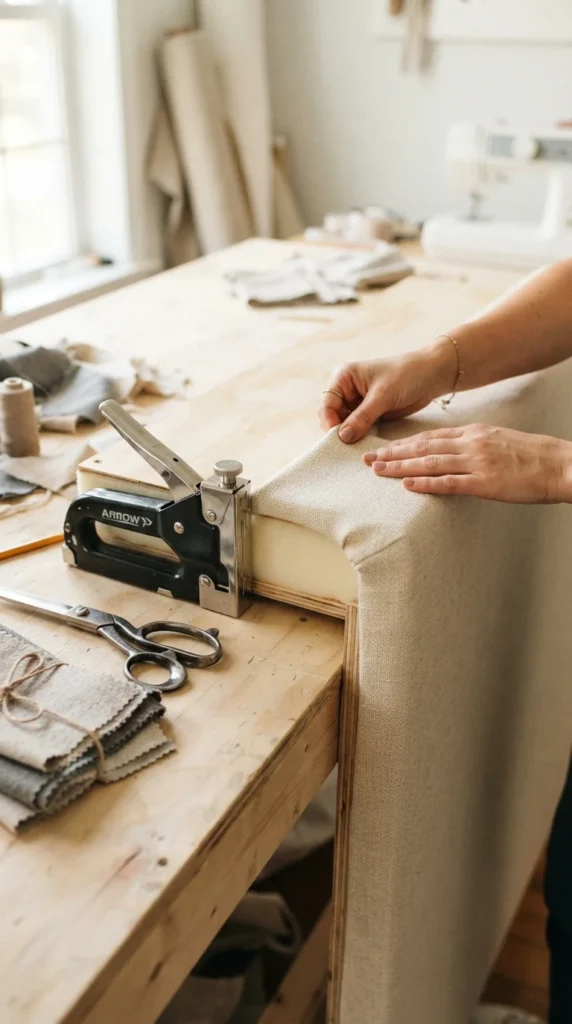
For extra detail, add simple fabric-covered buttons or a narrow wooden border. Keep the design straightforward if this is your first upholstery project, since clean edges and smooth fabric often look more elegant than complicated decoration.
6. Give Your Headboard a Designer Finish
Small finishing touches can make an inexpensive headboard look carefully planned. You don’t have to add expensive accessories; a few coordinated details can make a real difference.
Try these simple ideas:
- Apply a matte finish to wood for a natural, understated appearance.
- Use a fabric color that complements your duvet cover.
- Add slim wooden trim around a plywood panel.
- Pair the headboard with warm bedside lighting.
- Keep nearby decorations simple so the headboard remains the focal point.
Pay attention to installation, too. A crooked headboard or visible gaps can distract from an otherwise attractive design. Use a level when mounting it and select fixings appropriate for the wall type. Heavy panels should be attached to suitable structural supports, not held up by weak adhesive alone.
7. Style Your Bedroom Without Spending More
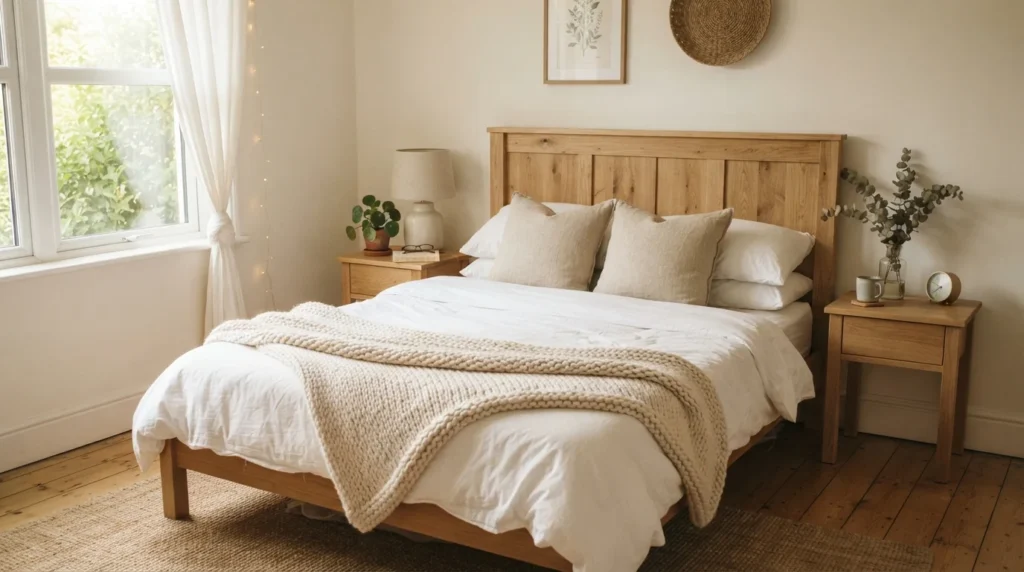
Once your headboard is complete, finish the space with items you already own. Freshly arranged bedding, a folded throw, and a couple of cushions can make the bed feel more inviting.
Use different fabric textures to add interest without buying an entirely new bedding set. For example, combine smooth cotton sheets with a knitted blanket and linen-look pillow covers. A small plant, a secondhand bedside lamp, or a handmade bedside decoration can complete the arrangement.
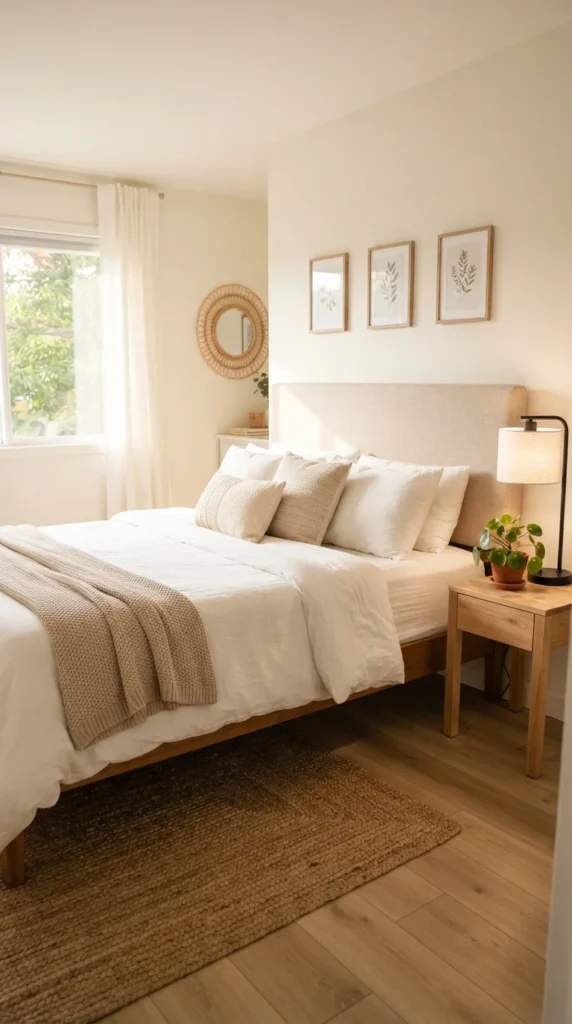
Take a final look at the room before buying anything else. Removing clutter and rearranging existing furniture can make the new headboard stand out even more.
Final Thoughts
Making a headboard on a budget is a practical way to give your bedroom a personal touch without paying for expensive furniture. Choose a style that suits your space, use affordable or repurposed materials, and take your time with measurements and finishing details. Whether you prefer rustic timber or soft upholstery, a thoughtful DIY project can make your bed look completely different. Save this guide for your next bedroom makeover, choose your favorite design, and start creating your own headboard!

Lily Summers is a digital artist and creative storyteller who loves bringing colorful characters to life. With a passion for cartoons, fan art, and playful sketches, she inspires others to explore their imagination through art. When she’s not sketching, you’ll find her dreaming up new ideas for CraftedWizard.com to spark creativity in every artist. 🌈✨