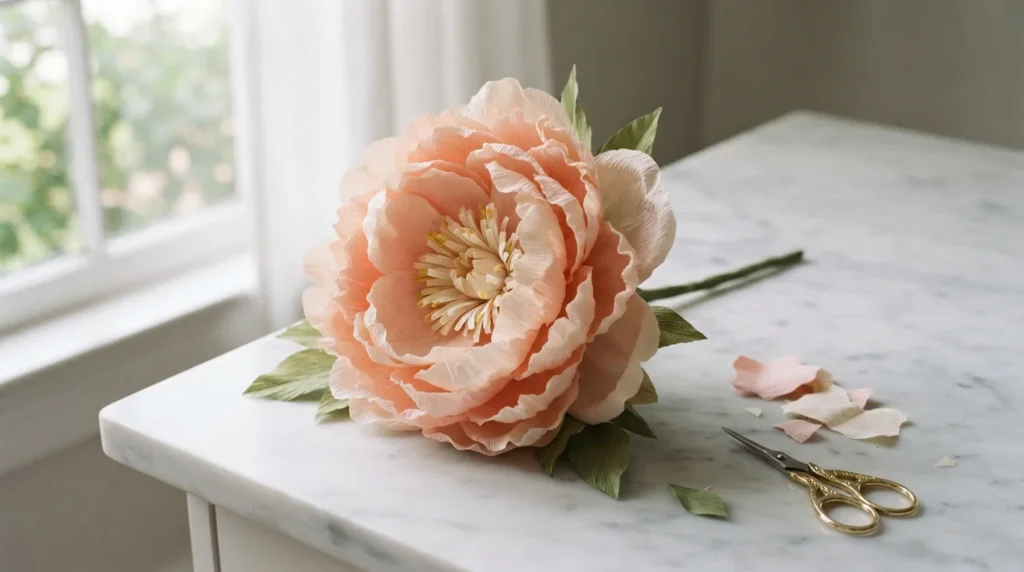
Most paper flowers give themselves away instantly. The petals are flat, the edges are too crisp, and the whole thing sits there looking like a craft project instead of a flower.
Real-looking paper flowers come down to three things: the right paper, curved petals, and a center that isn’t perfect. Once you know those, you can make a bloom in about fifteen minutes that people will lean in to touch before they realize it isn’t real.
Here’s exactly how to do it, even if you’ve never made one before.
Why Most Paper Flowers Look Fake
Before you cut anything, it helps to know what you’re fixing.
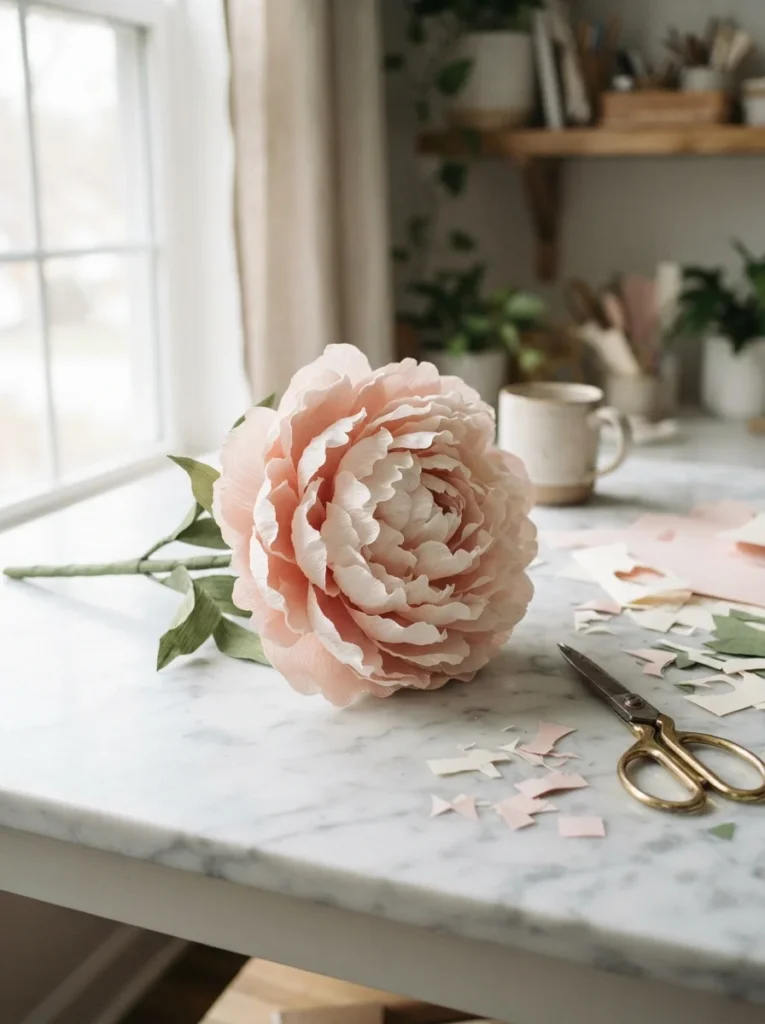
- Flat petals. Real petals cup, twist, and curl. Flat paper reads as paper.
- Identical petals. Nature never repeats a shape exactly. Uniform petals look machine-made.
- Hard edges. Scissor lines are too clean. Real petal edges are soft and slightly uneven.
- A perfect center. Flower centers are messy, textured, and darker than the petals.
- One shade of color. A real bloom shifts in tone from center to tip.
Fix these five and your flower crosses over from craft to convincing.
What You’ll Need
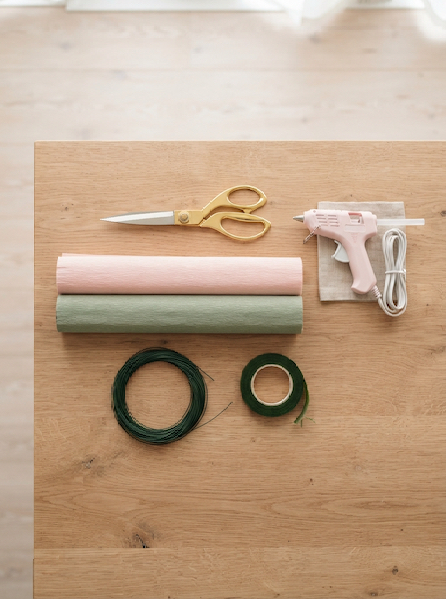
You don’t need a die-cutting machine or expensive supplies:
- Crepe paper (160 gsm florist crepe is best) or soft cardstock — crepe stretches, which is the whole secret
- Scissors
- Hot glue gun or tacky glue
- Floral wire (18 gauge for stems)
- Floral tape in green
- A pencil or thin dowel for curling
- Optional: soft pastels or a watercolor pencil for shading
Crepe paper is the single upgrade that matters most. It has grain, it stretches into a cupped shape, and it catches light the way a petal does. Standard printer paper never will.
Step 1: Cut Petals in Three Sizes
Cut your petals with the grain of the crepe running vertically — top to bottom on each petal. This lets you stretch them sideways later.
For one flower, cut roughly:
- 5 small petals (inner)
- 6 medium petals (middle)
- 7 large petals (outer)
Cut them freehand rather than tracing a template. Slight variation between petals is what sells the illusion. Round the tops and taper the bases into a narrow point.
Step 2: Shape Every Single Petal
This is the step beginners skip, and it’s the one that matters most.
For each petal:
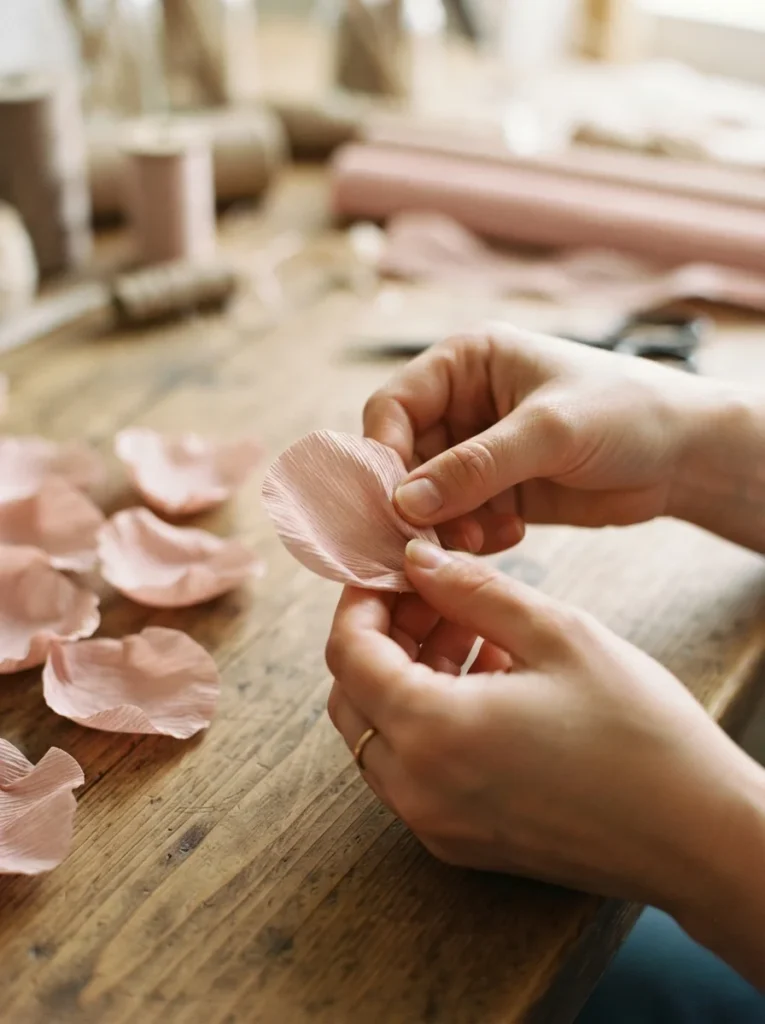
- Hold it with both thumbs in the center and gently stretch outward — the crepe will cup into a bowl shape.
- Roll the top edge backward over a pencil so the tip curls away from the center.
- Pinch the base slightly to create a small pleat.
Work slowly. Crepe tears if you yank it, but it stretches beautifully if you ease it open. Every petal should now have a curve, a curl, and a pinch.
Step 3: Build the Center
Cut a strip of crepe about two inches wide and eight inches long. Fringe one long edge with narrow snips, stopping halfway down.
Bend the tip of your floral wire into a small hook, then wrap the fringed strip tightly around it, gluing as you go. Fluff the fringe outward.
Rub a little soft pastel or a darker crepe scrap into the fringe base. Real flower centers are always deeper in color than the petals.
Step 4: Layer From the Inside Out
Glue the small petals around the center first, overlapping each one slightly. Then the medium row, staggered so they cover the gaps. Then the large row.
Two habits keep it natural:
- Angle outward as you go. Inner petals stand nearly upright; outer petals lean back.
- Don’t space them evenly. Cluster a few, leave a small gap elsewhere.
Wrap the base tightly with floral tape, stretching the tape as you wind it down the wire.
Step 5: Add Leaves and Finish
Cut two leaf shapes from green crepe, notch the edges slightly, and stretch them down the middle so they curve. Tape them onto the stem a few inches below the bloom.
Bend the stem into a gentle curve. Perfectly straight stems look artificial.
Quick Tips for Better Blooms
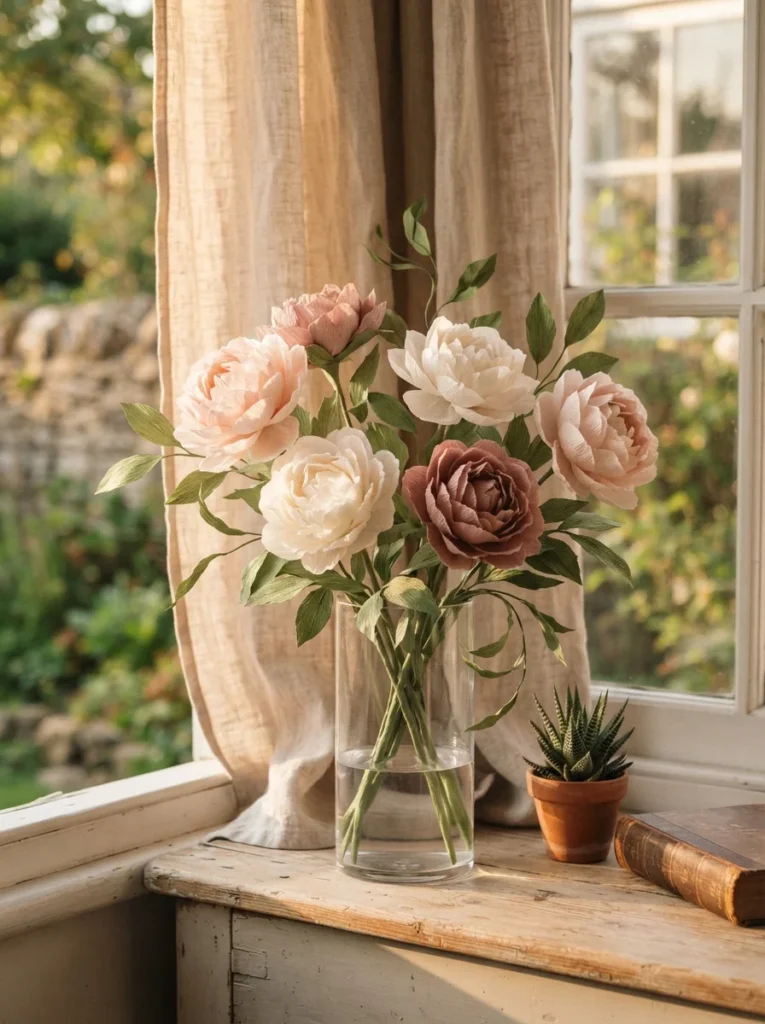
- Make an odd number of flowers for a bouquet — three, five, or seven always looks better
- Shade petal tips with a pastel in a slightly deeper tone for depth
- Wipe glue strings away while they’re still warm
- Store finished flowers away from direct sun so the color holds
Save This for Your Next Craft Day
Paper flowers cost a couple of dollars, never wilt, and look stunning on a mantel, a gift box, or a wedding table. Start with one bloom this weekend, get comfortable with the stretch-and-curl, then build a full bouquet.
Pin this guide so it’s ready when you are.

Lily Summers is a digital artist and creative storyteller who loves bringing colorful characters to life. With a passion for cartoons, fan art, and playful sketches, she inspires others to explore their imagination through art. When she’s not sketching, you’ll find her dreaming up new ideas for CraftedWizard.com to spark creativity in every artist. 🌈✨