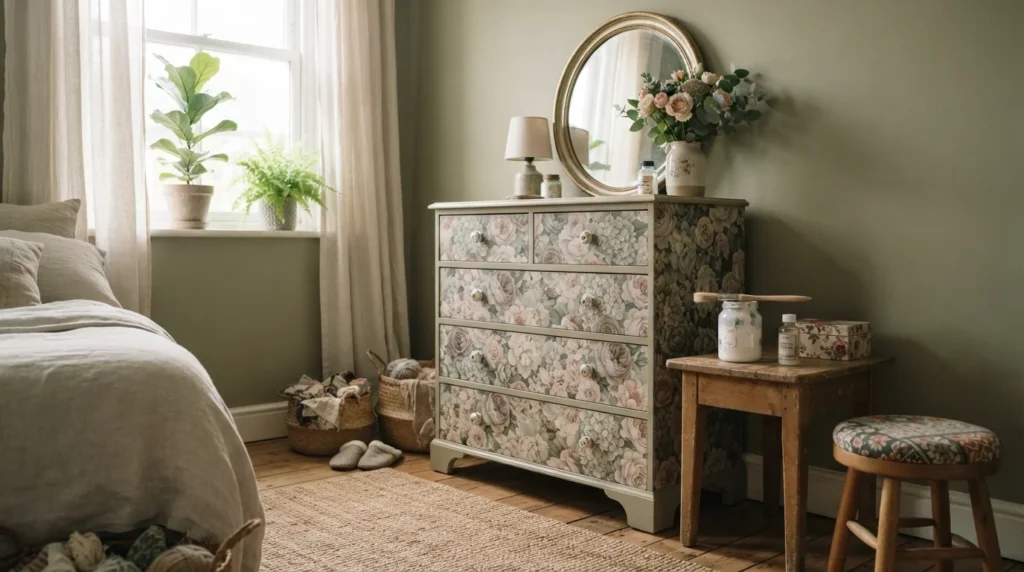
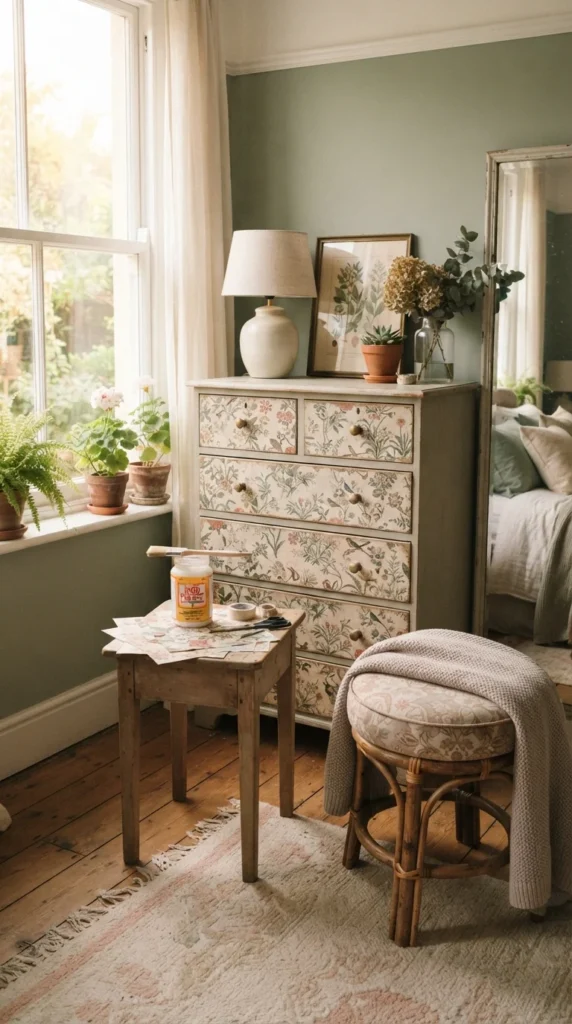
Decoupage turns a tired dresser or a thrift store find into something that looks custom-made. All you need is paper, glue, and a free afternoon. You can cover a full drawer front, a single door panel, or just the top of a footstool. These 21 ideas work for large pieces and small ones, and each includes a simple step you can try this weekend.
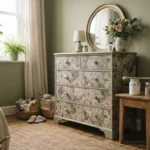
1. Floral Dresser Drawer Fronts
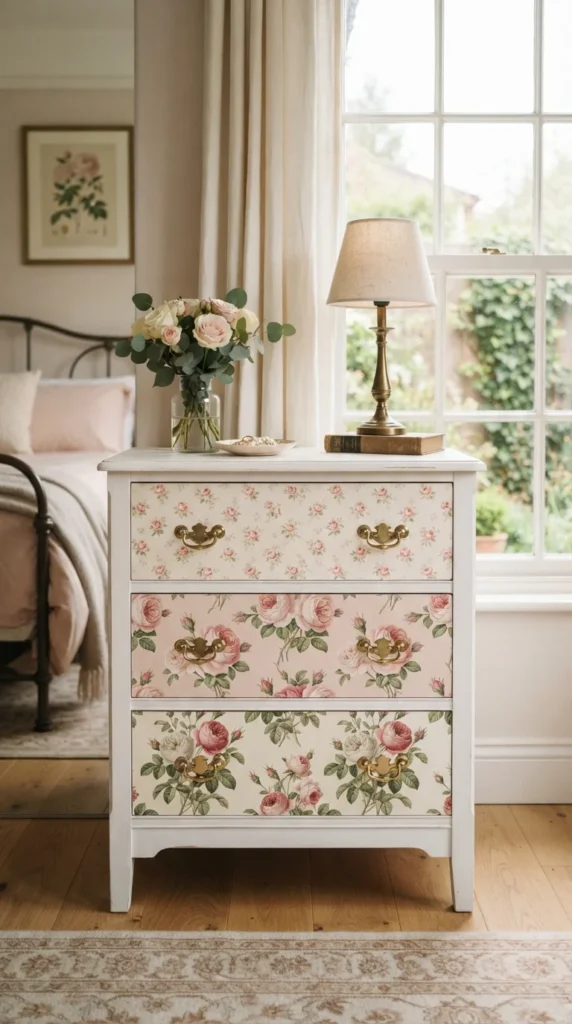
Drawer fronts are flat, easy to measure, and a great first project. Remove the drawers and the hardware, then sand lightly and wipe away the dust. Paint the surface a solid color so the paper sits on a clean base.
Cut each sheet slightly larger than the drawer front, brush on a thin coat of decoupage medium, and smooth the paper from the center outward. Trim the edges with a craft knife once it dries. Use a different floral print on every drawer for a patchwork look, or one print across all of them for a calm, matched finish. Finish with two coats of sealer.
2. Map-Covered Side Table
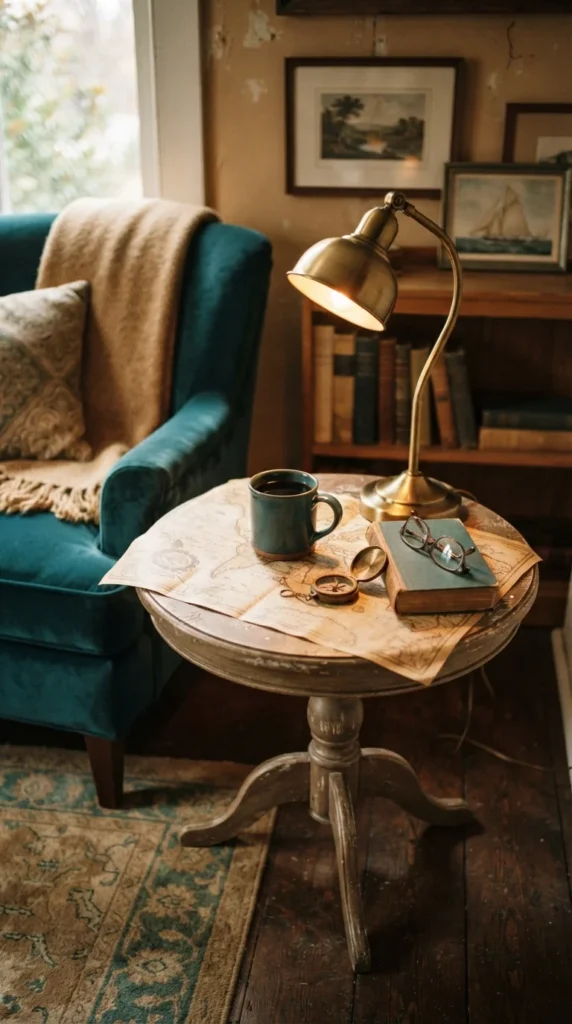
A map makes a great tabletop for someone who loves travel. Pick a place that holds meaning, such as a hometown, a honeymoon spot, or a city you hope to visit. Old atlas pages or printed maps both work well.
Tear the map into rough pieces rather than cutting straight lines. The torn edges overlap softly and hide seams. Brush glue onto the table, lay the pieces down, and press out air bubbles with a credit card. Tea-stain the paper first if you want an aged look. Seal the top with several coats, since tables see a lot of wear from cups and keys.
3. Wallpaper Scrap Cabinet Door
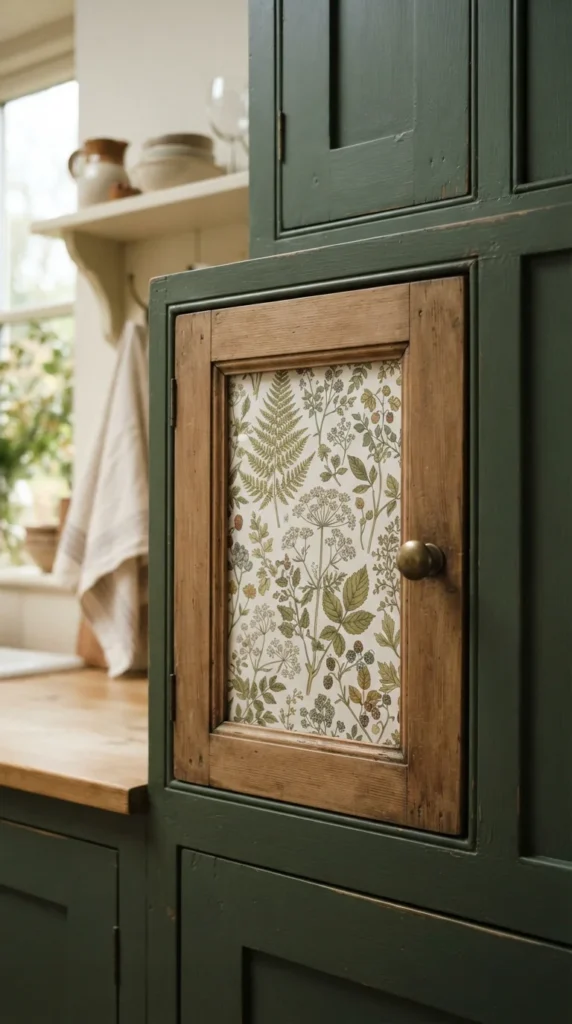
Leftover wallpaper is perfect for decoupage, and you may already have some in a closet. Recessed cabinet door panels are ideal because the frame gives you a clean border. Measure the inside of the panel and cut the paper to fit exactly.
Apply glue to the wood, lay the paper down, and smooth it with a soft cloth. Paint the frame in a color that picks up one shade from the pattern. Peel-and-stick wallpaper is the easiest to work with if you want to skip the glue. Wipe-clean sealer helps in a kitchen where doors get splashed.
4. Sheet Music Piano Bench
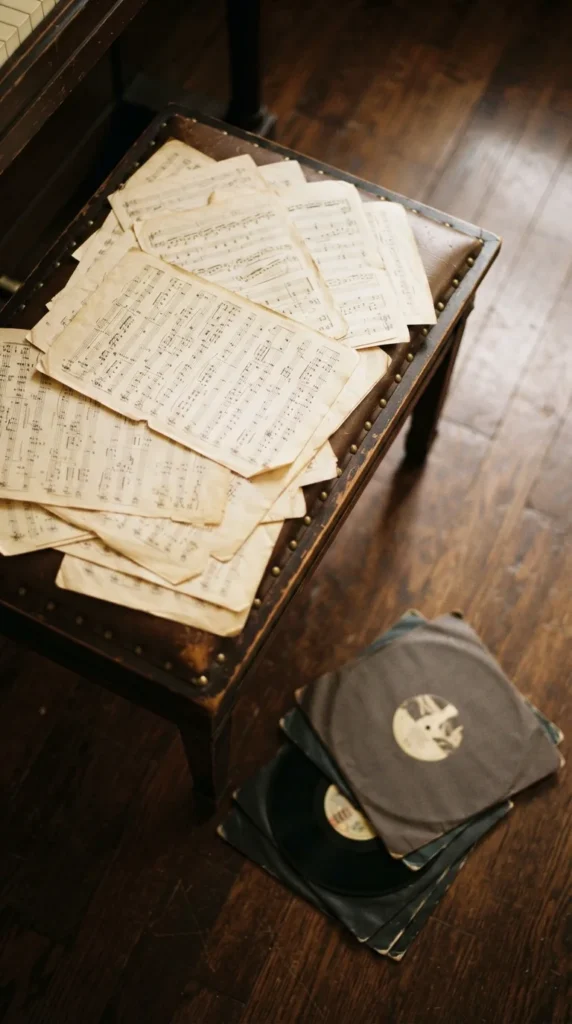
Sheet music brings a classic look to a bench, a stool, or a small shelf. Thrift shops and used bookstores sell cheap songbooks, so you can cover a whole top for just a few dollars. Pick pages with plenty of notes so the pattern looks busy and interesting.
Cut the pages into strips or squares and overlap them slightly. Rub a little brown paint or coffee over the paper once it’s dry to add warmth. Add a dark stained border around the edges to frame the design. Finish with a satin sealer.
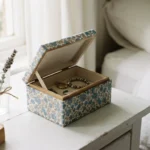
5. Vintage Postcard Jewelry Box
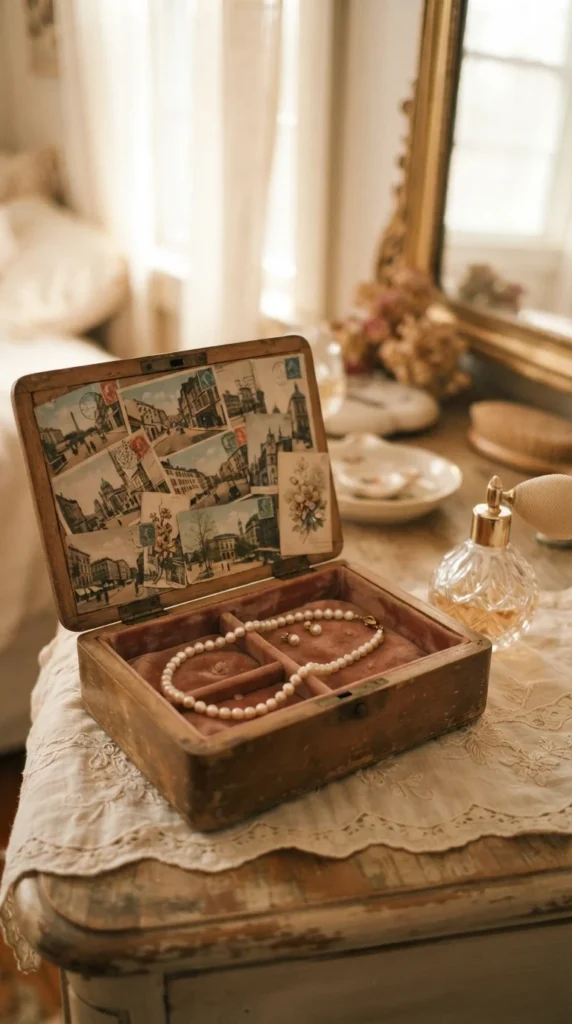
Postcards make a tiny box feel like a travel scrapbook. Collect cards from flea markets, or print copies of old ones if you want to keep the originals. Choose a color theme so the collage feels connected.
Arrange the cards on the lid before gluing anything, and move them around until the edges fit together. Trim any overhang with scissors, then glue each one down. Cover the sides with a coordinating solid paper or paint. A few thin coats of sealer will protect it from fingerprints.
6. Napkin-Covered Chair Seat
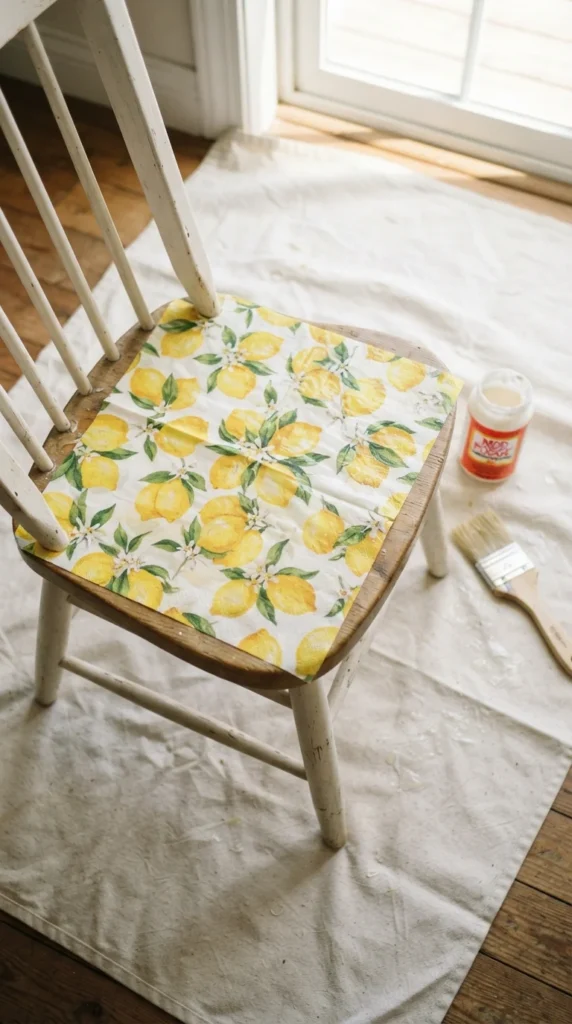
Paper napkins are cheap and come in hundreds of patterns, which makes them a smart choice for decoupage. A single pack costs a few dollars and covers several chair seats. Separate the printed top layer from the plain plies underneath, because only the thin top layer is used.
Lay the napkin gently over a wet coat of glue and brush outward with a very soft brush. Work slowly, since napkin paper tears easily. Once dry, add a few coats of sealer so the seat holds up to daily sitting.
7. Fabric-Look Tray
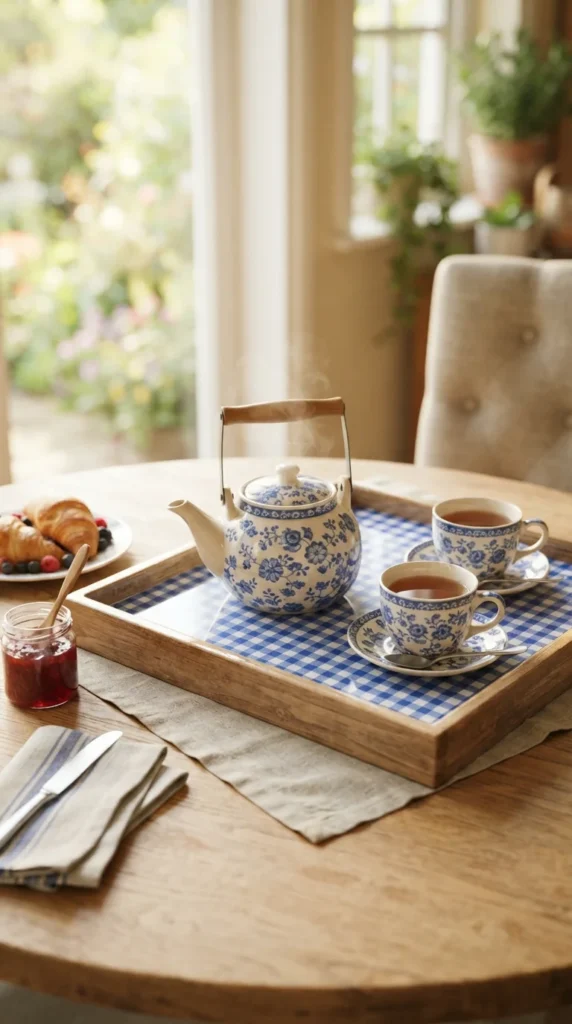
Fabric works just like paper in decoupage. Cut a piece of cotton a little larger than the tray bottom and press it into a coat of glue. Cotton prints with small patterns, like gingham or tiny florals, are easiest to smooth.
Brush more glue over the top of the fabric to seal it. Paint the tray’s sides and handles in a matching color. Choose a high-gloss sealer for the inside so spills wipe right off. This makes a lovely gift for someone who likes to host.
8. Botanical Print Nightstand
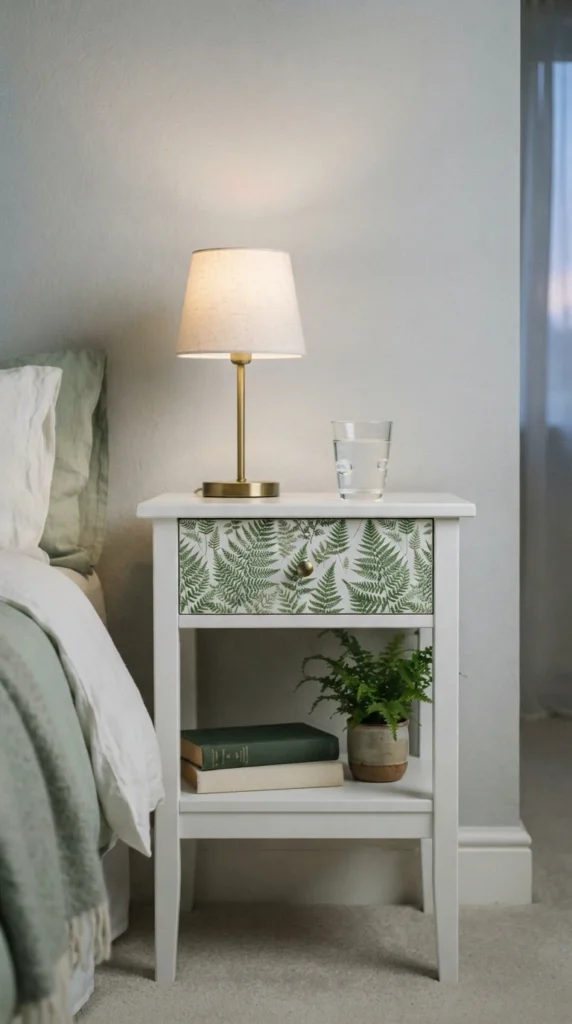
A nightstand is small enough to finish in one session. Botanical prints are available as free downloads, and you can print them on thin paper at home. Ferns, leaves, and wildflowers all look calming in a bedroom.
Cover the drawer front only, which keeps the rest of the table clean and simple. Paint the body in a soft white or sage. Use a matte sealer so there’s no glare when the lamp is on. Swap the knob for a ceramic one to finish the look.
9. Book Page Bookshelf Back
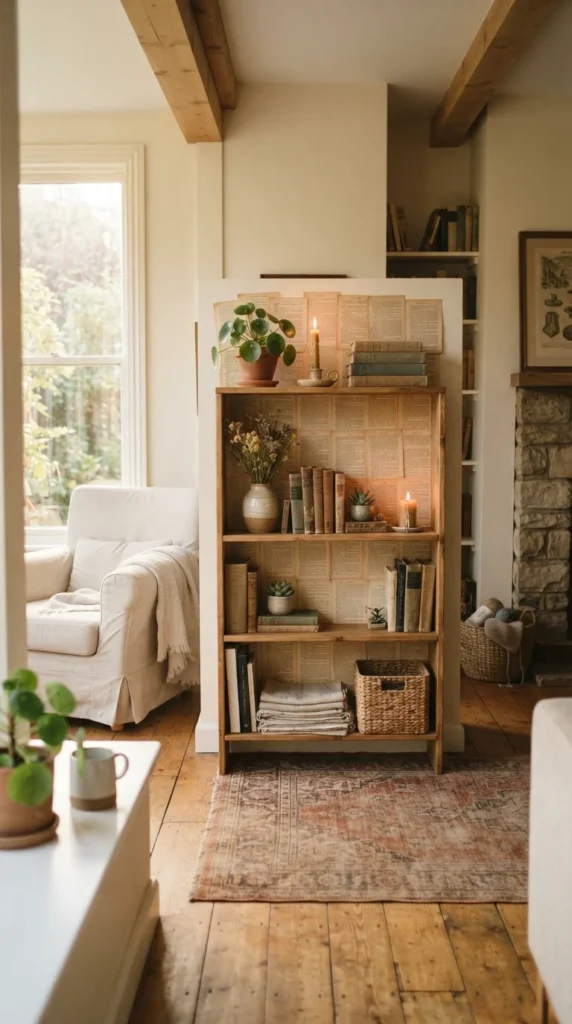
The back panel of a bookshelf is a perfect spot for decoupage. You see it every day, but it doesn’t take any abuse. Old paperbacks from a thrift store give you plenty of pages for just a dollar or two.
Remove the panel if you can and work on a flat table. Glue the pages down in overlapping rows, starting at one edge. Put the panel back once everything dries, and the shelves will look like they have wallpaper behind the books. Use pages from a favorite novel for a personal touch.
10. Colorful Magazine Collage Dresser Top
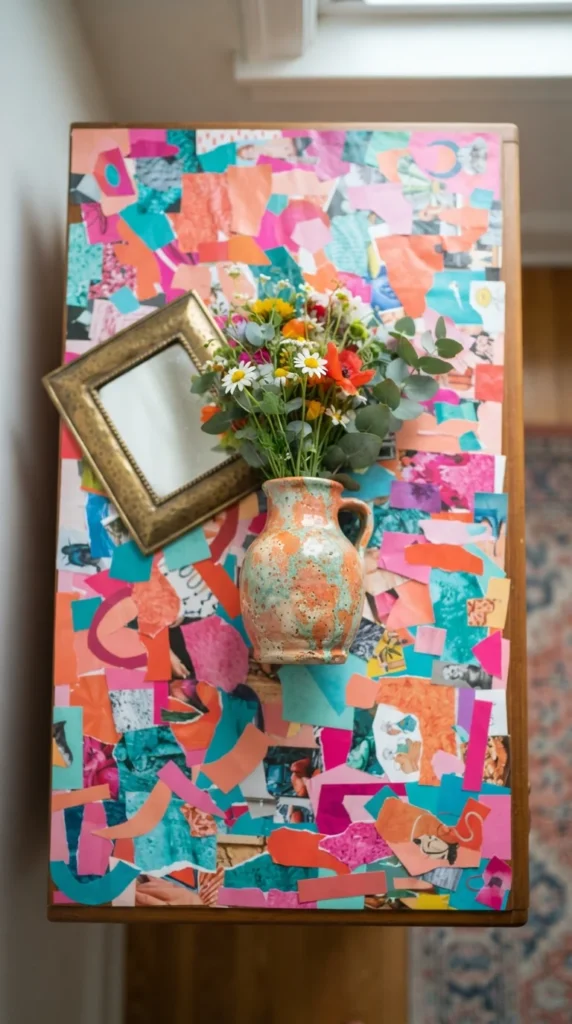
Magazines give you color in every shade, and they cost nothing if you’ve saved a few. Tear out pages with bold patterns or photos and cut them into small shapes. Sort the pieces by color so you can build gradients and clusters.
Glue pieces down in a loose pattern, overlapping each edge. Cover the whole surface so no wood shows through. Add four or five coats of sealer to smooth the bumps and make the top wipeable. It’s a fun project for teens or anyone with a bold style.
11. Gold Leaf and Paper Hybrid Mirror Frame
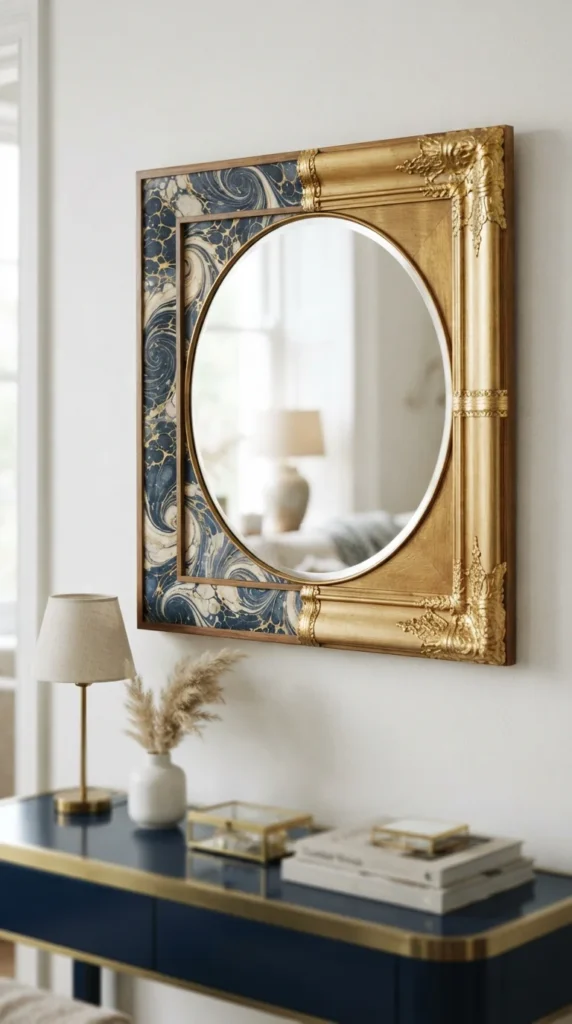
A plain frame gets a lot more interesting with two textures. Cover the flat surface of the frame in marbled or patterned paper, then add gold leaf or gold paint along the inside edge. The contrast looks expensive but costs very little.
Cut the paper into narrow strips that wrap around the corners cleanly. Press them down with a dry cloth to flatten any wrinkles. Apply gold leaf with leaf adhesive and a soft brush. Seal the paper but not the leaf, since sealer can dull the shine.
12. Kid’s Toy Chest with Storybook Pages
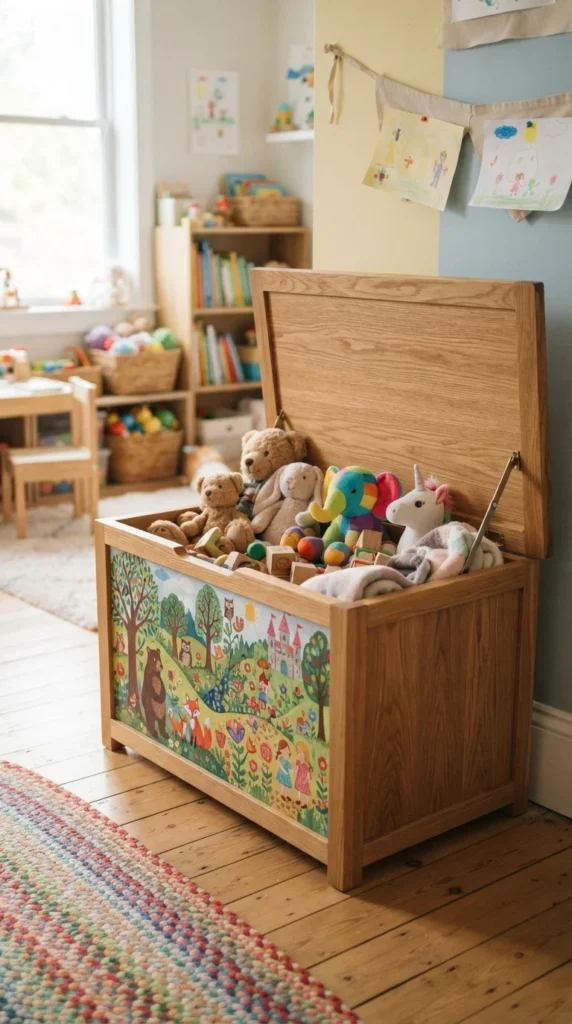
A toy chest covered in picture book pages feels like a storybook itself. Look for damaged or discounted children’s books at library sales. Cut out the illustrations you like best and leave the text behind.
Arrange the images across the front and sides, with larger characters near the middle. Glue them down and smooth carefully. Use a non-toxic water-based sealer because little hands will touch it all the time. Add four coats to protect against scuffs.
13. Lace-Textured Vase
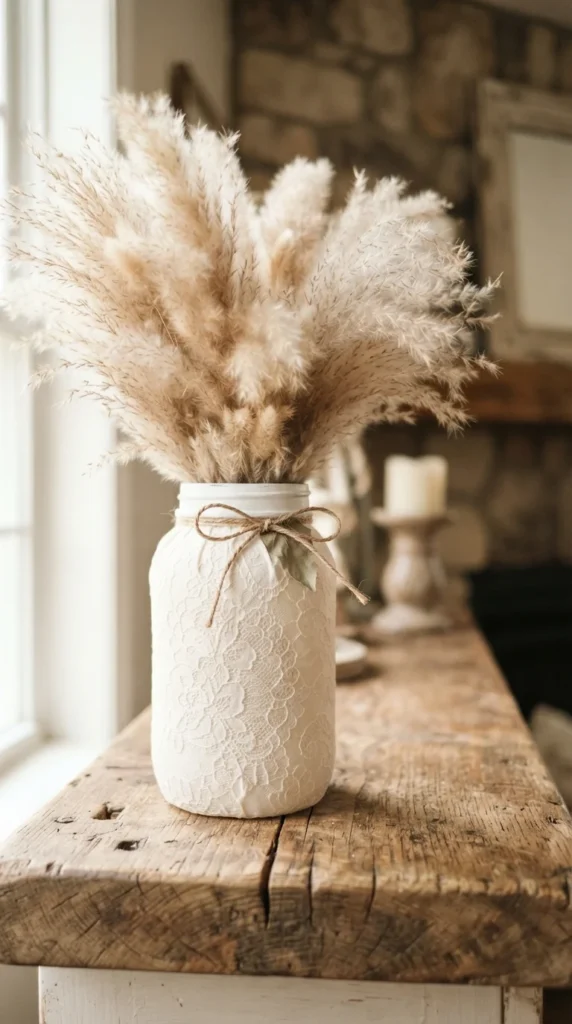
Even a recycled jar can become a pretty vase. Brush glue on the outside of the jar and wrap it in a piece of lace or lace-patterned tissue. Press it down firmly so the pattern shows through.
Spray paint or brush on a coat of white or cream and let it dry. Peel back any loose edges and repaint them. Seal the vase and keep it for dried flowers only, since decoupage isn’t waterproof inside. This is a great way to use jars you already have.
14. Stenciled Paper Bar Cart
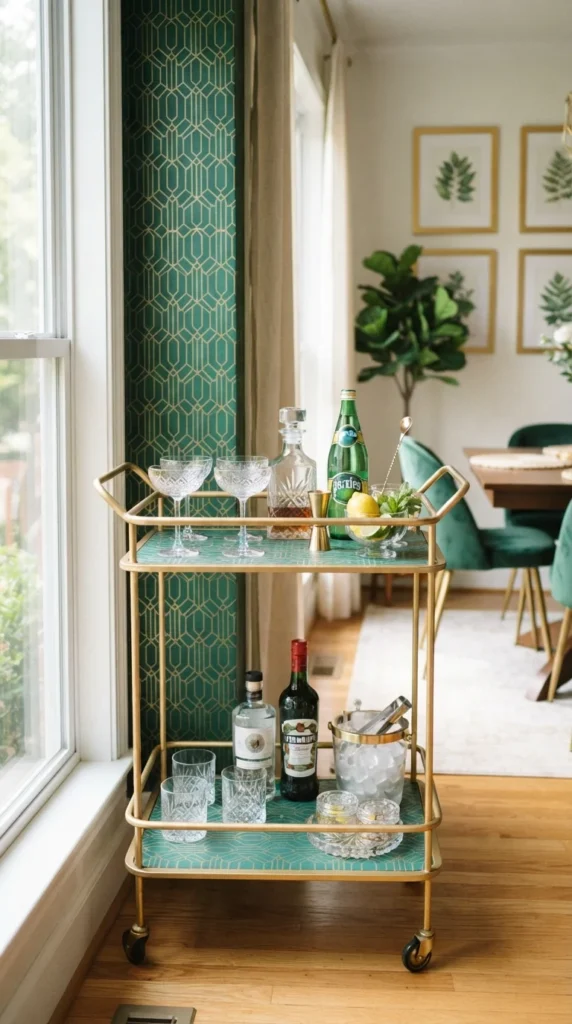
A bar cart has flat shelves that are easy to cover. Cut patterned paper to fit each shelf exactly. Metallic or geometric prints look sharp next to brass or black frames.
Glue the paper to a wooden insert or directly to the shelf if it’s flat. Seal it with a glossy finish that resists water rings and spills. Choose a pattern that matches your room’s colors so the cart feels intentional. Use one print on the top shelf and another on the bottom for variety.
15. Faux Tile Backsplash Shelf
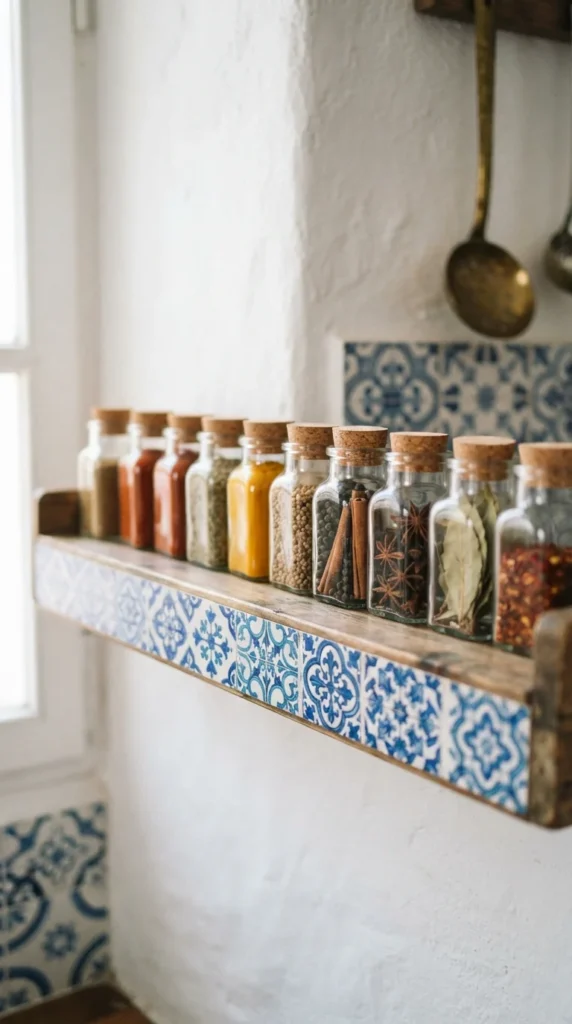
Tile-print paper gives you the look of ceramic without the cost. Cut the paper into squares and arrange them in a grid along a shelf front or a narrow board. Line up the pattern carefully before gluing.
Leave a tiny gap between each square so it looks like grout, then fill it with a thin line of white paint if you like. Seal it with several coats because kitchens are steamy. A small shelf like this works well as a spice rack or a plant ledge.
16. Watercolor Paper Armoire Panel
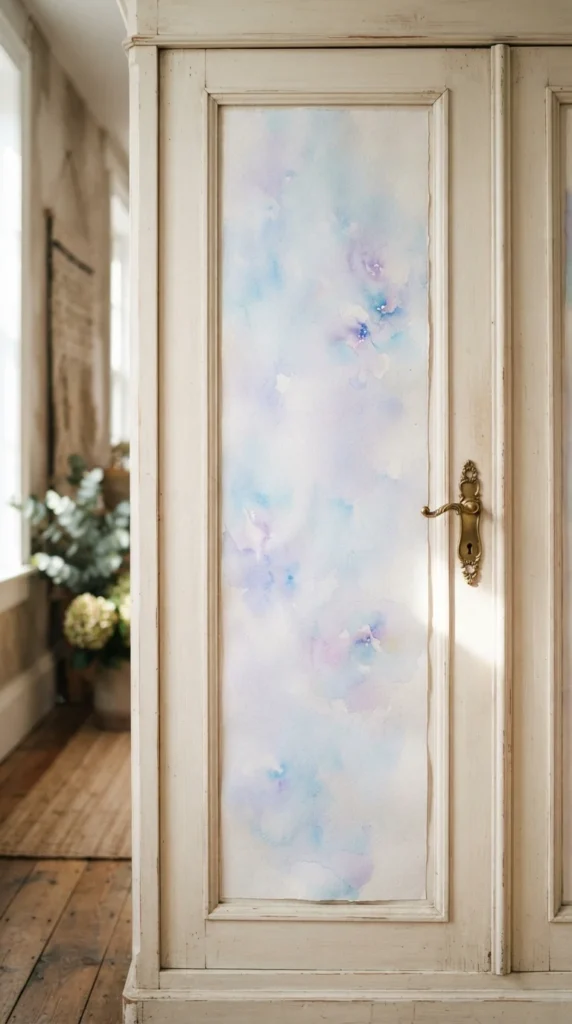
Watercolor paper brings soft, cloudy color to a big surface. Paint a wash of two or three colors onto thin paper and let it dry flat. You’ll get a unique piece of art for the door of an armoire or wardrobe.
Glue the painted paper into the center panel and smooth it from the middle outward. Frame it with a painted border or thin trim. Brush on matte sealer so the colors stay soft. Large panels take patience, so work slowly and press out wrinkles as you go.
17. Family Photo Memory Frame
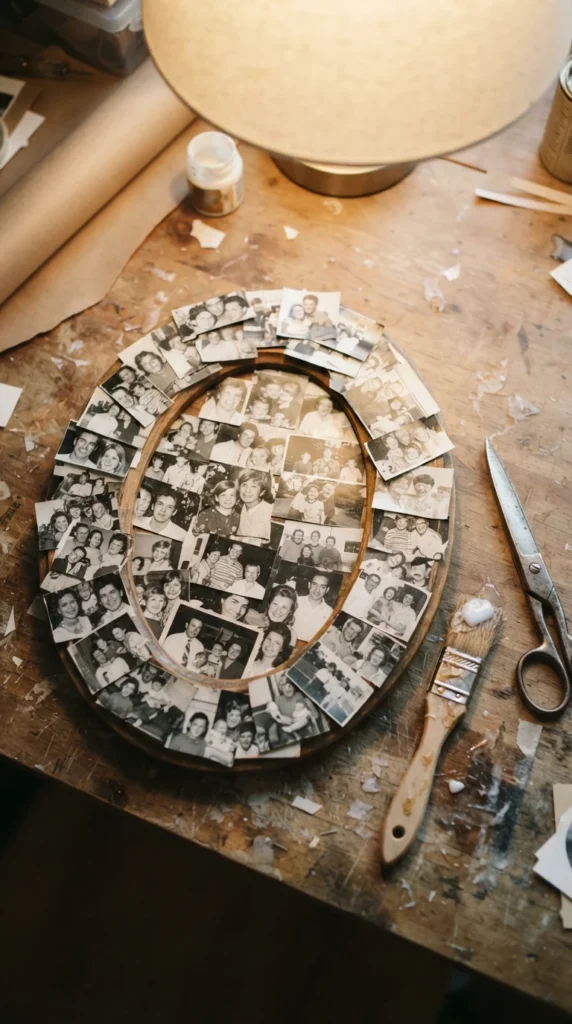
Photos make decoupage deeply personal. Make photocopies of old family pictures so you never risk the originals. Black-and-white copies look neat together and hide any difference in age or quality.
Cut the copies into small squares or circles and overlap them across the frame. Seal each layer well because ink from a home printer can smear. Place a fresh photo in the frame’s center. It makes a great gift for a parent or grandparent.
18. Pressed Flower Tabletop
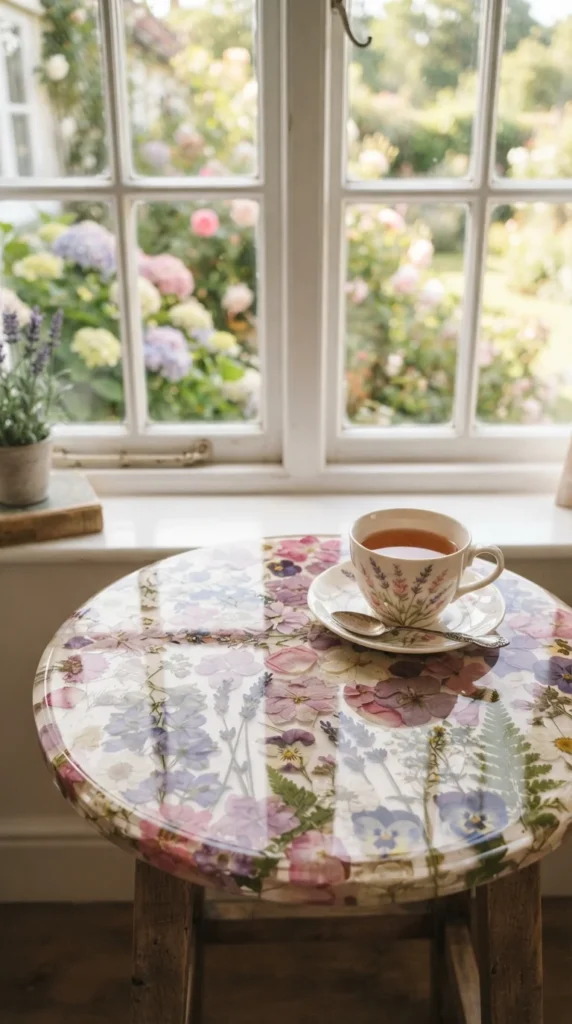
Real pressed flowers add depth to a small table. Press blooms in a heavy book for two weeks until they’re flat and dry. Violets, pansies, ferns, and small daisies work best.
Paint the tabletop a pale color, then arrange the flowers on top. Brush glue gently over each one with a soft brush so you don’t tear the petals. Apply four to six thin coats of sealer. A glossy finish makes the colors pop and protects the delicate petals.
19. Newspaper Planter Stand
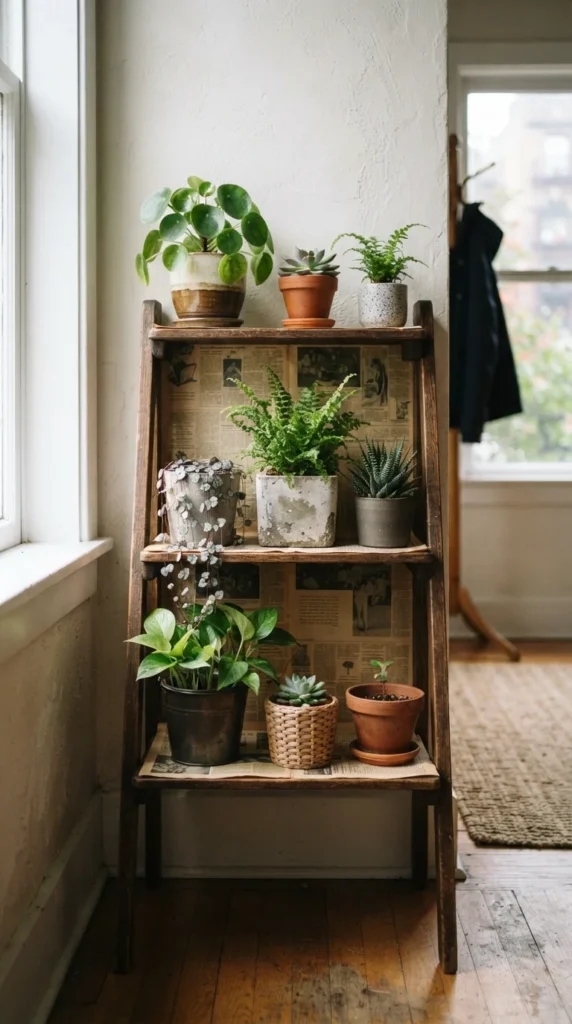
Newspaper costs nothing and gives a vintage, graphic look. Use pages from a meaningful date, like a birthday or a big sports win. Old newspaper also goes well with greenery.
Cover each shelf with strips and seal with a matte finish. Add a thin coat of tea or watered-down brown paint for warmth. Use a waterproof sealer on top because plants drip and the paper will bubble if it gets wet. Set pots on saucers for extra safety.
20. Cabinet Knob Mini Makeover
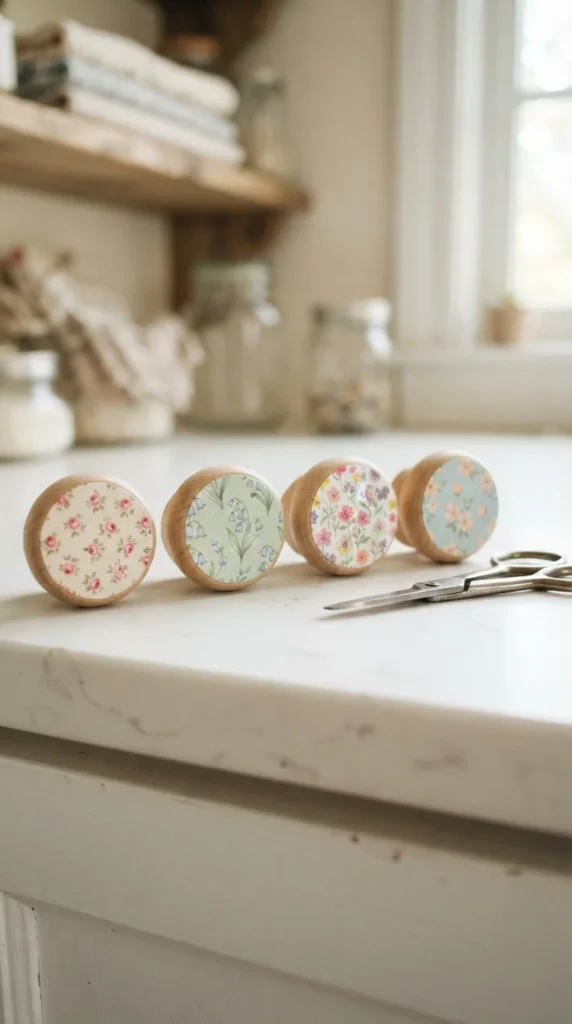
Small finds like knobs are the easiest way to practice. Cut tiny circles of patterned paper that match the face of each knob. Glue them on, smooth out the edges, and seal.
Use a single pattern for a matching set, or mix prints for a playful look. Knobs get touched all day, so use at least three coats of sealer. Screw them onto a plain dresser and you’ve changed the whole look for just a few dollars.
21. Embossed Paper Headboard Panel
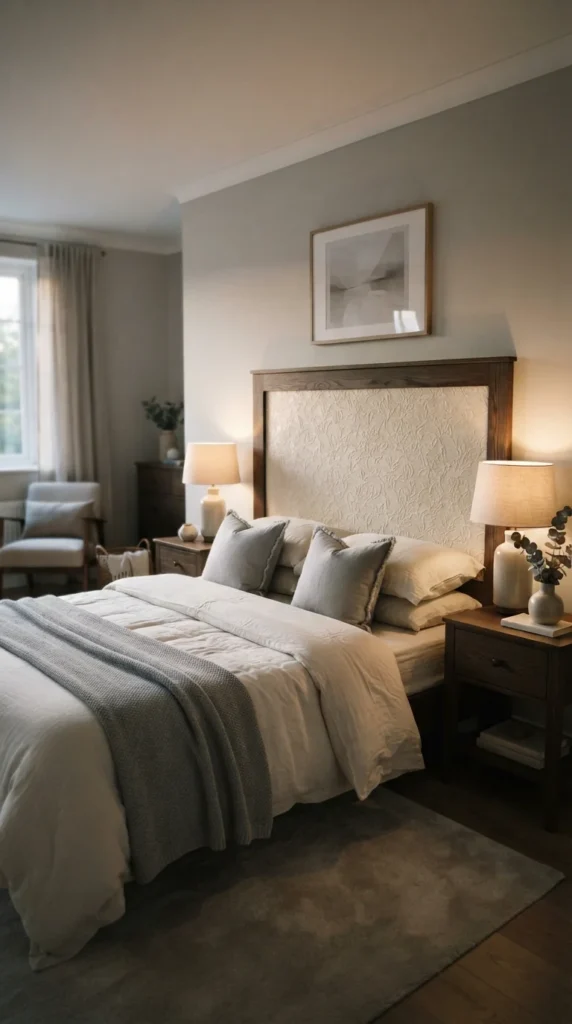
A headboard panel makes a bedroom feel finished. Textured or embossed paper gives you a rich look without a bold pattern. Choose a neutral color so it matches any bedding.
Measure the inset carefully and cut the paper to fit. Glue it down, smooth it, and press the edges flat. Use a matte sealer so the texture stays soft. This project takes a little patience, but the result looks like a custom-made piece.
Final Thoughts
Decoupage gives you a cheap, flexible way to update furniture without buying anything new. Each idea here uses basic supplies and a few hours of work. Pick one drawer, door, or small find from your home, gather a few paper scraps, and start gluing this weekend.

Lily Summers is a digital artist and creative storyteller who loves bringing colorful characters to life. With a passion for cartoons, fan art, and playful sketches, she inspires others to explore their imagination through art. When she’s not sketching, you’ll find her dreaming up new ideas for CraftedWizard.com to spark creativity in every artist. 🌈✨