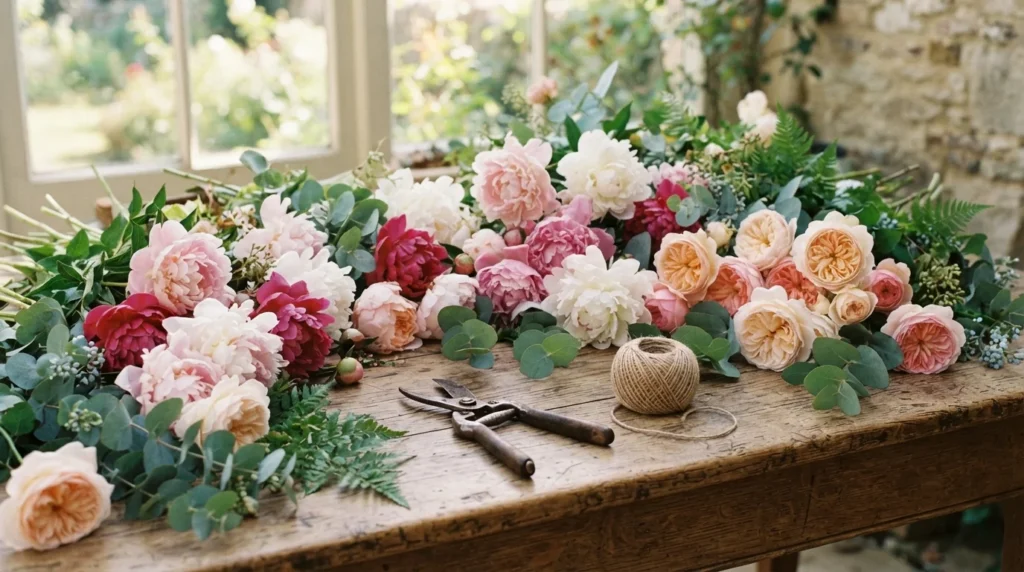
Picture this: you’re walking down the aisle, and every table, arch, and pew is glowing with soft, lush blooms. Now picture knowing you made every single one yourself, for a fraction of the florist’s price.
DIY wedding flowers are totally doable, even if you’ve never touched floral foam in your life. With the right plan, a few simple tools, and a little patience, you can create arrangements that look dreamy and feel deeply personal.
Ready to get your hands a little floral-dusty? Let’s dive in.
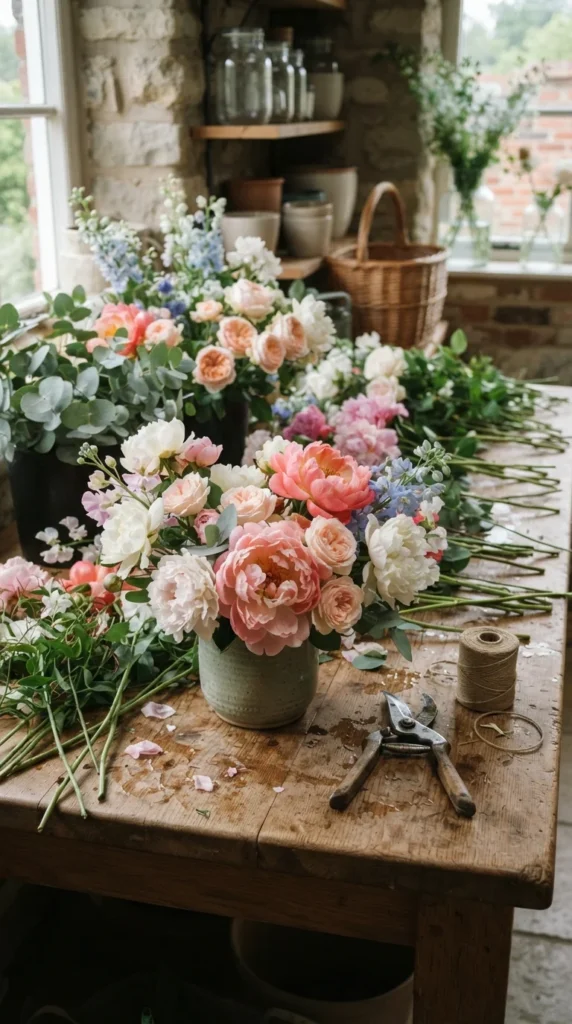
Step 1: Plan Your Palette and Style
Before you buy a single stem, decide on the look you’re after. A clear vision keeps your budget (and your sanity) in check.
- Pick 2–3 main colors. Blush, ivory, and sage green is a timeless romantic combo.
- Choose a style. Garden-style (loose and wild), classic (round and tidy), or boho (airy with dried accents).
- Count what you need. Bridal bouquet, bridesmaid bouquets, boutonnieres, centerpieces, and ceremony decor.
Pro tip: Make a quick list of each arrangement and how many you need. It makes shopping so much easier.
Step 2: Choose the Right Flowers
Not all blooms are equally beginner-friendly. Pick sturdy flowers that hold up well and look gorgeous without much fuss.
Focal flowers (the stars):
- Garden roses
- Peonies (in season)
- Ranunculus
- Dahlias
Filler flowers (the supporting cast):
- Baby’s breath
- Waxflower
- Spray roses
- Lisianthus
Greenery (the foundation):
- Eucalyptus
- Ruscus
- Olive branches
- Ferns
Buy wholesale or in bulk online, or visit a local flower market. Order 10–15% extra to cover any flowers that arrive damaged.

Step 3: Gather Your Tools
You don’t need a professional studio. A few basics will do.
- Sharp floral shears or clippers
- Floral tape and floral wire
- Mason jars, vases, or compotes
- Chicken wire or floral foam (optional)
- Ribbon, twine, or lace for wrapping
- Clean buckets for hydration
Step 4: Prep Your Flowers Like a Pro
This step makes all the difference between flowers that wilt by noon and flowers that glow all day.
- Strip the lower leaves. Anything below the waterline will rot and cloud the water.
- Cut stems at a 45° angle. This helps them drink more water.
- Hydrate for 24 hours. Let flowers rest in cool water in a shaded spot.
- Let roses open. Give them a few hours at room temperature to bloom fully.
Timing matters: Make your arrangements 1–2 days before the wedding and store them in a cool place.
Step 5: Build a Simple Centerpiece
Here’s an easy method for a lush, romantic centerpiece in a vase.
- Start with greenery. Create a loose base by criss-crossing stems in the vase.
- Add focal flowers. Place your biggest blooms in odd numbers (3 or 5) at varying heights.
- Tuck in fillers. Fill gaps with smaller blooms for a natural, full look.
- Add height and movement. A few trailing stems or airy sprigs bring that romantic, just-picked feel.
- Rotate and check. Turn the vase often to make sure it looks balanced from every angle.
Step 6: Make a Hand-Tied Bridal Bouquet
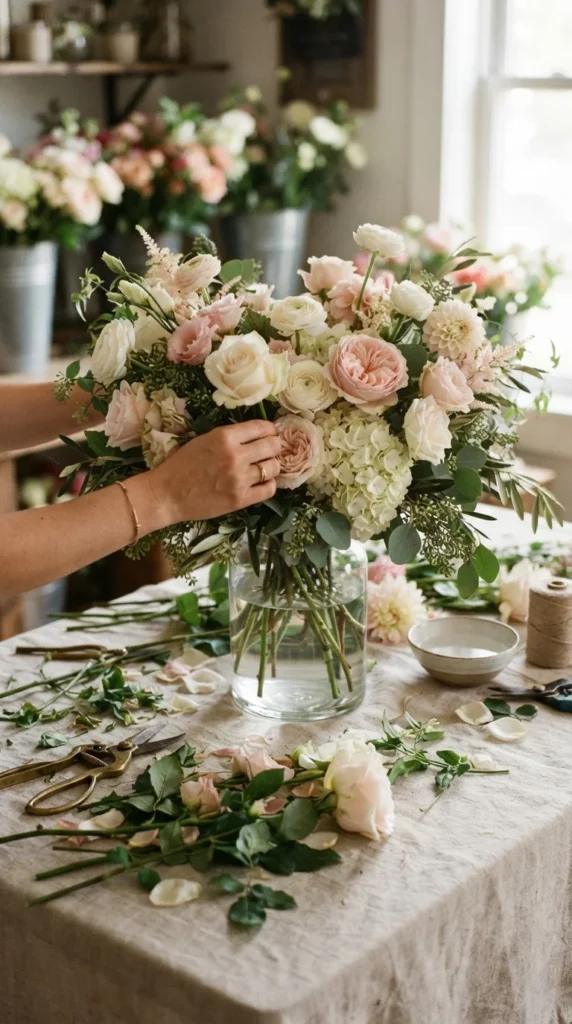
A hand-tied bouquet is easier than it looks. Take it slow and enjoy the process.
- Hold your first focal flower in your non-dominant hand.
- Add stems one at a time, angling each one slightly in the same direction to create a spiral.
- Keep rotating the bouquet as you add flowers.
- Secure the stems with floral tape, then wrap with twine.
- Finish with satin ribbon and a pearl-headed pin.
- Trim the stems evenly so it stands upright.
Pro tip: Practice with grocery store flowers a few weeks before the big day. You’ll feel so much more confident.

Step 7: Add Finishing Touches
Little details turn simple arrangements into something unforgettable.
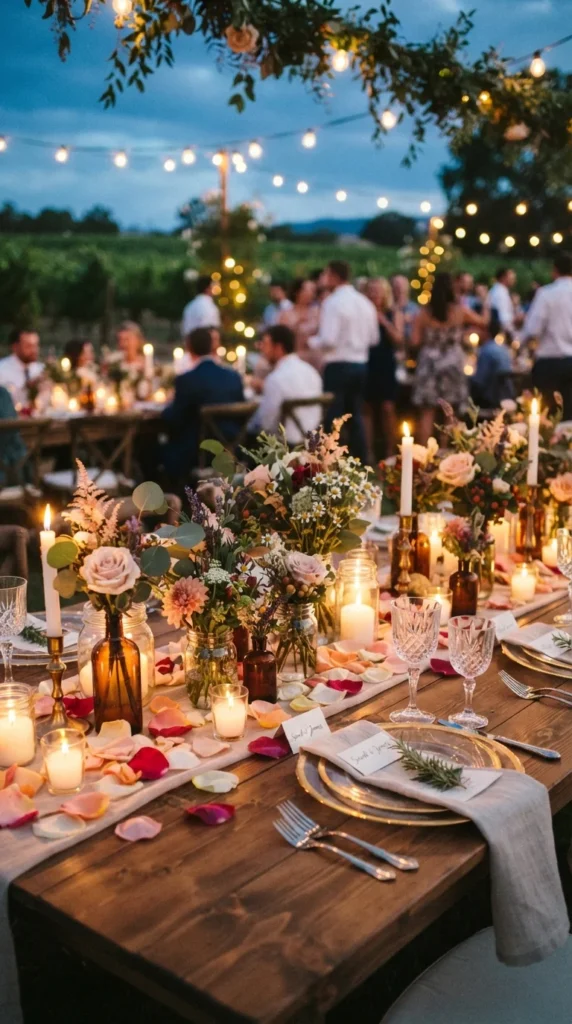
- Mix in candles. Pair flower jars with tapered candles for a warm glow.
- Use mismatched vessels. Vintage bottles, teacups, and jars add charm.
- Create a ceremony focal point. Drape greenery and blooms over a simple arch or table.
- Scatter petals. Sprinkle them down the aisle or across tables.
Keep It Fresh on the Big Day
- Store arrangements in a cool, shaded room.
- Mist lightly with water before the ceremony.
- Keep flowers away from direct sun and heaters.
- Assign a friend to handle flower transport and setup.
Final Thoughts
DIY wedding flowers take a little planning, but the payoff is huge: a celebration filled with blooms that carry your own love and effort in every petal. Start simple, trust your eye, and don’t stress about perfection. A slightly wild, imperfect arrangement is often the most romantic of all.

Lily Summers is a digital artist and creative storyteller who loves bringing colorful characters to life. With a passion for cartoons, fan art, and playful sketches, she inspires others to explore their imagination through art. When she’s not sketching, you’ll find her dreaming up new ideas for CraftedWizard.com to spark creativity in every artist. 🌈✨