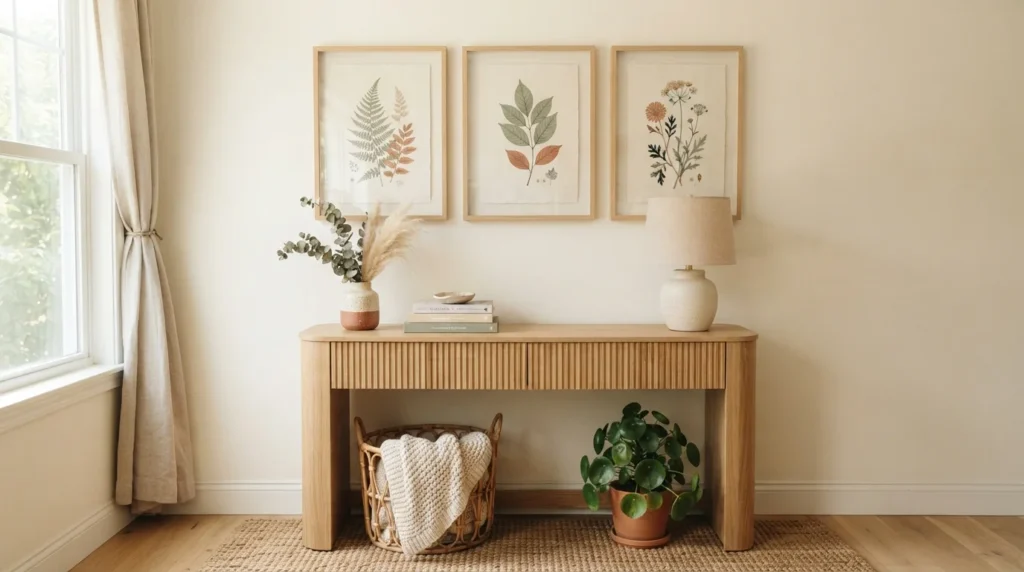
Give your walls a whole new look without spending a fortune on framed artwork. Printable wall art is one of the easiest ways to refresh a bedroom, living room, office, or hallway using designs you can create or print at home. With a little creativity, affordable paper, and a frame you already have, you can build a gallery wall that feels personal and polished.
Choose a Style That Fits Your Room
Before creating your artwork, take a quick look around the room where you plan to hang it. Notice the colors already present in your curtains, furniture, rugs, cushions, and accessories. Your printable artwork does not have to match everything, but using a few existing colors will make the finished display feel connected.
Popular printable wall art styles include:
- Botanical illustrations
- Minimal line drawings
- Abstract shapes
- Watercolor-style artwork
- Vintage-inspired illustrations
- Simple geometric patterns
- Neutral landscape prints
- Floral artwork
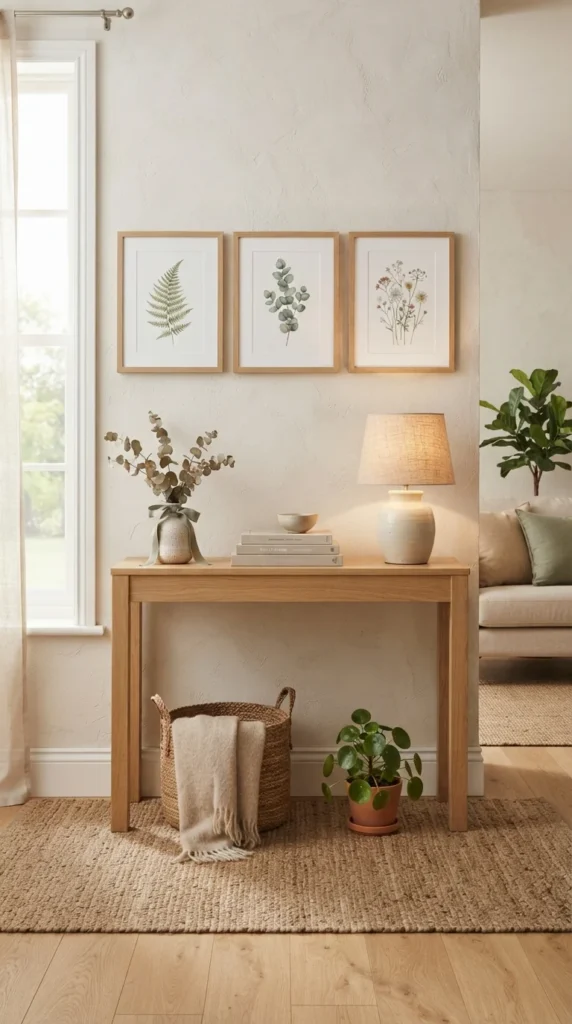
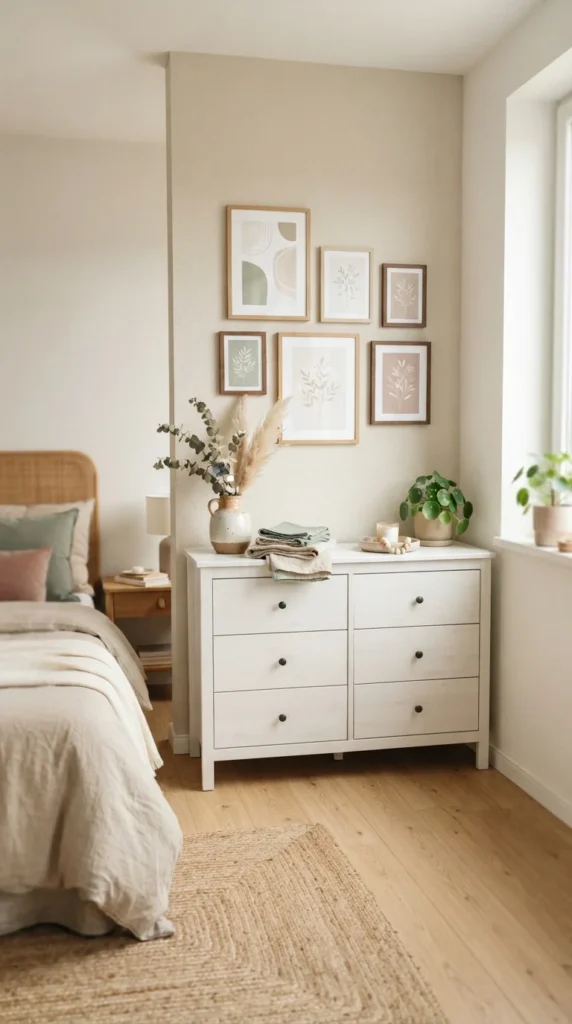
For a calm bedroom, try soft botanical prints or simple abstract shapes. A home office can handle stronger geometric patterns, while a hallway may look great with a collection of small botanical or floral designs.
Create Your Printable Artwork
You do not need professional design software to make attractive wall art. Simple tools such as Canva or other beginner-friendly design programs can help you arrange shapes, illustrations, photographs, and color combinations.
Start with the size you want to print. Common choices include 8 × 10 inches, 11 × 14 inches, and A4. If you already own frames, measure the opening before designing anything.
Keep the design simple. A small collection of related prints often looks better than several unrelated designs. For example, you could create three botanical prints using the same background color but different plants.
A few easy design ideas include:
- Place one large botanical illustration in the center.
- Create three abstract prints using the same color palette.
- Turn your favorite photograph into a soft monochrome artwork.
- Combine simple shapes with subtle watercolor textures.
- Use several small illustrations to create a themed collection.
Pick Affordable Paper and Print Settings
Paper can change the appearance of your finished artwork quite a bit. Regular printer paper works for quick temporary decor, but thicker matte paper usually gives a more finished appearance.
You can choose from:
- Matte cardstock
- Heavyweight printer paper
- Smooth presentation paper
- Textured art paper
- Recycled cardstock
If you are printing at home, check the printer settings before pressing print. Select the correct paper type and use a high-quality setting when the artwork contains detailed colors or fine illustrations.
For a budget-friendly project, start with a few test prints. This lets you check the colors, margins, and overall appearance before using your better paper.
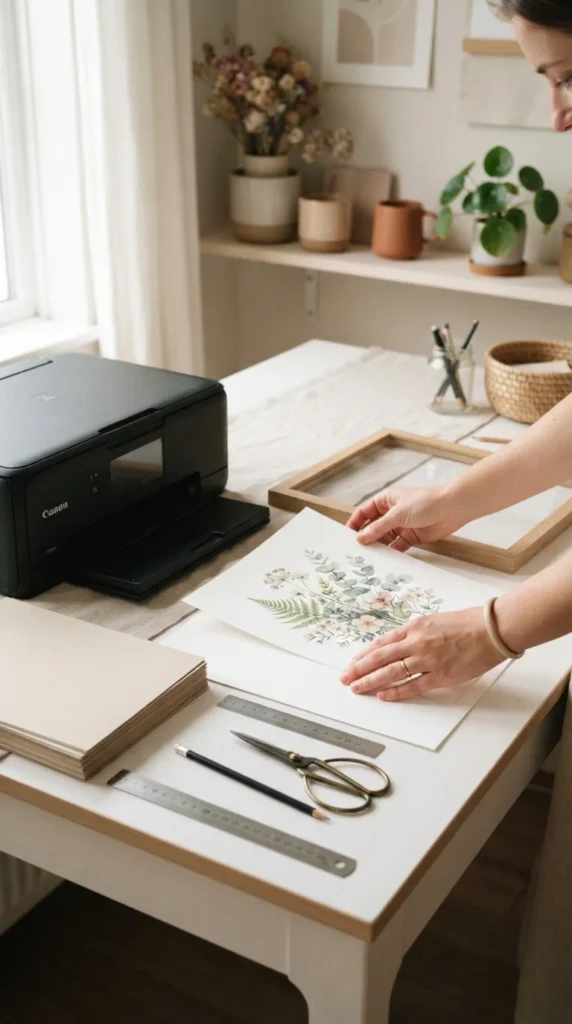
Choose Frames Without Overspending
The frame can sometimes cost more than the artwork itself, but there are plenty of ways to keep this part affordable. Check thrift stores, discount shops, clearance sections, and your own storage before buying new frames.
Simple wood, white, black, or natural-toned frames work well with many printable designs. If you already have mismatched frames, consider painting them in one color so the collection feels more unified.
Another option is to use inexpensive poster frames for larger prints. For a relaxed look, you can also lean framed artwork against a shelf instead of hanging every piece on the wall.
Build a Simple Gallery Wall
Once your prints are ready, arrange them on the floor before putting holes in the wall. This makes it much easier to test different layouts.
Try one of these arrangements:
- Three matching frames in a straight row
- A large center print surrounded by smaller pieces
- Four equal frames arranged in a square
- A vertical stack along a narrow wall
- Several different frames with one shared color
Leave similar spacing between the frames so the display feels organized. If you are working with different frame sizes, place the largest piece first and arrange the smaller artwork around it.
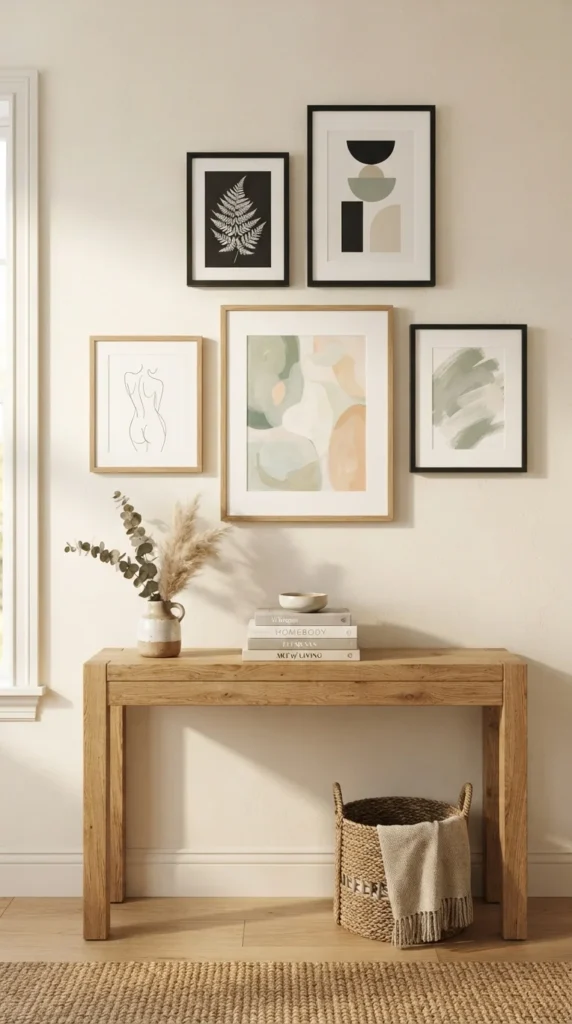
Add Personal Details
Printable wall art becomes much more special when you add something personal. You can print a favorite photograph, create artwork based on a memorable place, or use colors connected to a favorite season.
Try pairing store-bought frames with handmade paper mats or small pressed-flower details. You can also print several related designs and rotate them throughout the year.
For seasonal decorating, keep the same frames and simply change the artwork inside. Floral designs can work for spring, warm botanical prints for summer, earthy landscapes for autumn, and snowy or minimalist artwork for winter.
Final Thoughts
Creating printable wall art is an easy way to give your home a new look without committing to expensive artwork or complicated decorating projects. Start with one room, choose a simple color palette, create a few coordinated designs, and use affordable frames to bring everything together. The best part is that you can change the prints whenever your style changes. Save this idea for your next home refresh and start designing your first printable wall art collection today!

Lily Summers is a digital artist and creative storyteller who loves bringing colorful characters to life. With a passion for cartoons, fan art, and playful sketches, she inspires others to explore their imagination through art. When she’s not sketching, you’ll find her dreaming up new ideas for CraftedWizard.com to spark creativity in every artist. 🌈✨