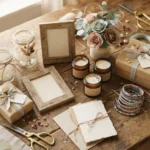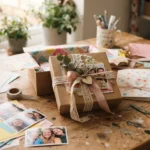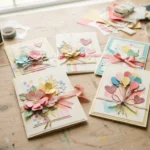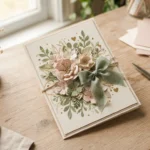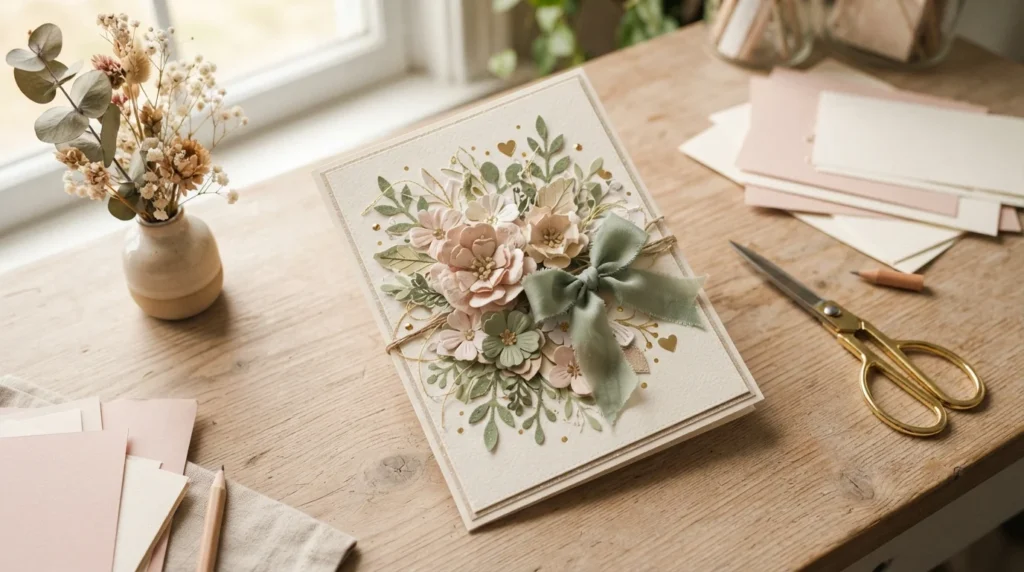
A handmade birthday card can feel far more special than something picked up at the last minute. The secret isn’t complicated crafting—it’s choosing a soft color palette, adding a few layers, and using tiny details that make the card feel personal. With cardstock, paper scraps, ribbon, and a couple of basic supplies, you can create a Pinterest-inspired birthday card that looks polished but still feels handmade.
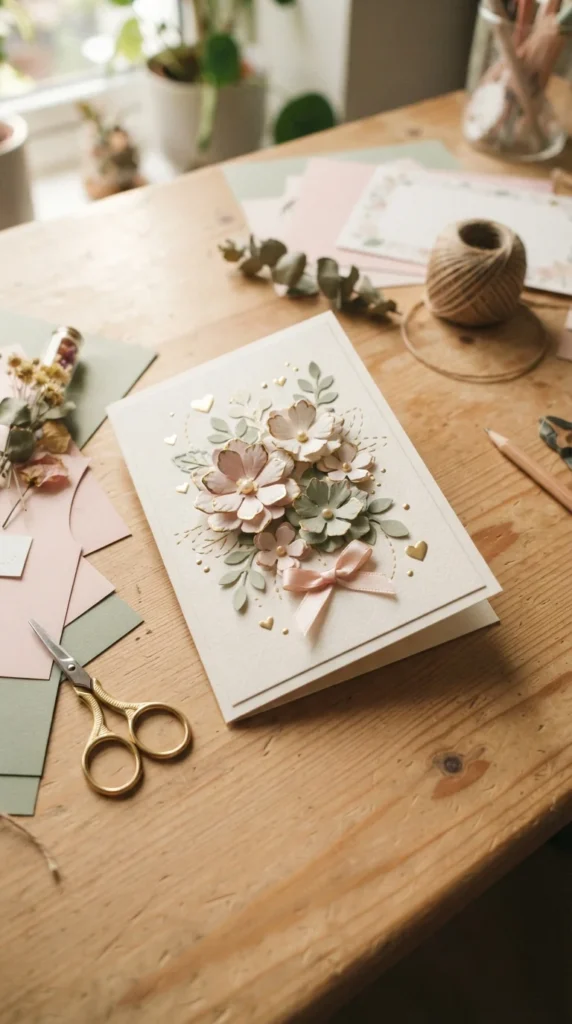
Whether you’re making a card for your best friend, sister, mom, partner, or someone who loves pretty stationery, this project is easy to customize. Keep the design minimal for a modern look or add more layers for a playful handmade finish.
Choose a Soft Aesthetic Color Palette
The easiest way to make a DIY card look cohesive is to start with a small color palette. Instead of using every color in your craft box, choose two or three main shades and one neutral.
Some pretty combinations include:
- Blush pink, cream, and dusty rose
- Sage green, beige, and white
- Lavender, soft blue, and ivory
- Peach, butter yellow, and cream
- Terracotta, tan, and muted pink
Use thick cardstock as the card base. White and cream are simple choices, but pastel cardstock can also create a lovely background.
Cut your cardstock to the size you want, then fold it carefully in half. Run a ruler or the back of a spoon along the fold to create a neat crease.
Add a Layered Paper Background
A simple paper layer can make the card look more finished without requiring complicated techniques. Cut a piece of patterned or colored paper slightly smaller than the front of your card.
Center it on the card and attach it with double-sided tape or craft glue. Leave a narrow border of the base cardstock visible around the edges.
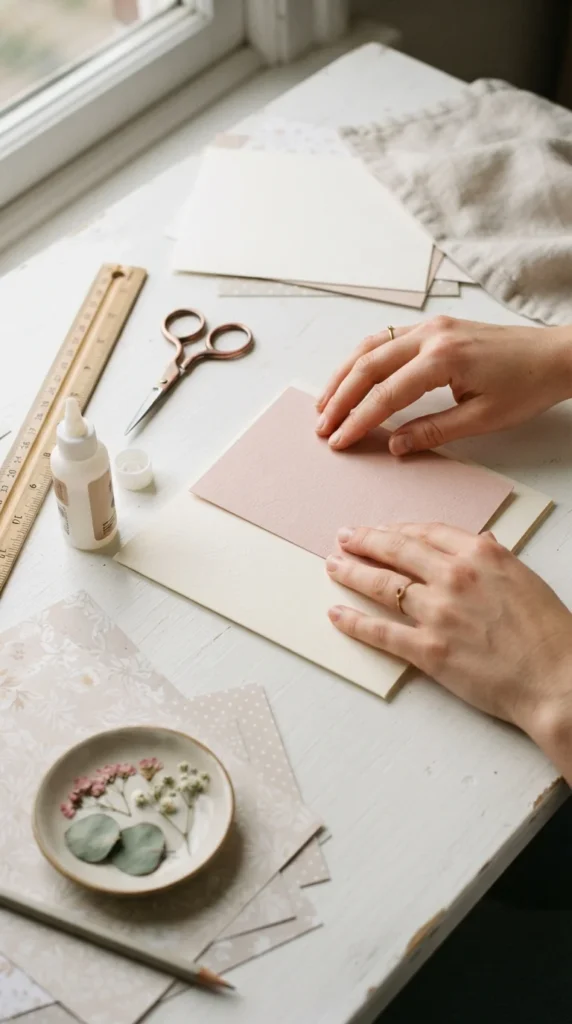
For an extra detail, use decorative scissors around the edge of the smaller paper layer. A torn paper edge can also create a relaxed scrapbook-style appearance.
Don’t worry about making every layer perfectly symmetrical. Small variations can make handmade cards feel more natural.
Create Simple Paper Flowers
Paper flowers are one of the easiest ways to give a birthday card a pretty Pinterest-inspired touch. You can make simple flowers from small circles, scalloped shapes, or five-petal templates.
Cut several flowers in different sizes. Stack two or three shapes together and place a small paper circle, pearl, or button in the center.
For more dimension, gently curl the petals upward with your fingers before attaching the flower to the card.
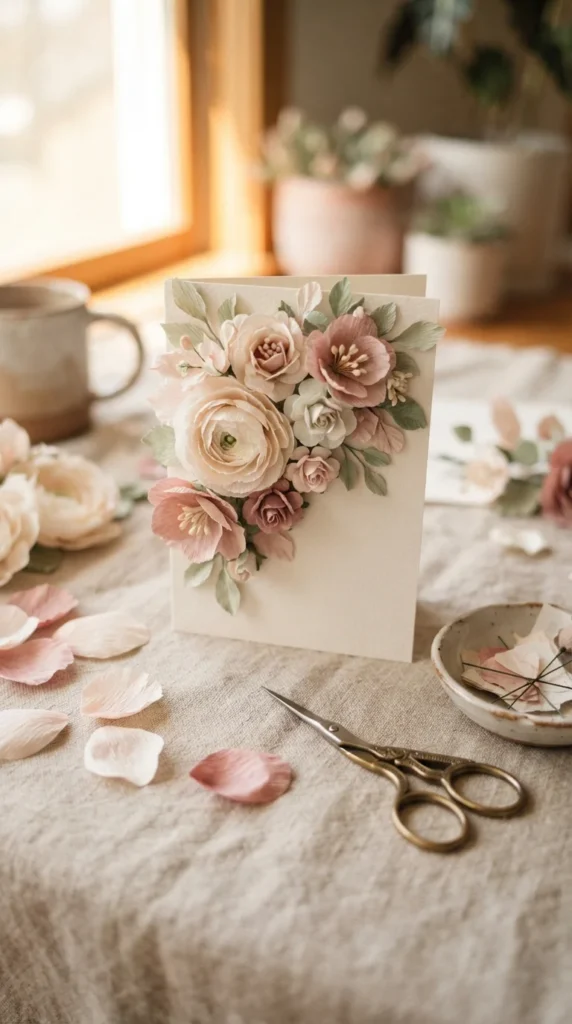
Arrange three flowers in one corner rather than covering the whole card. Add a few small green leaves between them to create the look of a tiny botanical arrangement.
If you’re short on time, use one large flower with two smaller ones. The uneven sizing creates visual interest without adding much extra work.
Add a Small Ribbon Bow
A tiny ribbon bow can make a handmade card look like a little wrapped gift. Choose a narrow ribbon that matches your color palette rather than using a completely different shade.
Cut a short length of ribbon and tie it into a small bow. If tying tiny bows is difficult, make the loops separately and attach them around a small center strip.
Glue the finished bow near your paper flowers, across the center of the card, or along one corner.
For a natural Pinterest-style finish, try linen, cotton, or velvet ribbon. Satin ribbon gives the card a dressier appearance, while jute or twine works well for rustic designs.
Use Tiny Details for Extra Charm
The smallest decorations can make a simple card feel finished. You don’t need to add lots of embellishments; choose two or three details that fit the design.
Try adding:
- Tiny paper hearts
- Small gold or silver dots
- Mini paper stars
- A thin hand-drawn border
- Small pressed flowers
- A few pearl embellishments
- Short strips of washi tape
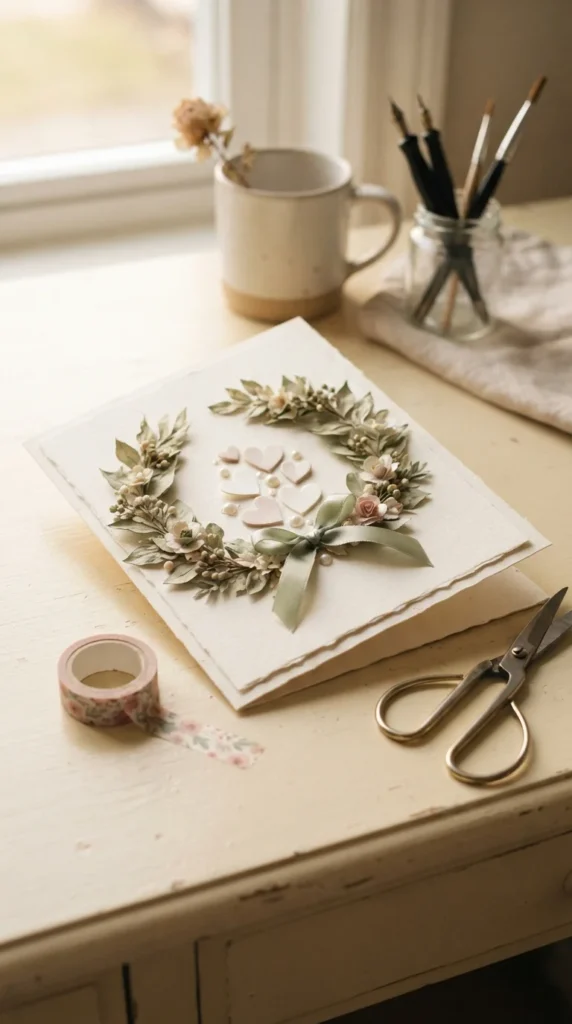
Place embellishments with a light touch. Leaving empty space around the main design helps the card look clean rather than crowded.
You can also repeat one small detail in several places. For example, if you use a tiny gold dot near the flowers, add two or three more dots around the card to make the design feel connected.
Add a Personal Birthday Message
The inside of the card is where you can make the project truly personal. If your handwriting is neat, write the message by hand with a fine-tip pen.
A simple message can be just as meaningful as a long paragraph. Mention a favorite memory, a quality you appreciate, or something you’re looking forward to doing together.
For a polished appearance, use black, brown, or dark gray ink. If the card has a soft neutral palette, avoid using too many different ink colors.
You can also attach a small photo, handwritten note, or tiny paper pocket inside the card for an extra surprise.
Finish and Package the Card
Before giving the card away, check that all the decorations are firmly attached. Let glue dry completely, especially around flowers, ribbon, and raised embellishments.
Place the card inside a matching envelope. For an extra handmade touch, tie the envelope with a small piece of ribbon or add a tiny paper flower to the front.
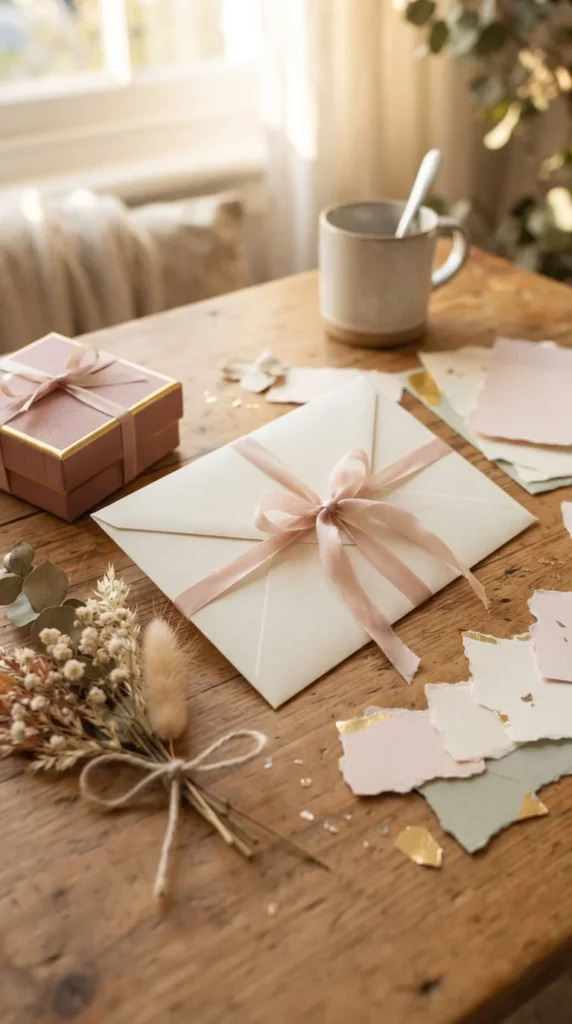
If the card has bulky decorations, use a slightly larger envelope so the embellishments don’t get crushed.
Final Thoughts
Creating an aesthetic birthday card is all about simple details working together. Start with a soft color palette, add one layered feature such as paper flowers, then finish with ribbon and a few tiny embellishments. The result can look polished while still showing the time and care you put into making it. Save this idea for your next birthday project and make a personalized card for someone special.

Lily Summers is a digital artist and creative storyteller who loves bringing colorful characters to life. With a passion for cartoons, fan art, and playful sketches, she inspires others to explore their imagination through art. When she’s not sketching, you’ll find her dreaming up new ideas for CraftedWizard.com to spark creativity in every artist. 🌈✨