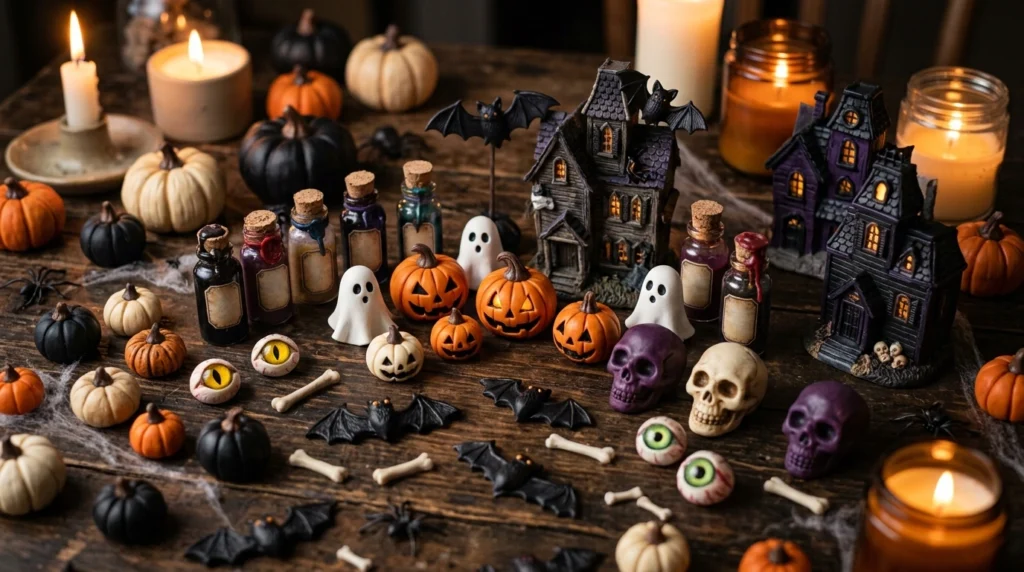
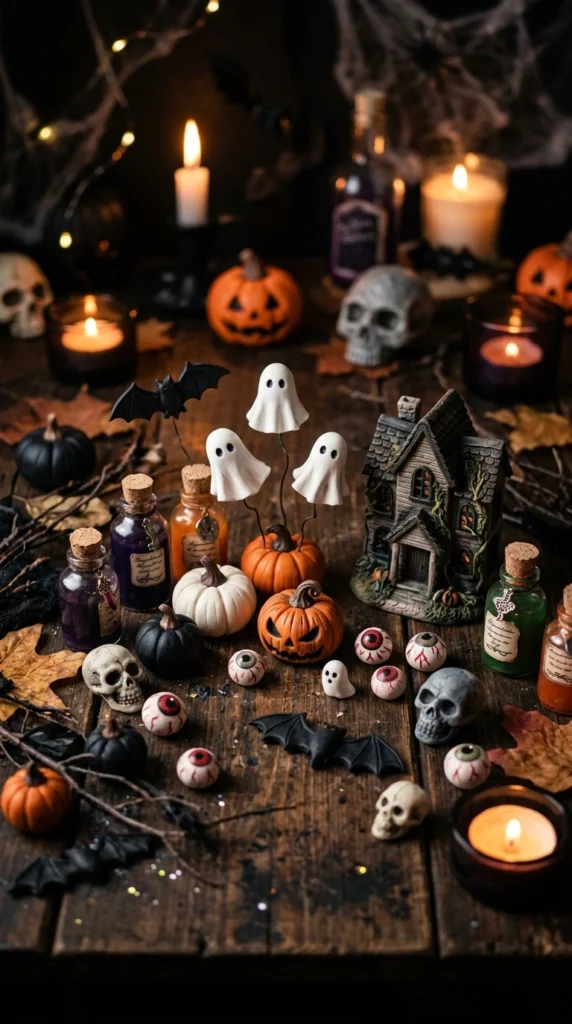
Halloween crafts become much more fun when they look like tiny treasures from a haunted house. Polymer clay lets you create small decorations, party favors, jewelry, magnets, and table pieces that feel handmade and full of personality. From goofy little ghosts to creepy potion bottles, these projects can fit almost any Halloween party theme. Pick one idea or combine several for a table full of spooky details your guests will remember.
1. Tiny Polymer Clay Ghosts
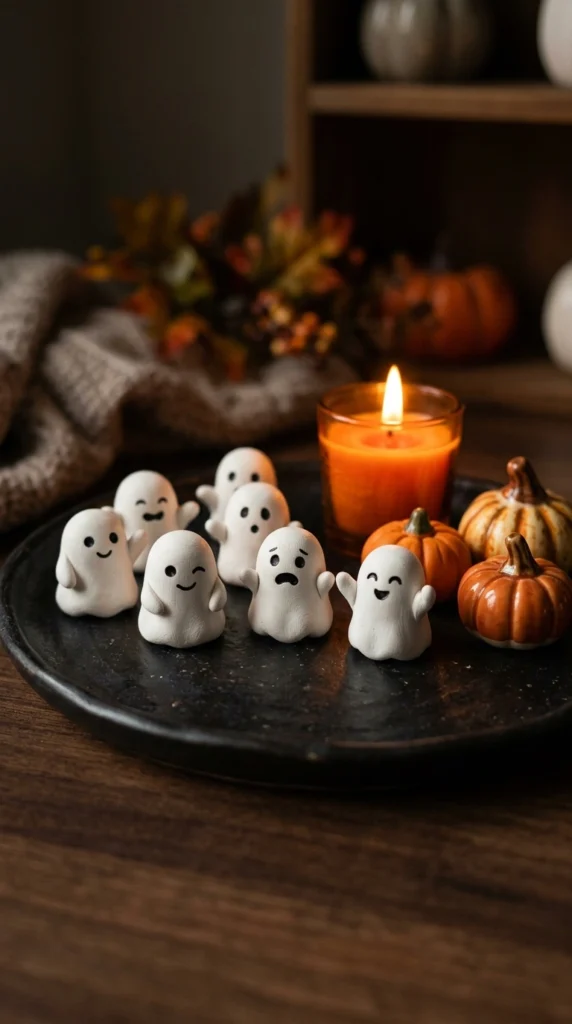
Tiny ghosts are one of the easiest polymer clay projects to make for Halloween. Roll small pieces of white clay into balls, then gently shape each one into a ghost body with a wider base. Pinch the bottom into uneven folds so every ghost has its own personality.
Add two tiny black eyes and a small mouth using black clay or carefully painted details after baking. Make some faces happy, some surprised, and others slightly grumpy. Different expressions make a whole group look much more fun than identical pieces.
Place the ghosts around candles, on a dessert table, or beside plates at your Halloween gathering. You can also turn them into magnets or tiny party favors by adding the right hardware after the clay has cooled.
2. Creepy Eyeball Magnets
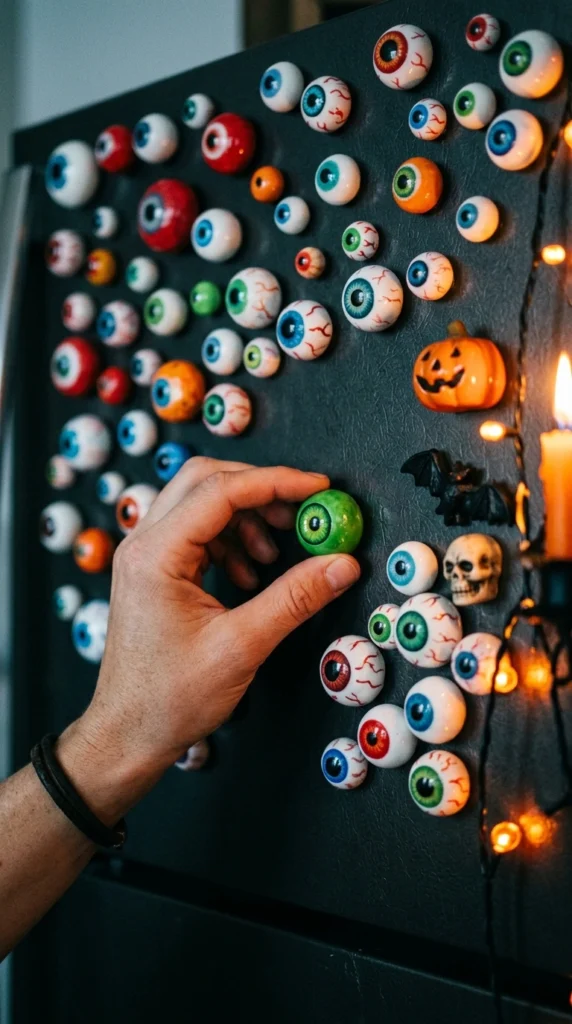
Polymer clay eyeballs make wonderfully strange Halloween decorations because they are simple but instantly recognizable. Shape small white clay spheres, then add colored irises, dark pupils, and thin red veins for a creepy finish. Slightly uneven shapes can make them look more handmade and unsettling.
After baking, attach small strong magnets to the backs. You can create different eye colors and sizes, then scatter them across the refrigerator, a metal serving tray, or a party photo backdrop.
For an extra eerie effect, make one oversized eyeball surrounded by several tiny ones. The contrast creates a fun focal point without requiring a complicated sculpting technique.
3. Mini Haunted House
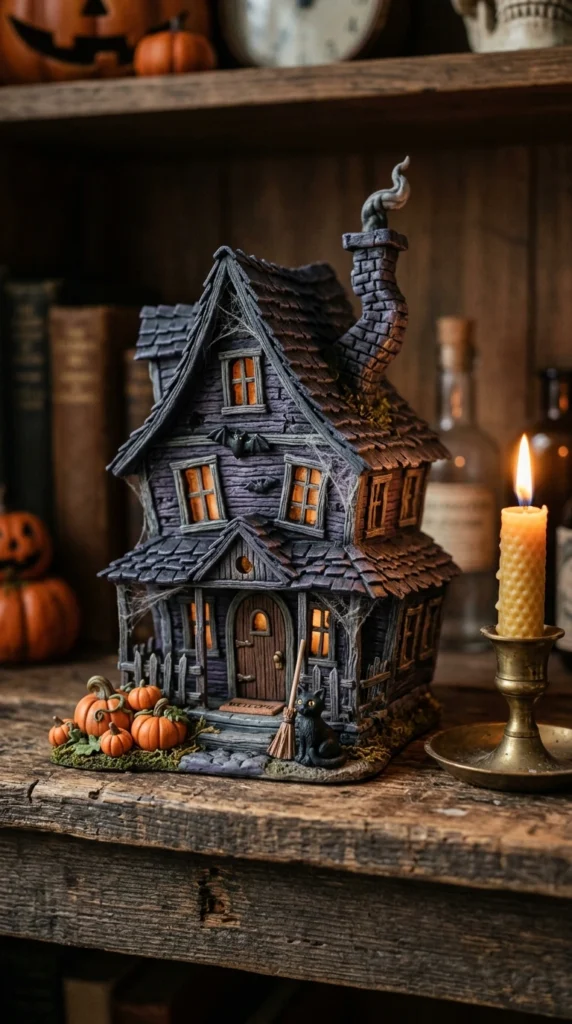
A miniature haunted house can become the centerpiece of your Halloween decorations. Build the basic structure from slabs or blocks of polymer clay, keeping the walls slightly uneven. Add crooked windows, a tiny door, roof shingles, and a chimney for a handmade haunted-house appearance.
Dark gray, brown, black, muted purple, and orange work well together. Add tiny pumpkins around the entrance and a miniature black cat sitting beside the door. You can also create a few glowing-looking windows with translucent yellow clay.
Keep the house small enough to sit on a shelf or dessert table. Several tiny houses placed together can create a miniature Halloween village that looks great beneath candles or string lights.
4. Polymer Clay Black Cats
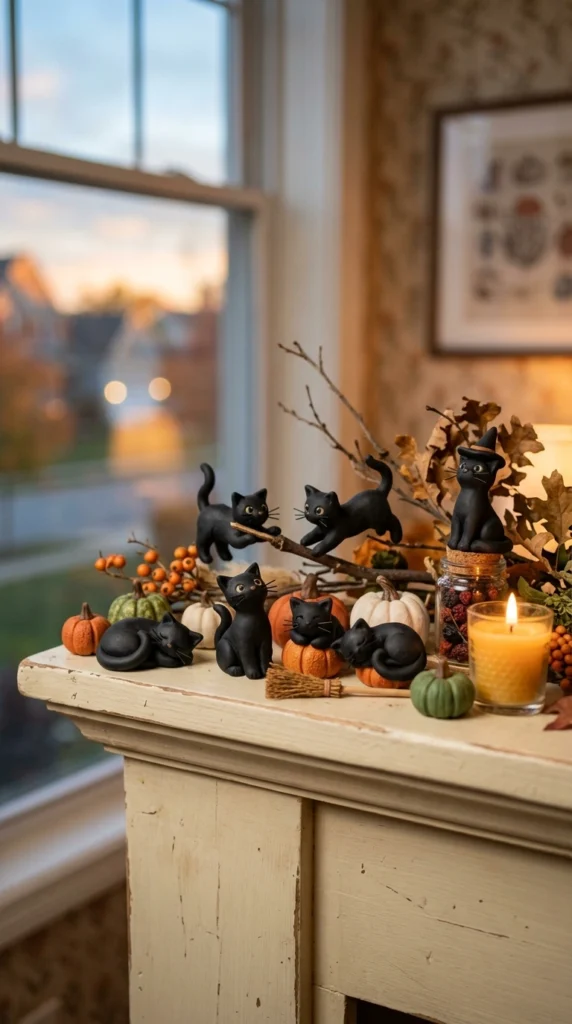
Black cats are a classic Halloween shape, and polymer clay makes them easy to customize. Start with simple oval bodies, pointed ears, small tails, and tiny paws. You can make some cats sitting upright while others curl their tails around their bodies.
Bright yellow or green eyes create a strong contrast against black clay. Tiny orange collars, moon-shaped pendants, or miniature pumpkins can give each cat a different personality.
Use them as shelf decorations, place-card holders, or small accents around a Halloween centerpiece. If you add a small loop before baking, a black cat can also become a hanging ornament.
5. Mini Polymer Clay Pumpkins
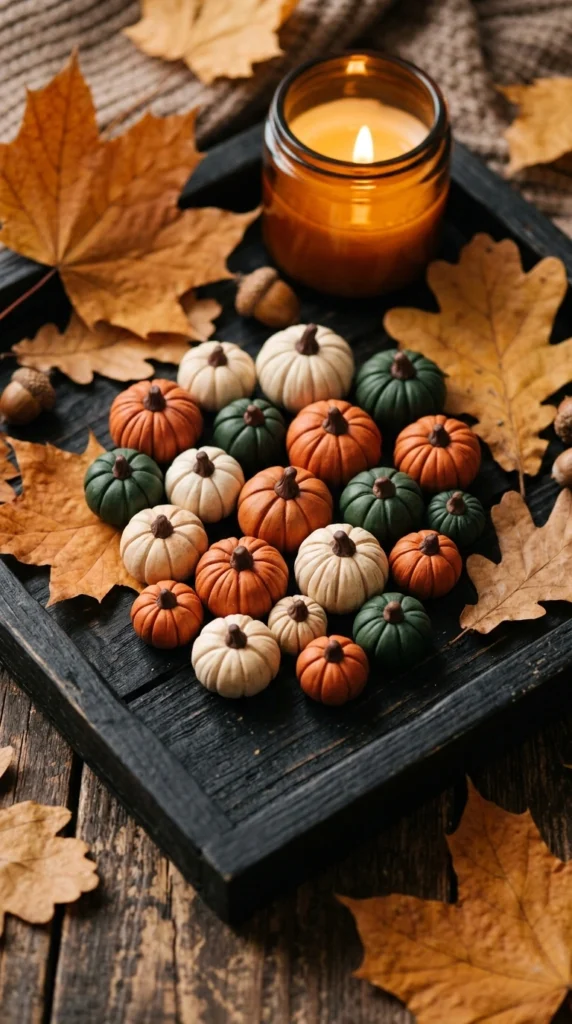
Mini pumpkins are perfect for filling small empty spaces around your Halloween decorations. Roll orange clay into small balls, then use a sculpting tool to press vertical grooves around each pumpkin. Add a tiny brown stem and a small green leaf for extra detail.
Try several shapes rather than making every pumpkin identical. Tall pumpkins, squat pumpkins, tiny pumpkins, and slightly lopsided pumpkins create a more natural handmade display.
Scatter them around candles, serving dishes, flower arrangements, or miniature haunted houses. You can also place one tiny pumpkin inside a clear glass cloche for a simple tabletop decoration.
6. Spooky Skull Beads
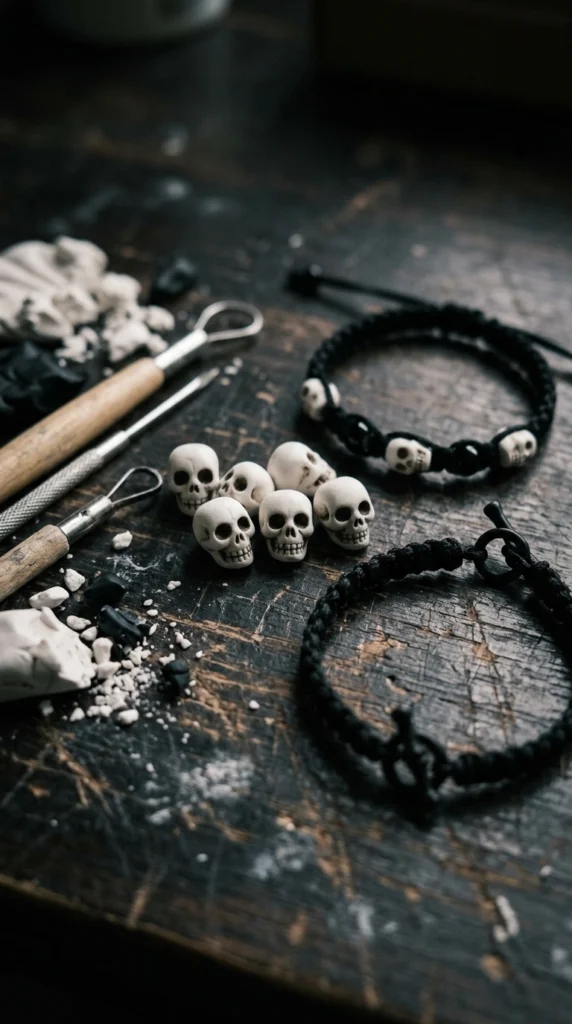
Skull beads can turn into bracelets, necklaces, zipper charms, or hanging decorations. Shape each skull from a small piece of white or ivory clay, then use a fine tool to create eye sockets, a nose opening, and a simple tooth line.
Before baking, make a hole through each skull if you plan to use it as a bead. You can keep the design clean and cartoon-like or add cracks and tiny dark details for a more dramatic look.
Pair skull beads with black, orange, or dark red beads for Halloween jewelry. A small collection displayed in a shallow dish can also become part of your craft-table decor.
7. Witch Hat Charms
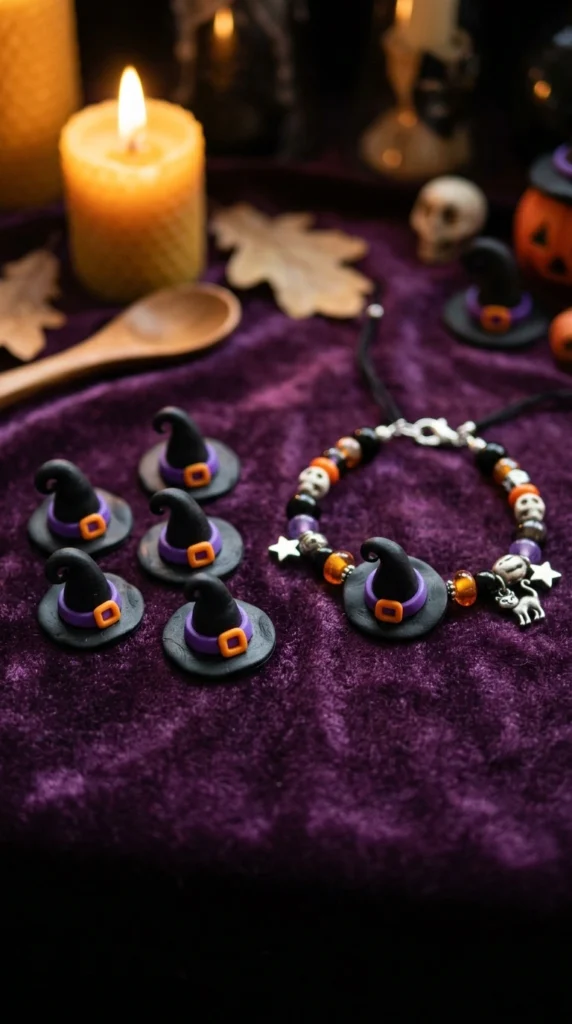
Tiny witch hats are quick projects that can be turned into charms, earrings, magnets, or party favors. Form the cone by shaping a small piece of black clay, then flatten the bottom into a wide brim. Add a thin purple, orange, or green band around the base.
For earrings, insert suitable jewelry findings before baking if the clay design allows it. For charms, create a small hole near the top so a jump ring can be added later.
Make several hat colors and sizes for a playful collection. A few tiny hats scattered across a dessert table can also make ordinary serving areas feel much more Halloween-ready.
8. Creepy Potion Bottles
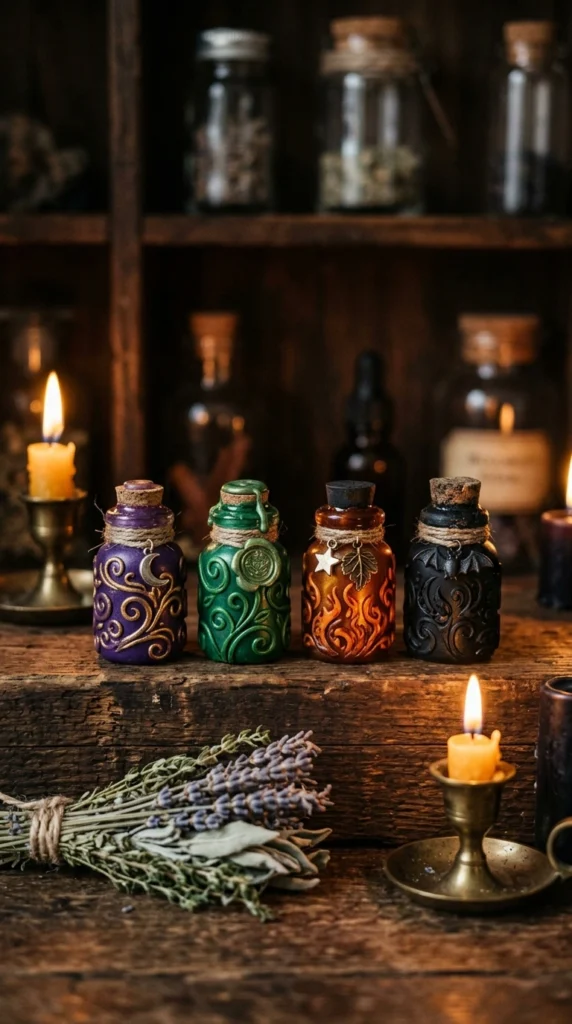
Tiny potion bottles look impressive even when they are made from simple clay shapes. Create small bottle bodies, narrow necks, and rounded or cork-like tops. Use translucent clay for the bottle itself if you want a glass-like appearance, or choose dark colors for a more mysterious effect.
Add tiny clay bubbles, moons, stars, bones, or swirling colors inside the bottles. Purple, green, amber, and black make a strong Halloween palette.
Arrange several bottles together on a tray with miniature pumpkins and candles. They can also work as decorations around a haunted-house display or as tiny pieces in a Halloween miniature scene.
9. Vampire Bat Earrings
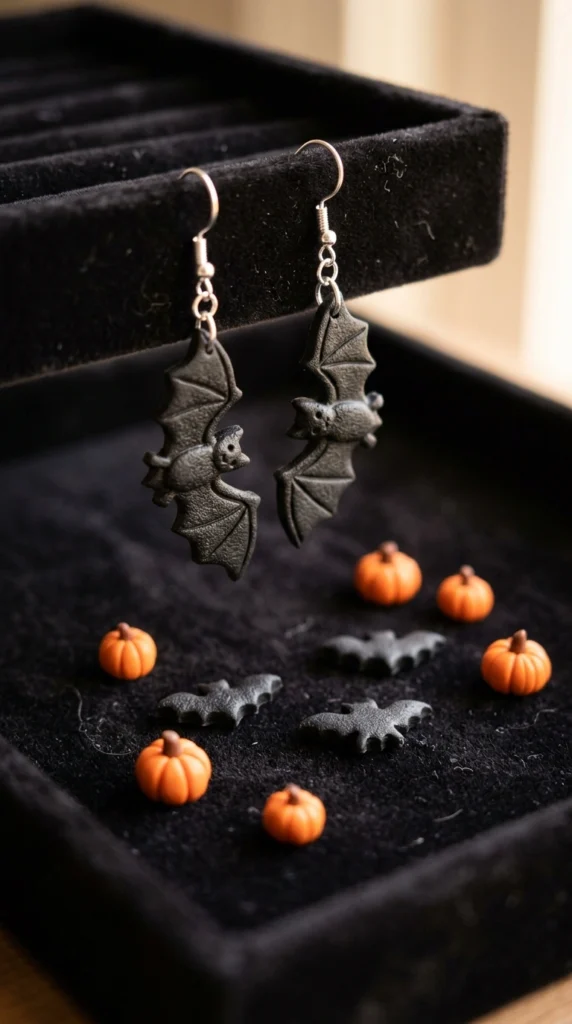
Bat earrings are a great project if you want something wearable for Halloween night. Flatten black clay and cut or shape two matching bat silhouettes, then gently curve the wings for a dimensional appearance.
Add tiny red eyes or small silver accents if you want a dramatic look. Create holes near the top before baking so the finished pieces can be attached to earring hooks.
Keep the bats lightweight so they are comfortable to wear. You can also make tiny versions as zipper charms or larger bats as hanging decorations for a party backdrop.
10. Monster Eye Hair Clips
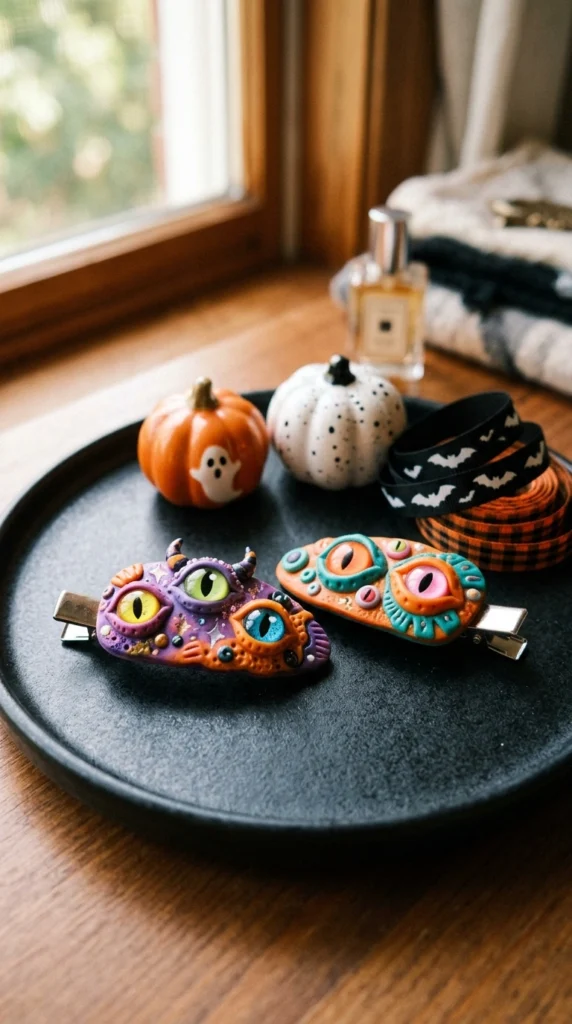
Monster eyes can turn ordinary hair clips into fun Halloween accessories. Shape small eyeballs from white clay and add bright green, blue, purple, or yellow irises. A few tiny red veins can make them look wonderfully creepy.
Attach the finished clay pieces securely to plain hair clips after baking. Keep the decorations small and light so the clips remain comfortable to wear.
Make a mismatched pair with different eye colors for a playful look. These also make cute handmade gifts for friends who enjoy Halloween accessories without wanting an overly dark style.
11. Ghostly Pumpkin Faces
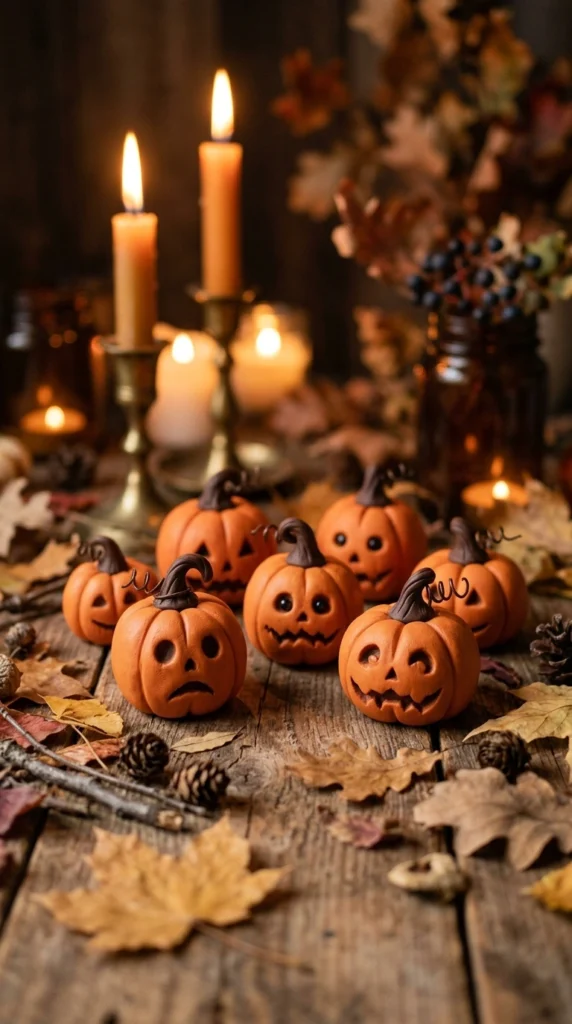
Combine two Halloween favorites by giving tiny pumpkins ghost-like faces. Start with small orange pumpkin shapes and press shallow grooves around them. Then add expressive eyes and crooked mouths using black clay.
Try sleepy eyes, surprised expressions, mischievous smiles, and wide-open mouths. Small differences make the collection feel handmade rather than factory-produced.
Use these pumpkins as table scatter, cake-table decorations, or accents around a larger centerpiece. Their small size also makes them easy to store and reuse for future Halloween parties.
12. Mini Monster Figurines
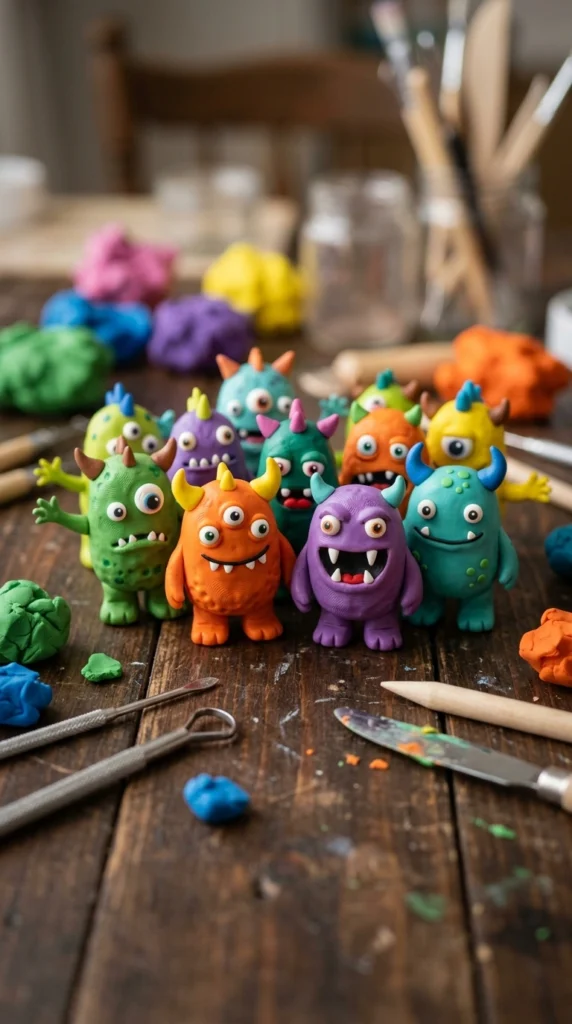
Monsters give you plenty of freedom because there is no single correct shape. Create round bodies, oversized heads, crooked teeth, horns, ears, tails, and mismatched eyes. Bright purple, green, orange, blue, and black clay can make the figures feel playful instead of frightening.
Give every monster a different expression. One might look sleepy, another shocked, and another might have a huge silly grin.
Place the finished figures around a Halloween snack table or inside a glass display jar. Kids can also choose their favorite monster as a small party favor.
13. Black Rose Hair Pins
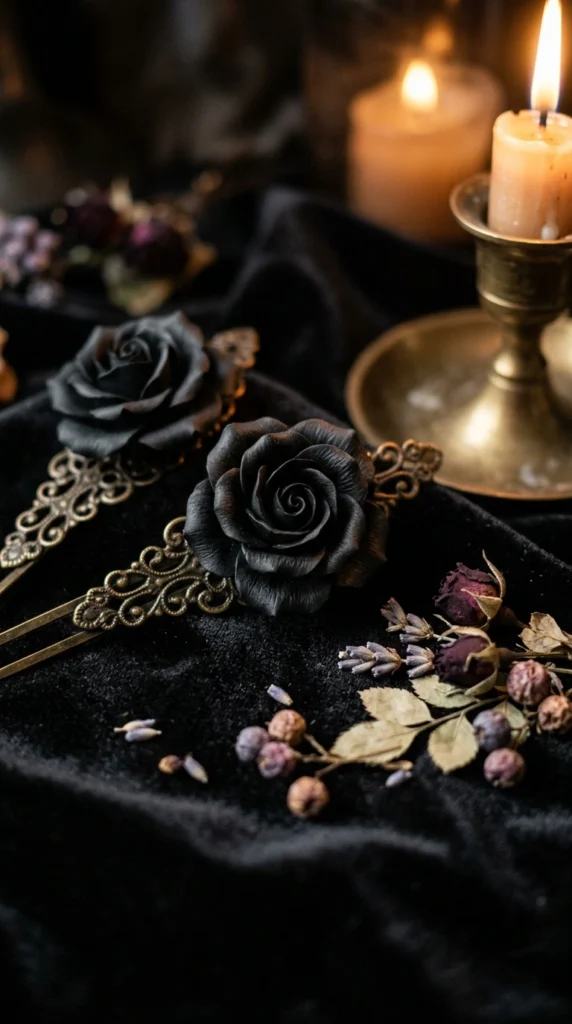
For a more elegant Halloween project, shape black polymer clay roses and turn them into hair pins. Flatten tiny pieces of clay and layer them into curved petals, gradually building the flower from the center outward.
You can keep the roses completely black or add a subtle dark red center. A tiny metallic-looking clay accent can also give the flowers a jewelry-like finish.
Attach the baked roses to sturdy hair pins using an appropriate adhesive. Wear one for a Halloween gathering or group several pins together for a dramatic hairstyle.
14. Frankenstein Face Magnets
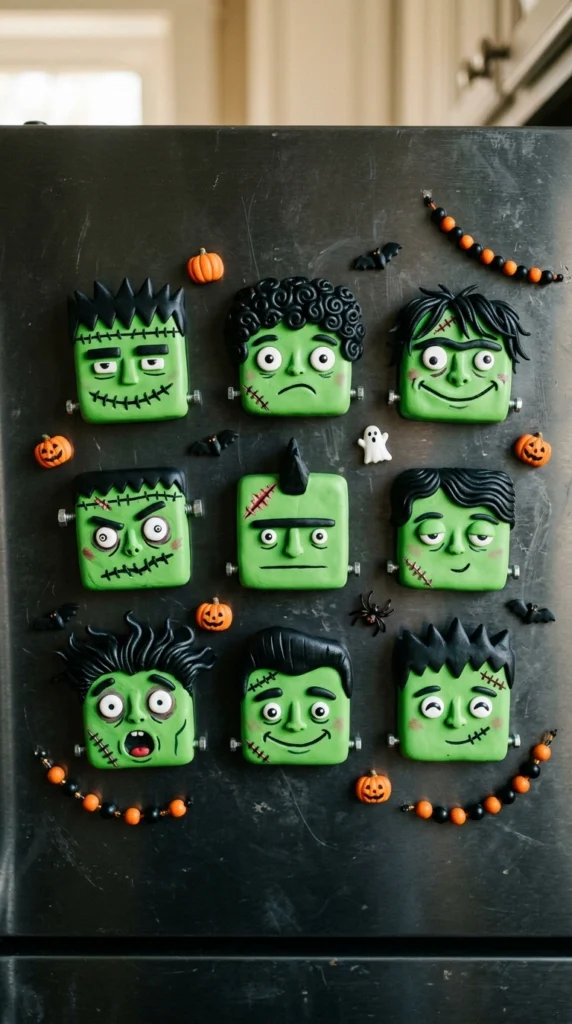
Frankenstein-inspired face magnets are fun because the basic design can stay simple while the details make each face different. Shape green clay into small square or rounded heads, then add black hair, heavy eyebrows, eyes, and a stitched mouth.
Press tiny dark lines into the sides of the face to imitate classic neck bolts or scars. Keep the expressions varied so the magnets look like a small group of characters.
Once baked and cooled, attach magnets to the back. Arrange them across a refrigerator or metal party board, or give individual faces to guests as small Halloween favors.
15. Haunted Mushroom Charms
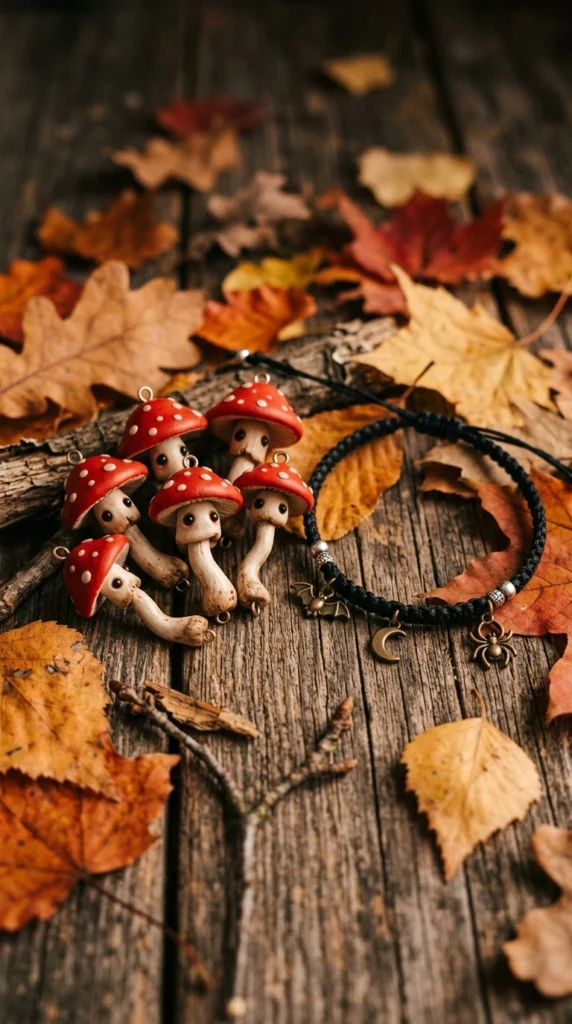
Haunted mushrooms add a woodland twist to Halloween crafts. Shape simple stems from cream or gray clay, then add rounded caps in red, purple, orange, or black. Tiny white spots can give the caps a classic mushroom appearance.
For the spooky part, add tiny eyes or little surprised mouths to the stems. You can also make the caps slightly crooked so every mushroom looks different.
Create a hole before baking if you want to turn them into charms. These little figures work especially well with cottage-style Halloween decor, fairy-tale themes, or woodland party displays.
16. Mini Coffin Trinket Boxes
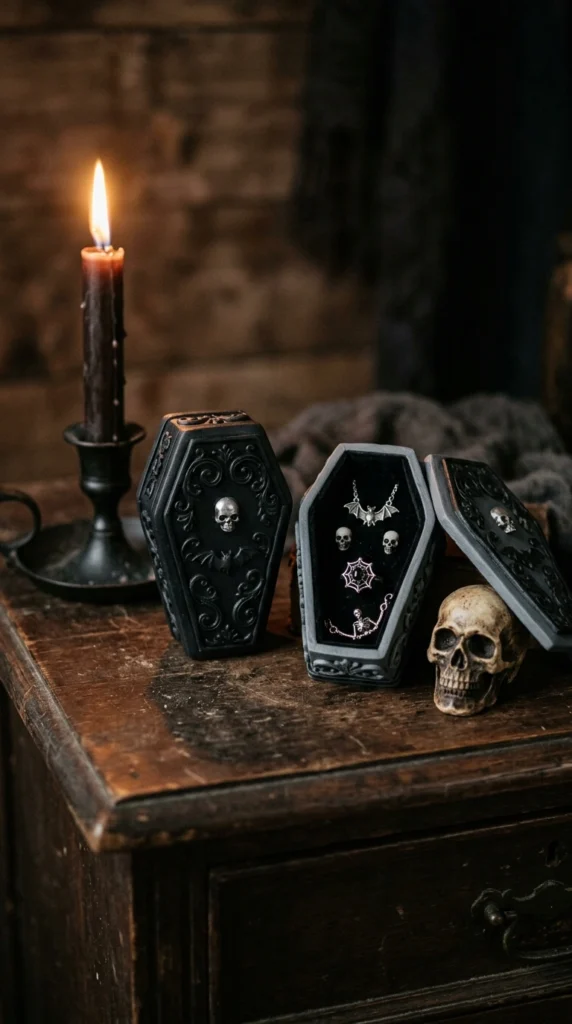
A miniature coffin box can serve as both a decoration and a tiny storage container. Build the base and lid from thin slabs of polymer clay, shaping each into a simple coffin outline. Keep the walls sturdy enough to hold small objects.
Add a tiny skull, crossbones, spider, or crescent moon to the lid. You can also create raised borders around the edges for extra detail.
Use the finished box to hold rings, earrings, beads, or tiny Halloween treats. Place several small boxes together on a shelf for a miniature gothic display.
17. Spider Web Pendants
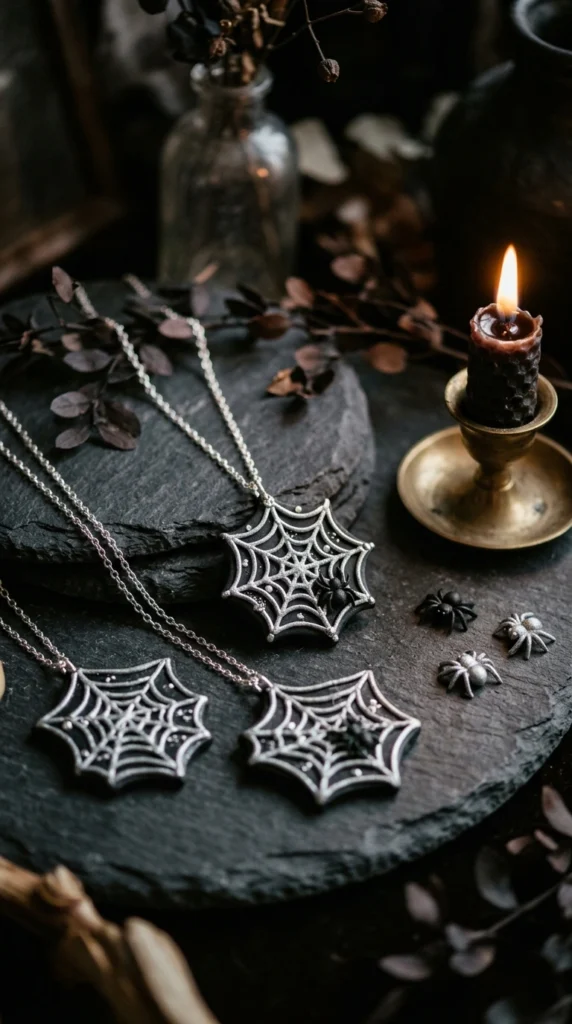
Spider web pendants offer a simple geometric design that works well for Halloween jewelry. Roll thin strands of black or silver clay and arrange them into a web pattern. Press the lines together gently where they meet so the piece holds its shape.
Add a tiny spider in the center for a stronger Halloween detail. Keep the spider small enough that the web remains the main feature.
Create one pendant for yourself or several as gifts. Black clay paired with metallic-looking accents can give the finished necklace a polished appearance without making the project difficult.
18. Tiny Witch Cauldrons
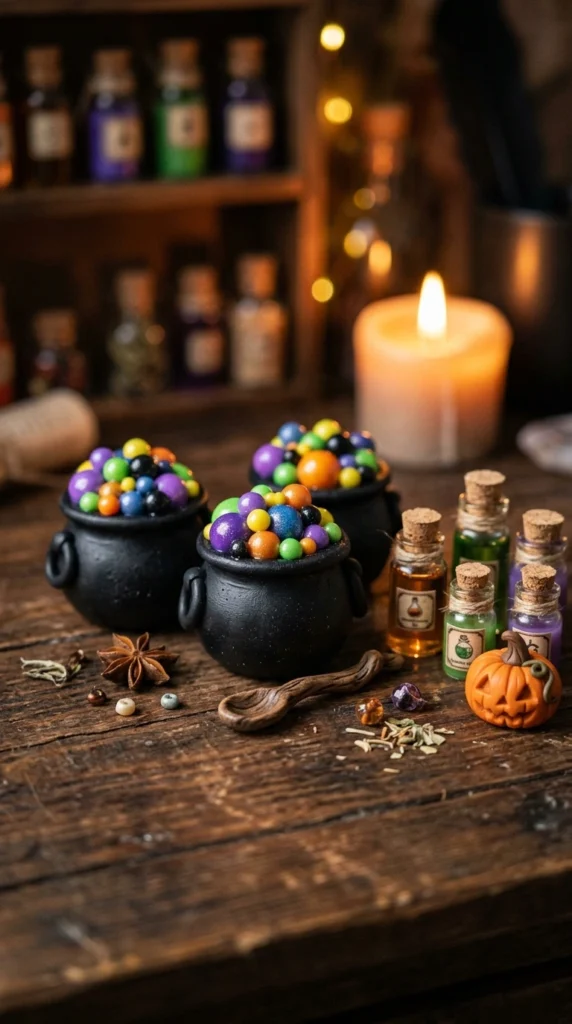
Mini cauldrons make excellent additions to Halloween displays. Form a rounded black bowl, then add three small feet underneath and a slightly thick rim around the opening. The basic shape can be made with your fingers and a few simple sculpting tools.
Fill the top with colorful clay bubbles in green, purple, orange, or blue. Tiny bones, stars, mushrooms, or moons can appear to float inside the imaginary potion.
Place the cauldrons beside miniature witch hats or potion bottles. A group of three different sizes can create a charming little witchcraft scene on a shelf or party table.
19. Cute Zombie Heads
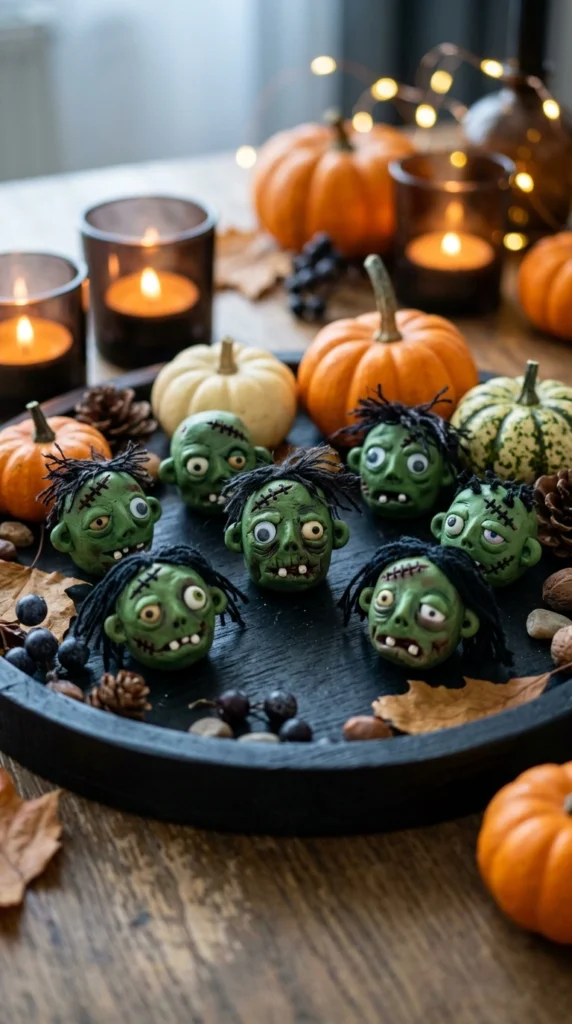
Zombie heads can be creepy without becoming too scary for a family Halloween party. Shape small green faces and add uneven eyes, tiny teeth, messy hair, and simple stitched scars.
Use different shades of green and gray to create a group of characters. One zombie can have a missing tooth, while another has one raised eyebrow or a crooked smile.
Turn the heads into magnets, figurines, or small party decorations. Their funny expressions can make them especially popular with younger guests.
20. Bat-Shaped Treat Tags
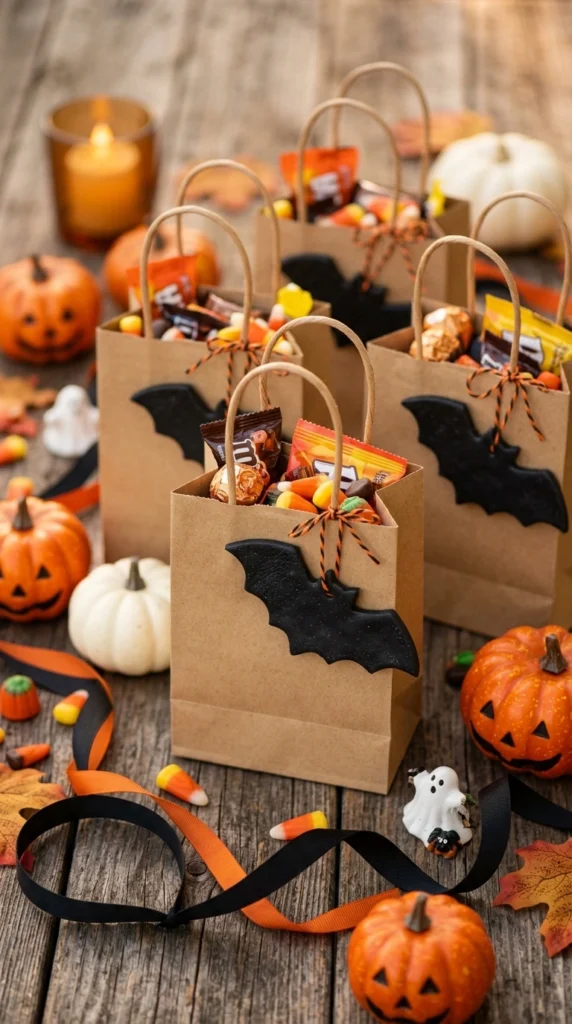
Make your Halloween treats feel handmade by adding small polymer clay bat tags. Shape flat bat pieces from black clay and create a small hole near the top before baking.
After cooling, attach each bat to a ribbon or piece of twine. Pair them with small treat bags, candy boxes, or gift packages for a personal party detail.
You can reuse the bats as ornaments after the treats are gone. Making several at once also lets you prepare party favors ahead of time without much extra work.
21. Creepy Smile Pins
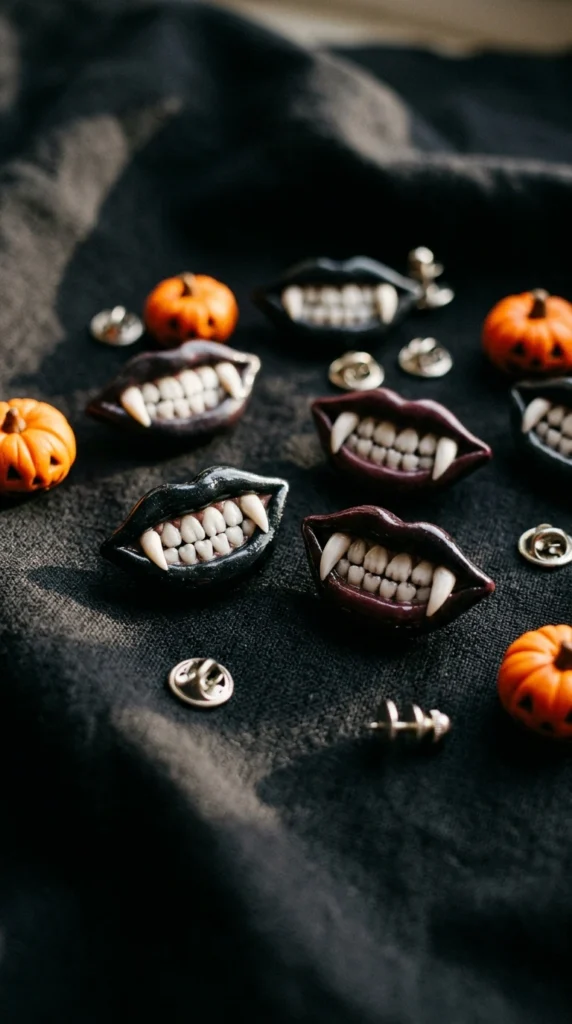
A row of creepy smile pins can make a fun Halloween accessory collection. Shape a small curved mouth from black, red, or dark purple clay, then add tiny white teeth and one or two pointed fangs.
Keep the expressions varied. Some mouths can have a wide grin, while others can look mischievous or slightly nervous.
Attach pin backs after baking and cooling. Wear one on a jacket, tote bag, or Halloween costume, or make several designs for friends.
22. Moon and Bat Ornaments
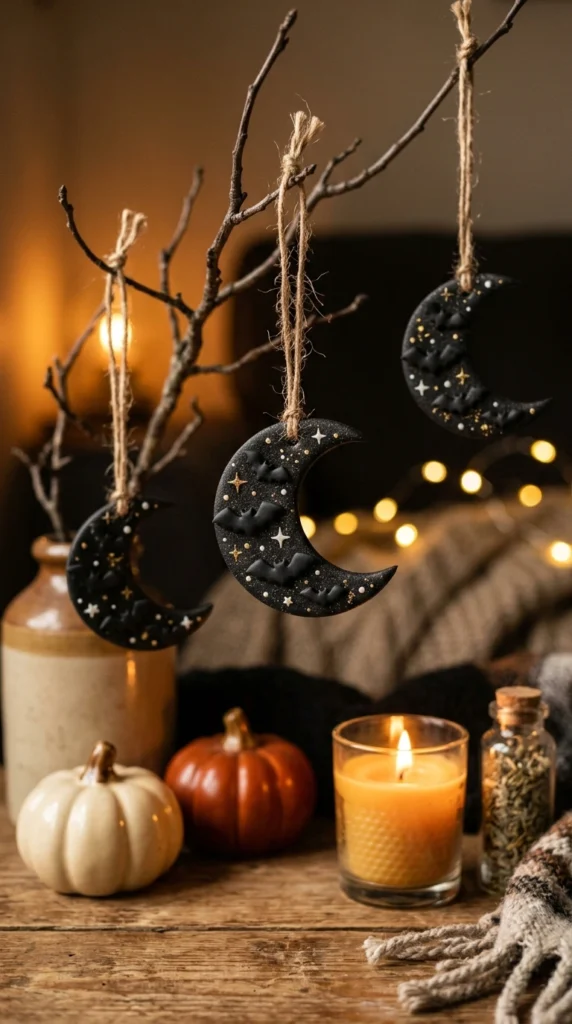
Crescent moons and bats make a beautiful combination for a Halloween ornament. Flatten dark blue, black, or deep purple clay and cut simple crescent shapes. Add tiny stars, bats, dots, or raised moons for extra detail.
Create a small hole before baking so the ornament can hang from ribbon or twine. Several moons in different sizes can form a simple hanging display.
Hang them from a decorative branch, doorknob, shelf, or Halloween tree. They also work well when mixed with paper decorations and warm fairy lights.
23. Haunted Halloween Party Tray
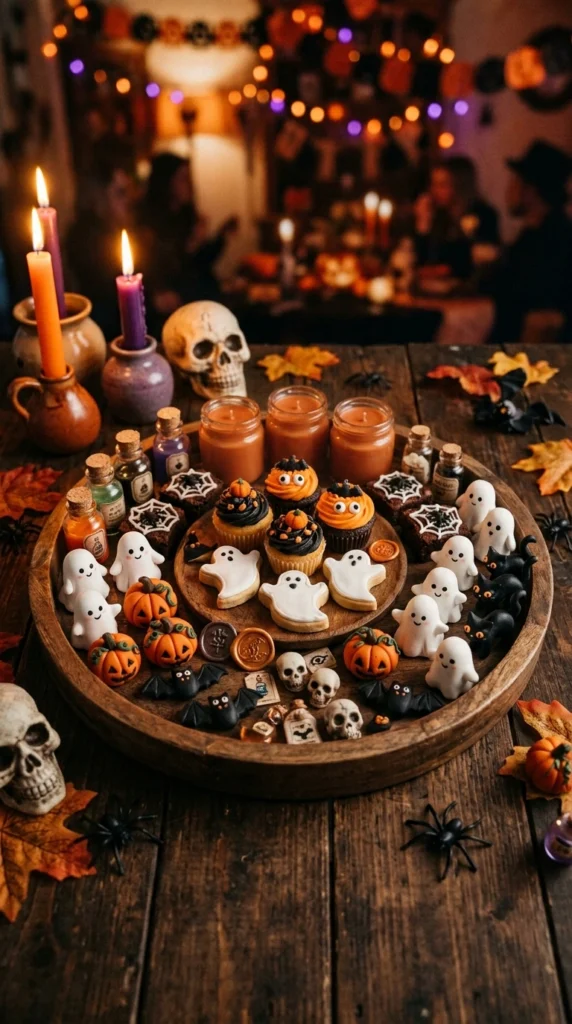
Bring several of these ideas together on one Halloween party tray. Start with a dark wooden or black serving tray, then arrange miniature ghosts, pumpkins, bats, skulls, cats, and potion bottles around the edges. Keep the center open for cupcakes, cookies, candy, or small bowls.
Mix different heights and shapes so the display has plenty of visual variety. A few candles, dried branches, or autumn leaves can fill empty spaces without taking attention away from the clay pieces.
This setup works especially well when you want your guests to notice the handmade details. After the party, remove the food and reuse the tray as a Halloween display for the rest of the season.
Final Thoughts
Polymer clay gives you plenty of ways to make Halloween decorations that feel personal, playful, and a little spooky. You can start with a simple ghost or pumpkin, then work your way toward miniature haunted houses, jewelry, magnets, and party decorations. Choose one project to make this week, gather your clay and basic tools, and create a small Halloween collection your guests will want to inspect.

Lily Summers is a digital artist and creative storyteller who loves bringing colorful characters to life. With a passion for cartoons, fan art, and playful sketches, she inspires others to explore their imagination through art. When she’s not sketching, you’ll find her dreaming up new ideas for CraftedWizard.com to spark creativity in every artist. 🌈✨