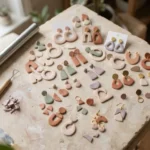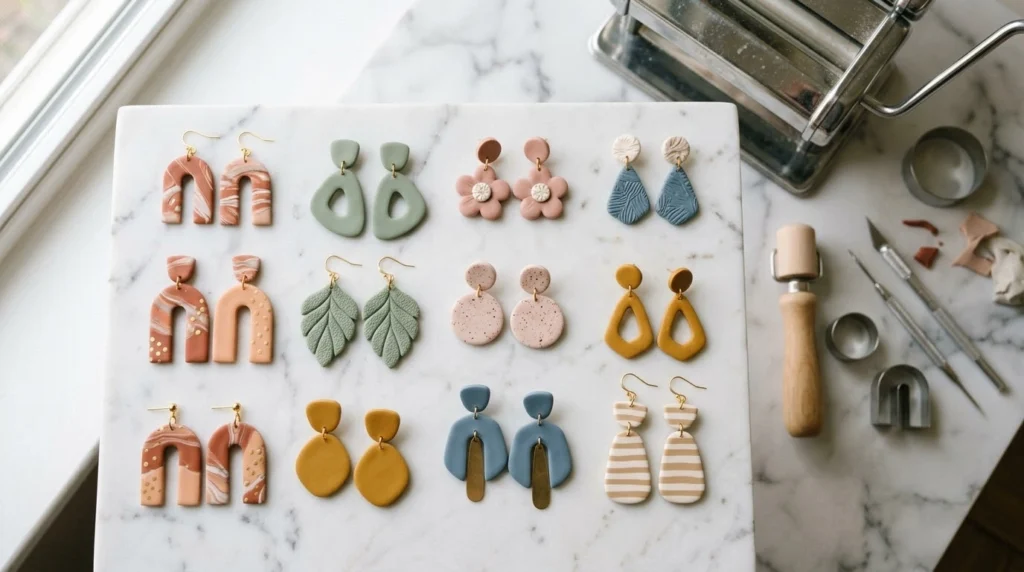
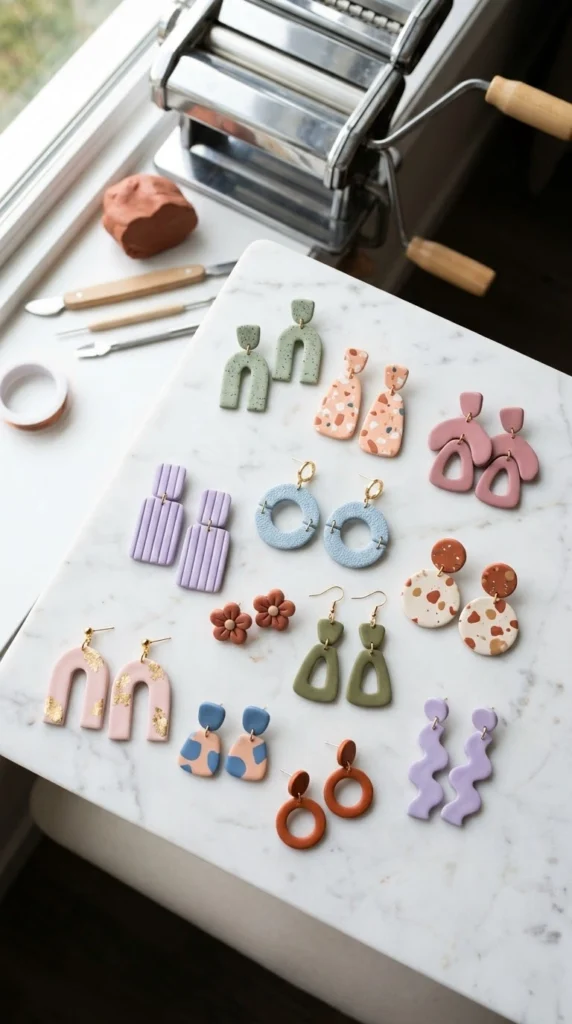
Polymer clay earrings have taken over small-batch jewelry shops for a reason: they’re cheap to make, endlessly customizable, and look far more expensive than the few dollars of clay they actually cost. The trick to getting that boutique finish isn’t fancy equipment — it’s clean edges, good color pairing, and knowing which shapes read as intentional instead of homemade. These 25 designs cover everything from beginner-friendly studs to statement dangles, all achievable with a basic clay kit and an oven. Pick a few that match your style, and you’ll have a jewelry box full of pieces people assume you bought from a boutique.
1. Classic Terracotta Arches
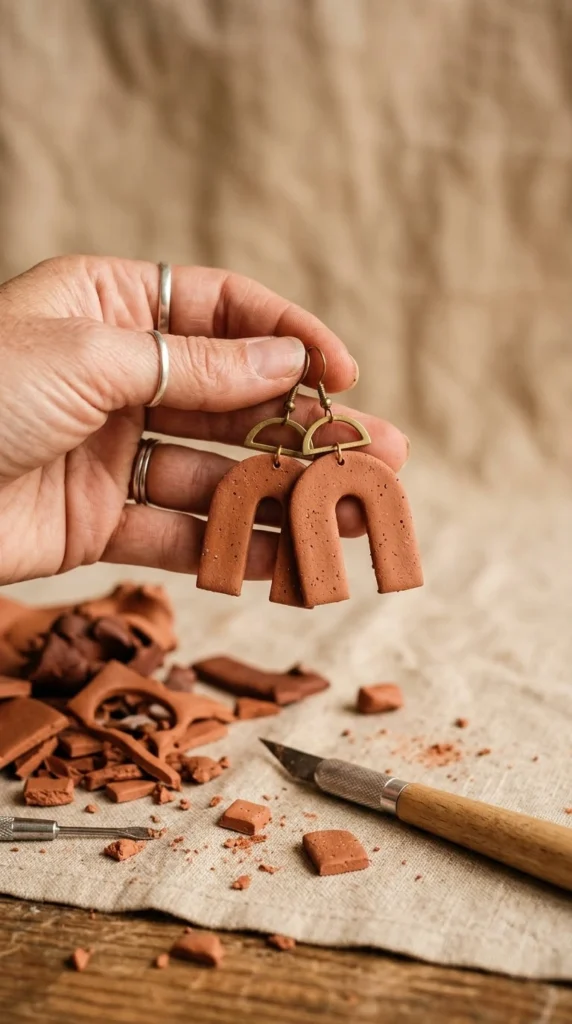
Arch shapes are one of the easiest silhouettes to cut cleanly, which makes them a great starting point if you’re new to clay. Roll your clay to an even thickness with a pasta machine, then use an arch-shaped cutter or a simple cardboard template to trace and cut the shape with a sharp blade.
A single muted terracotta tone gives these a minimalist look that pairs with almost any outfit. Sand the edges lightly after baking to get rid of any rough spots before attaching the earring hardware.
2. Marbled Swirl Studs
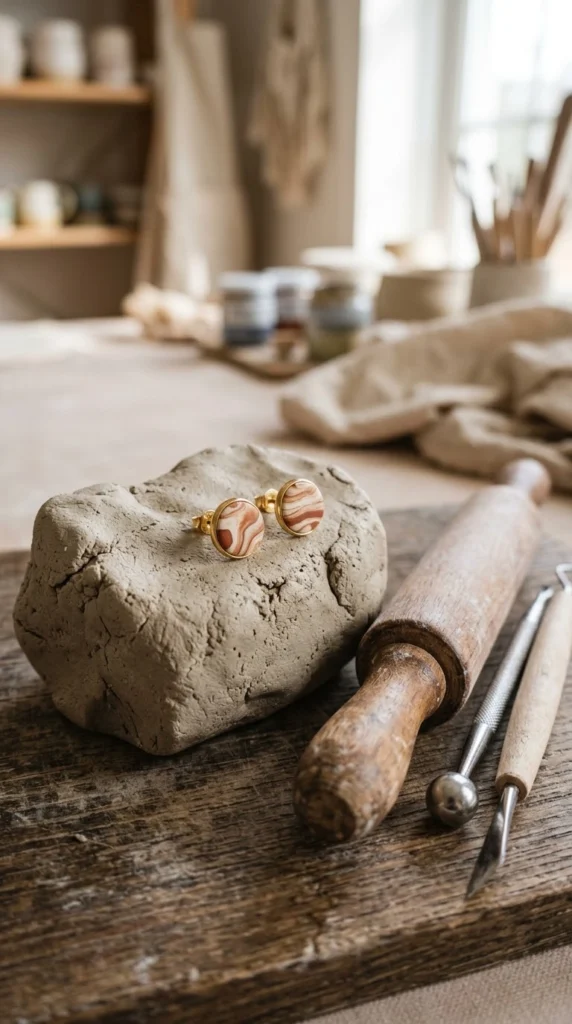
Marbling looks complicated but comes down to twisting two or three clay colors together just enough to create streaks without fully blending them. Roll the twisted clay through a pasta machine two or three times, stopping as soon as you see a marbled pattern you like.
Cut small circles for a subtle stud, or go bigger if you want the pattern to be the main event. Because every marbled sheet turns out a little different, no two pairs will look exactly alike, which is part of the appeal.
3. Layered Color Block Dangles
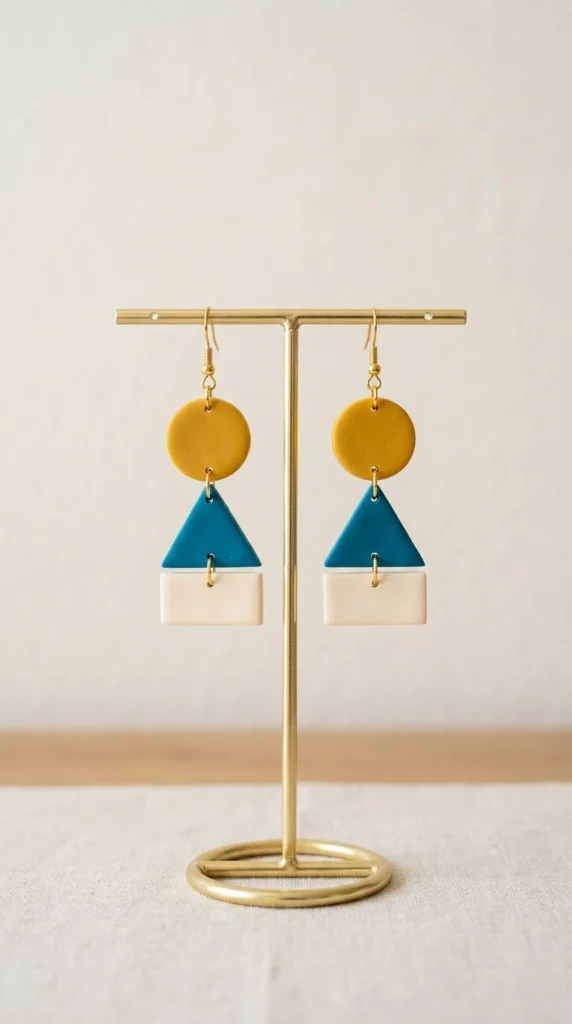
Color blocking works by layering two or three flat clay shapes in contrasting colors, then stacking them so each layer peeks out from behind the last. Cut a large base shape, a slightly smaller second shape, and a small top accent, then press them together gently before baking.
Bold, saturated colors read as modern and graphic, while softer tones lean more everyday-wearable. This is a good design for using up small scraps of clay left over from other projects.
4. Textured Linen Print Hoops
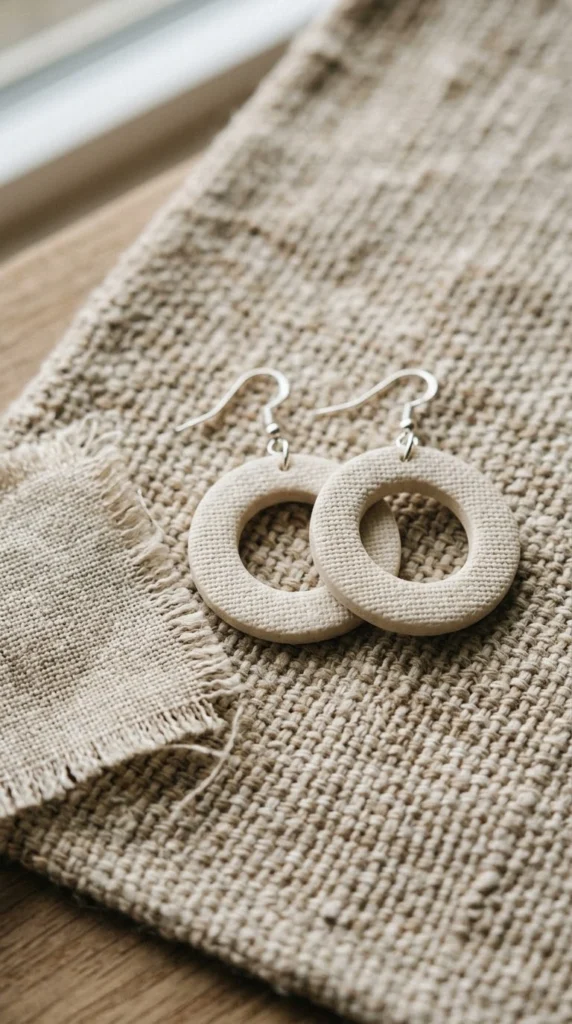
Pressing real fabric into rolled clay before cutting gives you a fine linen texture without buying a special stamp. Lay a scrap of linen over your rolled clay sheet, run it through the pasta machine once more on the thinnest setting, then peel the fabric away to reveal the imprint.
Cut hoop shapes from the textured sheet and bake as usual. The subtle texture catches light differently than smooth clay, giving these a handmade richness that flat colors don’t have on their own.
5. Mini Daisy Chain Studs
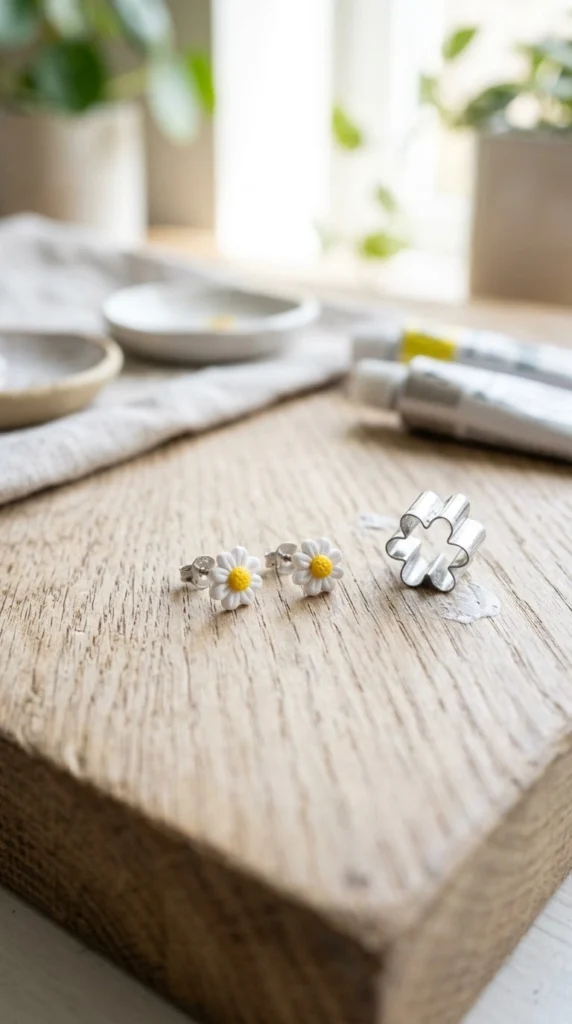
Small flower cutters make this one nearly foolproof. Roll white clay thin, cut several tiny daisy shapes, then press a small ball of yellow clay into the center of each before baking.
These are light enough to wear all day and simple enough to make a dozen pairs in one sitting. Keep a few extra centers on hand since the yellow dots are the easiest part to lose track of while you’re working.
6. Abstract Face Line Art
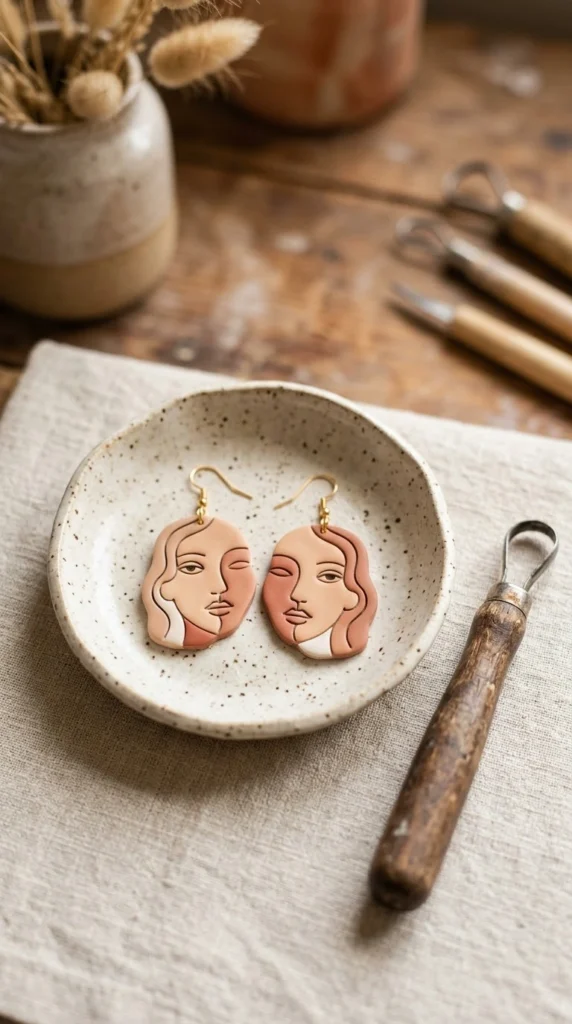
Face-shaped earrings are having a moment in handmade jewelry shops, and they’re simpler to make than they look. Cut a basic oval or curved silhouette, then use a fine needle tool to carve simple line details for eyes, nose, and lips before baking.
Keep the lines minimal rather than detailed. A single clean stroke for a brow or a nose reads as intentional, while too much carving can start to look cluttered on a small surface.
7. Checkerboard Pattern Squares
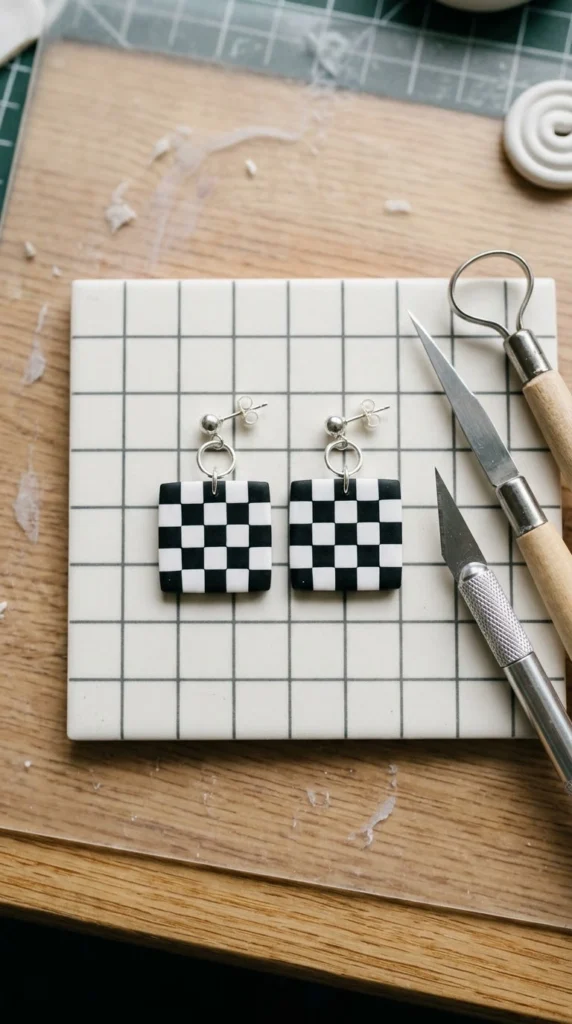
Checkerboard patterns need a little planning but no special tools. Roll thin sheets of two contrasting colors, cut both into small squares, then arrange the squares in an alternating grid pattern before pressing them flat with a roller.
Cut your final earring shape out of the assembled checkerboard sheet once it’s smooth and even. This pattern works especially well in classic black and white, though a pastel version reads softer for everyday wear.
8. Fringe Tassel Dangles
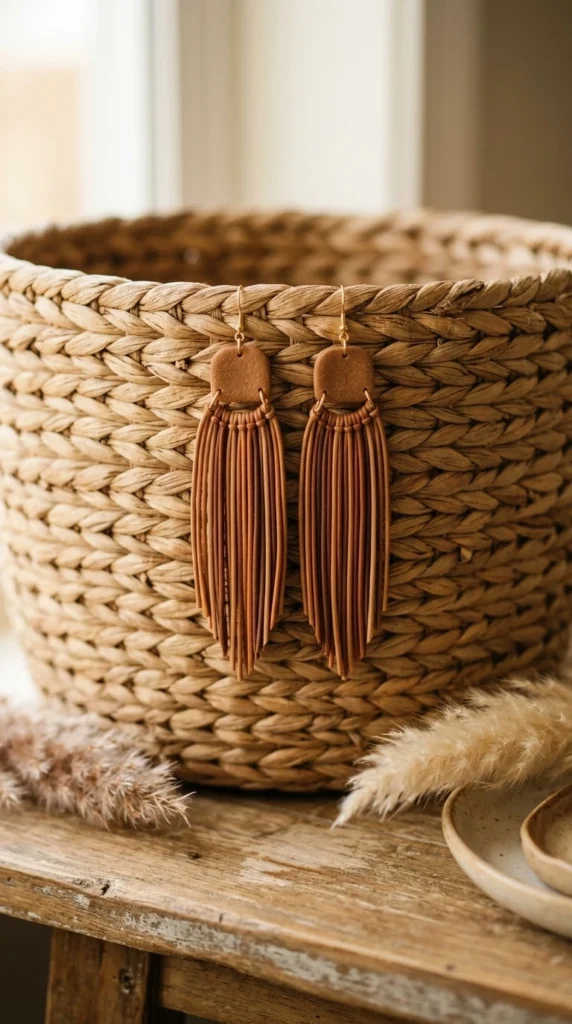
Fringe earrings mimic beaded tassels using thin strips of clay instead of individual beads. Roll several thin clay ropes, flatten them slightly, and attach them in a row to a small top bar before baking so they hang freely.
This style has real movement compared to a flat shape, which makes it stand out even in muted colors. Vary the length of each strand slightly so the fringe doesn’t look too uniform once it’s finished.
9. Speckled Stone Look Studs
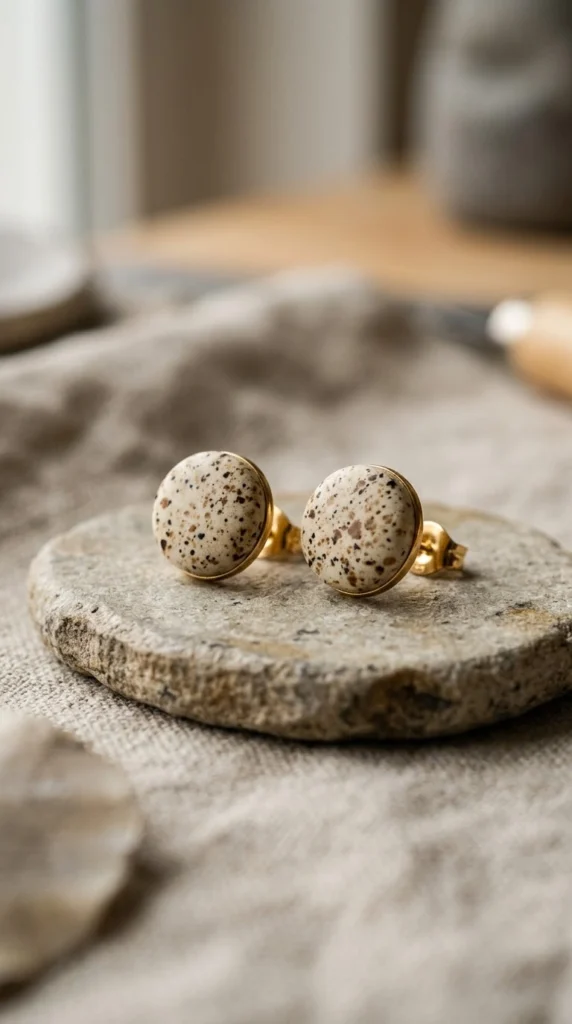
Mixing tiny bits of dark clay into a light base creates a convincing speckled stone effect without buying anything extra. Take small pinches of black and brown clay, roll them into tiny flecks, and knead them lightly into a cream or white base so they scatter unevenly.
Roll the speckled clay flat, cut into simple rounds or ovals, and bake. This finish pairs well with gold hardware and looks far closer to natural stone than most people expect from clay.
10. Scalloped Edge Circles
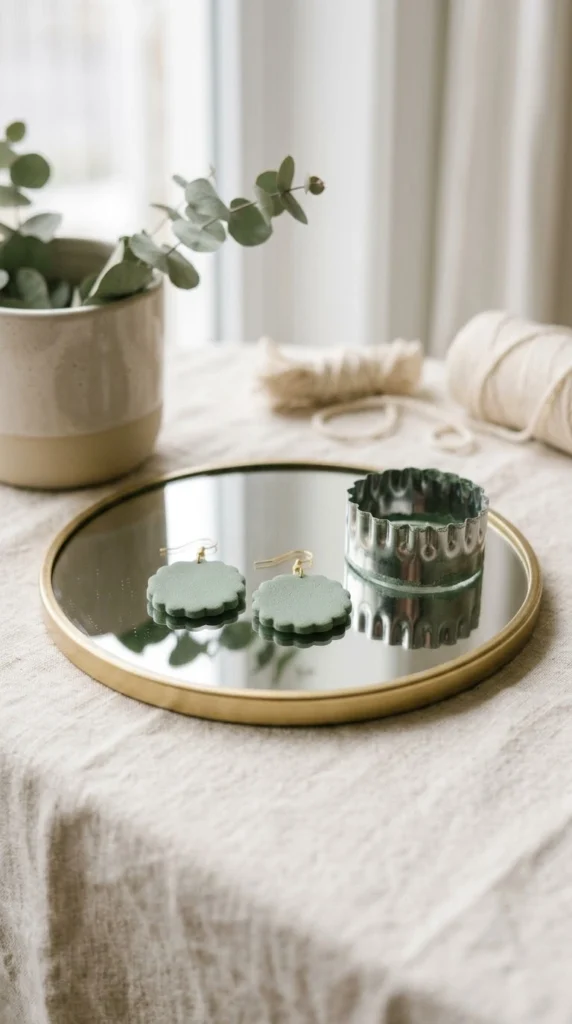
A scalloped cutter turns a plain circle into something with a lot more visual interest. Roll your clay to an even thickness, cut with a scalloped circle cutter, and smooth the edges gently with your finger before baking so the scallops stay defined but not sharp.
Sage green, dusty pink, or cream all suit this shape well since the scalloped edge already does most of the visual work. This is another design where a single solid color tends to look more polished than a busy pattern.
11. Gold Leaf Accent Drops
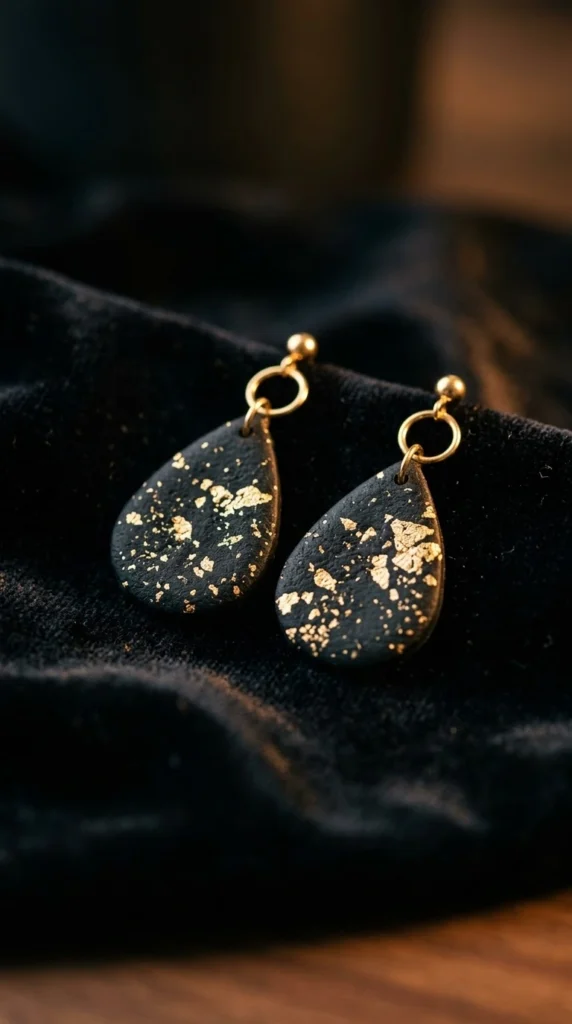
Pressing small pieces of gold leaf into dark clay before baking creates a dramatic, high-end look with almost no extra effort. Roll a dark clay base, tear a few small pieces of gold leaf, and press them onto the surface before rolling once more lightly to seat them in place.
Cut a simple teardrop or oval shape around the gold accents. This design tends to read as the most luxurious on the list, which makes it a good pick for gifting.
12. Rainbow Ombre Arches
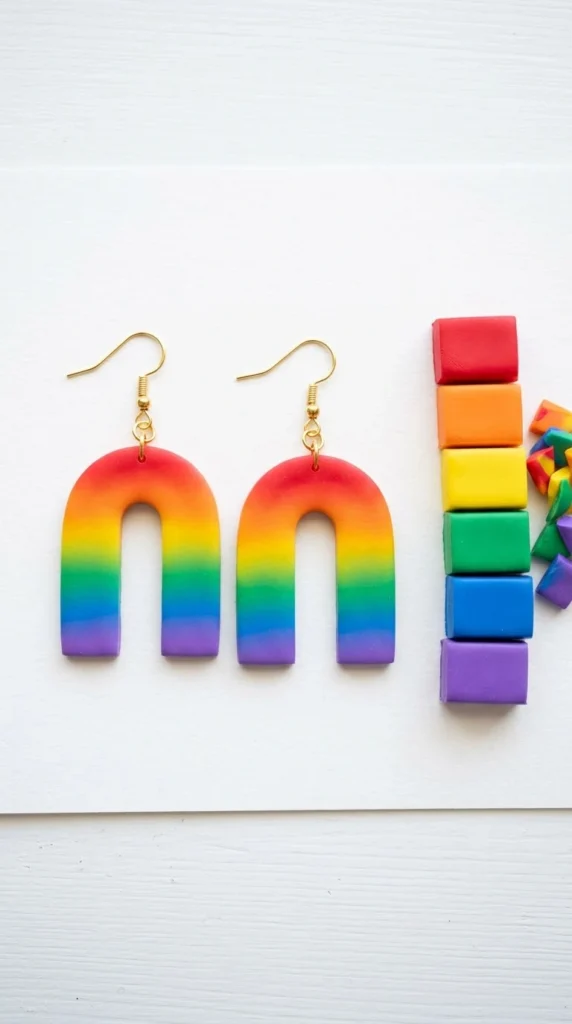
Ombre blending takes a little patience but no special skill. Line up small blocks of clay in your chosen color order, blend the edges where each color meets using your fingers or a roller, then run the whole strip through a pasta machine until the transitions look smooth.
Cut an arch or curved shape so the gradient reads clearly from top to bottom. This design works best with three to five colors, since too many transitions in a small space can start to look muddy instead of smooth.
13. Woven Basket Texture Hoops
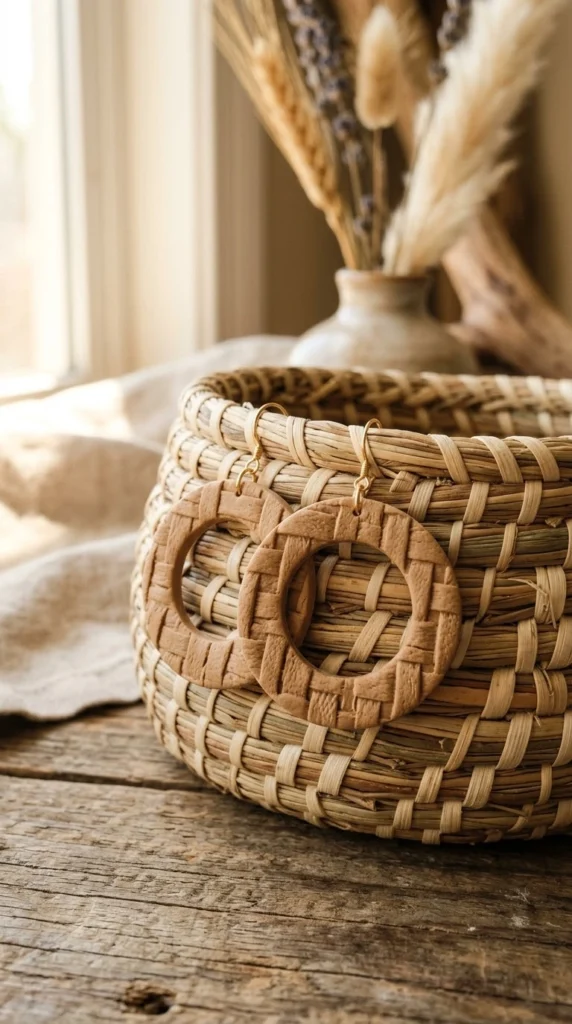
A basket-weave texture mat, sold cheaply at most craft stores, gives this design its detail with almost no manual work. Roll clay to a medium thickness, press the texture mat firmly into the surface, then peel it away and cut your hoop shape from the textured sheet.
Tan or cream clay makes the texture look the most like an actual woven material. This pairs naturally with a boho outfit and holds up well as an everyday piece since the texture hides small fingerprints and smudges.
14. Confetti Sprinkle Studs
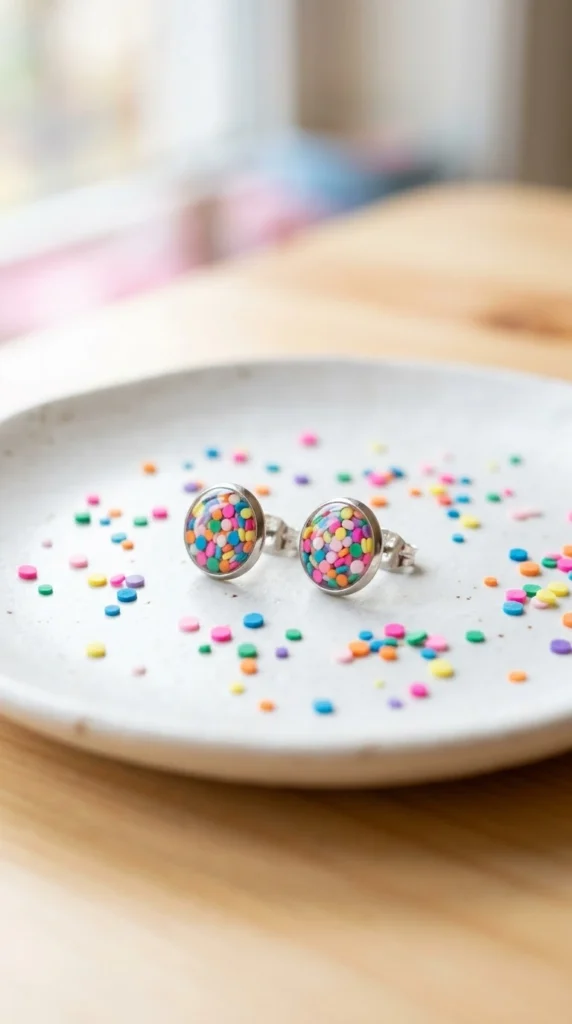
This design borrows the look of birthday sprinkles using tiny chopped bits of colorful clay pressed into a white or cream base. Roll out several small snakes of bright clay, slice them into confetti-sized pieces, then press the pieces into a rolled white base before running it through the pasta machine once more.
Cut small circles once the confetti is evenly distributed. These are a fun, low-effort pair to make for a birthday gift or a kid’s first pair of clip-on earrings.
15. Minimalist Curved Bar Studs
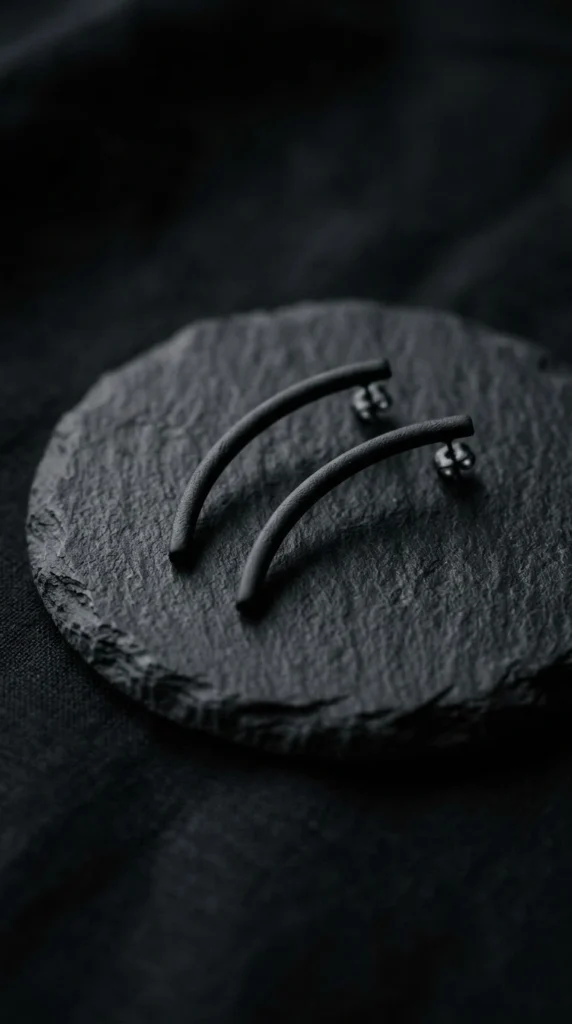
Sometimes the simplest shape is the one that gets worn the most. Roll a thin clay snake, curve it gently into a shallow crescent, and flatten it slightly with a roller before baking so it sits flush against the earlobe.
A matte black or white version of this design works with nearly every outfit, making it one of the more practical pieces on this list. Because the shape is so simple, any small imperfection in the clay’s surface will show, so smooth it carefully before baking.
16. Half-Moon Two-Tone Studs
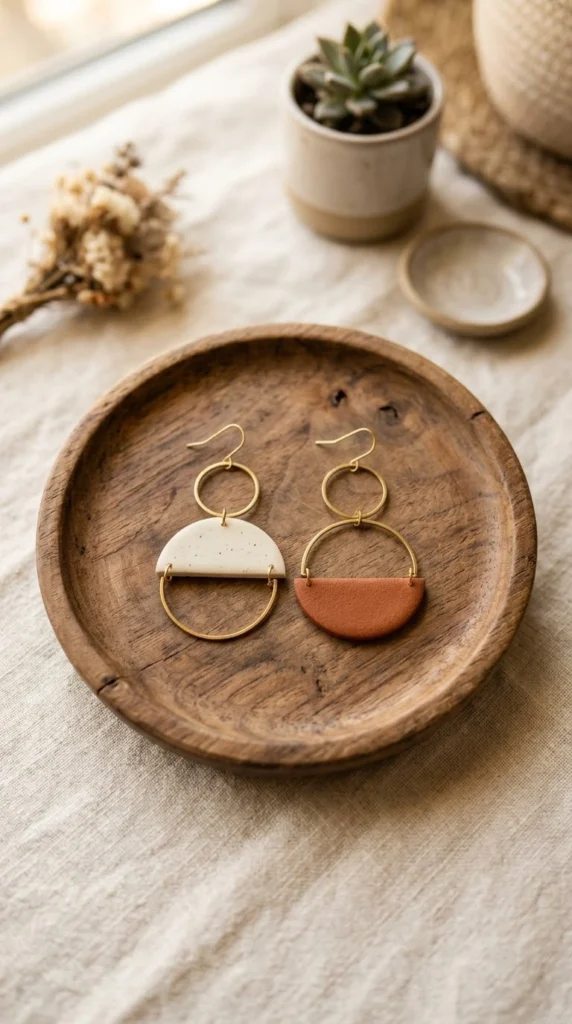
Two-tone designs come together by cutting a circle in half, then pairing each half with a different color before rejoining them. Cut one half from a light clay and the other from a contrasting dark clay, press the two straight edges together gently, then smooth the seam with your finger.
Bake with the seam facing up so it stays flat and even. This design gives a lot of visual impact for very little cutting work, since the shape itself is just a simple circle.
17. Pressed Flower Resin Drops
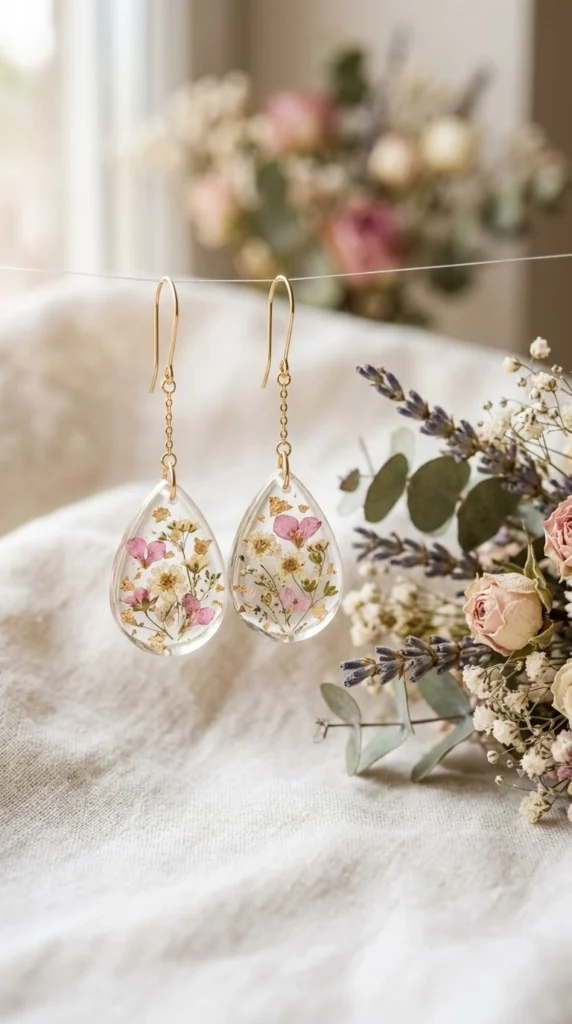
This design combines baked clay with a thin layer of resin for a glassy, botanical finish. Bake a simple clay bezel shape first, let it cool completely, then place a small pressed flower inside and pour a thin layer of clear resin over the top, letting it cure fully before attaching hardware.
The clay base keeps this project more approachable than a full resin mold, since you only need a small amount of resin for the top layer. Dried baby’s breath or small pressed pansies both hold their color well under resin.
18. Bold Color Clash Triangles
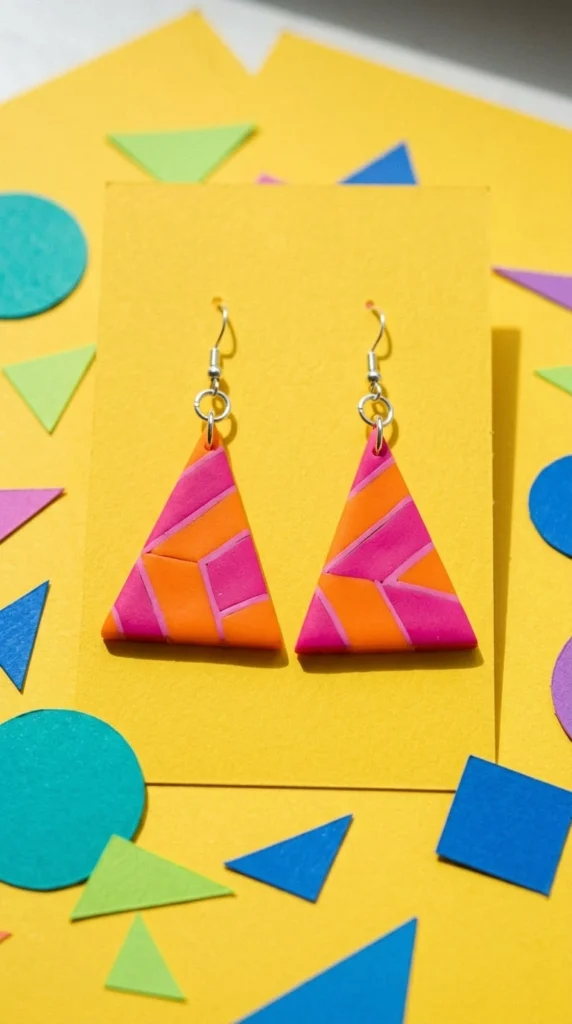
Pairing colors that don’t usually go together, like orange and pink or red and green, gives this shape a bold, graphic energy. Cut two triangles in contrasting colors, layer one smaller triangle on top of the other, and press them together before baking.
This design earns its place best when you want a statement piece rather than something subtle. Keep the shape itself simple since the color combination is already doing the heavy lifting.
19. Braided Rope Hoops
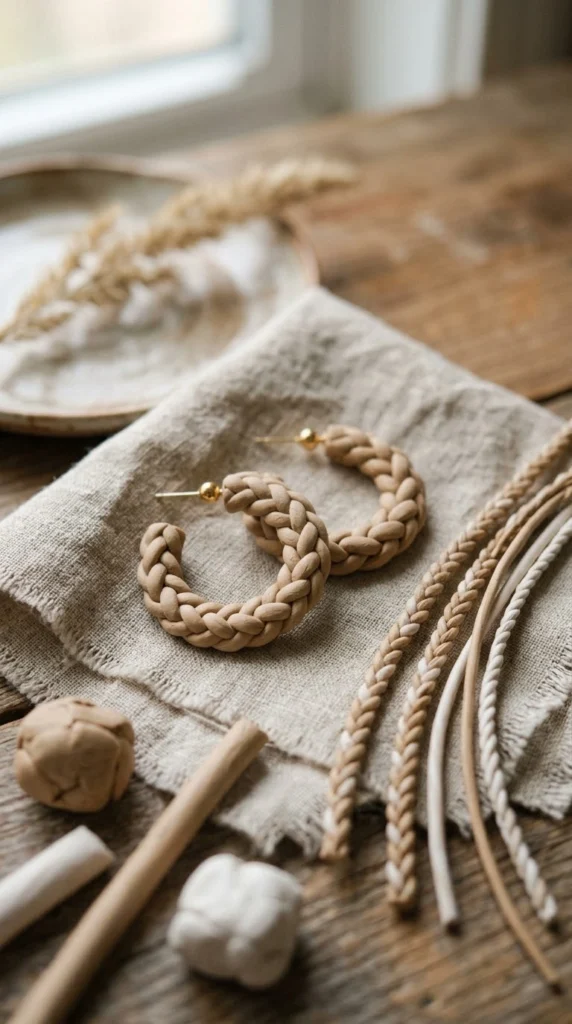
Braiding thin ropes of clay together before shaping them into a hoop gives a woven, textural look. Roll two or three thin snakes of clay in complementary colors, braid them loosely, then curve the finished braid into a hoop shape and trim any excess length before baking.
Keep the braid loose rather than tight, since a relaxed weave reads more handmade and less like a machine-pressed texture. This design pairs especially well with warm neutral tones.
20. Citrus Slice Studs
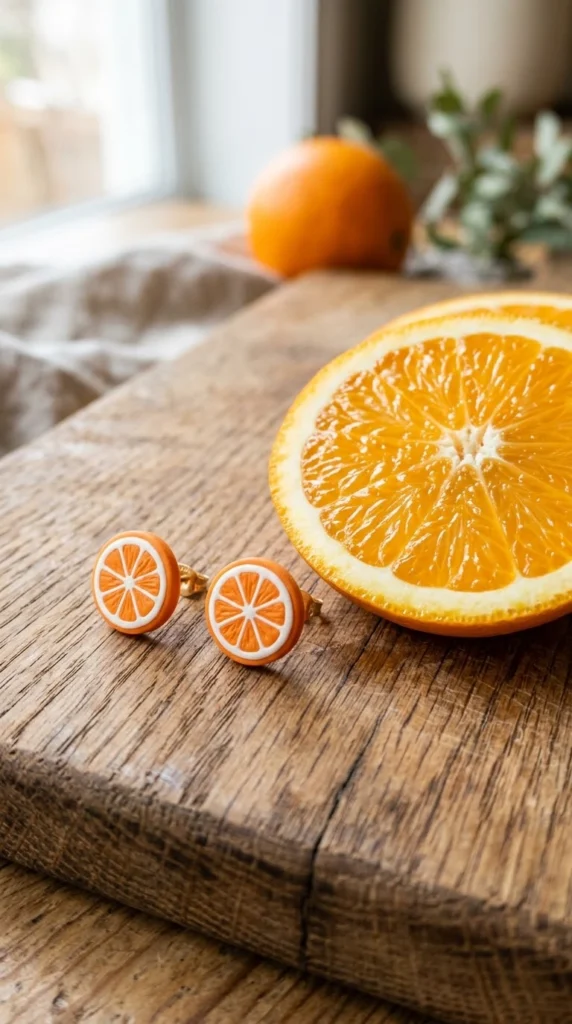
Citrus slices are a playful shape that reads clearly even at a small scale. Cut a small circle from white clay, layer thin orange wedge shapes around the edge to mimic segments, and add a thin ring of orange or yellow clay around the border for the peel.
This design works well for summer markets or as a fun gift for someone who loves a specific fruit motif. Keep the segments slightly uneven, since perfectly matching wedges can start to look more like a sticker than a handmade piece.
21. Sculpted Mini Vase Dangles
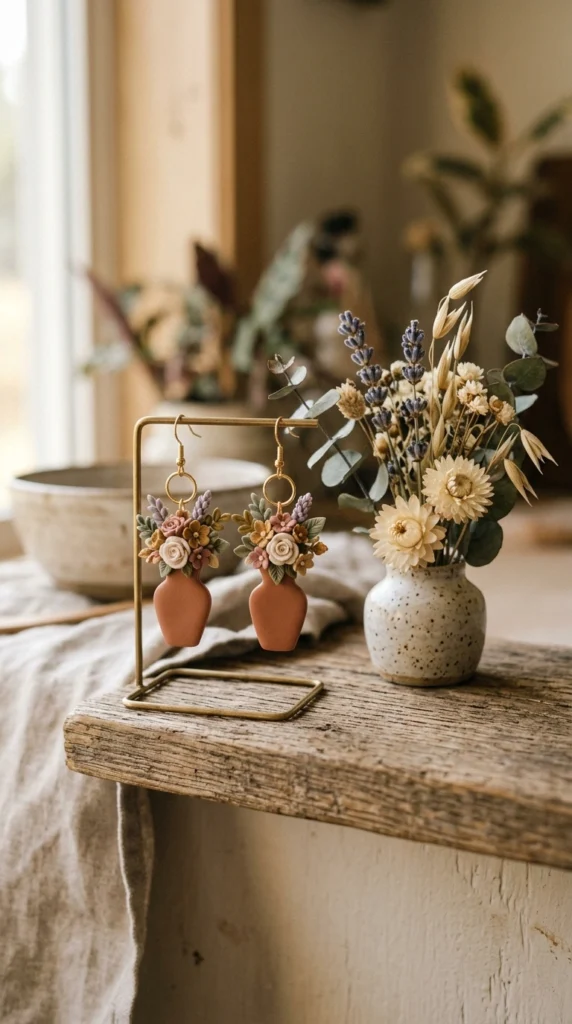
This one takes more sculpting than cutting, but the payoff is a genuinely eye-catching miniature scene. Shape a small vase form from clay, bake it, then attach a few tiny hand-rolled flower shapes on top with a dab of liquid clay before a second, shorter bake.
This design takes longer than most on this list, so it’s worth saving for a slower afternoon rather than a quick batch. The finished pair works well as a conversation-starting gift for a plant lover.
22. Denim Blue Wash Studs
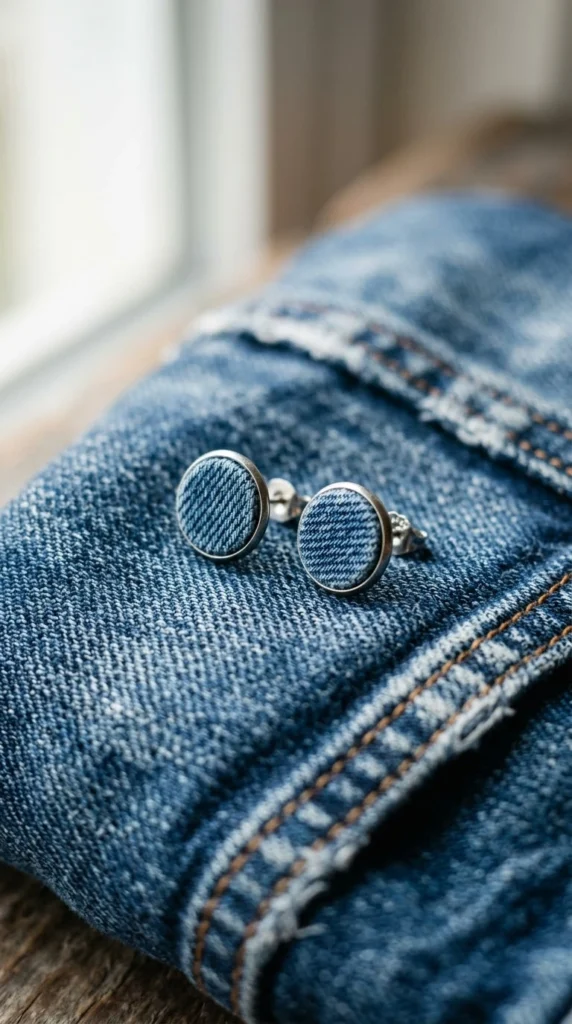
Blending two shades of blue unevenly mimics the faded look of worn denim. Twist light and dark blue clay together loosely, run it through the pasta machine just once so the colors stay streaky rather than fully blended, then cut simple rounds or squares from the sheet.
This finish looks casual and wearable in a way that fully solid colors sometimes don’t. It pairs naturally with everyday outfits, since it already reads like a fabric texture rather than a shiny craft material.
23. Mismatched Shape Pairs
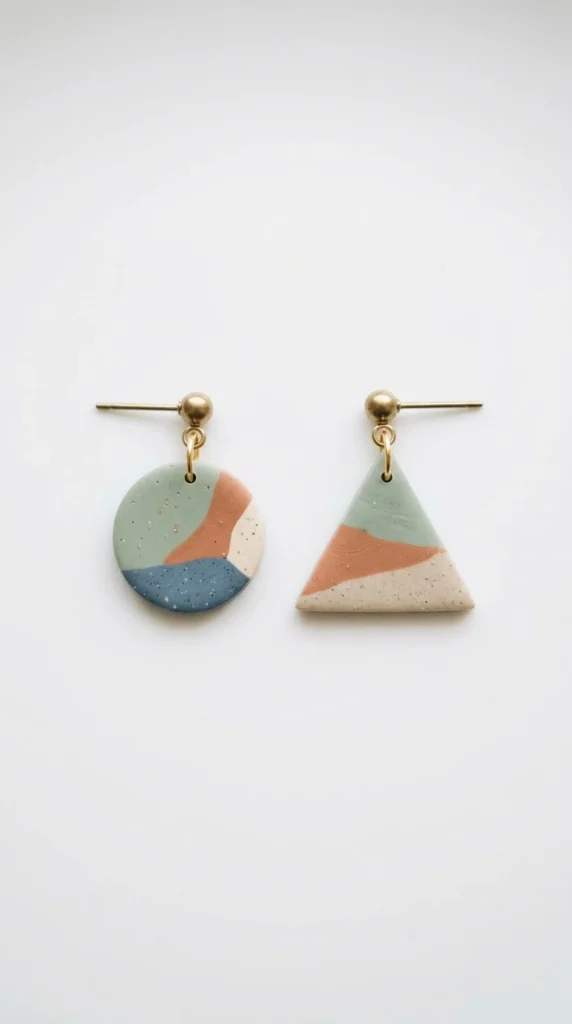
Mismatched earrings have shown up in nearly every jewelry shop for the past few years, and clay makes them easy to try. Pick two different shapes, like a circle and a triangle, then keep the color and finish identical across both so the pair still feels intentional despite the shape difference.
This is a good way to use up single leftover shapes from other projects instead of tossing them. Keeping the color consistent is the key detail that keeps mismatched pairs from looking like a mistake.
24. Carved Wave Pattern Drops
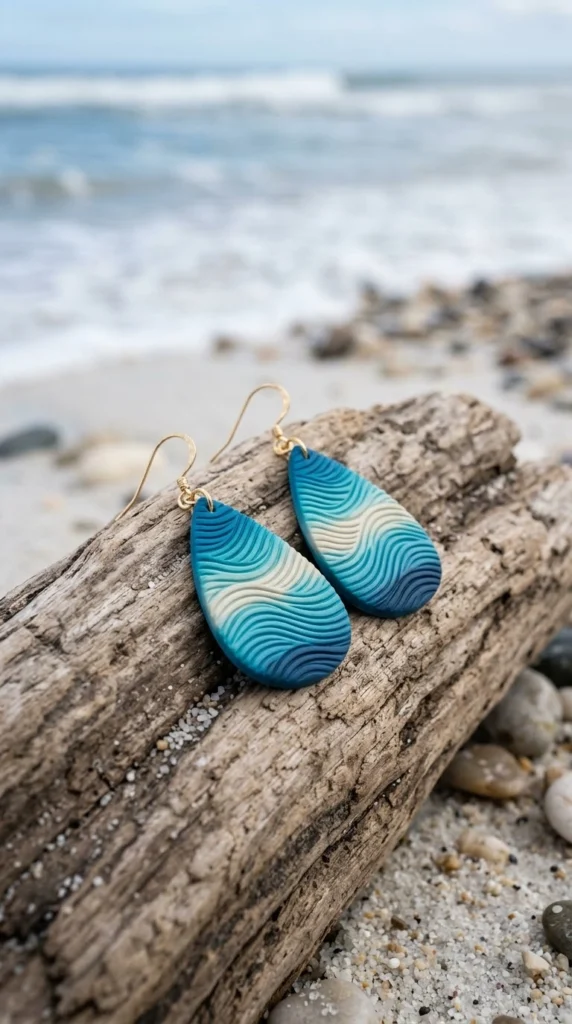
Carving simple wave lines into a drop shape gives a coastal feel without needing an actual ocean-themed cutter. Cut a basic drop or teardrop shape, then use a fine needle tool to carve two or three curved wave lines across the surface before baking.
Ocean blue or sandy neutral tones suit this pattern best. Keep the carved lines shallow and evenly spaced, since deep or uneven grooves can catch too much shadow and look messy once photographed.
25. Statement Chandelier Layers
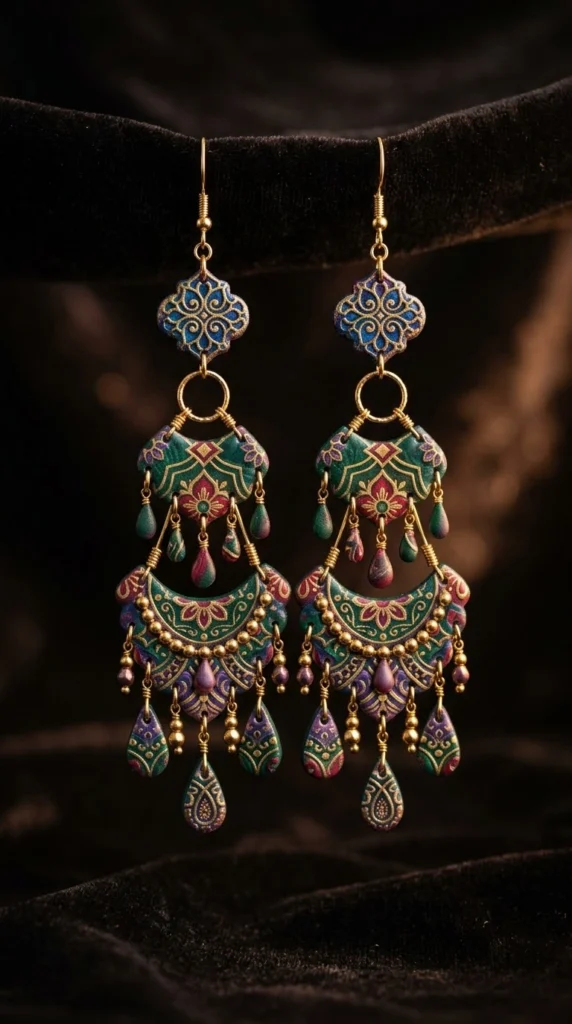
Chandelier earrings combine several of the techniques from this list into one larger piece. Cut three shapes in graduating sizes, connect them with small jump rings so each tier swings independently, and consider mixing in one textured or patterned layer alongside two solid-color ones for contrast.
This is the most involved design on the list, so it’s worth trying only after you’ve gotten comfortable with a few simpler shapes first. The finished pair makes a strong statement piece for a night out or a special event.
Final Thoughts
Twenty-five designs is enough to fill an entire jewelry stand without ever repeating a look twice, and most of them use the same basic clay, cutters, and oven you’d need for any single pair. Start with a simpler shape like the arches or studs if you’re new to clay, then work up to techniques like marbling or chandelier layering once you’ve got the basics down. Keep a small notebook of your favorite color combinations, since the best pairs usually come from a formula you’ll want to repeat. Pick three designs from this list and set aside an afternoon this weekend to bake your first batch.

Lily Summers is a digital artist and creative storyteller who loves bringing colorful characters to life. With a passion for cartoons, fan art, and playful sketches, she inspires others to explore their imagination through art. When she’s not sketching, you’ll find her dreaming up new ideas for CraftedWizard.com to spark creativity in every artist. 🌈✨