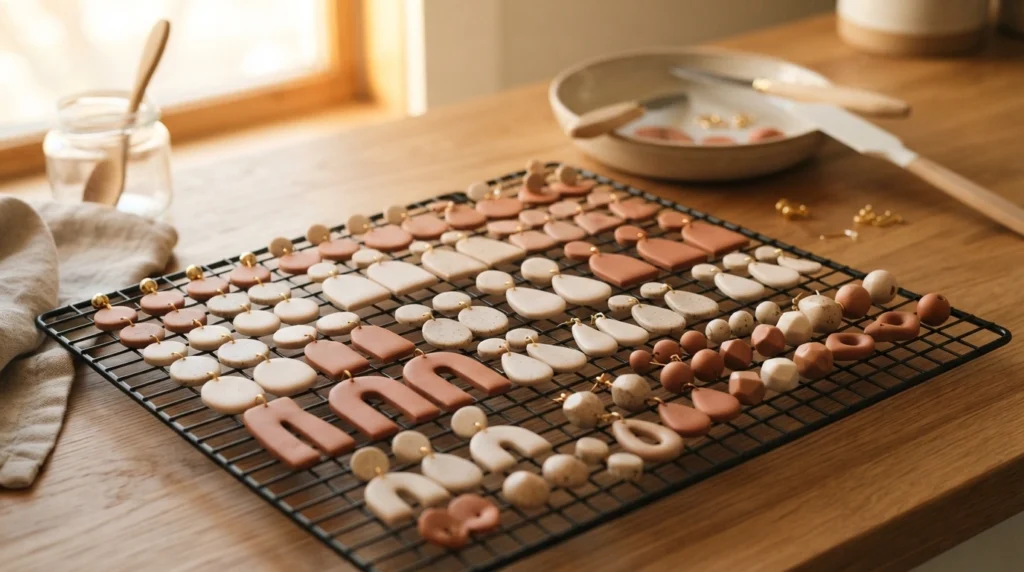
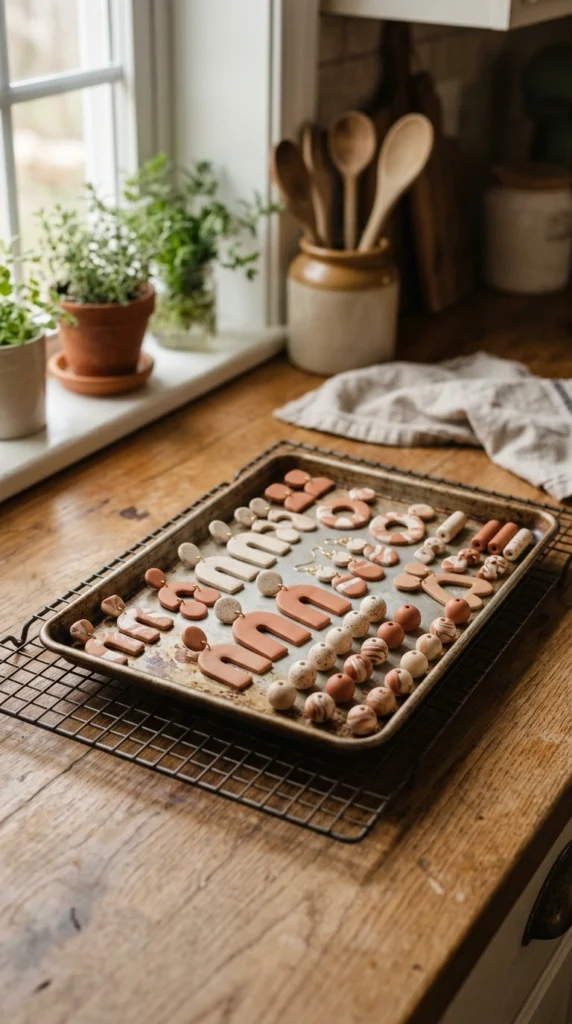
Nothing kills the mood of a clay project faster than pulling a tray out of the oven to find scorched edges, bubbling, or a piece that snaps in half the second you touch it. The good news is that baking failures almost always come down to a handful of fixable habits, not bad luck or bad clay. Once you understand what your oven is actually doing to that clay, you can bake a flawless batch every time, whether it’s your first pair of earrings or your fiftieth. Here’s exactly how to get it right.
Why Baking Goes Wrong in the First Place
Most polymer clay disasters trace back to one of three things: wrong temperature, wrong time, or an oven that lies about both. Ovens are notoriously inaccurate, sometimes running 20 or 30 degrees off from what the dial says, which explains why a recipe that works perfectly for one crafter burns a piece for another.
Thin pieces bake differently than chunky ones, and clay near the edge of a tray heats faster than clay in the center. Once you account for these variables instead of fighting them, the whole process gets a lot more predictable.
Get an Oven Thermometer First
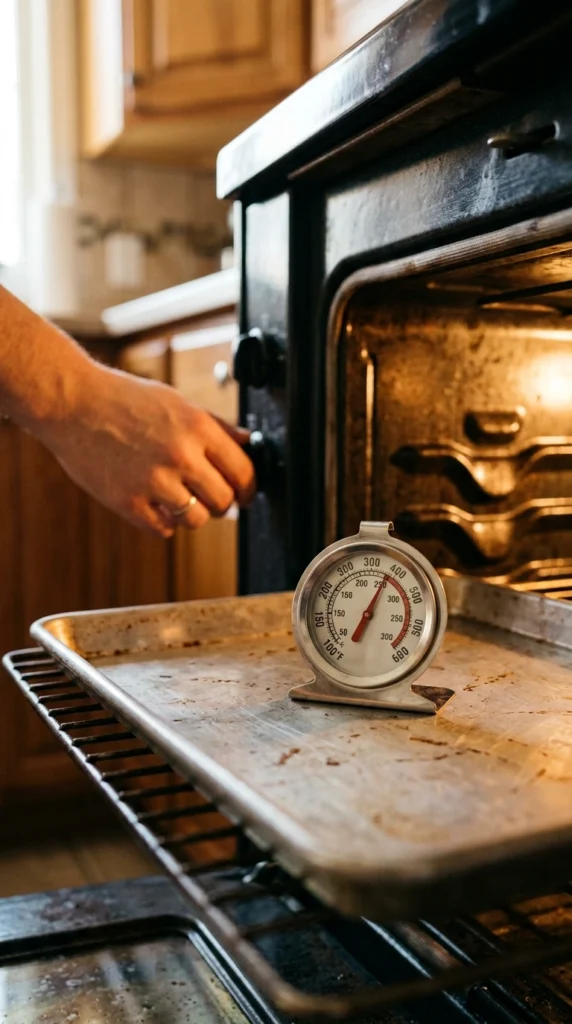
This is the single most useful tool you can add to your clay setup, and it costs less than a bag of clay. A cheap oven-safe thermometer, the kind sold for baking bread, tells you what temperature your oven is actually hitting instead of what the dial claims.
- Place the thermometer on the same rack where your clay will sit
- Let the oven fully preheat, then check the thermometer, not just the display
- Adjust your set temperature up or down based on the gap you find
Once you know your oven’s real behavior, you can stop guessing and start baking with actual confidence.
Match Time and Temperature to Your Clay
Every polymer clay brand bakes a little differently, so the number printed on the package matters more than any general rule you find online. Most brands fall somewhere between 265 and 300 degrees Fahrenheit, with bake times ranging from 15 to 30 minutes depending on thickness.
- Thin, flat pieces like studs need less time than chunky sculpted shapes
- Always bake at the lower end of the range if your oven runs hot
- Never guess your brand’s numbers from memory — check the package every time you switch clay lines
Mixing brands in the same batch can cause problems too, since one might scorch while the other stays underbaked. If you’re combining colors from different lines, bake at the lower of the two suggested temperatures.
Protect Your Pieces on the Tray
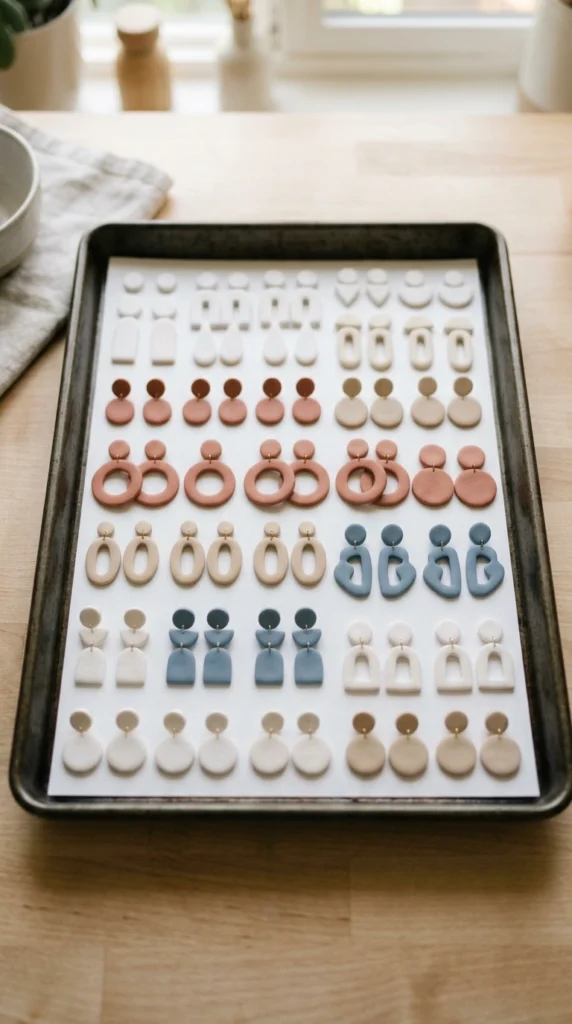
A bare metal tray straight into a hot oven is one of the most common causes of shiny, scorched spots on the underside of your clay. A little buffer between the clay and the tray fixes this instantly.
- Line your tray with plain white cardstock or a ceramic tile
- Avoid dark or patterned paper, since some inks can transfer under heat
- Space pieces at least half an inch apart so heat circulates evenly around each one
If you’re baking delicate shapes like thin dangles or curved pieces, resting them on a folded paper towel or a bed of loose cornstarch keeps their shape from flattening or shifting as the clay firms up.
Cover Pieces to Prevent Scorching
Even with an accurate temperature, clay near a heating element can still pick up brown edges. A simple tent of foil solves this without affecting how the clay cures underneath.
- Loosely drape a sheet of aluminum foil over the tray, shiny side up
- Avoid pressing the foil down onto the clay itself
- Leave a little gap at the edges so hot air can still move through
This trick matters most for light-colored clay, since scorching shows up far more obviously on white or pastel pieces than on darker colors.
Let It Cool Before You Touch It
Polymer clay is at its most fragile the moment it comes out of the oven, even though it looks fully hardened. The plastic resin inside is still soft from the heat and needs time to set completely.
- Leave pieces on the tray for at least 15 minutes before handling
- Let them reach full room temperature before testing strength or flexibility
- Avoid bending or testing durability while the piece is still warm
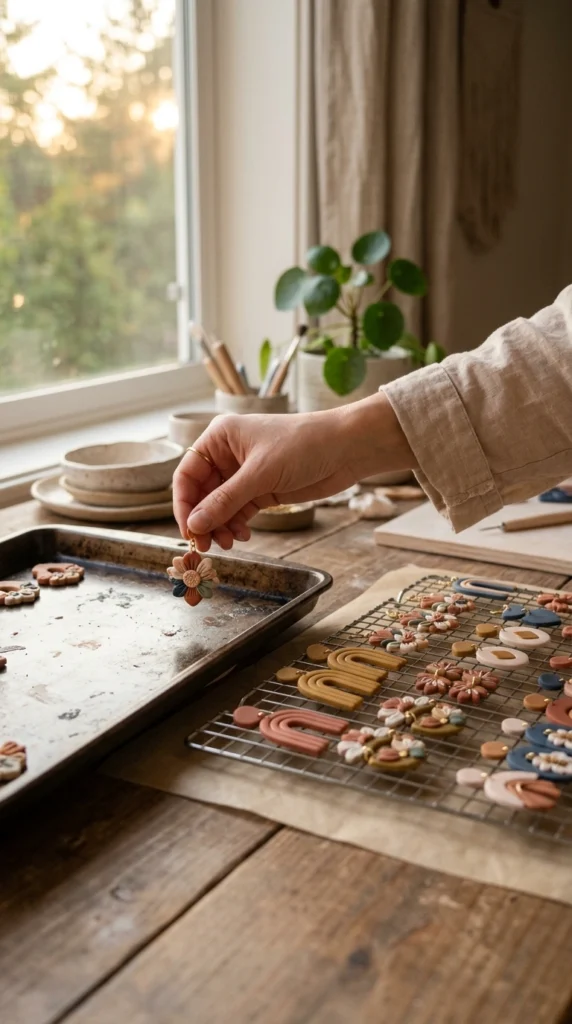
A piece that seems slightly bendable right out of the oven often firms up completely once it’s cool, so resist the urge to judge quality too early.
Final Thoughts
Perfect bakes come down to knowing your actual oven temperature, matching your time to your specific clay brand, and giving pieces a little physical protection along the way. None of these steps take much extra effort once they’re part of your routine, and together they eliminate almost every common baking failure. Grab an oven thermometer if you don’t already have one, since that single five-dollar tool will save you more ruined batches than anything else on this list. Save this guide for your next baking session so you never have to guess again.

Lily Summers is a digital artist and creative storyteller who loves bringing colorful characters to life. With a passion for cartoons, fan art, and playful sketches, she inspires others to explore their imagination through art. When she’s not sketching, you’ll find her dreaming up new ideas for CraftedWizard.com to spark creativity in every artist. 🌈✨