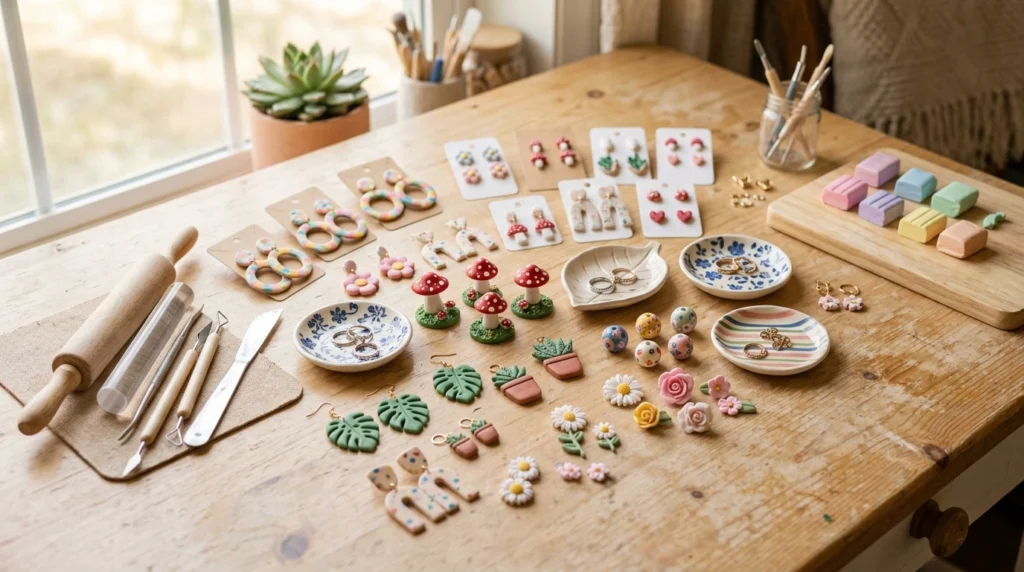
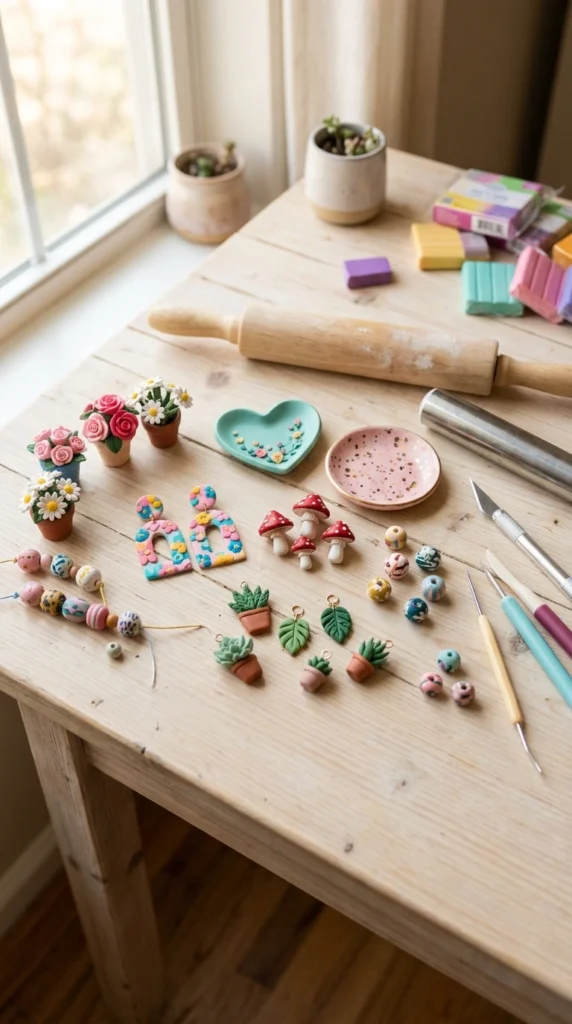
Polymer clay is one of those crafts that lets you make something cute without spending hours at the table. With a few clay colors, a smooth work surface, and simple shaping tools, beginners can create finished pieces in a single afternoon. These easy polymer clay ideas range from small jewelry projects to home accents and adorable miniatures. Pick one that catches your eye, gather your supplies, and give yourself a relaxed afternoon to make something by hand.
1. Simple Polymer Clay Earrings
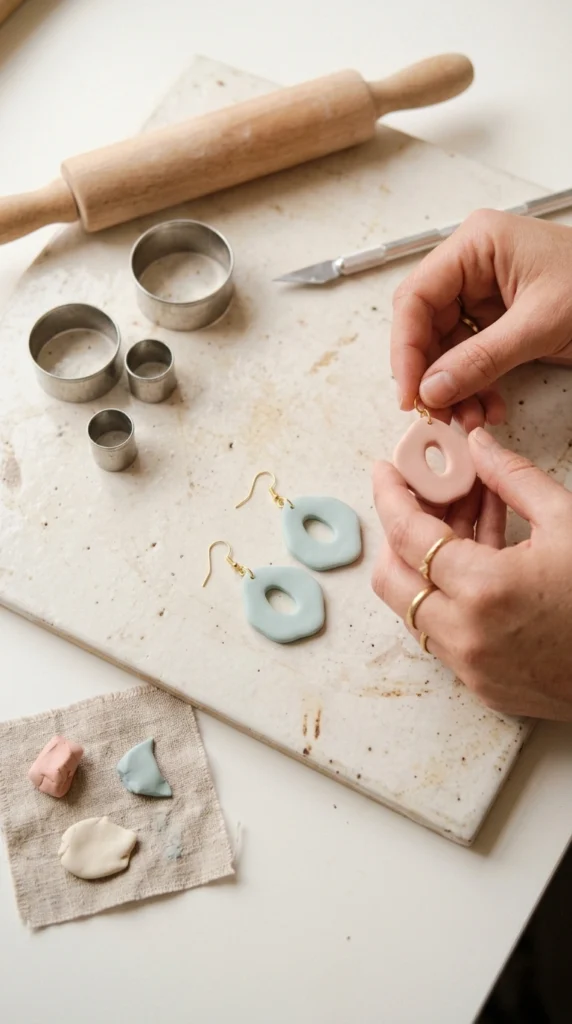
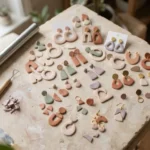
Start with earrings if you want a project that feels polished without requiring complicated shaping. Roll your clay to an even thickness, cut two matching shapes, and use a small straw or clay tool to make the holes for the hardware. Circles, arches, teardrops, and simple geometric shapes are all friendly choices for a first attempt.
Bake the pieces according to the clay package directions, let them cool completely, and attach the earring findings with small jewelry pliers. Try two colors for a simple color-block effect, or keep the entire pair one shade for a clean look. Matching shapes are easier when you cut both pieces from the same rolled sheet.
Keep your first pair small and lightweight. A compact design is easier to handle, bake, and wear, so you can finish the project well within an afternoon.
2. Mini Polymer Clay Ring Dish
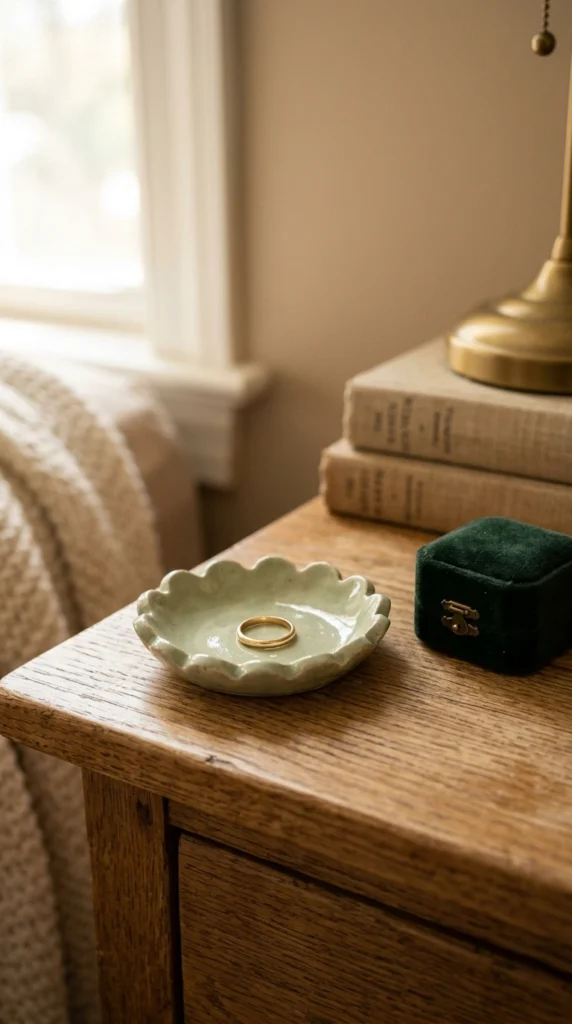
A tiny ring dish is a great introduction to shaping clay by hand. Roll out a smooth slab, cut a round shape with a bowl or cookie cutter, then gently press the clay into a shallow oven-safe form to create curved sides. You can leave the edges smooth or pinch small scallops around the rim.
Add a tiny clay flower, heart, or dot pattern before baking if you want extra detail. Keep decorations fairly flat so the dish sits neatly and remains practical for everyday jewelry.
After baking and cooling, place the dish beside your bed, on a dresser, or near the sink. It makes a useful handmade gift, too. A small dish can be completed with very little clay, making it a nice choice when you are learning the basics.
3. Tiny Polymer Clay Mushrooms
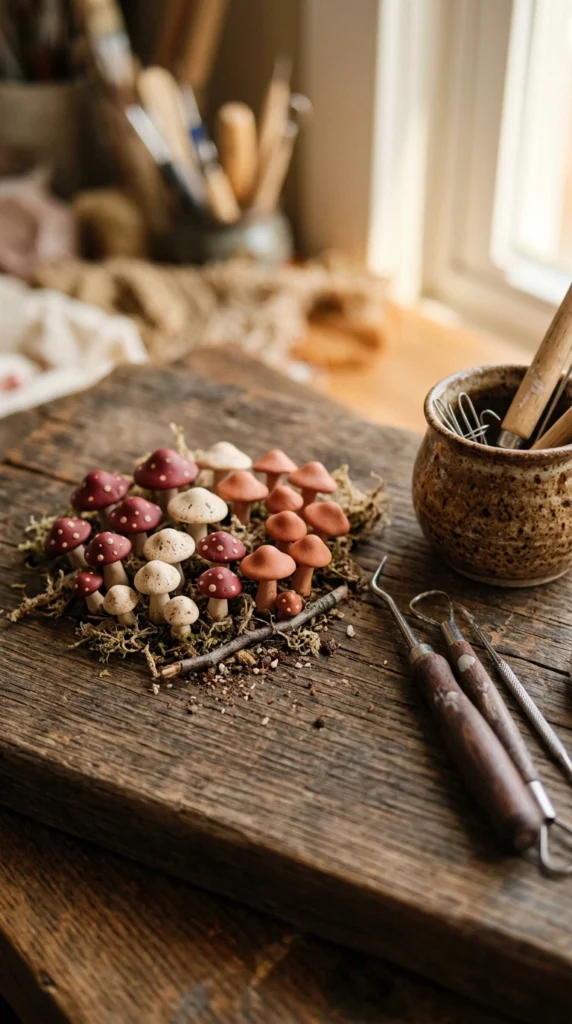
Tiny mushrooms are forgiving because each one can have a slightly different shape. Roll a small piece of clay into a ball for the cap, flatten it gently, then shape another piece into a short stem. Press the two parts together and add tiny dots with a ball tool or the end of a toothpick.
Use red caps with cream dots for a classic woodland look, or try muted pink, orange, brown, and cream for a softer palette. You can make several sizes during the same session and arrange them together after baking.
These little mushrooms work well as miniature garden decorations, shelf accents, or pieces for a fairy-themed display. They are also a fun way to practice making basic spheres, cylinders, and domes without worrying about perfect symmetry.
4. Polymer Clay Flower Studs
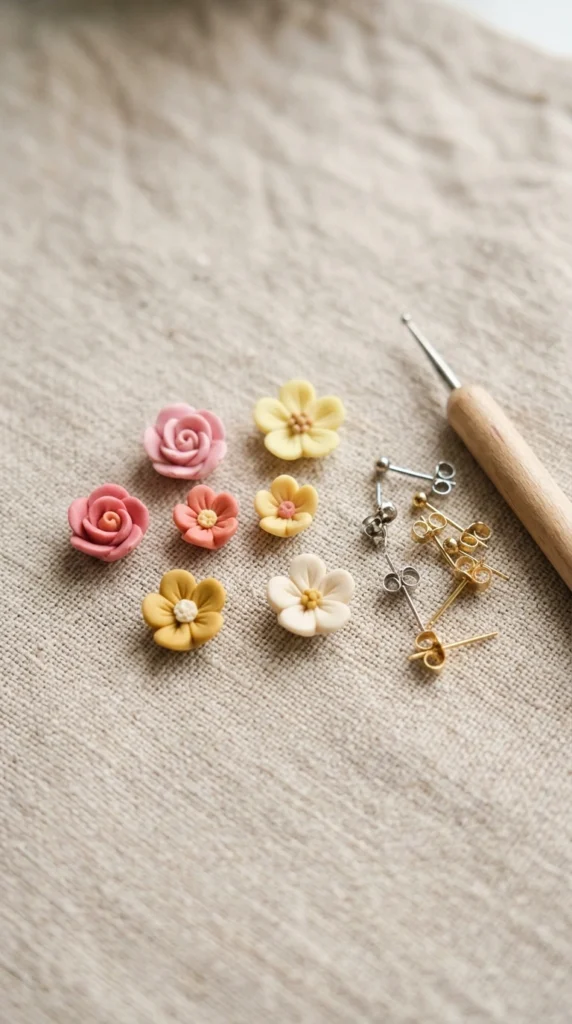
Flower studs can be made with just a few small pieces of clay. Roll five tiny balls for each flower, flatten them, and arrange them around a small center. Press gently so the petals join while keeping their individual shapes visible.
Add a tiny contrasting clay ball in the middle, then attach the earring posts after baking with suitable jewelry adhesive. Work on both flowers together so the size and petal count stay similar.
For an easy beginner version, use one color for the petals and another for the center. Small flowers also make lovely additions to larger jewelry projects if you decide to experiment with clay again later.
5. Cute Clay Plant Markers
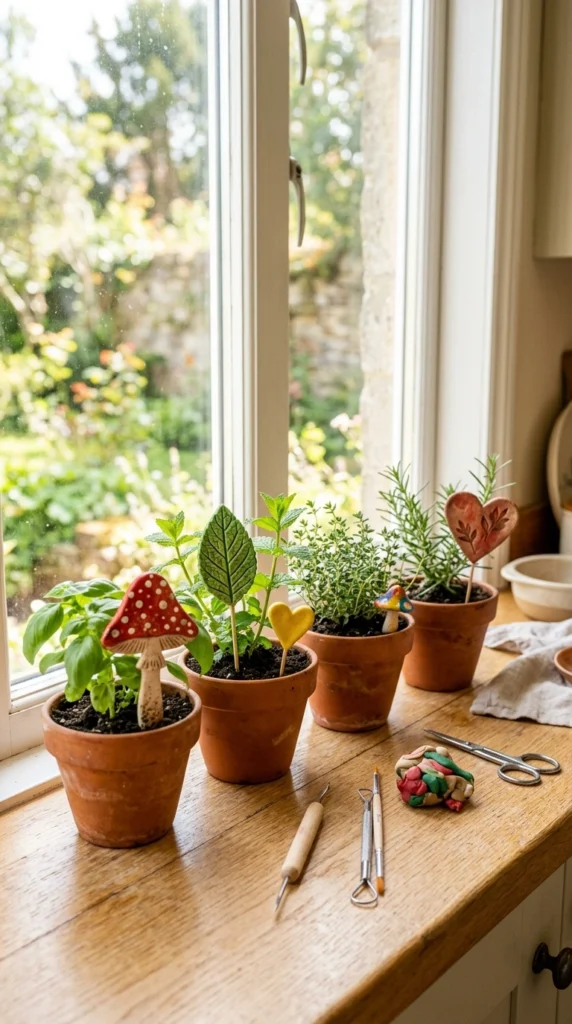
Give your houseplants a little personality with simple clay markers. Shape a flat oval, leaf, heart, mushroom, or circle, then attach it to a wooden stick after baking. You can make several markers in different colors during one sitting.
Keep the clay piece fairly thick so it has some strength, but avoid making it overly heavy for a small plant pot. A smooth finish looks clean, while tiny dots or simple grooves add handmade character without requiring advanced sculpting.
These markers work especially well for herb pots on a kitchen windowsill. Make a small collection for basil, mint, parsley, or any other plants you grow. The same shapes can also become garden decorations when made larger.
6. Polymer Clay Bead Bracelet
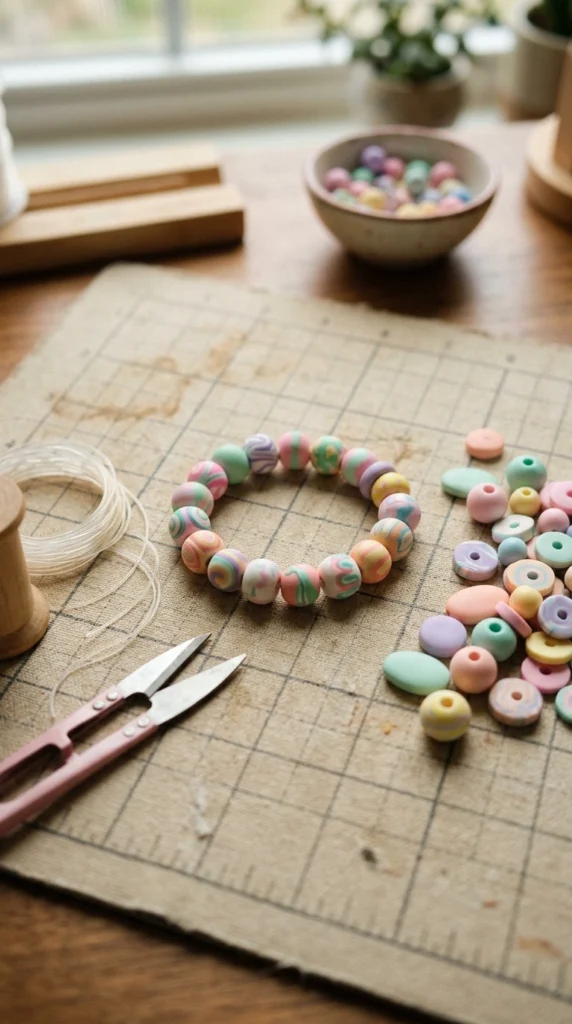
Clay beads are among the simplest polymer clay projects for beginners. Roll small pieces into balls, cylinders, or flattened shapes, then pierce each one through the center with a thin needle or clay tool. Try to make the holes before baking while the clay is still soft.
Mix several shapes and colors for a playful bracelet, or use one main color with a few contrasting beads. Once the beads have baked and cooled, thread them onto elastic jewelry cord and tie a secure knot.
Make several beads in advance if you want enough options for arranging the bracelet. Keep the bead holes centered so the finished bracelet sits evenly when worn.
7. Mini Clay Donuts
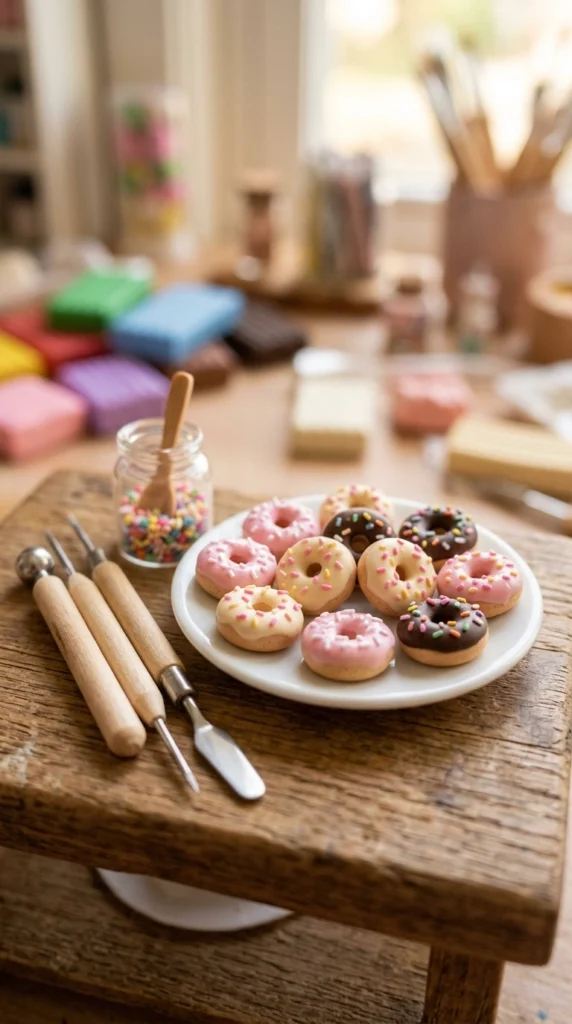
Mini donuts are perfect for practicing simple forms. Roll a small piece of clay into a ball, flatten it slightly, and poke a hole through the center with a rounded tool. Smooth the outer edge while keeping the center opening visible.
Add a thin layer of clay as frosting, then decorate with tiny strips or dots in different colors. Avoid making the decorations too thick, especially around the center hole.
Arrange several finished donuts on a miniature plate for a cute shelf display or dollhouse scene. They can also become charms if you add a small hole before baking. Use different icing colors to create a whole little bakery collection in one afternoon.
8. Polymer Clay Leaf Earrings
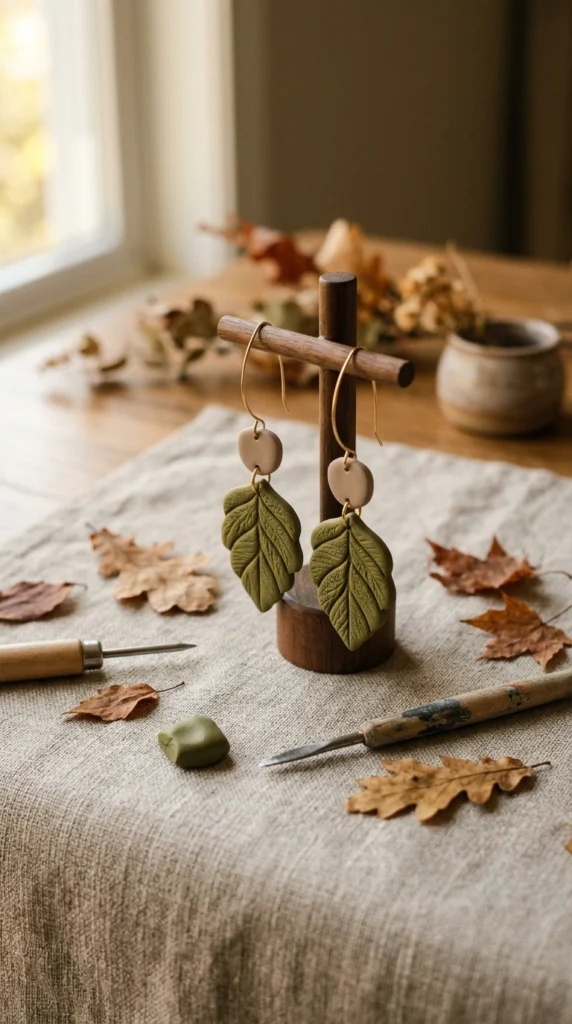
Leaf earrings require only a basic shape and a few pressed lines. Flatten green clay, cut or shape two leaf forms, then use a toothpick or sculpting tool to create a center vein and a few short side lines.
Make the leaves slightly different if you prefer an organic handmade appearance, or spend a little more time matching the edges for a coordinated pair. Add the jewelry holes before baking.
Try olive, sage, mustard, terracotta, or cream for a natural palette. After baking, connect the leaves to small jump rings and earring hooks. The simple shape makes this project approachable even if you have never worked with polymer clay before.
9. Tiny Clay Hearts
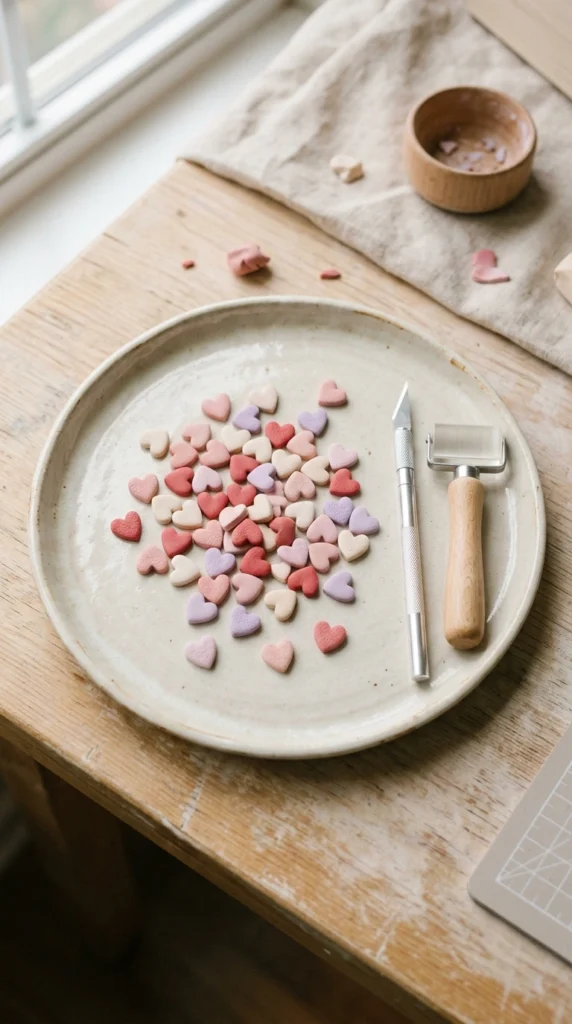
Small hearts can become charms, magnets, jewelry pieces, or tiny decorative accents. Roll a small piece of clay into a ball, then shape it into a rounded triangle and press a small notch into the top center.
Smooth the edges with your fingertips and add a tiny hole if you plan to turn the heart into a charm. You can also press small dots, flowers, or lines into the surface before baking.
Make a handful in different colors at once. Because each heart takes only a few minutes to shape, this is an easy project when you want a quick win or have small leftover pieces of clay.
10. Polymer Clay Hair Clips
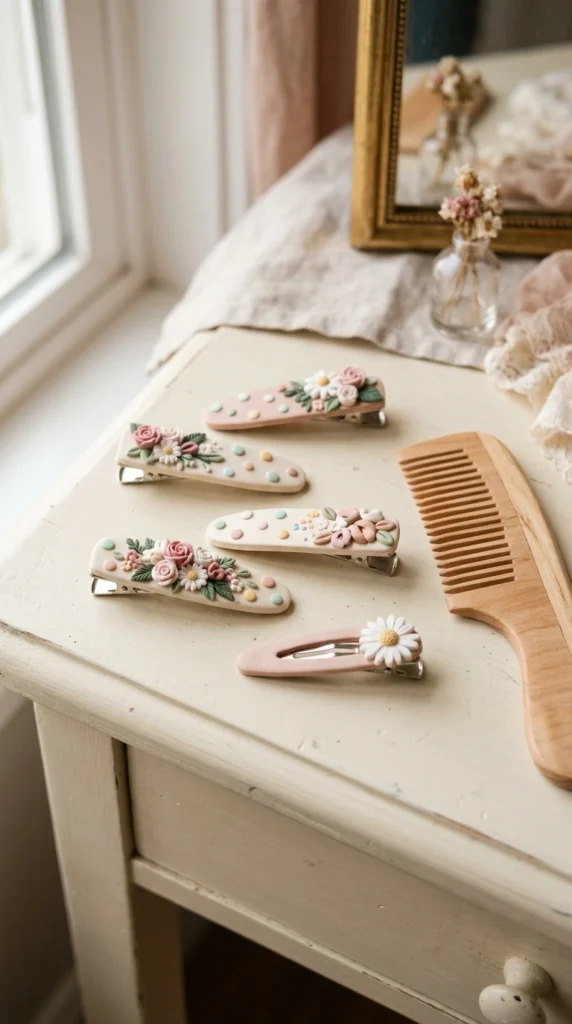
Plain metal hair clips can become personalized accessories with small clay decorations. Shape tiny flowers, bows, hearts, stars, or rounded dots, then bake the pieces separately. Once they have cooled, attach them securely to the clip with an adhesive suitable for the materials.
Keep the decorations compact so the finished clip stays comfortable and does not pull on the hair. Flat-backed shapes are particularly easy to attach and sit neatly against the metal.
Make a matching pair for a simple coordinated accessory. Soft pink, cream, lavender, and pale blue create a gentle palette, while brighter colors can give the clips a playful look.
11. Mini Clay Bows
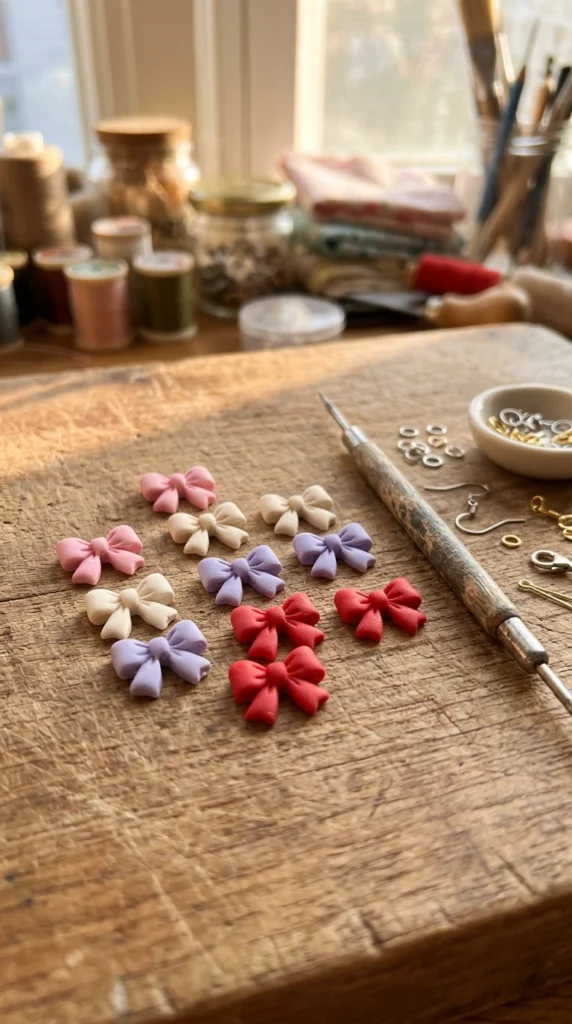
A tiny bow looks detailed but starts with a very simple shape. Flatten a small piece of clay into a narrow strip, pinch the center, and gently shape the two sides into loops. Add a thinner strip around the middle to hide the pinch.
You can use bows as charms, hair accessories, magnets, or decorative pieces for other crafts. Make them rounded and soft rather than sharply folded if you want an easy first attempt.
Try several sizes while the clay is still on your work surface. Small bows can be made from leftover clay scraps, so this project is also a practical way to use bits that remain after larger pieces are cut.
12. Polymer Clay Daisy Magnets
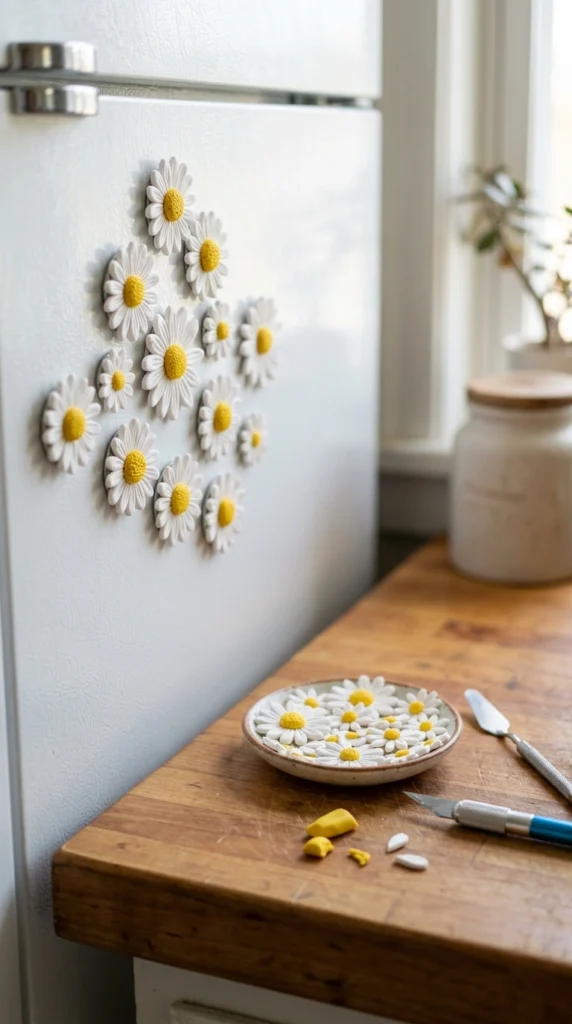
Daisy magnets bring a small handmade detail to a kitchen or office. Shape five or six white petals from tiny flattened clay balls, arrange them around a yellow center, and press the parts together gently.
Bake the flowers according to the package directions. Once completely cool, attach small craft magnets to the backs with suitable adhesive. Let the adhesive cure fully before placing the magnets on a surface.
You can make a whole set in different flower colors, or stick with classic white petals and yellow centers. Because the flowers are small, several can be completed in one sitting without taking over your craft table.
13. Simple Polymer Clay Pendant
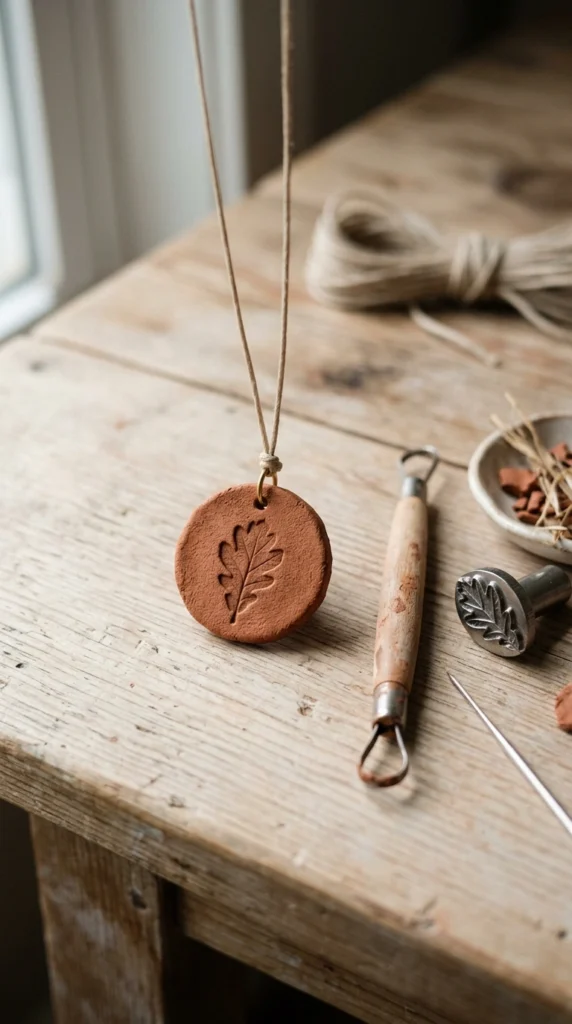
A simple pendant is a good project when you want handmade jewelry without building a complicated design. Roll the clay flat, cut a circle or oval, smooth the edge, and create a small hole near the top for the cord.
Add a single pressed leaf, dot, line, or geometric mark before baking. Keep the surface decoration shallow so the pendant remains clean and easy to handle.
After cooling, thread the pendant onto a cord or chain. Terracotta, cream, black, olive, and dusty pink all work well for simple necklaces. Make one pendant first, then repeat the shape in other colors if you enjoy the process.
14. Tiny Polymer Clay Pumpkins
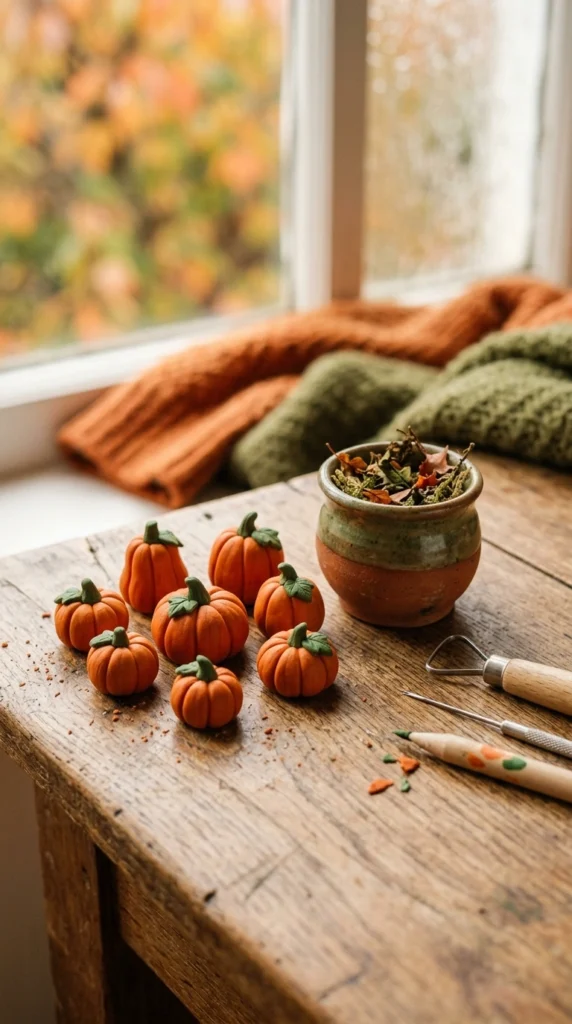
Mini pumpkins are easy to shape because their natural form does not require perfect symmetry. Roll orange clay into small balls, gently flatten the top and bottom, then press vertical grooves around the surface with a sculpting tool.
Add a tiny green stem and smooth the connection between the pieces. Make several pumpkins in different sizes so the finished group feels more natural.
Use them as seasonal shelf decorations, table accents, or miniature garden pieces. You can also make white, cream, or muted green pumpkins for a softer home palette. A handful of tiny pumpkins makes a charming afternoon craft project.
15. Polymer Clay Rainbow
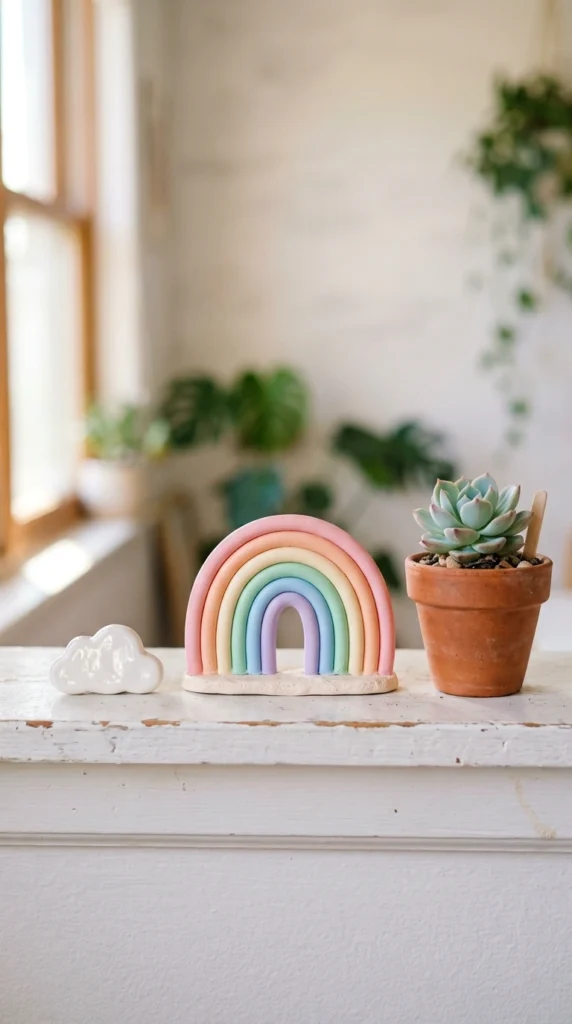
A clay rainbow adds a playful touch to a shelf, nursery, desk, or craft display. Roll thin ropes of clay in several colors, place them side by side, and curve them into matching arches. Press the colors together gently without flattening the overall shape.
Add two small cloud shapes at the bottom if you want extra detail. Keep the rainbow thick enough to stand securely after baking, and check that the base is flat before placing it in the oven.
Pastel colors create a soft decorative piece, while brighter colors give it a more playful appearance. You can also make a tiny version as a pendant or charm by adding a hole before baking.
16. Cute Clay Fruit Charms
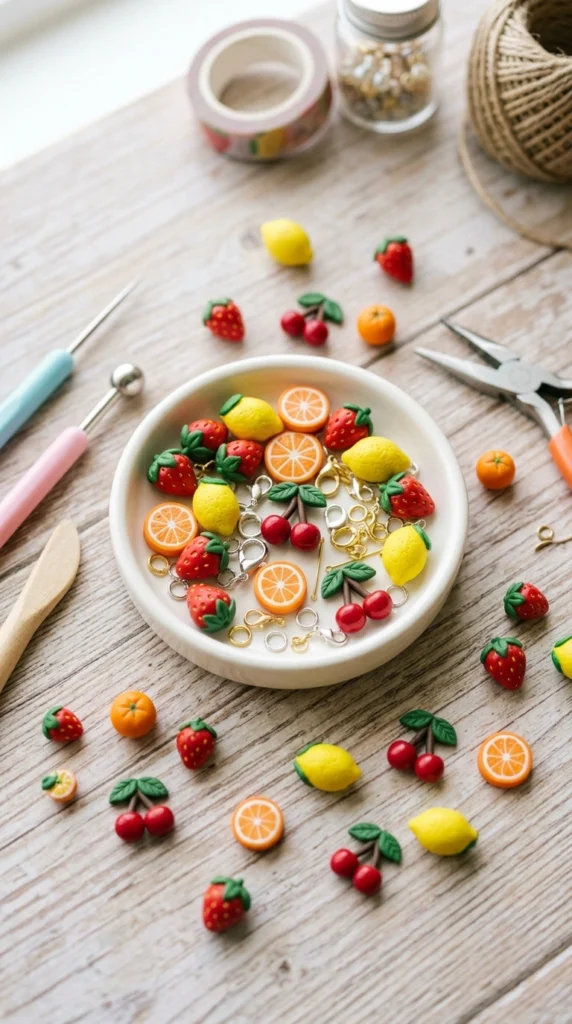
Fruit charms are a fun way to practice simple miniature forms. Strawberries can be made from small red cones with tiny yellow dots, while cherries start as little red balls connected by green stems. Lemons and oranges can be shaped from small rounded pieces with subtle surface texture.
Add a small hole before baking if you want to turn the fruit into jewelry or bag charms. Use a toothpick to create tiny details without cutting deeply into the clay.
Make several fruits in one session and combine them into a colorful charm collection. The small scale keeps each piece quick, while the different shapes give you plenty of practice with clay.
17. Polymer Clay Candle Holder
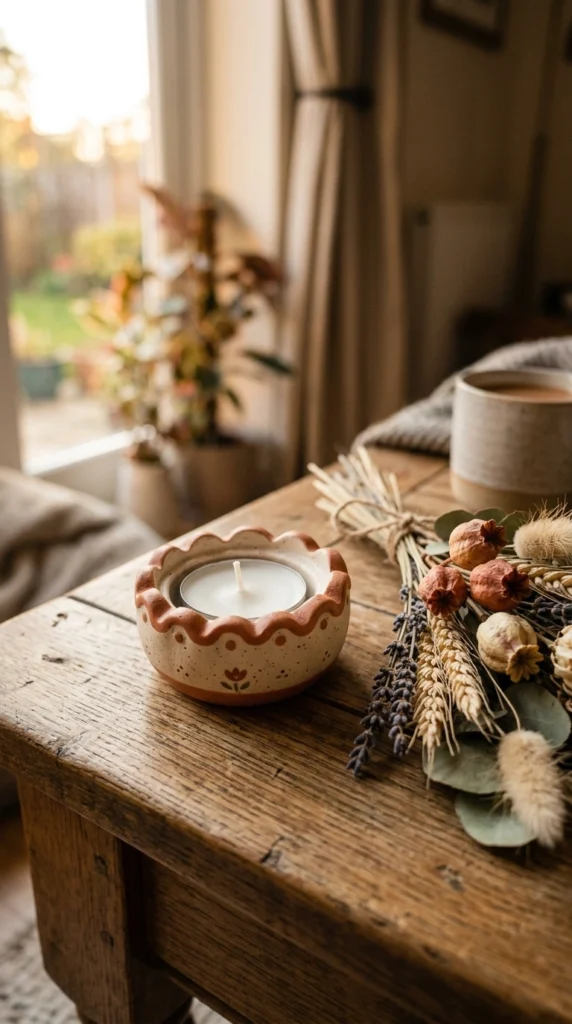
A decorative candle holder can be shaped from a simple block or slab of clay. Form a small rounded base with a centered opening sized for the specific candle holder insert you plan to use. Keep the clay away from direct flame and use the finished piece only as a decorative holder around a suitable insert.
Scalloped edges, small dots, and simple grooves can give the surface more character. A single-color design is often easiest for a first project because you can focus on shaping and smoothing.
Let the clay cool fully after baking before adding the candle insert. A handmade holder in cream, terracotta, or muted green works nicely on a coffee table, shelf, or dining area.
18. Mini Clay Flower Pot
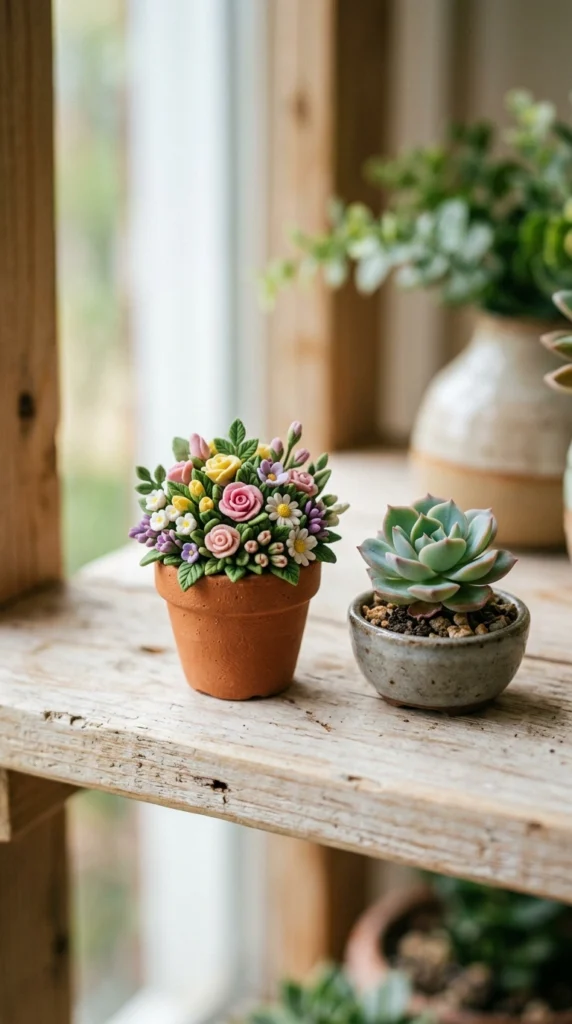
A miniature flower pot is a charming project for anyone who enjoys tiny crafts. Shape a small rounded container, create a shallow opening at the top, and add a few simple clay leaves or flowers inside.
You can make the pot from one color and decorate it with small dots, stripes, or a simple rim. Keep the base flat so the finished pot stands securely on a shelf or desk.
For a quick afternoon project, skip complex plant shapes and make a handful of simple leaves. Arrange them in a small cluster and vary their heights for a more natural appearance. This project also works well for dollhouse displays.
19. Polymer Clay Letter Charms
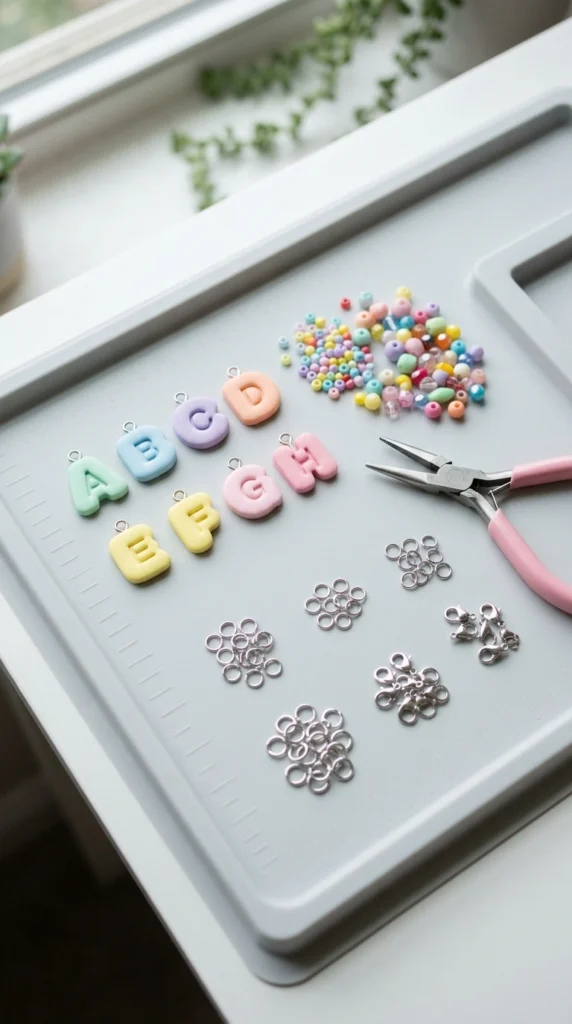
Letter charms make personalized gifts and accessories. Roll a thin sheet of clay, press or cut simple initial shapes, and smooth the edges with your fingertip. Add a small hole near the top before baking if you plan to attach the charm to a bracelet or keyring.
For a beginner-friendly design, use block-style letters with rounded corners. You can also make tiny circles or hearts and add a single initial impression rather than cutting the whole letter out.
Create charms in several colors and pair them with simple beads. A small set can become personalized friendship bracelets, bag charms, or gift tags for handmade presents.
20. Tiny Polymer Clay Cats
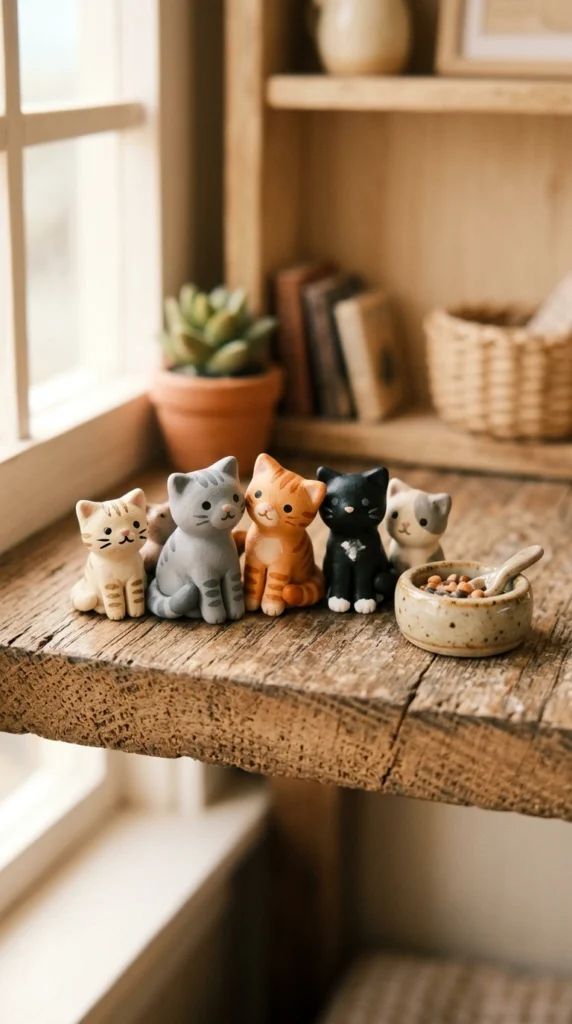
Tiny clay cats are a fun introduction to basic sculpting. Start with a small oval body and a rounded head, then add two triangular ears. Tiny clay balls can form the eyes, while a toothpick can create simple whisker marks.
Keep the faces simple. You do not have to sculpt every detail for the figures to look cute. Small differences between the cats can make the finished group feel handmade.
Make several colors to create a miniature collection. Place them on a shelf, desk, or miniature scene after baking. If you want to turn one into a charm, add a small hole before the clay goes into the oven.
21. Polymer Clay Flower Hair Pins
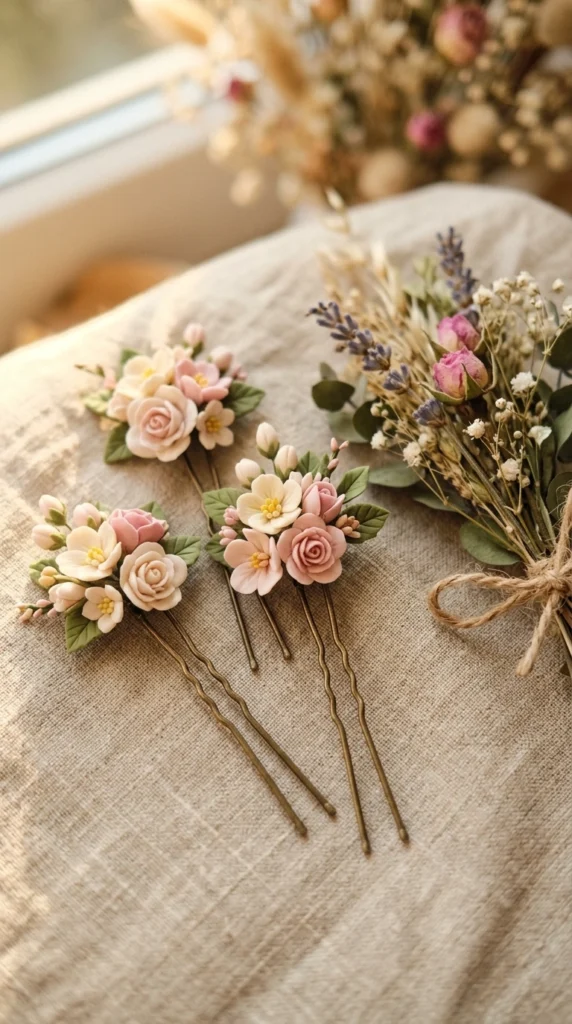
Small flowers can turn ordinary hair pins into handmade accessories. Shape five tiny petals around a center, press the flower gently so it holds together, and bake it according to the clay instructions.
After cooling, attach the flower securely to the top of a metal hair pin using an appropriate adhesive. Let the attachment cure before wearing the accessory.
Make several flowers in different colors for a small collection. Cream and blush create a subtle look, while yellow, pink, and lavender give the pins a brighter spring-inspired appearance. Keep each flower compact so the finished pin stays comfortable.
22. Simple Clay Coaster
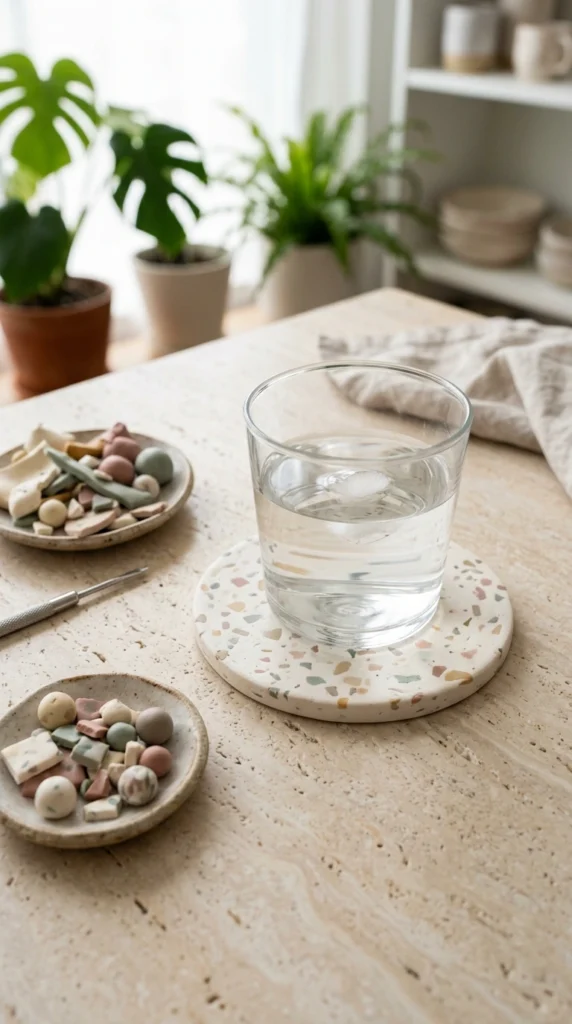
A decorative coaster gives you a chance to practice rolling, cutting, and surface design on a larger piece. Roll the clay evenly, cut a circle or square, and smooth the edges before adding a simple pattern.
Small dots, lines, or pieces of contrasting clay can create a terrazzo-style surface. Keep the pattern fairly flat so the finished coaster remains practical and stable.
Follow the clay manufacturer’s baking directions closely, then allow the coaster to cool completely. For regular drink use, check the clay brand’s guidance on sealing and heat exposure before putting the piece into service.
23. Polymer Clay Cloud Decoration
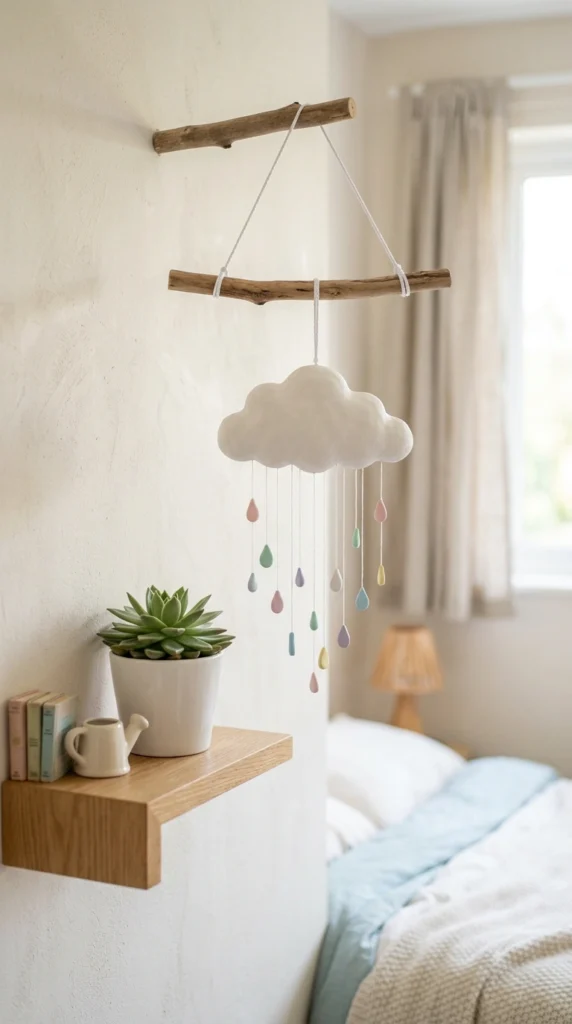
Cloud shapes are easy to cut and decorate. Roll white clay into a smooth slab, cut a rounded cloud silhouette, and smooth the edges with your fingers. Add tiny holes if you want to hang several clouds together.
Make small raindrops in blue, lavender, or yellow and connect them with thin thread after baking. A wooden branch can serve as a simple hanging base.
This project works well for a child’s room, craft corner, or cozy reading space. Keep the design simple and let the soft shapes and gentle colors carry the look.
24. Mini Polymer Clay Cakes
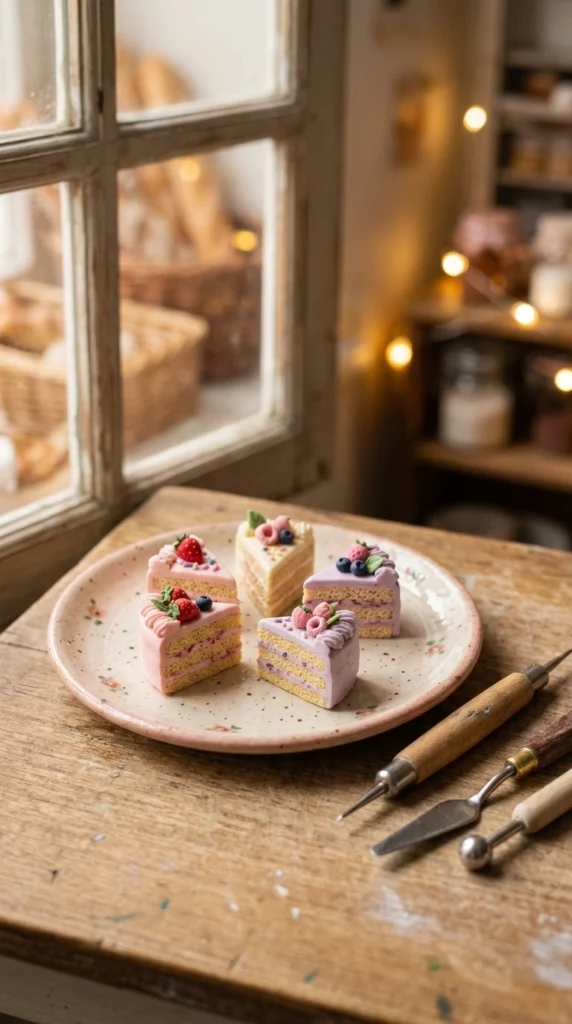
Mini cake slices are built from simple layered shapes. Stack thin rectangles or triangles of clay in cake and frosting colors, then gently press the layers together. Add a tiny frosting swirl or berry on top for extra detail.
Do not worry about making every slice identical. Slight variations can make a miniature dessert collection feel more natural and handmade.
These tiny cakes are great for dollhouses, miniature displays, or playful shelf scenes. Make chocolate, vanilla, strawberry, and lemon versions during one session for a miniature dessert tray.
25. Polymer Clay Butterfly Magnets
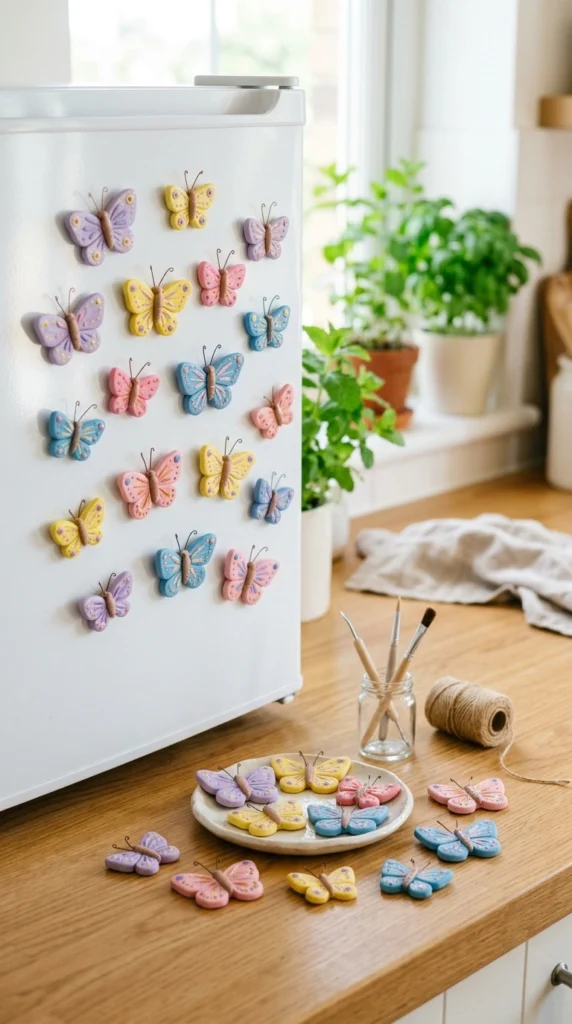
Butterfly magnets start with two simple wing shapes. Roll clay flat, cut or shape matching wings, add a tiny body down the center, and press the parts together gently.
Use a toothpick to add a few wing lines or dots. After baking and cooling, attach small magnets to the backs with suitable adhesive and allow them to cure before use.
Make each butterfly a different color or create matching pairs. A small set can brighten a refrigerator, magnetic board, or craft room without taking much time or clay.
26. Tiny Polymer Clay Bees
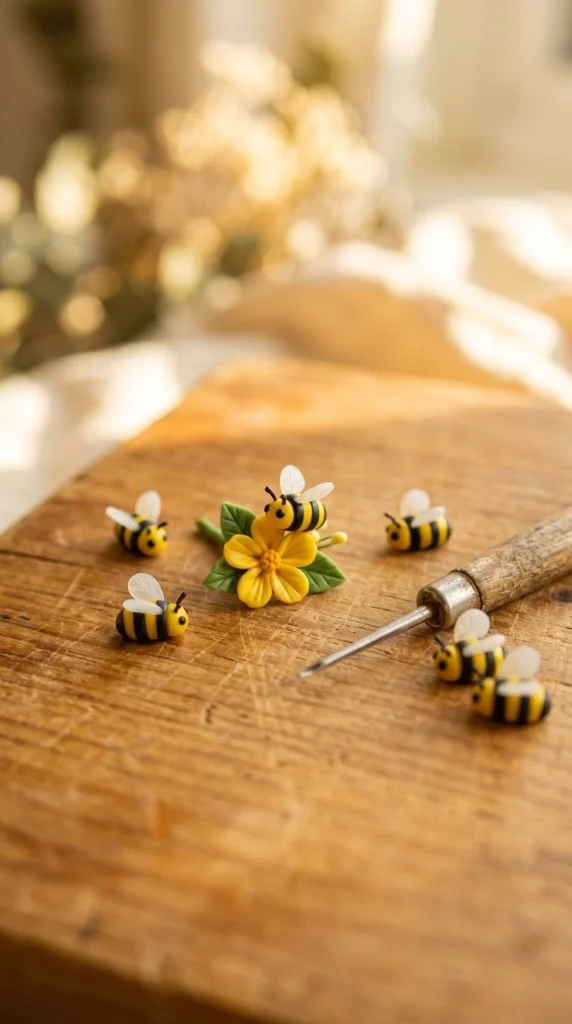
Tiny bees are made from a few basic forms. Roll a small yellow oval for the body, add thin black stripes, and attach tiny white wings. A small black head completes the miniature figure.
Keep the stripes as thin clay strips or shallow impressions so the bee remains compact. Make a few different sizes if you want to create a small group.
These bees can become magnets, charms, miniature garden decorations, or additions to other clay projects. Pair them with tiny flowers for a cheerful spring-inspired display.
27. Simple Polymer Clay Incense Holder
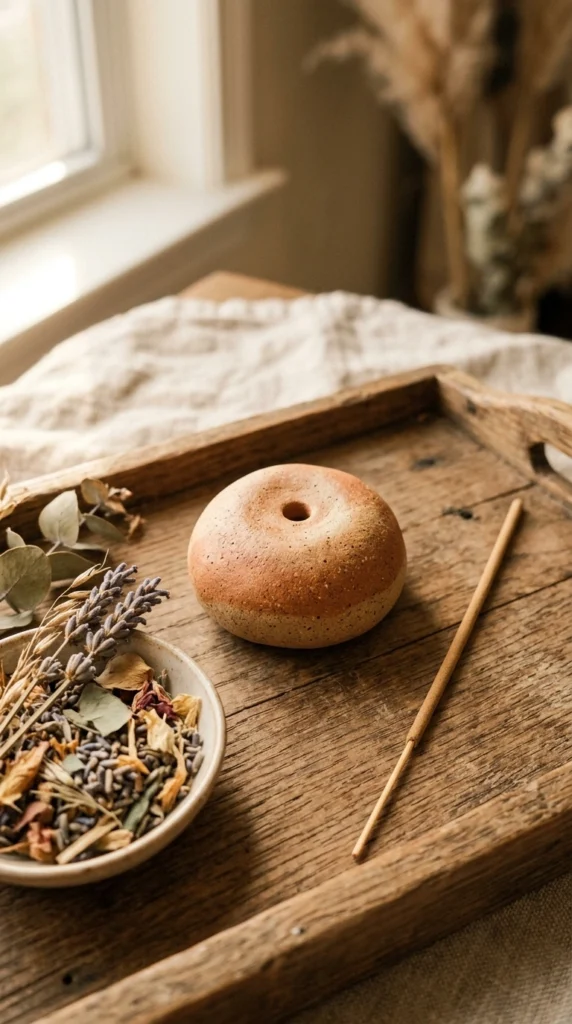
A small clay incense holder can be shaped like a rounded pebble with a single centered hole. Roll a piece of clay into a compact form, flatten the base, and make the hole with a tool sized for your incense stick.
Add a few shallow dots or lines if you want decoration, but keep the opening clear. Smooth the outside carefully so the finished piece feels comfortable and polished.
Because incense involves heat and ash, follow the clay manufacturer’s guidance for heat exposure and use the holder on a heat-safe surface. For a purely decorative version, you can skip the incense and use the piece as a small desk accent.
28. Polymer Clay Strawberry Earrings
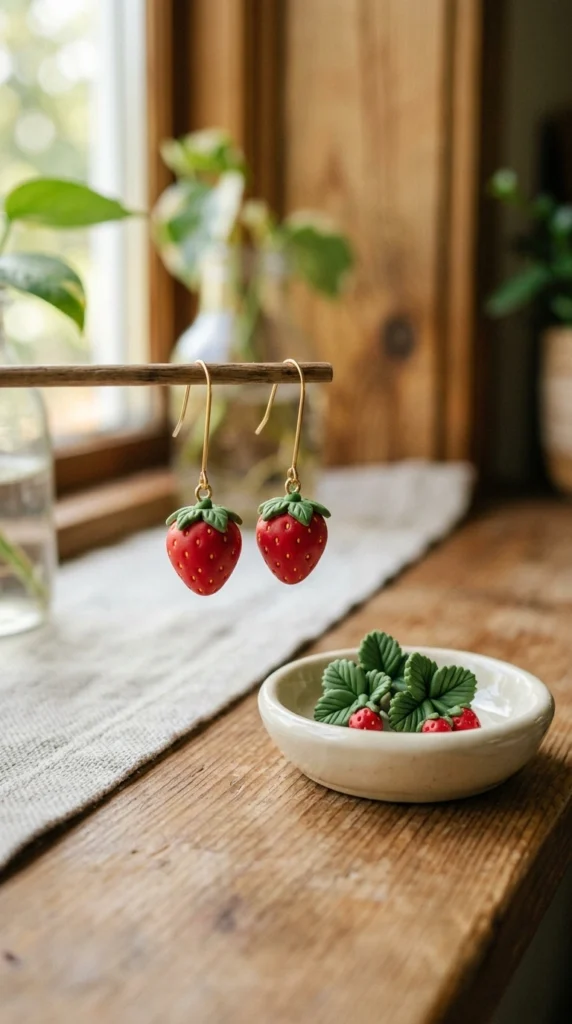
Strawberry earrings look detailed but rely on a few simple shapes. Form two small red strawberry bodies, add tiny yellow or cream dots, and finish each with a small green leafy top.
Add jewelry holes before baking so you can attach the finished strawberries to jump rings and hooks. Work on both earrings side by side to keep their size close.
For a playful summer accessory, use bright red and green. A softer version can use muted berry and sage shades. Keep the finished strawberries small so the earrings remain lightweight and comfortable.
29. Polymer Clay Moon and Star Charms
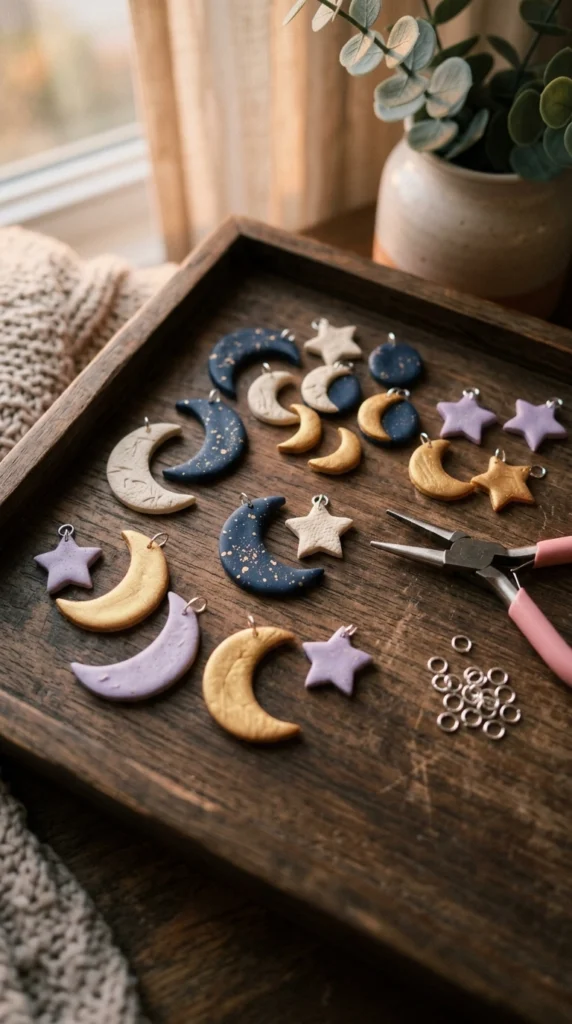
Moon and star charms are easy shapes to cut from a rolled sheet of clay. Use a small cutter for stars and two round cutters to create a crescent moon, then smooth any rough edges with your fingertips.
Add tiny dots or shallow lines for texture, or leave the surfaces plain for a minimalist look. Make holes before baking if you plan to attach the shapes to bracelets, necklaces, keyrings, or bags.
A navy, cream, lavender, and muted gold palette creates a soft celestial feel. Make a handful of charms together and mix different sizes for a small handmade collection.
30. Easy Polymer Clay Rainbow Beads
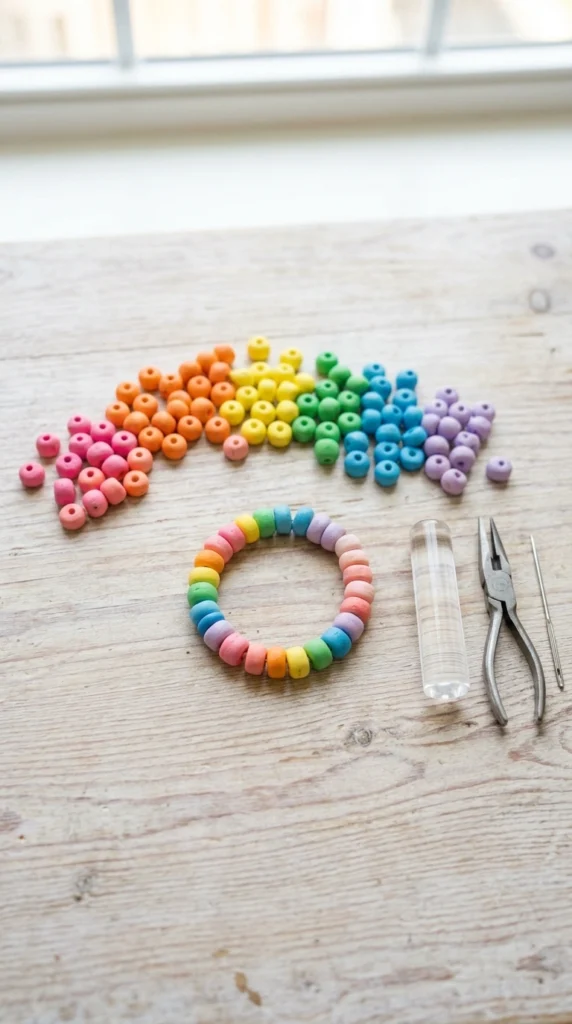
Rainbow beads are a fun final project because you can practice several basic techniques at once. Roll small ropes of different colors, place them side by side, cut short sections, and roll each section into a rounded bead.
Make a centered hole through every bead before baking. You can keep the beads round or gently flatten them into small disc shapes. Try alternating rainbow colors with plain cream beads for a calmer bracelet.
Once the beads have cooled, string them onto elastic cord or jewelry wire. Work in small batches so you can shape and pierce each bead before the clay becomes difficult to handle. With a few colors and simple tools, you can finish a cheerful bracelet in one afternoon.
Final Thoughts
These 30 easy polymer clay ideas give beginners plenty of ways to spend a creative afternoon, from simple earrings and charms to miniature animals, flowers, dishes, and home decorations. Start with one small project rather than trying to make everything at once. Gather a few clay colors, follow the baking directions on your package, and give yourself a little time to experiment. Pick your favorite idea today and make your first piece before the afternoon is over.

Lily Summers is a digital artist and creative storyteller who loves bringing colorful characters to life. With a passion for cartoons, fan art, and playful sketches, she inspires others to explore their imagination through art. When she’s not sketching, you’ll find her dreaming up new ideas for CraftedWizard.com to spark creativity in every artist. 🌈✨