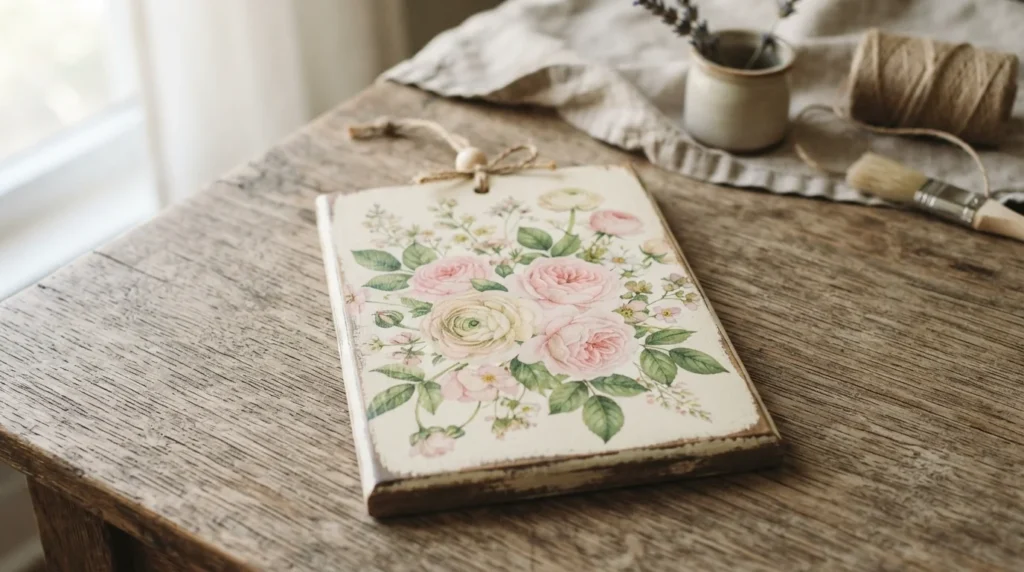
Have you ever looked at a plain wooden plaque and imagined turning it into something beautiful enough to display on a shelf, hang on a wall, or give as a handmade gift? With napkin decoupage, you can transform an ordinary piece of wood into a charming decorative accent using just a few affordable supplies.
This beginner-friendly craft combines decorative paper napkins, adhesive, and a little creativity to create a lovely, professionally finished look. The best part? You don’t need expensive equipment or advanced crafting skills. Even if you’ve never tried decoupage before, decorating a small wooden plaque is a wonderful project to start with.
What Is Napkin Decoupage?
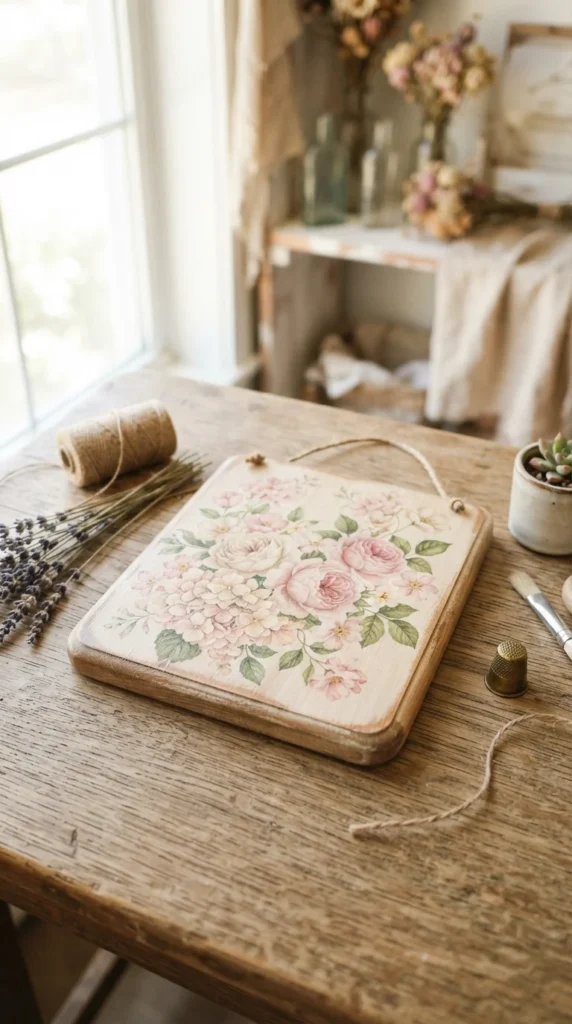
Napkin decoupage is a simple decorating technique that involves transferring the printed design from a paper napkin onto a surface using a special adhesive. It works beautifully on wood, glass, cardboard, and other craft materials.
Decorative napkins come in countless patterns, including:
- Vintage roses and botanical illustrations
- Pretty butterflies and birds
- Rustic farmhouse designs
- Seasonal flowers and leaves
- Geometric and minimalist patterns
For a small wooden plaque, lightweight napkins are especially useful because they can conform to the surface without adding noticeable bulk.
The technique creates the appearance of a painted or printed design, making an inexpensive wooden blank look like a carefully handcrafted decoration.
Supplies You’ll Need
Before getting started, gather your materials. Most of these supplies are available at craft stores or online.
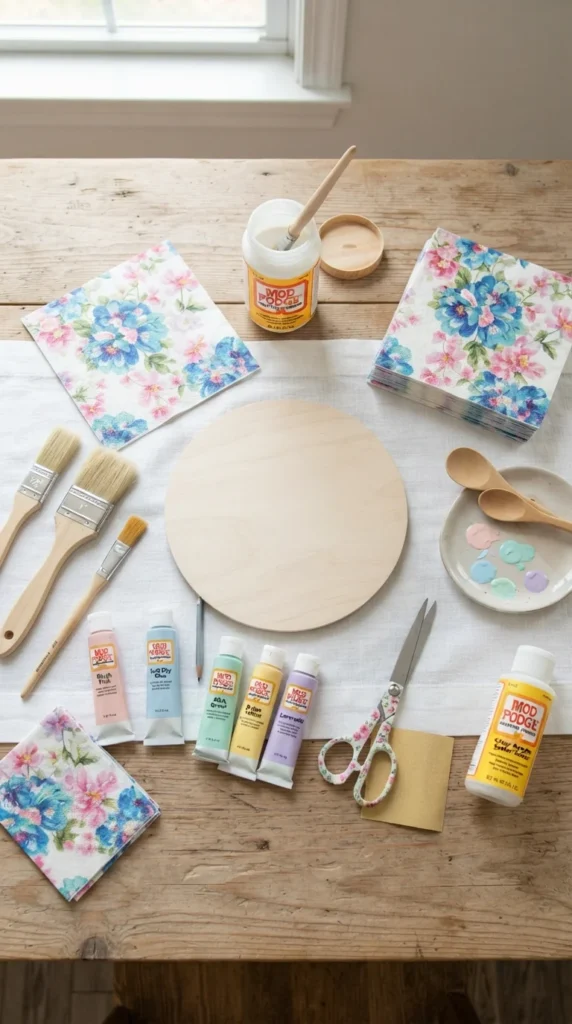
Materials checklist:
- One small unfinished wooden plaque
- Decorative paper napkin with your chosen pattern
- Decoupage glue or Mod Podge
- Flat soft-bristle paintbrush
- Acrylic paint in a coordinating color
- Fine-grit sandpaper
- Small scissors
- Clear acrylic sealer or varnish
- Optional ribbon, twine, or decorative embellishments
Choose a napkin design that complements the shape and size of your plaque. Smaller floral prints, delicate leaves, and vintage patterns usually work particularly well on small surfaces.
Step 1: Prepare the Wooden Plaque
A smooth surface is essential for achieving a beautiful decoupage finish.
Start by checking your wooden plaque for rough patches, splinters, or uneven areas. Lightly sand the surface using fine-grit sandpaper until it feels smooth.
Next, remove any dust with a clean, dry cloth.
If you want the napkin pattern to stand out, apply a thin coat of white or cream acrylic paint to the front of the plaque. This creates a light background that helps the delicate napkin colors remain visible.
Allow the paint to dry completely before moving to the next step.
Helpful tip: Avoid applying thick layers of paint. A smooth, even base coat will give you a much better result.
Step 2: Prepare Your Decorative Napkin
This is where your plaque starts getting its personality!
Most decorative paper napkins have two or three layers. The printed design is usually on the top layer, while the remaining layers are plain white.
Carefully separate the layers and keep only the printed sheet.
Then:
- Cut out the section of the design you want to use.
- Position it over the wooden plaque.
- Check that the pattern covers the area you want to decorate.
- Trim any excess paper around the edges.
You can cover the entire plaque with one large floral pattern or use smaller decorative sections for a layered appearance.
For a more artistic look, consider placing a large flower slightly off-center and adding smaller leaves around it.
Step 3: Apply the Napkin to the Wood
Now comes the most exciting part!
Apply a thin, even layer of decoupage glue to the front of your wooden plaque. Carefully place the printed napkin layer over the adhesive.
Because napkin paper is extremely delicate, avoid pulling or stretching it.
Use a soft, clean brush to gently smooth the paper from the center toward the edges. Work slowly to remove visible wrinkles and trapped air bubbles.

Tips for a smoother finish:
- Use a soft brush instead of your fingers.
- Avoid applying too much pressure.
- Don’t repeatedly brush the same wet area.
- Work carefully around corners and edges.
- If the napkin tears, gently reposition the paper while the adhesive is still workable, if possible.
Allow the plaque to dry completely according to the adhesive manufacturer’s instructions.
Step 4: Seal and Protect Your Design
Once the napkin and adhesive are completely dry, it’s time to protect your beautiful artwork.
Apply a thin coat of clear decoupage medium or a compatible clear acrylic sealer over the design. Use gentle brushstrokes to avoid damaging the delicate paper.
Depending on the finish you prefer, you can choose:
- Matte finish: Creates a soft, natural appearance.
- Satin finish: Adds a subtle sheen without looking overly glossy.
- Gloss finish: Gives the plaque a brighter, polished appearance.
Allow each coat to dry before applying another. Follow the product instructions for the recommended number of coats and drying time.
If the plaque will be displayed in a humid area, choose a suitable protective finish and keep it away from direct moisture.
Step 5: Add Decorative Finishing Touches
Your decoupage plaque is already looking lovely, but a few extra details can make it even more special.
Consider adding:
- Distressed edges: Lightly sand the painted edges for a vintage farmhouse look.
- Decorative ribbon: Attach a small bow to the top or bottom.
- Twine hanger: Add rustic twine to the back for easy wall display.
- Painted borders: Use a coordinating acrylic color to create a neat frame.
- Tiny embellishments: Add small wooden flowers or other lightweight decorations.
Keep the additional details simple so they don’t compete with your napkin design.
Creative Napkin Decoupage Ideas to Try
Once you’ve completed your first plaque, you can experiment with different styles and color combinations.
Here are a few ideas worth saving:
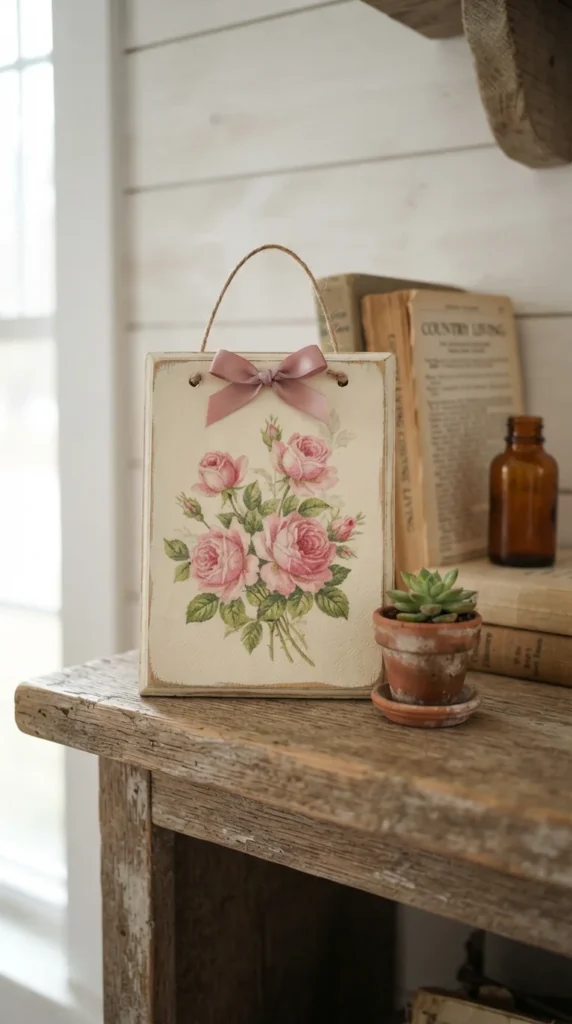
- Vintage floral plaque: Use faded roses, soft green leaves, and cream paint for a romantic look.
- Farmhouse decoration: Choose botanical prints with natural wood tones and jute twine.
- Butterfly plaque: Use colorful butterfly napkins with a pastel background.
- Seasonal design: Create Christmas, spring, autumn, or Easter-themed plaques.
- Cottage-style decoration: Combine tiny flowers, soft pastel colors, and distressed edges.
You can also make several matching plaques using different sections of the same napkin collection. They look especially attractive when displayed together as a small decorative gallery.
Final Thoughts
Napkin decoupage is an easy, affordable, and creative way to turn a simple wooden plaque into a beautiful handmade decoration. With just a few basic supplies, you can experiment with patterns, colors, and finishes to create something that reflects your personal style.
Whether you’re decorating your home, preparing a thoughtful handmade gift, or exploring a new DIY hobby, this little project is a lovely place to begin.
Save this napkin decoupage tutorial for your next crafting afternoon, gather your favorite decorative napkins, and give an ordinary wooden plaque a beautiful new look!

Lily Summers is a digital artist and creative storyteller who loves bringing colorful characters to life. With a passion for cartoons, fan art, and playful sketches, she inspires others to explore their imagination through art. When she’s not sketching, you’ll find her dreaming up new ideas for CraftedWizard.com to spark creativity in every artist. 🌈✨