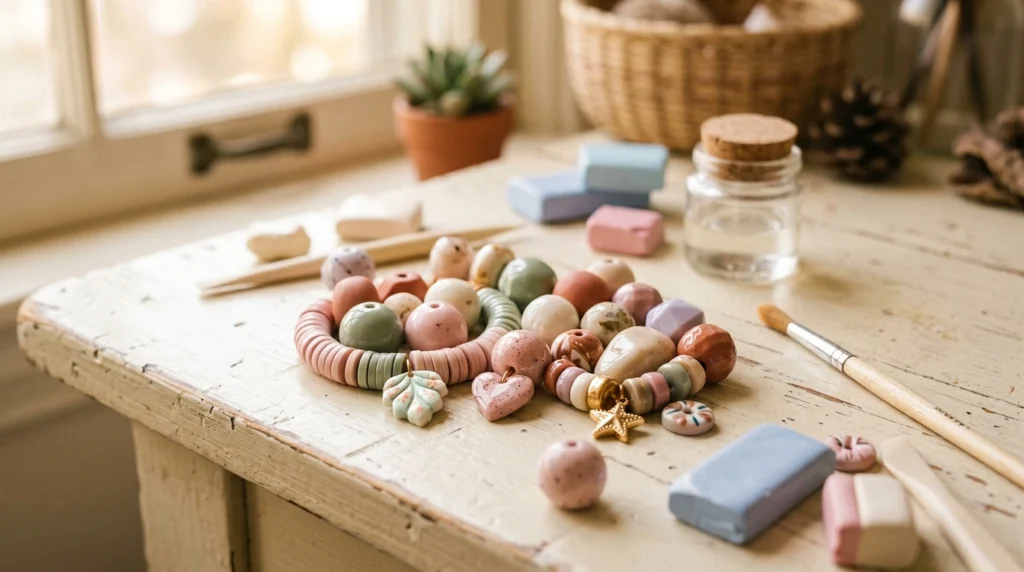
There’s something incredibly satisfying about turning a simple piece of polymer clay into a smooth, glossy creation that looks almost like glass. Whether you’re making beads, charms, earrings, figurines, or decorative pieces, the right finish can take your project from homemade to professionally polished.
The tricky part? Not every sealer works well with polymer clay. Some can stay sticky, become cloudy, or even react with the clay over time. The good news is that getting a beautiful, durable finish is easier when you know what to use and how to apply it.
Choose the Right Sealer
Before reaching for any random clear coat, check that it is specifically compatible with polymer clay. This is one of the most important steps for a finish that stays attractive over time.
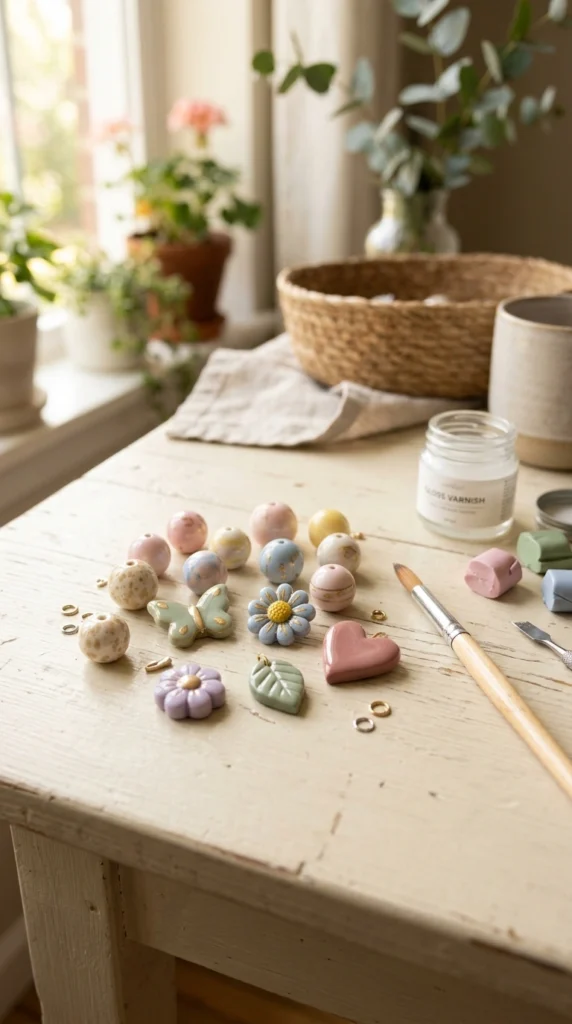
A polymer-clay-friendly varnish or glaze can help protect the surface while adding the amount of shine you want.
Look for a product that offers:
- Clear, non-sticky drying
- Compatibility with polymer clay
- A glossy or high-shine finish
- Good resistance to scratching and handling
- A finish that remains flexible rather than becoming brittle
Some polymer clay pieces may not need a sealer at all, especially if you prefer a natural satin finish. But for that classic wet-look gloss, a suitable clay varnish is your best bet.
Make Sure Your Clay Is Properly Baked
A glossy finish starts long before you open the bottle of sealer.
Your polymer clay needs to be completely cured according to the manufacturer’s baking instructions. Underbaked clay can remain soft, and applying a coating over it may not solve the problem.
After baking, allow the piece to cool completely.
Then inspect it carefully. If there are fingerprints, dust, rough edges, or other imperfections, fix those before sealing. Once the glossy coating goes on, imperfections can become even more noticeable.
For a smoother result, gently clean the cooled piece with a soft, lint-free cloth.
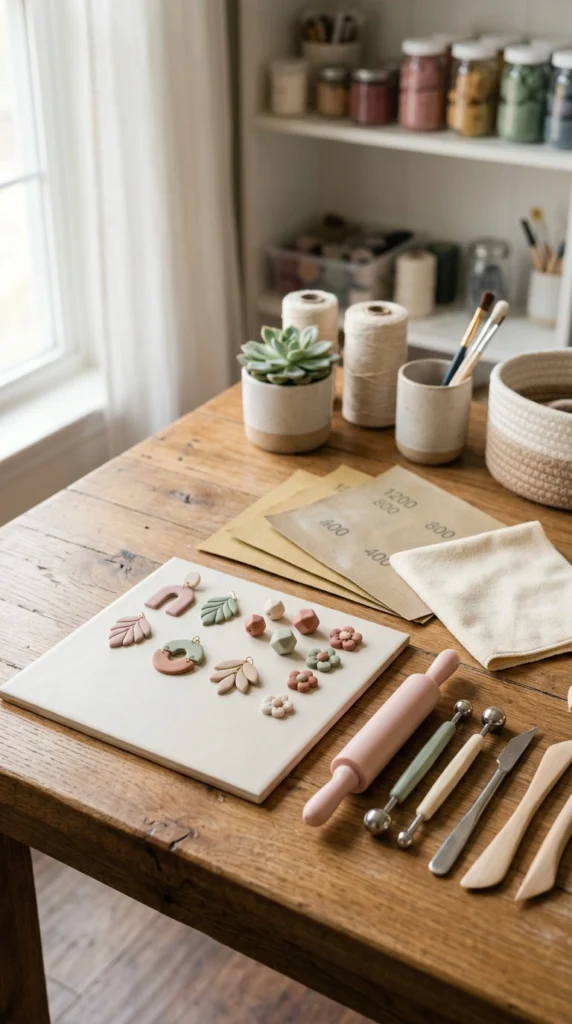
Prepare the Surface Before Applying Gloss
A little preparation makes a surprisingly big difference.
Your polymer clay should be:
- Completely cool
- Free from dust and fingerprints
- Dry and clean
- Smooth enough for the finish you want
If your piece has tiny rough spots, you can carefully smooth them before applying the sealer. For some projects, wet sanding with very fine-grit sandpaper can create an exceptionally smooth surface.
Be gentle, though. Small jewelry pieces and delicate details can be easily damaged by aggressive sanding.
Work in a clean area where dust and pet hair won’t easily land on your project while the finish is drying.
Apply a Thin, Even Coat
Now comes the fun part: adding the shine!
Use a small, clean, soft brush and apply a thin layer of your clay-safe gloss. Avoid loading the brush with too much product. Thick coats can create drips, cloudy areas, or uneven drying.
Instead, use light strokes and spread the product evenly across the surface.
For small pieces, it can help to hold the item by an uncoated section or place it on a clean support so you don’t accidentally touch the wet finish.
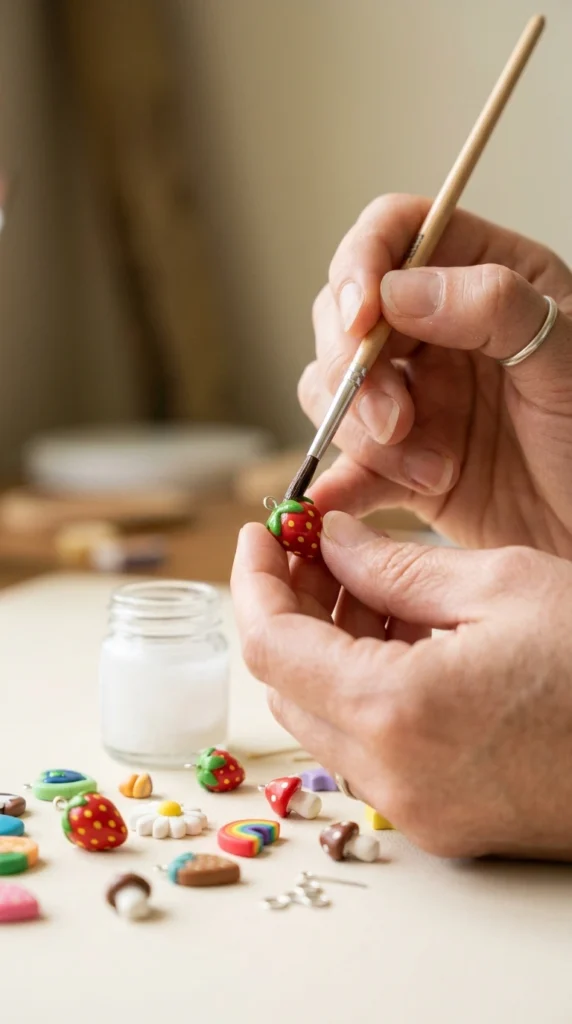
Pay special attention to edges and recessed areas. You want enough coverage to create an even sheen without allowing the sealer to pool in corners.
Let Each Coat Dry Completely
Patience is probably the hardest part of getting a professional-looking finish.
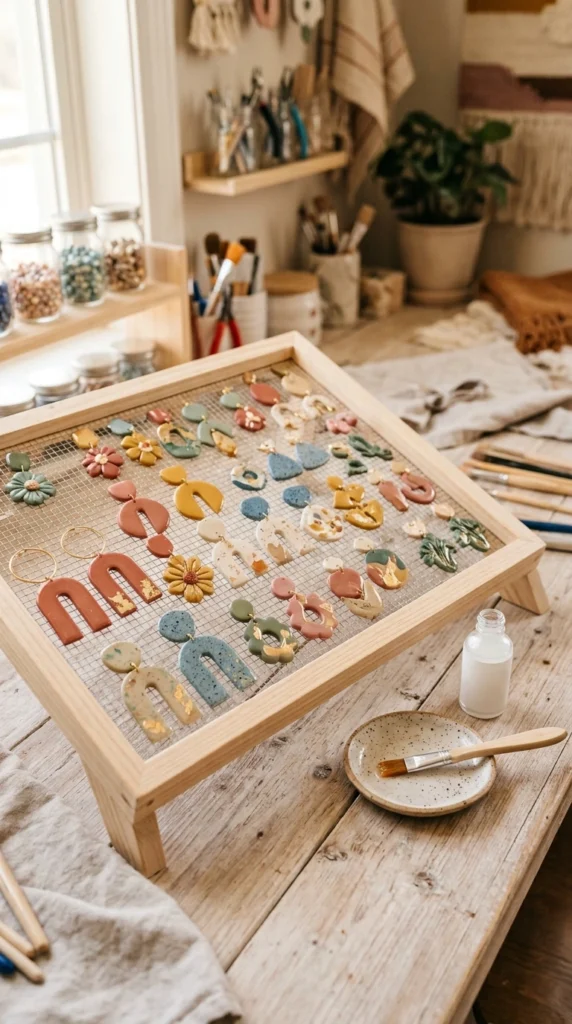
Once you’ve applied the first coat, leave the piece somewhere clean and dust-free. Follow the drying time recommended by your specific sealer.
Don’t keep touching the surface to see whether it’s dry. Fingerprints can easily become trapped in a partially cured coating.
If you want more shine, apply another thin coat after the first one has fully dried.
Multiple thin layers are generally easier to control than one thick layer. They also give you more control over the final level of gloss.
Avoid These Common Sealing Mistakes
Even experienced crafters can run into finishing problems. A few simple habits can help you avoid them.
Don’t use too much sealer.
Heavy coats may dry unevenly or create visible drips.
Don’t seal dirty clay.
Dust and fingerprints trapped underneath the coating can ruin an otherwise smooth finish.
Don’t rush the drying process.
Moving or stacking pieces too soon can leave marks on the surface.
Don’t mix random finishes.
Stick with products known to work with polymer clay rather than experimenting with household coatings.
Don’t assume more gloss is always better.
For some designs, one or two controlled coats create a more attractive finish than several thick layers.
Give Your Finished Pieces Time to Cure
Dry to the touch doesn’t always mean fully cured.
After the final coat, give your project the full amount of time recommended on the product packaging before heavy handling or wearing it.
Once completely cured, store finished pieces so they aren’t constantly rubbing against rough surfaces. Jewelry can benefit from individual compartments or soft pouches, while decorative pieces should be kept away from unnecessary friction.
The result should be a smooth, attractive surface that enhances your clay design without overpowering it.
Create That Professional Gloss
Sealing polymer clay doesn’t have to be complicated. The secret is really about using the right product, preparing the surface, applying thin coats, and allowing plenty of drying time.
If you’re making polymer clay jewelry or miniature creations, a glossy finish can beautifully highlight colors, patterns, and tiny details. And when you take your time, the finished piece can have that polished, boutique-style appearance you’re after.
Save this guide for your next polymer clay project, and give your handmade pieces the glossy finish they deserve!

Lily Summers is a digital artist and creative storyteller who loves bringing colorful characters to life. With a passion for cartoons, fan art, and playful sketches, she inspires others to explore their imagination through art. When she’s not sketching, you’ll find her dreaming up new ideas for CraftedWizard.com to spark creativity in every artist. 🌈✨