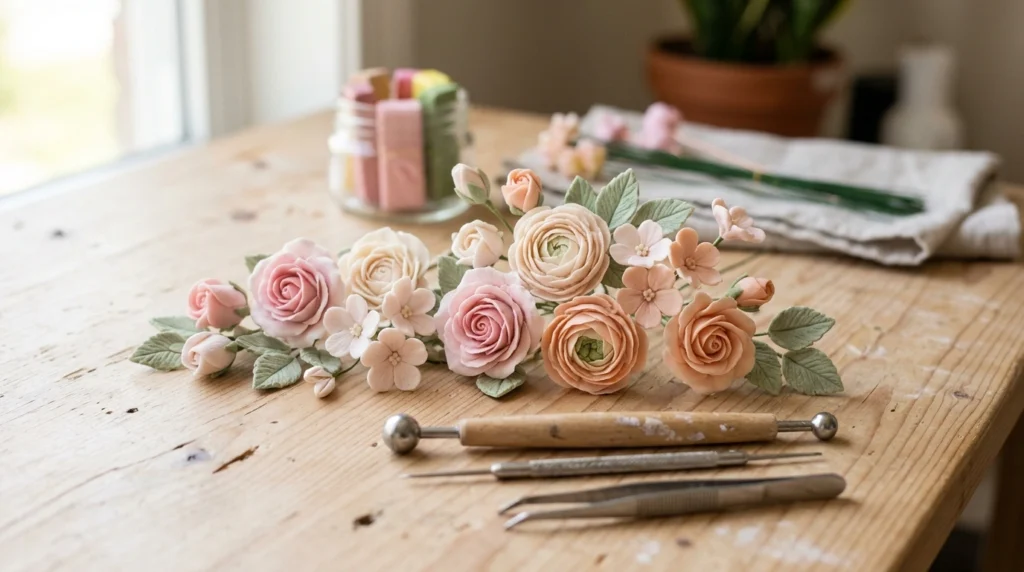
There’s something magical about a tiny polymer clay flower that looks like it could have been picked straight from a garden. The secret isn’t complicated it’s all about thin petals, subtle color variations, natural shaping, and tiny realistic details.
Whether you want to make jewelry, cake toppers, home décor, mini bouquets, or pretty handmade gifts, realistic clay flowers are a wonderful project to try. And once you learn the basic techniques, you can create roses, daisies, wildflowers, and almost anything else you can imagine.
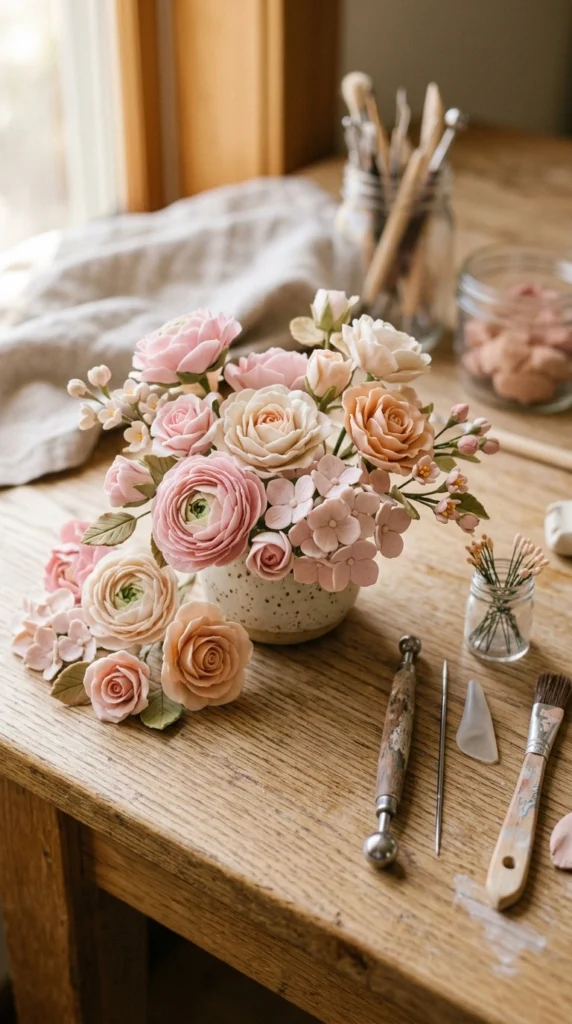
Gather Your Polymer Clay Supplies
You don’t need a huge collection of supplies to get started. A few basic tools are enough for beautiful results.
You’ll need:
- Polymer clay in your chosen flower colors
- Green polymer clay for leaves and stems
- A sharp craft blade
- Small ball or dotting tools
- Needle or fine-point sculpting tool
- Rolling pin or acrylic roller
- Fine paintbrush
- Acrylic paints or soft pastels for shading
- Liquid polymer clay or suitable clay adhesive
- Baking tray and parchment paper
For your first project, choose two or three flower colors rather than trying to make a whole rainbow. Soft pink, ivory, peach, lavender, and pale yellow are especially good for a delicate botanical look.
Start With Thin, Even Petals
The petals are what make or break a realistic clay flower.
Roll a small piece of polymer clay until it is smooth and even. Flatten it into a tiny oval or teardrop shape, depending on the flower you’re making.
The thinner the outer edge, the more natural the petal will look.
Use a ball tool to gently press into the center of each petal. This creates a slight cup rather than leaving the petal completely flat.
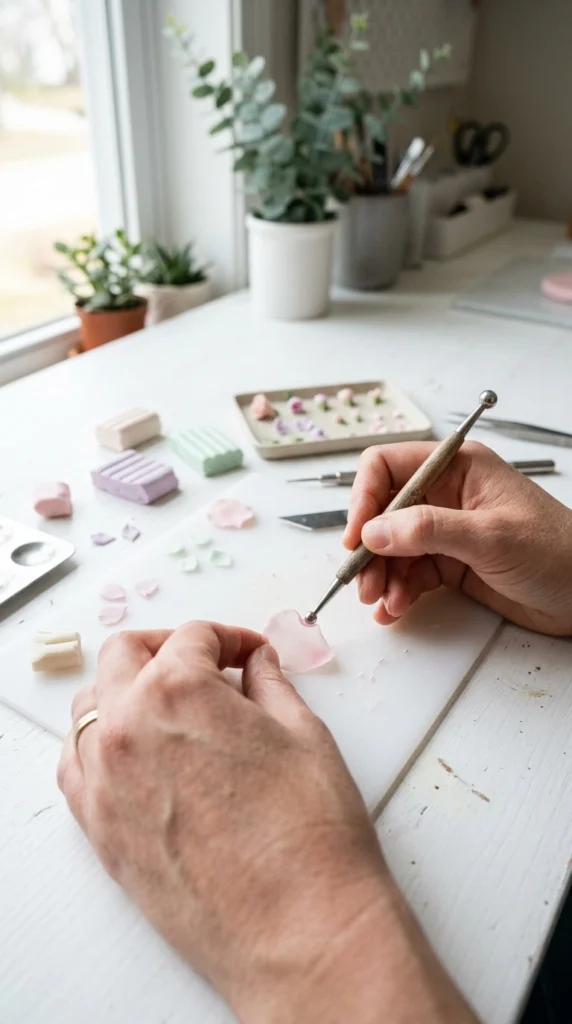
Avoid making every petal identical. Real flowers have tiny differences in size, shape, and angle, so small variations actually make your finished flower look more realistic.
Build the Flower Layer by Layer
Once your petals are prepared, it’s time to assemble them.
Start with the smallest petals in the center. Carefully overlap them around a tiny clay center, then gradually add larger petals as you move outward.
For a rose, curl the first few petals inward tightly. As you add more petals, open them slightly so the flower becomes wider toward the outside.
For a daisy or simple wildflower, arrange the petals around the center with a little space between them.
A useful trick is to rotate each new petal slightly instead of lining every petal up in exactly the same position.
This gives your flower a natural, organic appearance.
Keep these tips in mind:
- Don’t use too much clay between petals.
- Avoid making perfectly symmetrical flowers.
- Let some petals bend outward.
- Slightly overlap neighboring petals.
- Keep the center compact and detailed.
Add Natural Color and Texture
Flat, single-color flowers can sometimes look more like plastic than real plants. Adding subtle variations makes a huge difference.
Use a soft pastel or diluted acrylic paint to gently shade the base of the petals. A slightly darker color near the center can create depth.
You can also add tiny lines with a needle tool. Pull the tool lightly from the center toward the edge of each petal to imitate natural veins.
Don’t overdo it. Real flowers usually have subtle texture, not deep grooves.
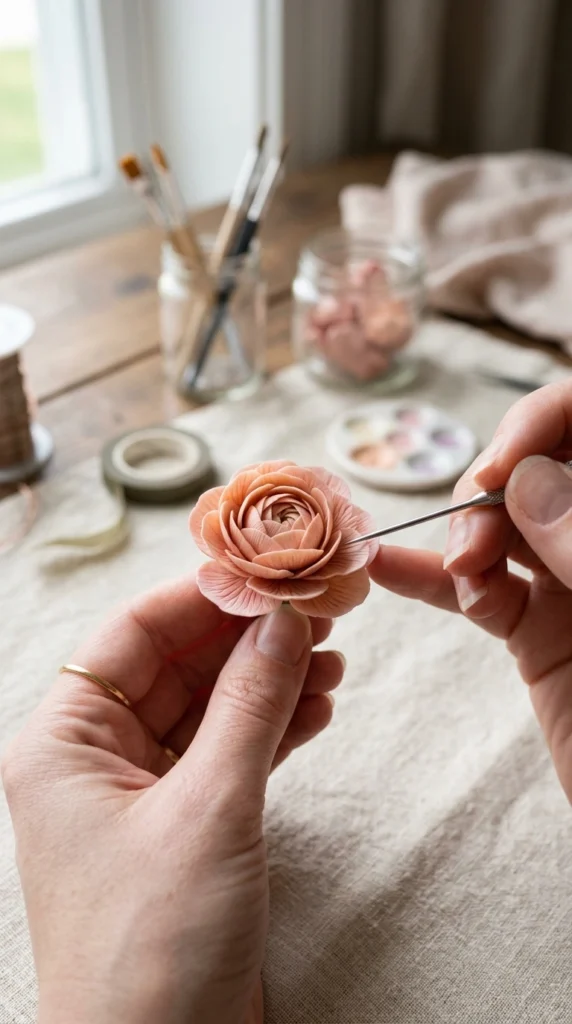
For an especially natural effect, try combining slightly different shades of the same color. For example, use pale pink petals with a touch of deeper pink toward the center.
Create Realistic Leaves and Stems
Flowers become much more convincing when the greenery looks natural too.
Roll green clay into small leaf shapes and flatten them slightly. Use a needle tool to create a central vein, followed by a few very fine side veins.
Pinch or curve the leaves gently so they aren’t completely flat.
For stems, roll very thin pieces of green clay. Keep them slightly irregular rather than making perfectly straight cylinders.
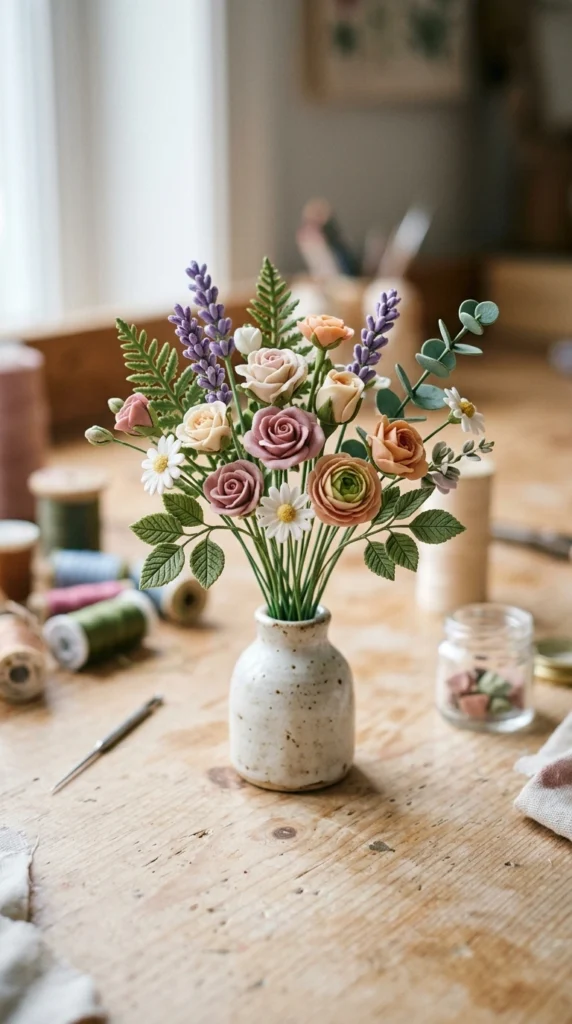
If you’re making a miniature bouquet, vary the height and direction of the stems. This creates the loose, natural arrangement you see in real flower bouquets.
Bake Your Flowers Carefully
Polymer clay needs to be baked according to the manufacturer’s instructions. Different clay brands can have different temperature and baking-time requirements, so always check the packaging first.
Place your flowers carefully on a baking surface. Support delicate petals if necessary so they don’t flatten or change position during baking.
Avoid guessing the temperature or baking time. Too much heat can discolor or burn your flowers, while insufficient baking can leave them fragile.
After baking, allow the flowers to cool completely before handling them extensively.
Add the Finishing Touches
Once your flowers have cooled, inspect them carefully.
You can add tiny finishing details with acrylic paint, pastel, or a suitable protective finish. For flowers used in jewelry or decorative arrangements, make sure any adhesive or coating you use is compatible with the intended project.
A little extra shading around the center can make the flower appear deeper and more dimensional.
The goal isn’t perfection. In fact, a slightly uneven petal or gently curved leaf can be exactly what makes your handmade flower look real.
Make Your Next Flower Even Better
The first flower you make might not look exactly like the one in your imagination and that’s completely normal.
Start with simple flowers before attempting complicated roses or layered blossoms. Pay attention to real flowers for inspiration and notice how their petals overlap, curl, bend, and change color.
Once you understand those little details, you can start experimenting with your own designs.
Final Takeaway
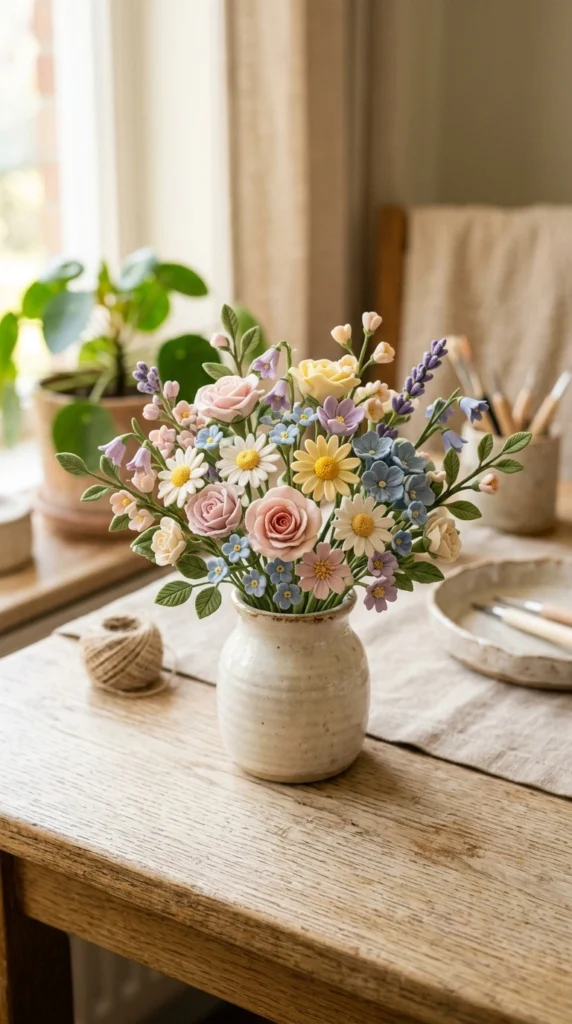
Making delicate polymer clay flowers is really about small details rather than complicated techniques. Keep your petals thin, vary their shapes, add subtle color and texture, and avoid making everything perfectly symmetrical.
With a little practice, you can turn simple pieces of clay into flowers that look surprisingly lifelike.
Save this tutorial for your next polymer clay project, and start with one tiny flower you might be surprised by how realistic you can make it!

Lily Summers is a digital artist and creative storyteller who loves bringing colorful characters to life. With a passion for cartoons, fan art, and playful sketches, she inspires others to explore their imagination through art. When she’s not sketching, you’ll find her dreaming up new ideas for CraftedWizard.com to spark creativity in every artist. 🌈✨