Before you throw away that empty jar, cardboard box, or stack of old magazines, think about what it could become! Everyday household items can turn into beautiful decorations, useful organizers, and fun projects for the whole family. Making crafts with recycled materials is an affordable way to get creative while reducing the amount of waste you send to the bin. Whether you’re crafting with kids or looking for simple DIY decor, these ideas will help you turn ordinary items into something special.
1. Gather and Prepare Your Recycled Materials
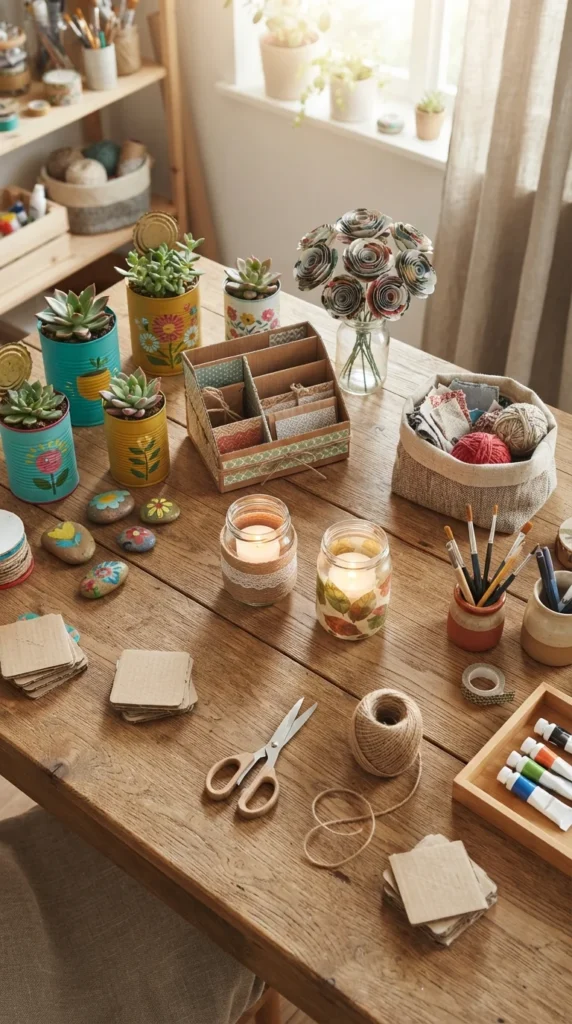
The best part of recycled crafts is that you may already have most of the supplies at home. Before starting, collect clean items that can be reused safely and sort them by material.
Look for items such as:
- Cardboard boxes and empty paper rolls
- Glass jars and plastic containers
- Clean tin cans with safe, smooth edges
- Old newspapers, magazines, and scrap paper
- Fabric scraps, ribbons, and leftover yarn
- Bottle caps and sturdy packaging
Wash containers thoroughly and let them dry before crafting. Remove labels when necessary, and check for sharp edges, cracks, or damaged parts. Avoid containers that held hazardous chemicals, and supervise children when using scissors, glue guns, or small pieces.
Keep your supplies in separate boxes so you can find the right material quickly. A small collection of sorted scraps makes it easier to start a project whenever inspiration strikes.
2. Turn Cardboard Boxes Into Desk Organizers
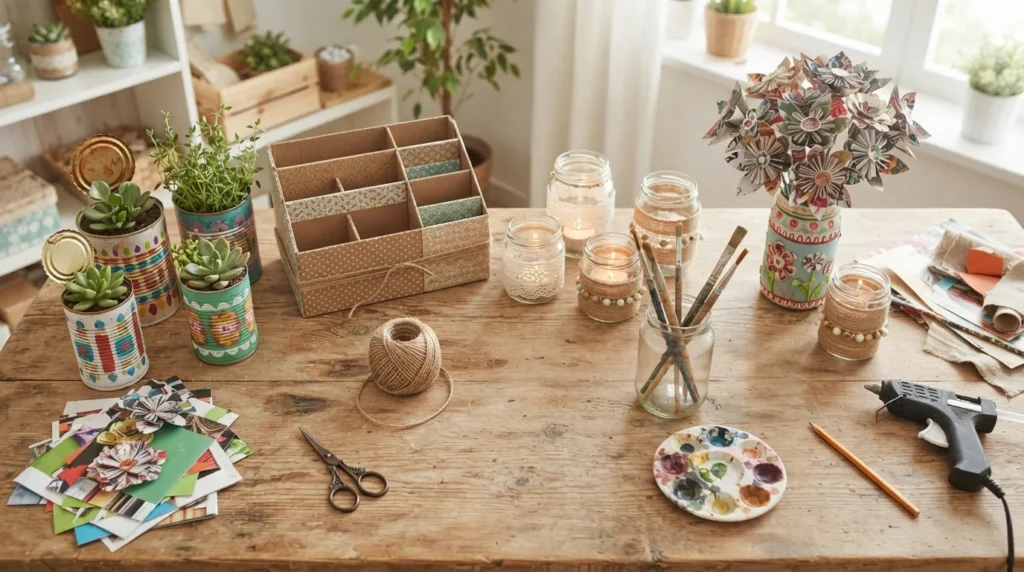
Cardboard boxes are perfect for creating useful storage without buying plastic organizers. Small shipping boxes, cereal cartons, and packaging inserts can become holders for stationery, craft supplies, or everyday accessories.
Start by measuring the items you want to store. Cut the cardboard into sections, arrange them inside a larger box, and attach them with craft glue or strong paper tape. Cover the outside with leftover wrapping paper, fabric scraps, or plain recycled paper for a coordinated appearance.
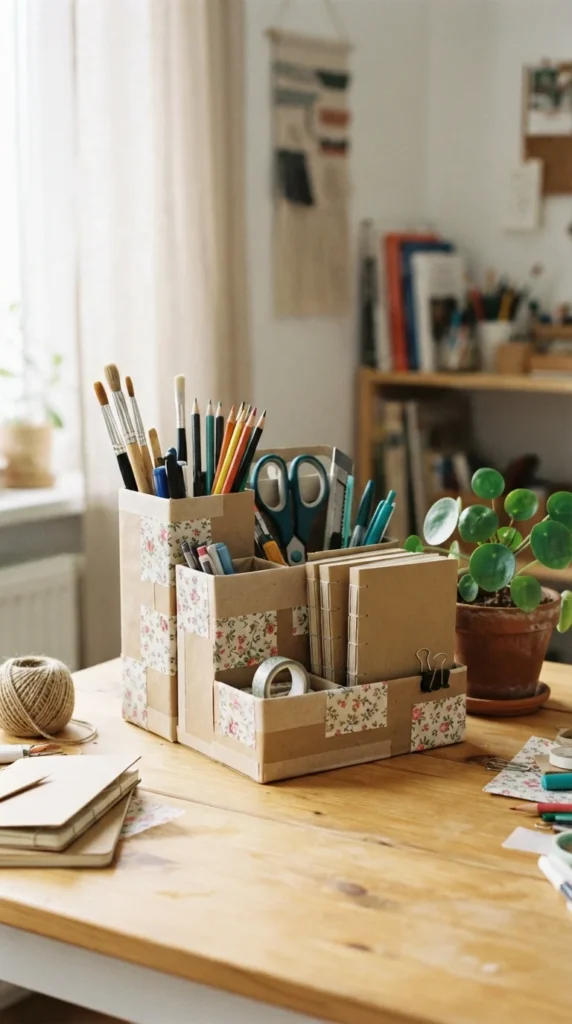
For a neat finish, trim uneven edges and reinforce the bottom with an extra layer of cardboard. You can also make separate compartments for paper clips, sticky notes, and other small supplies.
This project works well for students, home offices, and craft rooms. It gives old packaging a useful purpose while helping keep your workspace tidy.
3. Make Tin-Can Planters for Small Plants
Empty food cans can become charming planters for herbs, small flowers, or decorative greenery. Their simple shape suits rustic, modern, and colorful home decor styles.
First, clean the can and remove its label. Check the rim carefully because metal edges can be sharp; choose cans with smooth, safe rims or have an adult prepare them. Add drainage holes only if you can do so safely with appropriate tools.
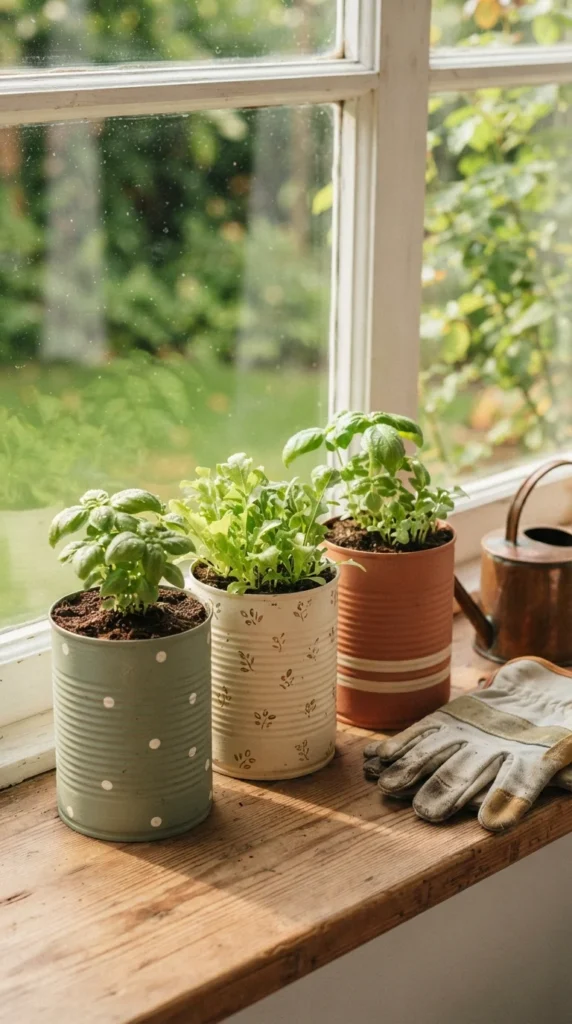
Decorate the outside with water-based paint suitable for the surface, jute twine, or leftover fabric. Let the decoration dry completely before adding soil and plants. For plants that require drainage, use a suitable tray underneath to protect your windowsill.
Remember that metal cans can heat up in direct sunlight, so choose a location appropriate for your plant. With a little care, these handmade planters can brighten a kitchen, balcony, or garden shelf.
4. Create Decorative Flowers From Old Magazines
Old magazines, catalogs, and colorful scrap paper are excellent materials for making paper flowers. The finished decorations can brighten a bedroom, decorate a gift, or serve as a handmade centerpiece.
Choose pages with colors or patterns you enjoy. Cut the paper into strips or petal shapes, then curl, fold, or layer the pieces to form flowers. Use glue to secure the shapes and attach them to paper stems, wooden craft sticks, or reusable wire.
For a simple flower, cut several rounded petals, arrange them in overlapping layers, and add a small rolled-paper center. Mix different magazine colors to create a playful bouquet, or stick to a limited palette for a more coordinated look.
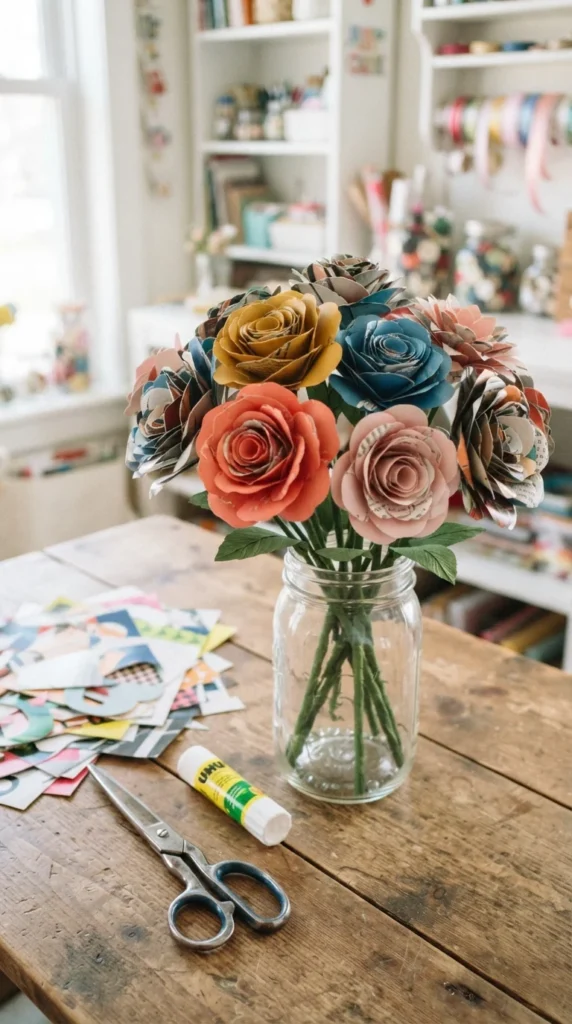
Paper flowers do not require watering, making them a lasting decoration for shelves, desks, and gift packages. You can also use smaller flowers to decorate handmade cards or party displays.
5. Transform Glass Jars Into Decorative Holders
Glass jars from sauces, jams, and other foods can become attractive holders for everyday items. Use them to store cotton pads, paintbrushes, buttons, or small craft supplies.
Wash the jars thoroughly and remove sticky labels. For decoration, wrap twine around the middle, tie a ribbon around the neck, or paint a simple pattern on the outside. You can also leave the glass clear to show the contents.
Place a jar beside your desk for pens or group several jars on a shelf for a coordinated storage display. Adding sand, smooth pebbles, or decorative paper around the base can create a different look, depending on how you plan to use it.
If you want to use a jar as a candle holder, select heat-safe glass and follow appropriate candle safety guidance. Never leave a burning candle unattended, and keep decorations away from the flame.
6. Make Fabric Scrap Coasters
Small pieces of leftover fabric can become practical coasters that protect tables from drink marks. This project is a good way to use scraps that are too small for larger sewing projects.
Cut two equal squares from sturdy fabric and place a piece of thin felt or another suitable absorbent layer between them. Sew around the edges, leaving a small opening if needed to turn the fabric right side out, then close the opening neatly.
For a no-sew version, use fabric adhesive suitable for the materials and follow the product directions. Combine contrasting prints or use several shades of the same color to create a matching set.
Choose washable fabrics and test them before regular use. These handmade coasters also make thoughtful small gifts, especially when paired with a reused jar filled with homemade treats or craft supplies.
7. Display Your Recycled Crafts With Purpose
Once your projects are finished, find places where they can be used instead of letting them become clutter. A cardboard organizer belongs on your desk, paper flowers can brighten a shelf, and tin-can planters can decorate a suitable windowsill.
Try these simple styling ideas:
- Group projects with similar colors for a coordinated display.
- Combine natural materials such as cardboard, paper, and twine.
- Use handmade organizers to store the supplies from your next craft session.
- Give useful creations to friends or family as handmade gifts.
Remember that recycled crafting is about making thoughtful use of available materials, not collecting more things than you can use. Choose projects that serve a purpose or bring genuine enjoyment to your home.
Final Thoughts
Making crafts with recycled materials is a fun way to explore your creativity, reuse everyday items, and create useful decorations without spending much money. From cardboard organizers to magazine flowers and glass jar holders, even simple materials can become something worth keeping. Start with one project using supplies you already have, then save clean scraps for your next DIY afternoon. Save this guide for later, gather your recycled materials, and turn your household leftovers into your next favorite craft!

Lily Summers is a digital artist and creative storyteller who loves bringing colorful characters to life. With a passion for cartoons, fan art, and playful sketches, she inspires others to explore their imagination through art. When she’s not sketching, you’ll find her dreaming up new ideas for CraftedWizard.com to spark creativity in every artist. 🌈✨