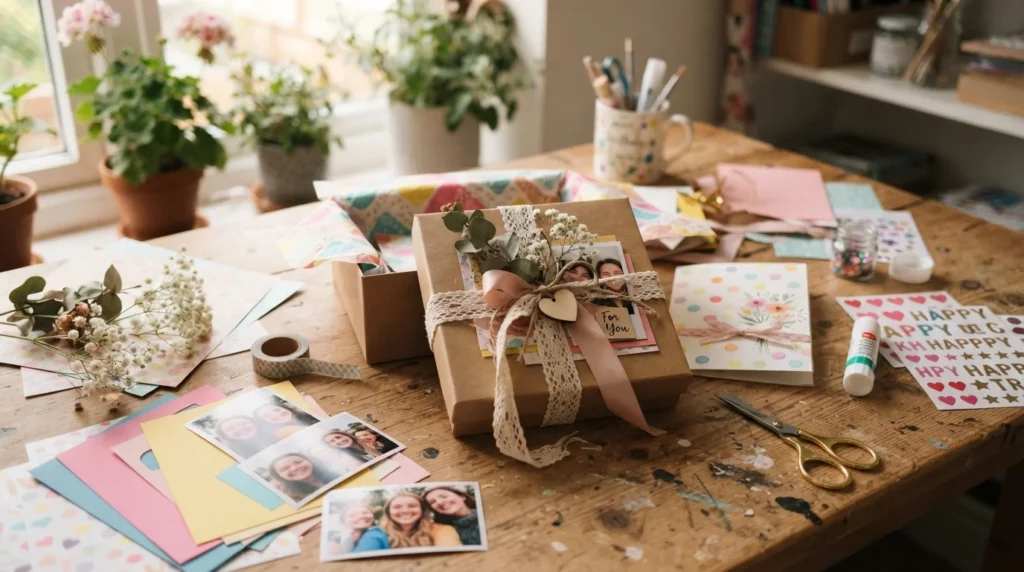
A thoughtful birthday gift doesn’t have to take hours to make or cost a lot of money. With a few simple craft supplies, you can create something personal, pretty, and genuinely meaningful—even if you only have an afternoon to work with. From colorful paper and photos to ribbons, stickers, and a small box, the possibilities are endless.
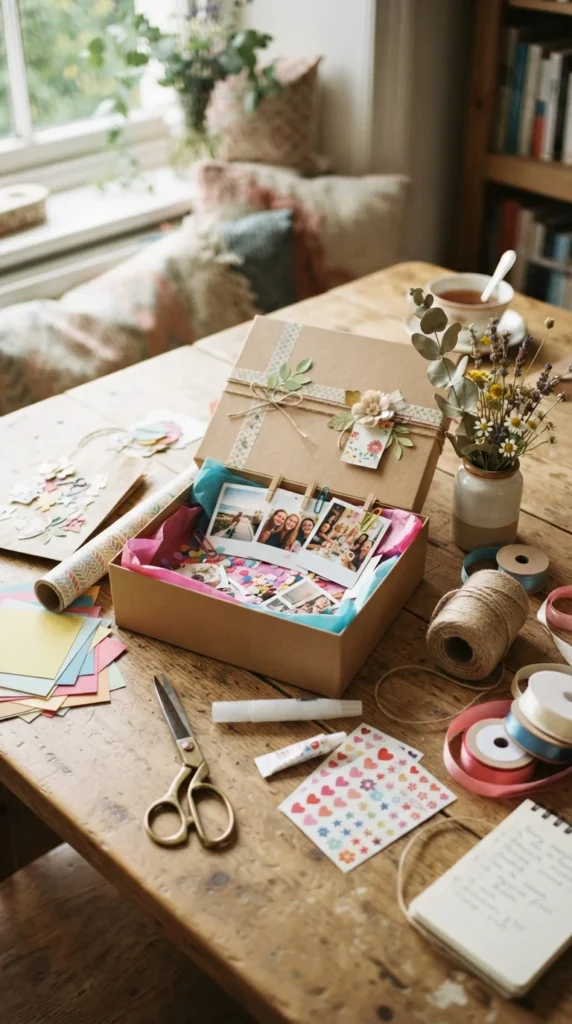
The best part? Homemade gifts have that special personal touch that store-bought presents often miss. This quick project can easily be customized for a best friend, sibling, parent, partner, or anyone celebrating a special day.
Gather Your Easy Craft Supplies
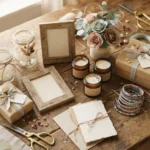
You don’t need an expensive craft collection for this project. Start by gathering whatever you already have at home.
Basic supplies:
- A small cardboard or gift box
- Colored cardstock or scrapbook paper
- Printed photos
- Ribbon or twine
- Decorative stickers
- Washi tape
- Scissors
- Glue or double-sided tape
- Markers or gel pens
- Small dried flowers or paper flowers
- Candy, chocolates, or another tiny treat
Don’t worry if you don’t have everything on the list. The idea is to use simple supplies creatively rather than buying a whole new set of materials.
Choose a Simple Gift Concept
For a quick homemade birthday gift, a personalized memory box is an easy option. It combines decoration, photos, little notes, and small surprises in one cute package.
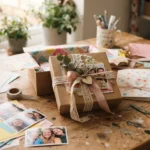
Start by choosing a small box. A plain cardboard box works perfectly because you can completely transform it with scrapbook paper, ribbon, and stickers.
Cover the outside of the box with your favorite colored paper. Soft pink, cream, pastel blue, lavender, or neutral tones can give it a Pinterest-inspired aesthetic.
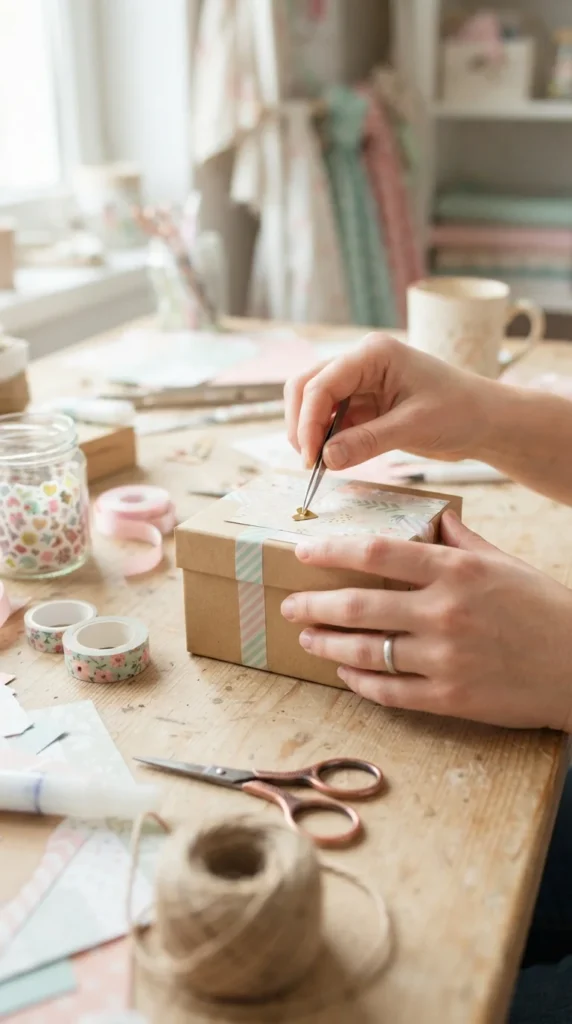
For a more polished look, keep your color palette limited to two or three complementary colors. This makes the finished gift look intentional instead of overly busy.
Add Personal Photos and Memories
Photos instantly make a homemade gift feel more meaningful. Choose three to six favorite pictures of you and the birthday person.
You don’t need professional photographs. Candid selfies, vacation snapshots, funny moments, or old family pictures can work beautifully.
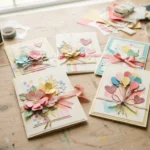
Trim the photos into small squares, rectangles, circles, or even heart shapes. Arrange them on cardstock to create mini memory cards.
You can also decorate each photo with:
- Tiny stickers
- Washi tape borders
- Hand-drawn hearts
- Small paper flowers
- Decorative corners
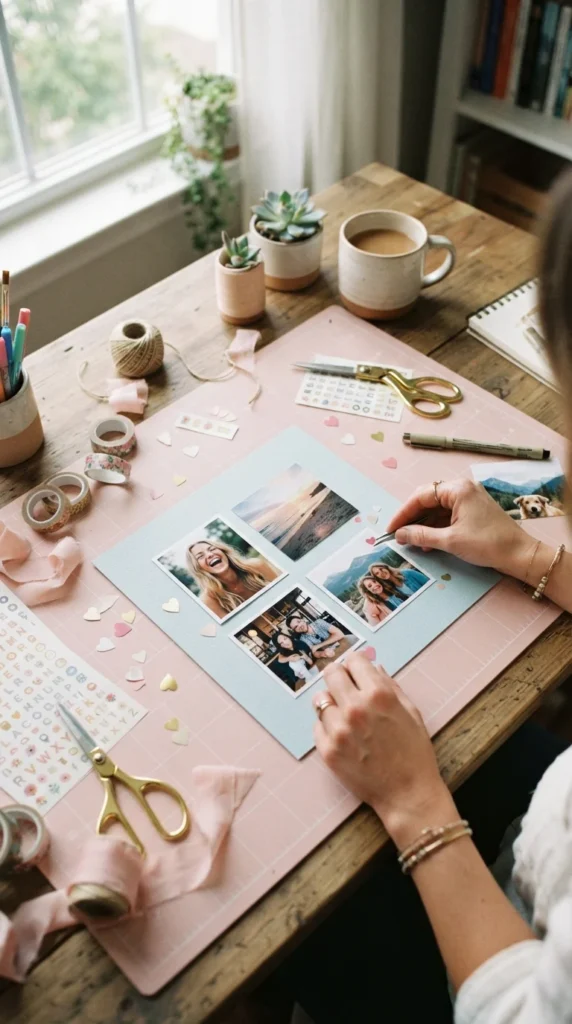
If you don’t have access to a printer, you can create tiny illustrated memory cards instead. Draw simple symbols or recreate memorable moments with doodles.
Make a Tiny Surprise Section
Now comes the fun part: filling the box.
Add a few inexpensive little surprises inside. They don’t need to be valuable—the goal is to make the recipient smile.
Try including:
- Their favorite chocolate
- A small keychain
- Mini handwritten notes
- A friendship bracelet
- Tea bags or coffee sachets
- Small stickers
- A tiny handmade flower
- A favorite quote written on cardstock
You can fold several small notes and place them underneath the other gifts. Write messages such as memories you share, things you appreciate about them, or reasons you’re grateful to have them in your life.
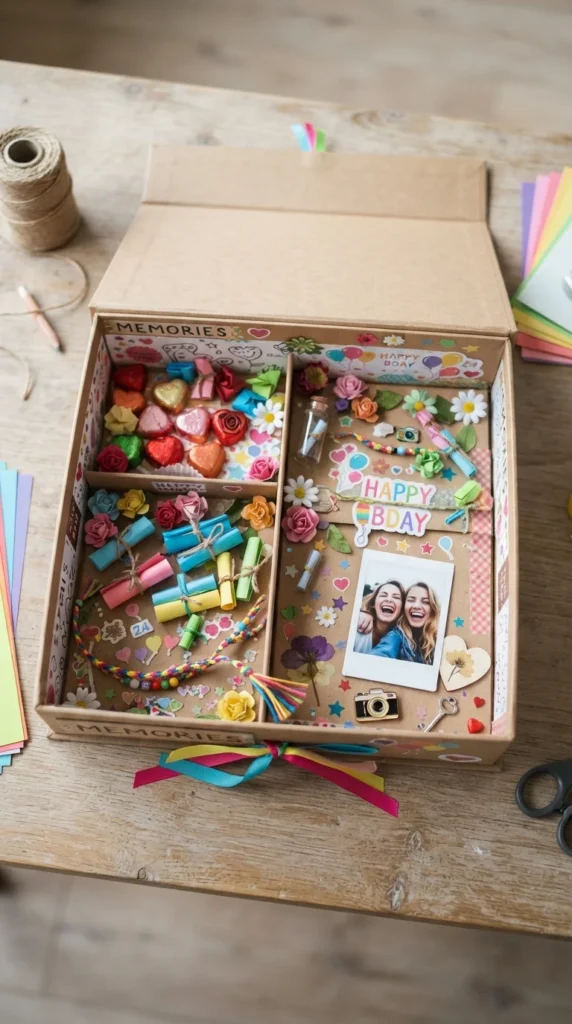
Finish It With Pretty Details
Small finishing touches can make a huge difference.
Wrap a piece of ribbon around the box and tie it into a simple bow. Add a paper flower or a small decorative charm to the top.
If the box has a lid, decorate the center with a layered paper shape. For example, cut a large heart from cardstock and place a smaller contrasting heart on top.
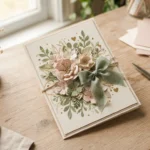
You can also add a little texture by using twine, lace, dried flowers, or small fabric scraps.
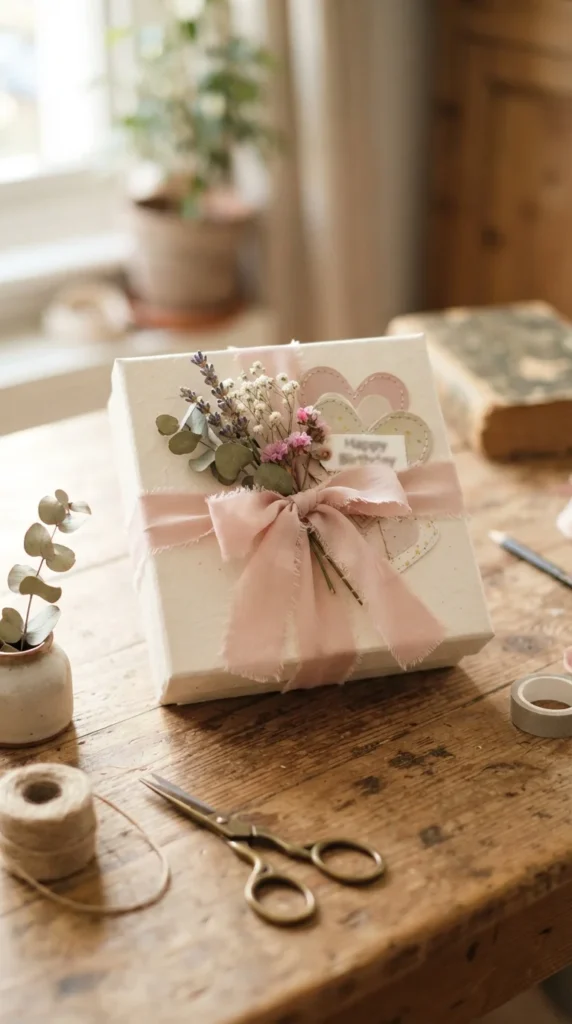
Make It Look Extra Special
You don’t need complicated techniques to make your gift look beautiful. A few simple design tricks can make a homemade project feel much more polished.
- Stick to a small color palette.
- Keep decorations balanced rather than covering every surface.
- Mix textures such as paper, ribbon, and fabric.
- Use clean cuts around photos and paper shapes.
- Leave some empty space for a minimalist look.
- Add one standout decorative element instead of too many competing details.
Most importantly, don’t worry about making it absolutely perfect. Handmade gifts are special because they show effort and thought.
Final Thoughts
A quick homemade birthday gift can be simple, affordable, and incredibly personal. With a small box, a few craft supplies, favorite photos, handwritten notes, and a little creativity, you can turn ordinary materials into something the birthday person will remember.
The beauty of this project is that you can adapt it to almost anyone. Change the colors, photos, treats, and decorations to match their personality and your relationship.
Save this DIY birthday gift idea for later, especially when you need a thoughtful present at the last minute. Sometimes the simplest handmade gifts become the ones people treasure most.

Lily Summers is a digital artist and creative storyteller who loves bringing colorful characters to life. With a passion for cartoons, fan art, and playful sketches, she inspires others to explore their imagination through art. When she’s not sketching, you’ll find her dreaming up new ideas for CraftedWizard.com to spark creativity in every artist. 🌈✨