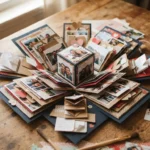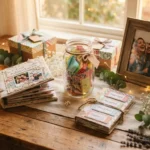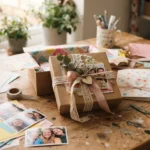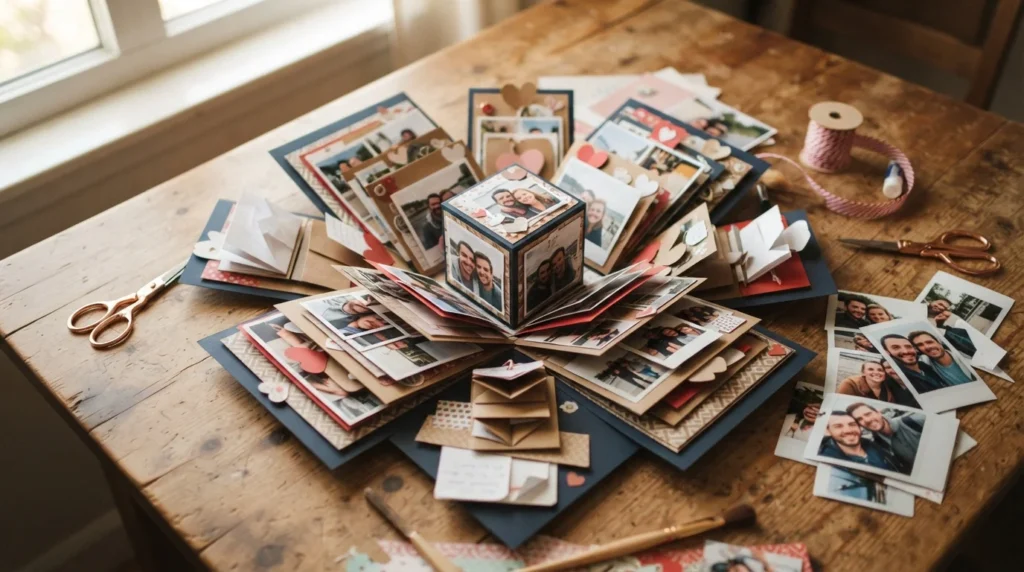
An explosion box looks like an ordinary little gift box—until he lifts the lid and all the decorated sides fall open to reveal photos, memories, and sweet messages. It is a fun DIY birthday or anniversary gift that feels personal without requiring expensive supplies. You can fill every layer with moments that belong to your relationship, from your first photo together to silly inside jokes and favorite dates.
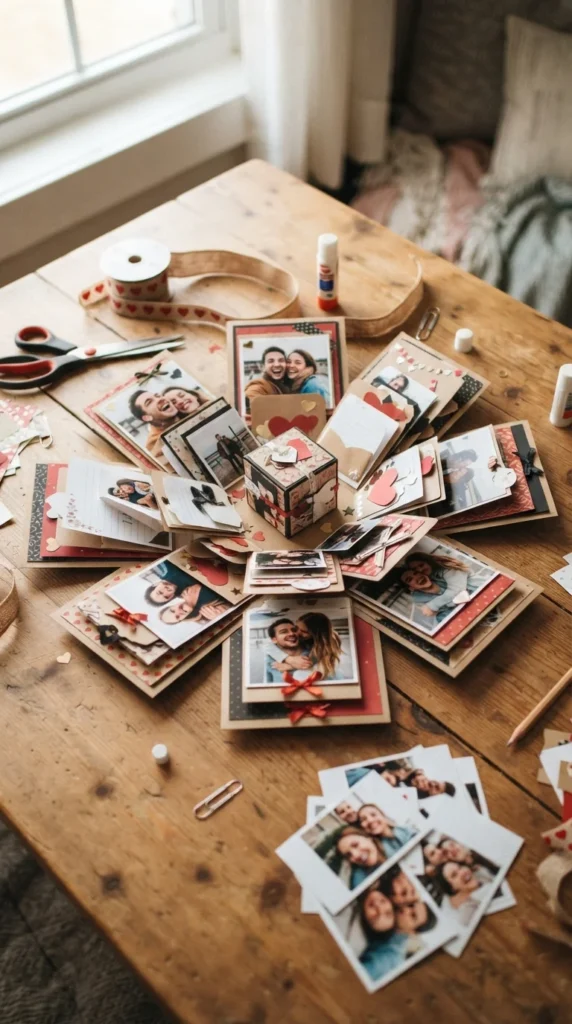
Choose Your Materials
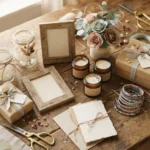
You do not need a long craft-supply list to make an explosion box. Most of the project can be made with cardstock, photographs, and a few basic decorating supplies.
Gather:
- Colored or patterned cardstock
- A ruler and pencil
- Scissors or a craft knife
- Glue or double-sided tape
- Printed couple photos
- Ribbon or twine
- Stickers, paper hearts, or small embellishments
- Pens or markers
- Small envelopes for hidden messages
Choose cardstock that is thick enough to hold its shape but still folds easily. Two or three coordinating colors can make the finished box look polished without making the design complicated.
Before cutting anything, decide how many layers you want. A simple three-layer box is easier for beginners, while four layers give you more room for photographs and messages.
Make the Main Box Base
Start by making the largest square layer of the explosion box. Measure and cut a large square from cardstock, then divide it into nine equal sections using light pencil marks.
The center square will become the bottom of your box. Cut away the four corner squares, leaving a plus-shaped piece with four side panels around the center.
Fold along the lines between the center and side panels. Press each fold firmly with your finger or the edge of a ruler so the cardstock folds neatly.
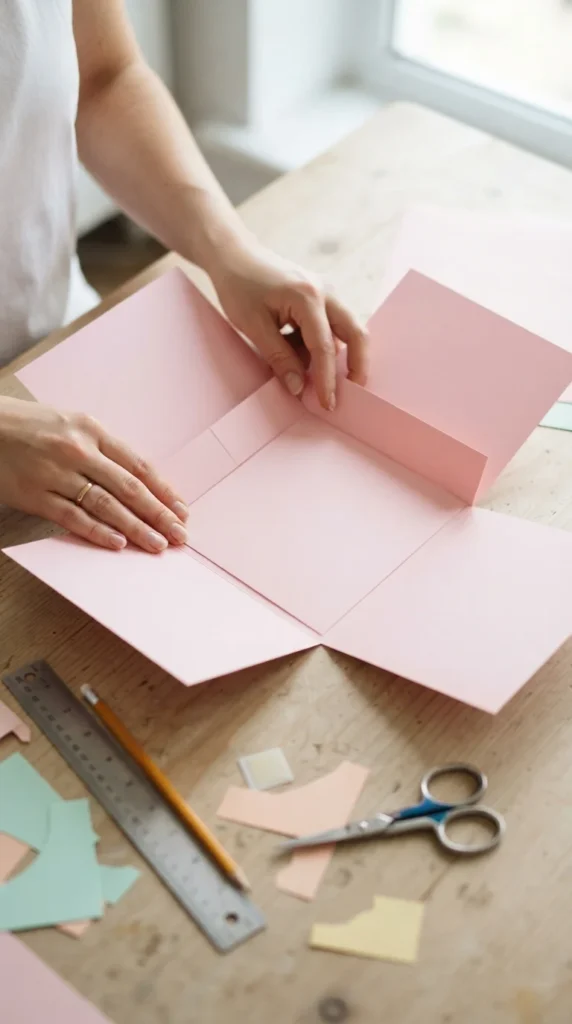
Repeat the process with two smaller squares if you want multiple layers. Each layer should be slightly smaller than the one underneath so the box opens in a tiered shape.
Create the Lid
The lid should fit snugly over the center of the finished box without being too tight. Cut a square slightly larger than the center section of your box and mark a smaller square inside it.
Cut along four short lines toward the corners, then fold the sides upward. Glue the overlapping corners together to form the lid.
Test the lid before decorating it. It should slide over the box easily and stay in place when you lift it.
For a romantic finish, cover the lid with patterned paper or add a small photo in the center. A ribbon tied around the outside can also make the gift feel more special.
Decorate the Panels With Photos
This is where the explosion box becomes your story. Print several photographs in small sizes so they fit comfortably on the cardstock panels.
Choose a mix of pictures rather than using the same type throughout. You could include:
- Your first picture together
- Favorite date-night photos
- Travel memories
- Funny selfies
- Birthday or celebration pictures
- Everyday moments you both remember
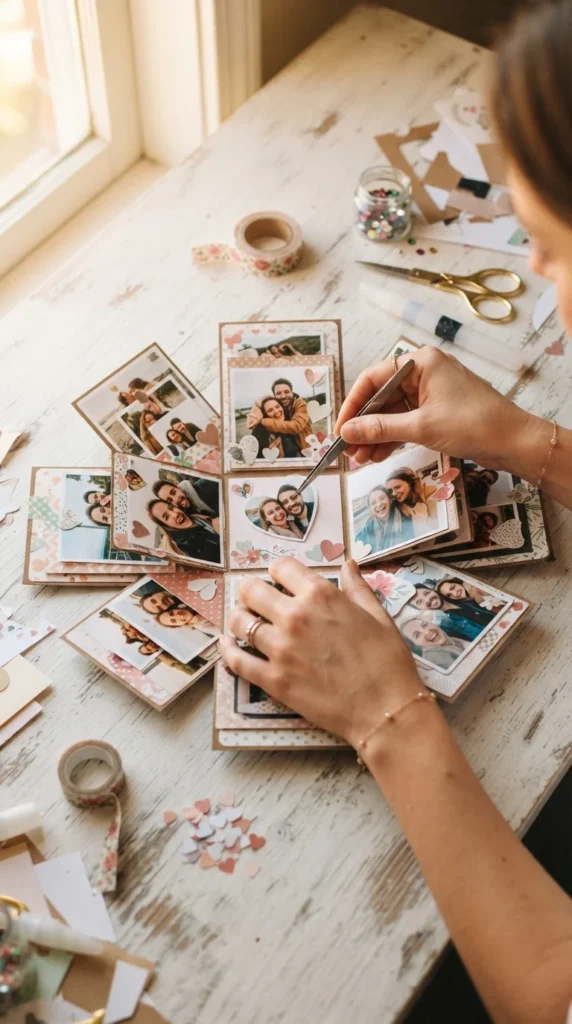
Leave a little breathing room around each photograph. Layering tiny paper hearts, corners, stickers, or washi tape around the pictures can add personality without covering the photos.
You can also create a different theme for each side. One panel might hold childhood or early relationship photos, while another focuses on recent memories.
Add Sweet Messages and Hidden Notes
Photos show what happened, but handwritten messages tell him why those moments matter. Add short notes beside your photographs or create tiny folded messages that fit into mini envelopes.
Write about specific memories instead of relying only on general compliments. Mention the first time he made you laugh, a trip you still talk about, or a small habit of his that you secretly love.
You can also add little interactive details:
- A pull-out photo strip
- Tiny envelopes with secret notes
- Folded hearts
- Mini birthday wishes
- A “reasons I love you” section
- Small pockets for keepsakes
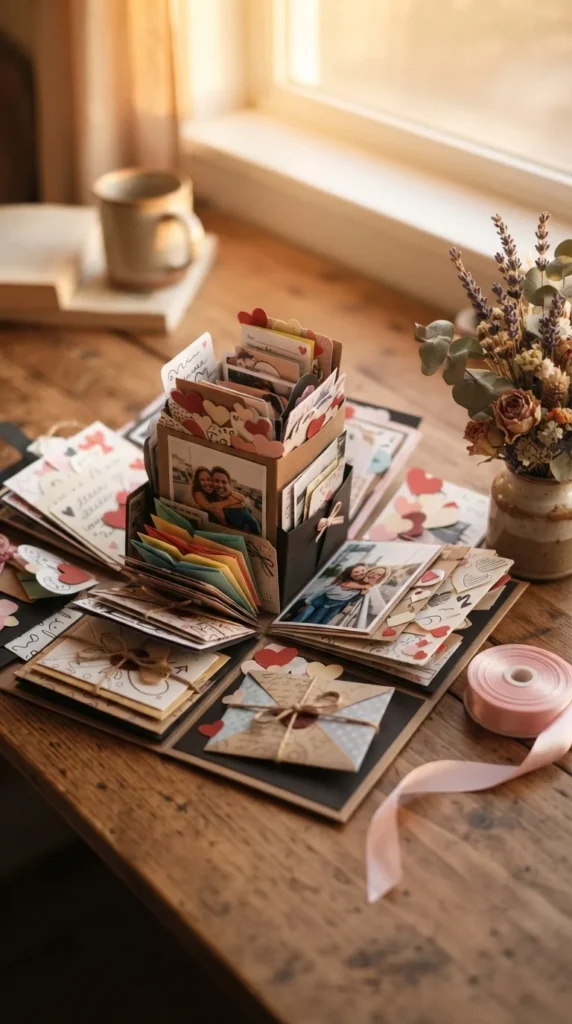
Keep the messages short enough to read comfortably. A few honest sentences can feel much more personal than a long paragraph squeezed into a tiny space.
Add the Finishing Touches
Once all the panels are decorated, assemble the layers and check how they open. Make sure photographs do not catch on nearby decorations and that the folds move freely.
Look at the box from different angles before adding anything else. If one panel feels crowded, remove a few embellishments rather than adding more.
For the center, you can place a small gift such as:
- A keychain
- His favorite candy
- A tiny photograph
- A folded letter
- A small handmade charm
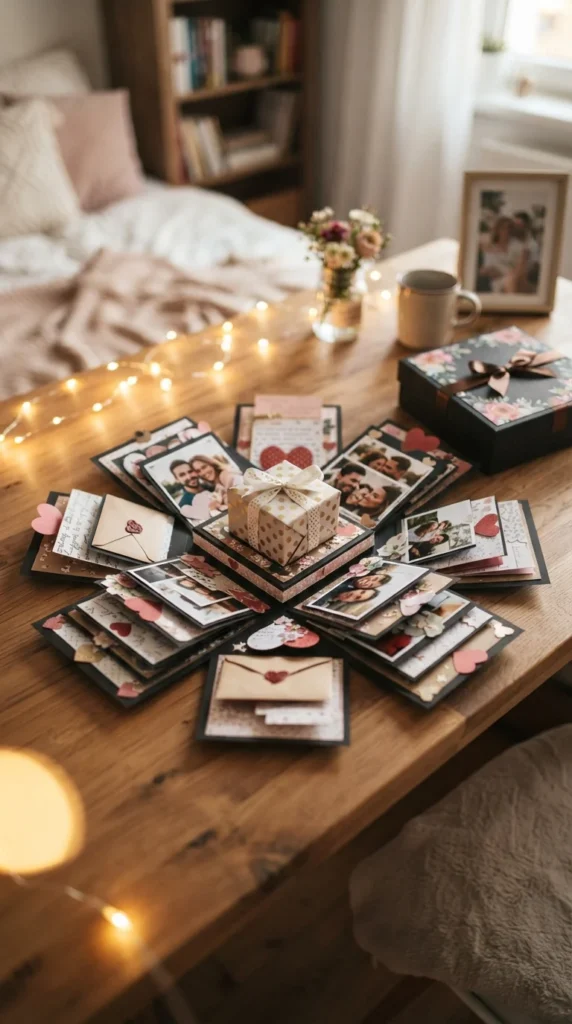
Finally, close the sides inward and place the lid on top. Tie a ribbon around the box if you want an extra surprise when he opens it.
Final Thoughts
A DIY explosion box is more than a paper craft—it is a small collection of memories he can open again and again. The photos, handwritten messages, hidden notes, and tiny details make it feel personal in a way a ready-made gift often cannot. Start with your favorite memories, keep the decorations simple, and let your relationship guide the design. Save this idea for his next birthday or anniversary and start collecting your photos today!

Lily Summers is a digital artist and creative storyteller who loves bringing colorful characters to life. With a passion for cartoons, fan art, and playful sketches, she inspires others to explore their imagination through art. When she’s not sketching, you’ll find her dreaming up new ideas for CraftedWizard.com to spark creativity in every artist. 🌈✨