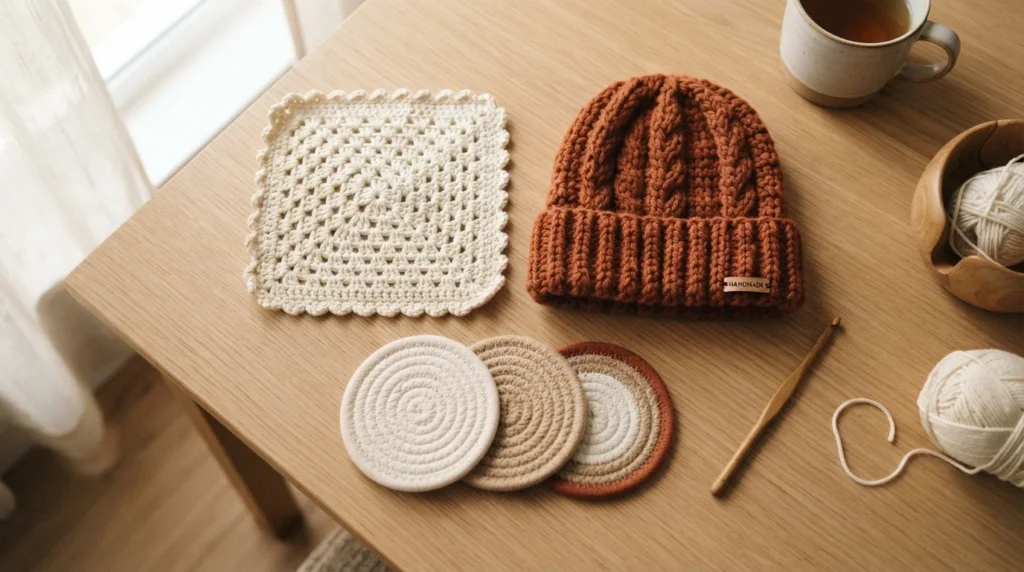
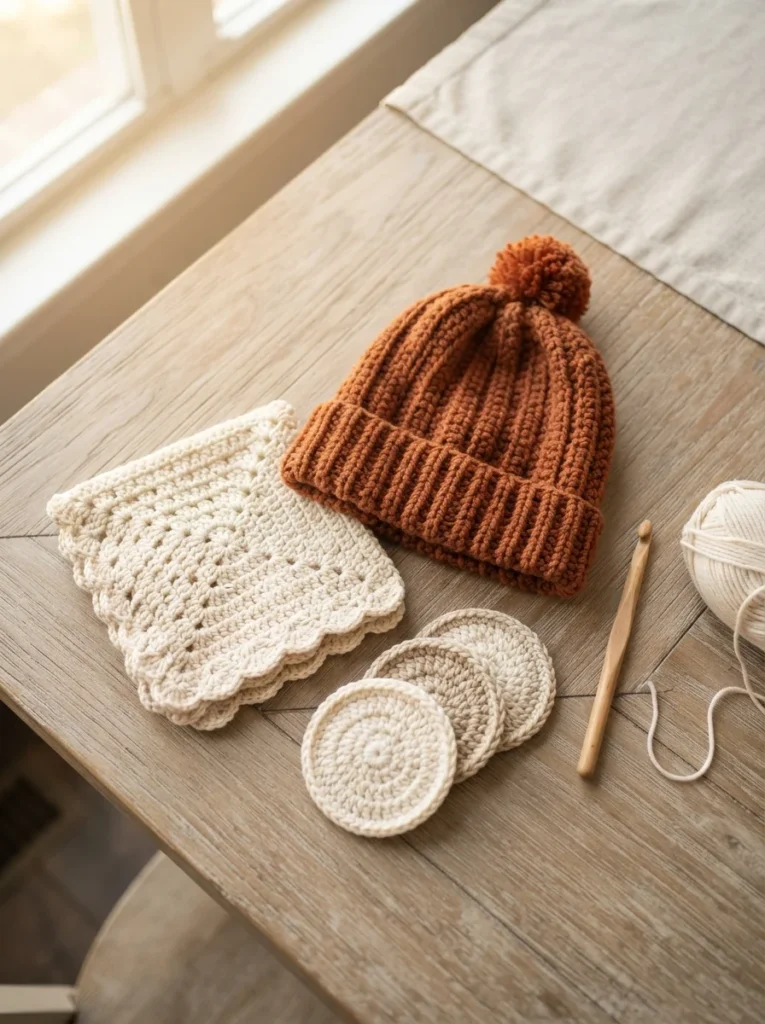
The hardest part of learning to crochet is picking a first project that actually gets finished. Sweaters and lace shawls look tempting on Pinterest, but they take months, and half-finished yarn in a basket is the fastest way to quit. Every project on this list uses two or three basic stitches, takes a weekend or less, and gives you something you can use or gift on Monday. Most of them cost under ten dollars in yarn. Start at the top and work down, and by the end you’ll know single crochet, double crochet, working in rounds, and how to read a simple pattern.
1. Simple Granny Square Dishcloth
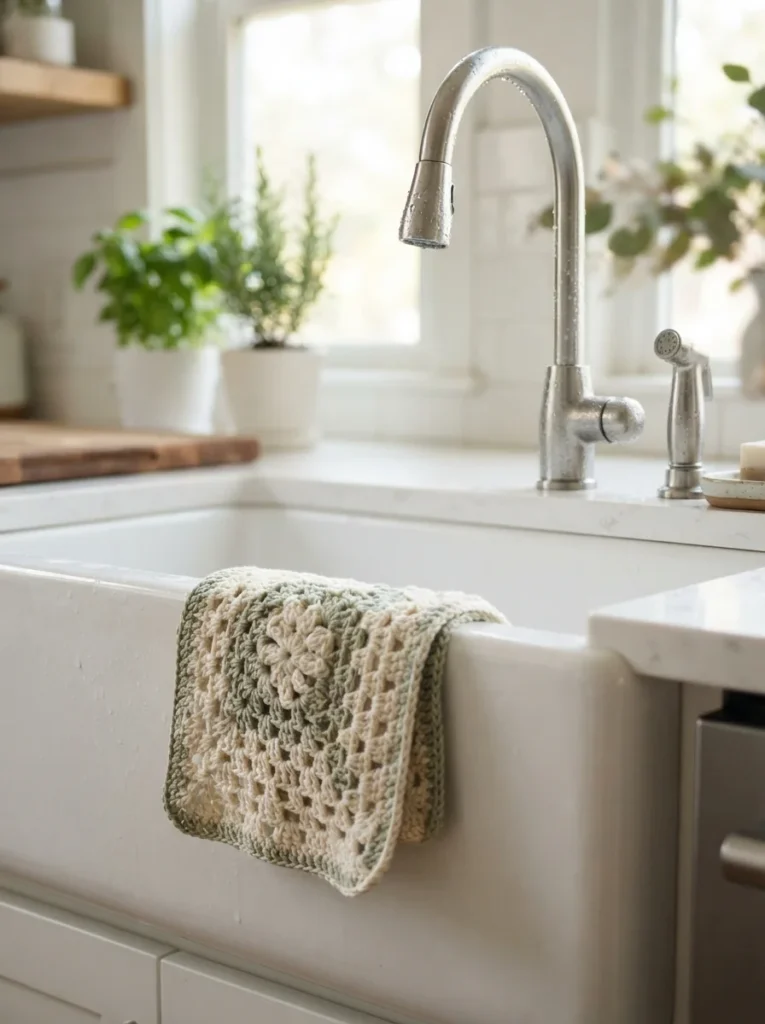
The granny square is the stitch pattern that makes crochet click for most beginners. You work clusters of three double crochets separated by chain spaces, rotating around the square, and each round teaches you the same motion again. Make it in cotton yarn and it becomes a dishcloth instead of a practice swatch.
Use a worsted weight cotton like Lily Sugar’n Cream and a 5mm hook. Four or five rounds gives you a cloth around seven inches square, which is the size that actually fits your hand while scrubbing. Fasten off, weave in the two ends, and you’re done in about forty minutes.
Once you’ve made one, make five more in different colors. A stack of handmade dishcloths tied with twine is one of the easiest housewarming gifts there is, and cotton yarn is cheap enough that a whole set costs less than a single store-bought set of nice towels.
2. Chunky Crochet Beanie
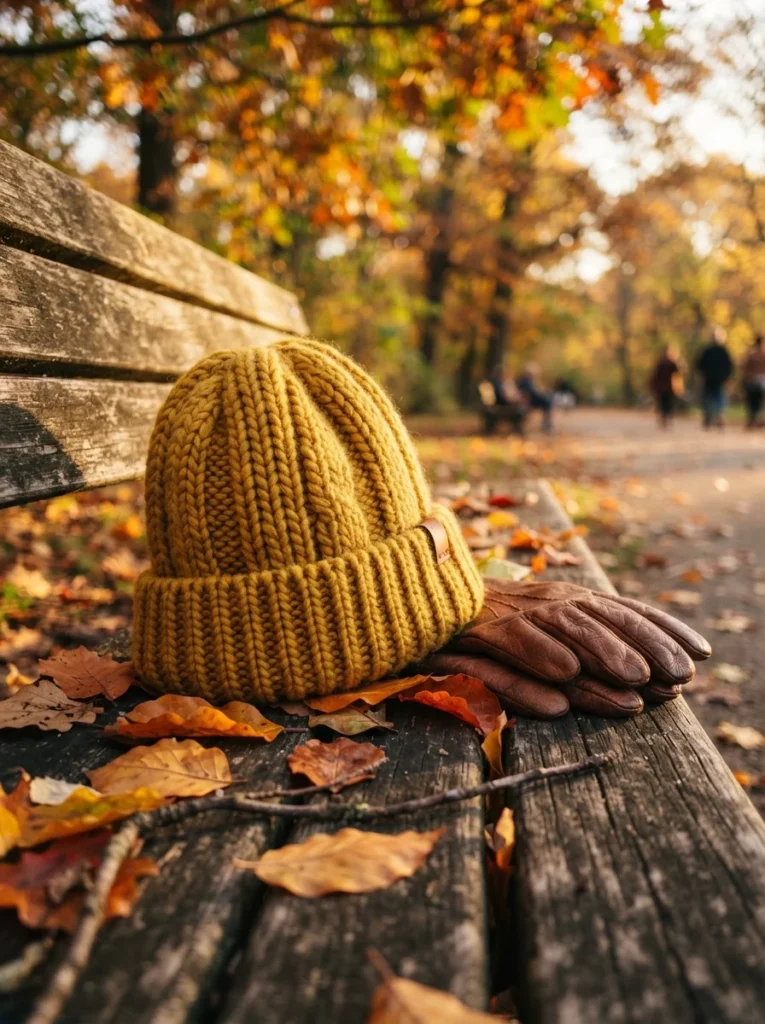
A beanie sounds advanced and takes about two hours. The trick is chunky yarn and a big hook, which makes the fabric grow fast enough that you see progress every few minutes. Most beginner beanies are worked flat as a rectangle, seamed up the side, then cinched at the top with a running stitch.
Grab a super bulky yarn and a 9mm hook. Crochet a rectangle roughly eleven inches tall and twenty inches wide, working half double crochet stitches into the back loop only so you get that stretchy ribbed look. Fold it, seam the long edge, thread yarn through the top edge, and pull tight.
Back loop only is the term to remember here — it’s what turns a flat, stiff rectangle into fabric that stretches around a head. Add a faux fur pom-pom if you want it to look store-bought, though the plain version has its own appeal.
3. Single Crochet Coasters
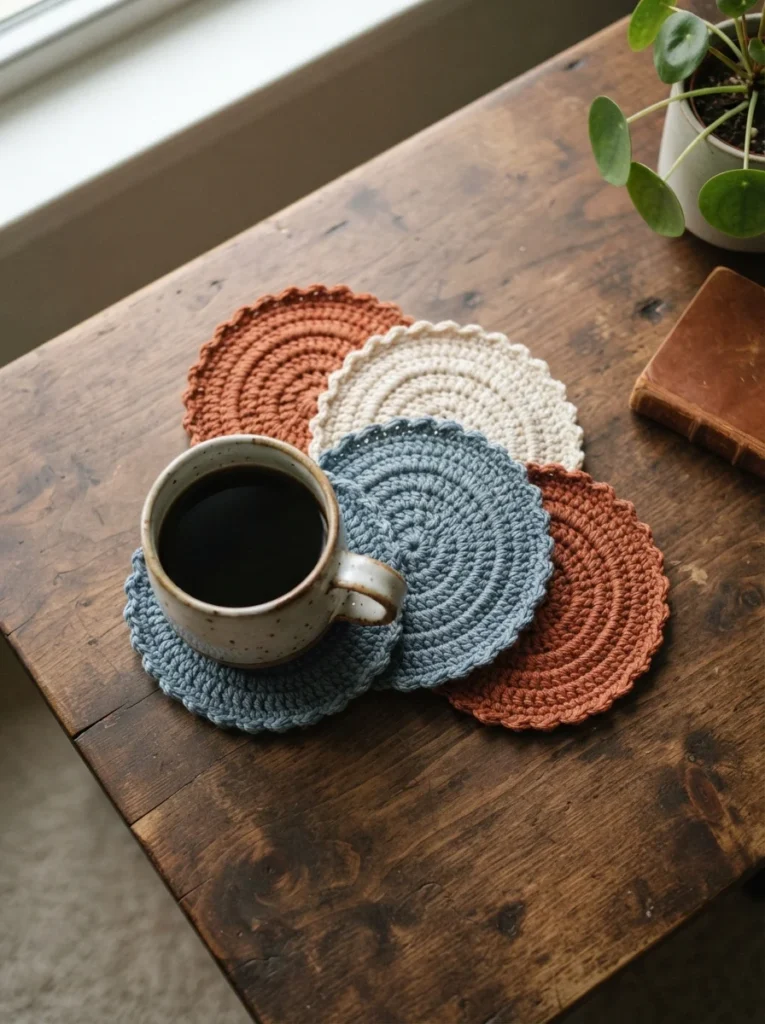
Coasters are the perfect first project because a mistake costs you fifteen minutes, not fifteen hours. You start with a magic ring or a small chain circle, then work single crochet stitches around, increasing evenly so the circle lies flat instead of curling into a bowl.
The rule for flat circles is simple: round one gets six stitches, round two doubles to twelve, round three adds one stitch between each increase for eighteen, and so on. Four or five rounds gives you a coaster around four inches across. Cotton works best because it absorbs condensation and washes clean.
If your circle starts cupping upward, you’ve under-increased. If it ruffles at the edge, you’ve over-increased. Pull it back and try again — this is exactly the muscle memory you’ll use later for hats, baskets, and amigurumi, so it’s worth getting right on something small.
4. Ribbed Winter Scarf
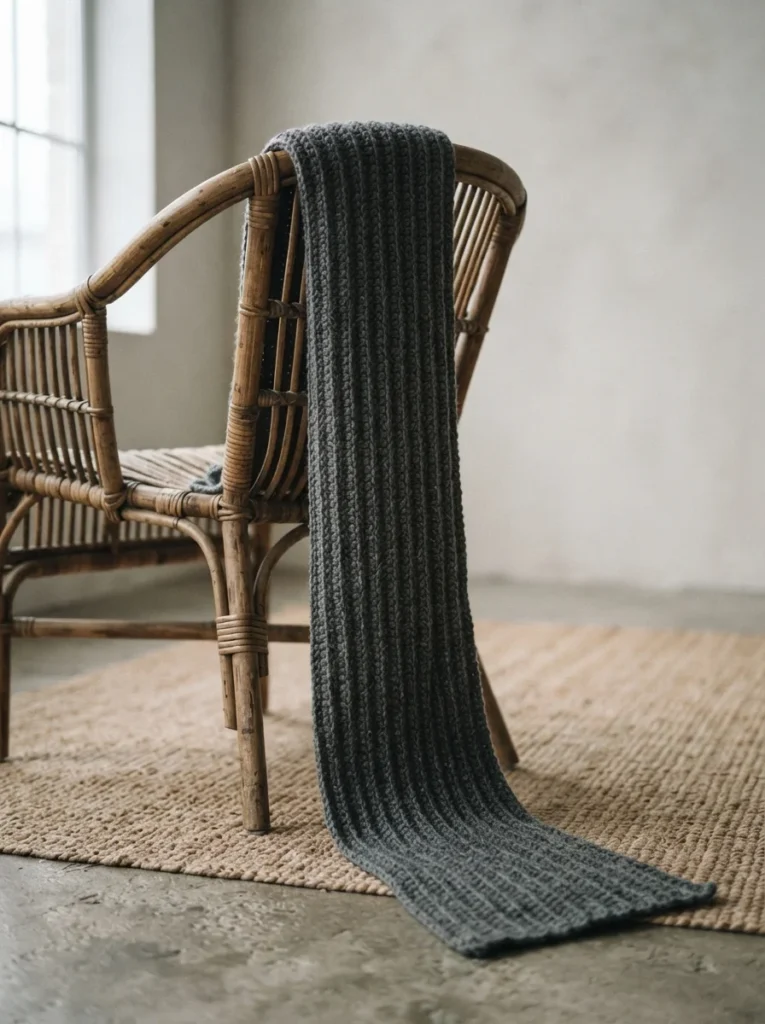
Scarves get a bad reputation for being boring, and they earn it when you crochet two hundred rows of the same stitch. The fix is to work the scarf the long way — chain the full length first, then work only fifteen or twenty rows back and forth. Fewer rows, same finished scarf, half the tedium.
Chain around 180 stitches with a worsted weight yarn and a 6mm hook, then work half double crochet in the back loop only for every row. That back-loop technique gives you deep vertical ribbing that looks knitted rather than crocheted, which is what most people actually want from a scarf.
Two skeins of yarn and a Saturday afternoon gets you a finished six-foot scarf. Keep the tension loose on that first long chain, because a tight foundation row will pull the whole scarf into a curve and there’s no fixing it after the fact.
5. Cotton Washcloth Set
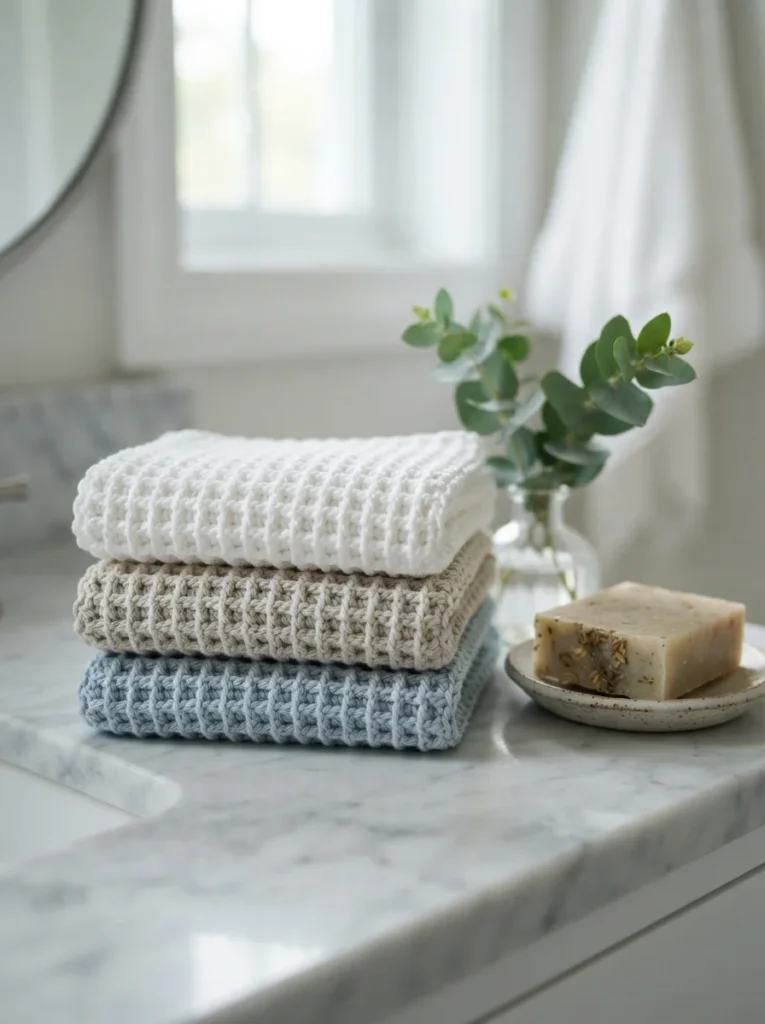
A washcloth is a dishcloth with better yarn and a softer stitch. Work it flat in rows of single crochet or the classic waffle stitch, aim for a square around eight inches, and you have something that genuinely outperforms the thin cotton squares sold in stores.
The waffle stitch sounds fancy but it’s just alternating front post and back post double crochets over a base row. Two rows in, the raised grid pattern appears on its own. That texture is what makes the cloth exfoliate slightly, which is why handmade washcloths have a small cult following.
Mercerized cotton feels softer against skin than standard kitchen cotton and holds up to hot washing. A three-pack tied with ribbon costs maybe seven dollars in materials and reads as a genuinely thoughtful gift, especially paired with a bar of local soap.
6. Corner-to-Corner Bookmark
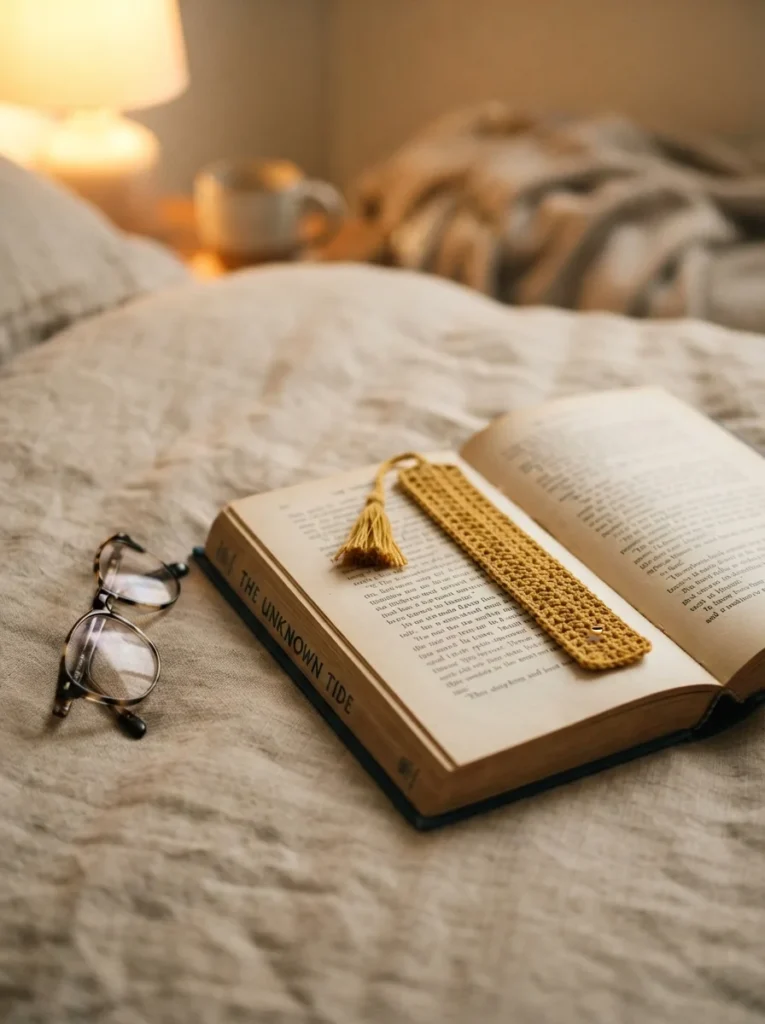
Bookmarks use so little yarn that you can make one from scraps left over from any other project on this list. Work a narrow strip of single crochet about one and a half inches wide and seven inches long, then add a tassel at one end.
Use a thinner yarn than you’d normally reach for — sport weight or even crochet thread with a 3mm hook. Thick worsted makes a bookmark that props the book open awkwardly. The thinner fabric sits flat between pages the way a bookmark should.
Because they take twenty minutes each, bookmarks are the ideal project for practicing a stitch you’re unsure about. Try one in moss stitch, one in half double crochet, one in double crochet, and compare how the fabric feels. You end up with a handful of gifts and a much better sense of which stitches you actually enjoy.
7. Macramé-Style Plant Hanger
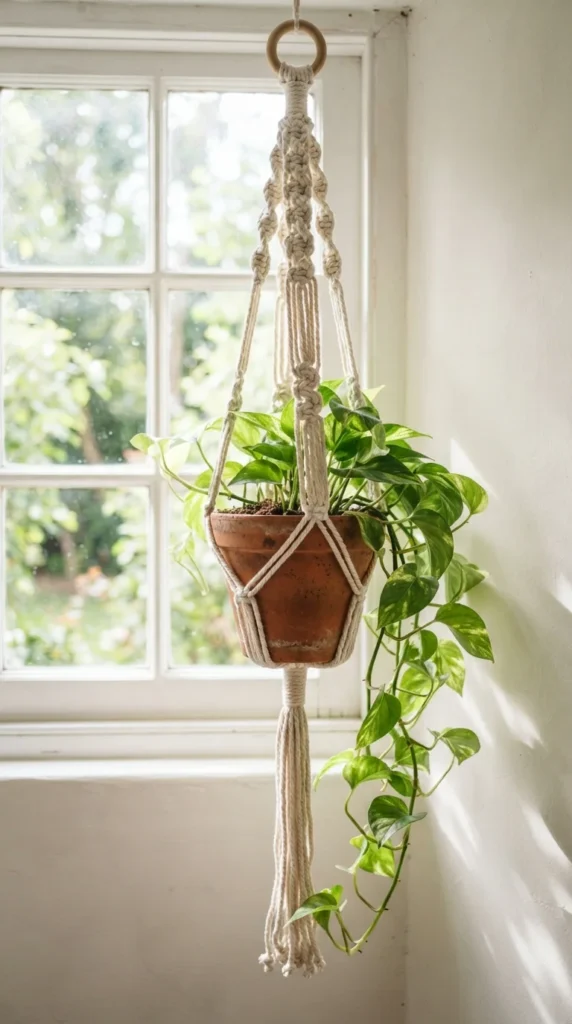
Plant hangers look like macramé but crochet gets you there faster. You work a small flat circle for the base, then chain long open loops that stretch up and around the pot, joining them at the top into a hanging ring.
Start with a four-round flat circle in cotton yarn, then work rounds of chain-eight loops separated by single crochet. Three or four of those open rounds gives you the netted look. Gather all the stitches into one final round, chain twelve, and join to make the hanging loop.
Cotton twine or macramé cord works better than soft acrylic because it holds its shape under the weight of a wet pot. Measure your pot before you start — the circle base should be about an inch narrower than the pot bottom so the netting hugs the sides instead of sagging.
8. Market Tote Bag
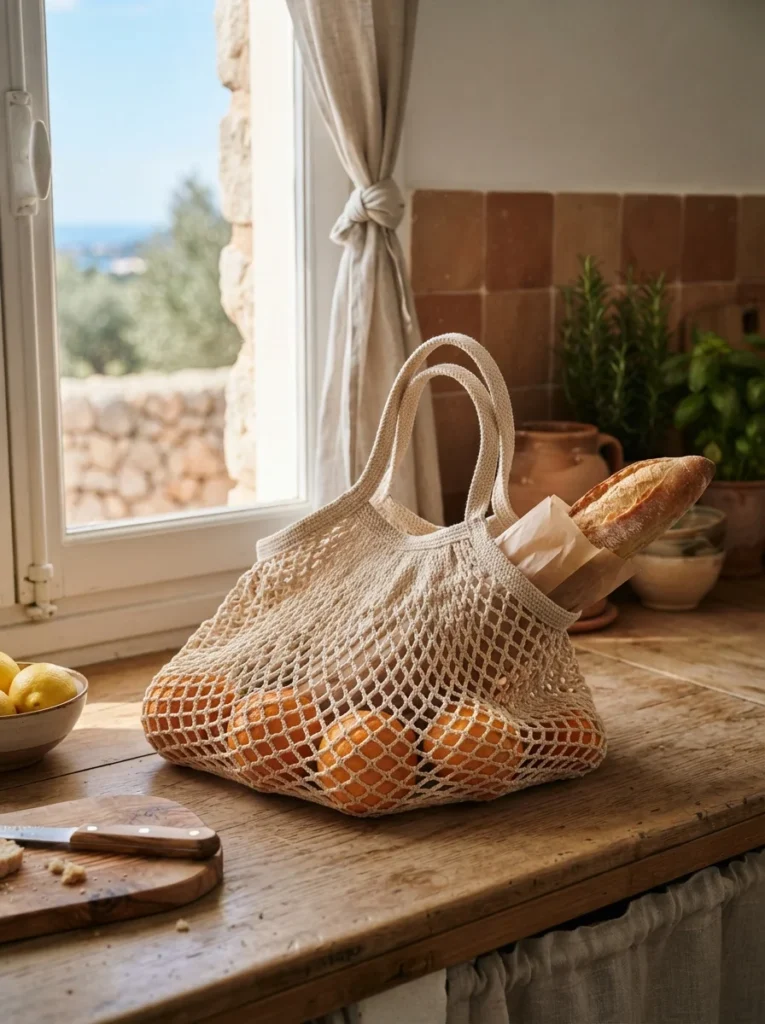
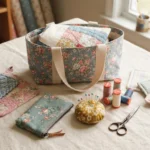
A mesh market bag is mostly chain spaces, which means it grows extremely fast for how impressive it looks. You crochet a flat oval or circle for the base, then work rounds of chain-three mesh up the sides until it’s tall enough, and finish with two handles.
Worsted cotton and a 5mm hook is the standard combination. Twelve or fifteen rounds of mesh gets you a bag deep enough for groceries. For the handles, chain about thirty, skip a section of the top round, and rejoin — then work a round of single crochet over everything to firm up the edge.
The mesh stretches enormously under load, which is a feature rather than a flaw. Keep the base tight and dense, though, since that’s the part carrying the weight. A finished bag takes around three hours and replaces a lot of plastic.
9. Twisted Ear Warmer Headband
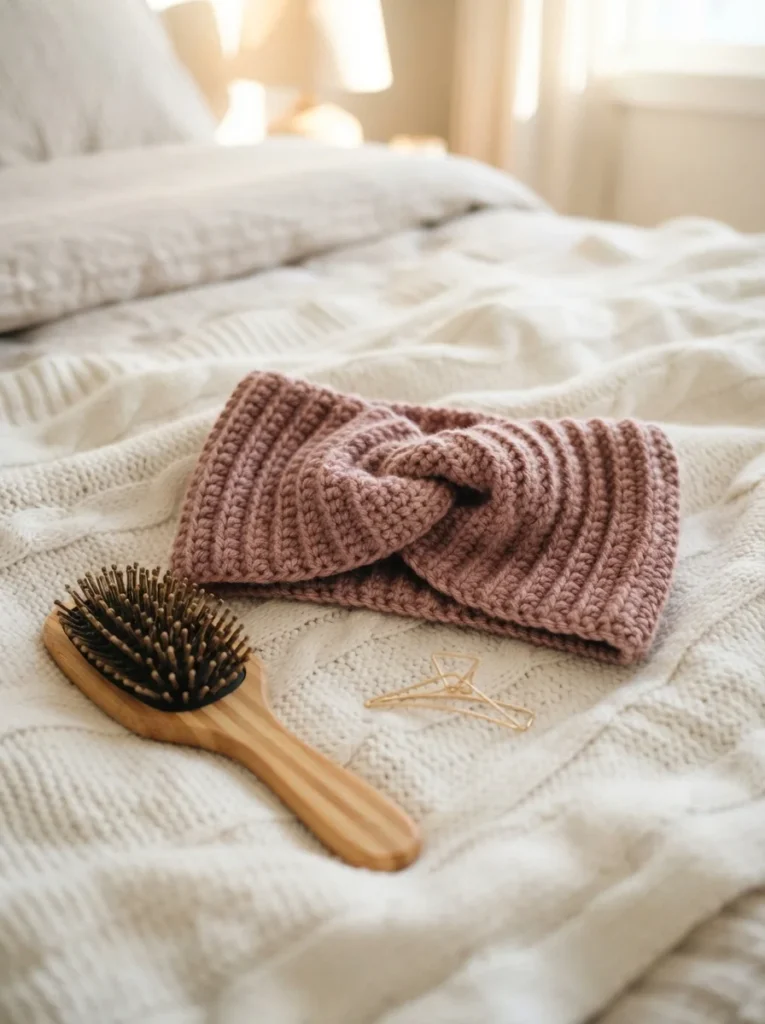
An ear warmer is a beanie without the crown shaping, which removes the one part beginners find fiddly. Work a long ribbed rectangle, twist it once in the middle, and seam the ends together. The twist is what turns a plain band into something people ask about.
Chain enough for a band about four inches wide, then work half double crochet in the back loop only until the strip measures around eighteen inches. Check the fit against your head before seaming — you want it slightly snug, because crochet relaxes with wear.
To get the twist, fold the strip in half lengthwise at the center, rotate one end 180 degrees, then bring the two short ends together and whip stitch them closed. Cover the seam with a small crocheted rectangle wrapped around the join if you want a cleaner finish.
10. Half Double Crochet Baby Blanket
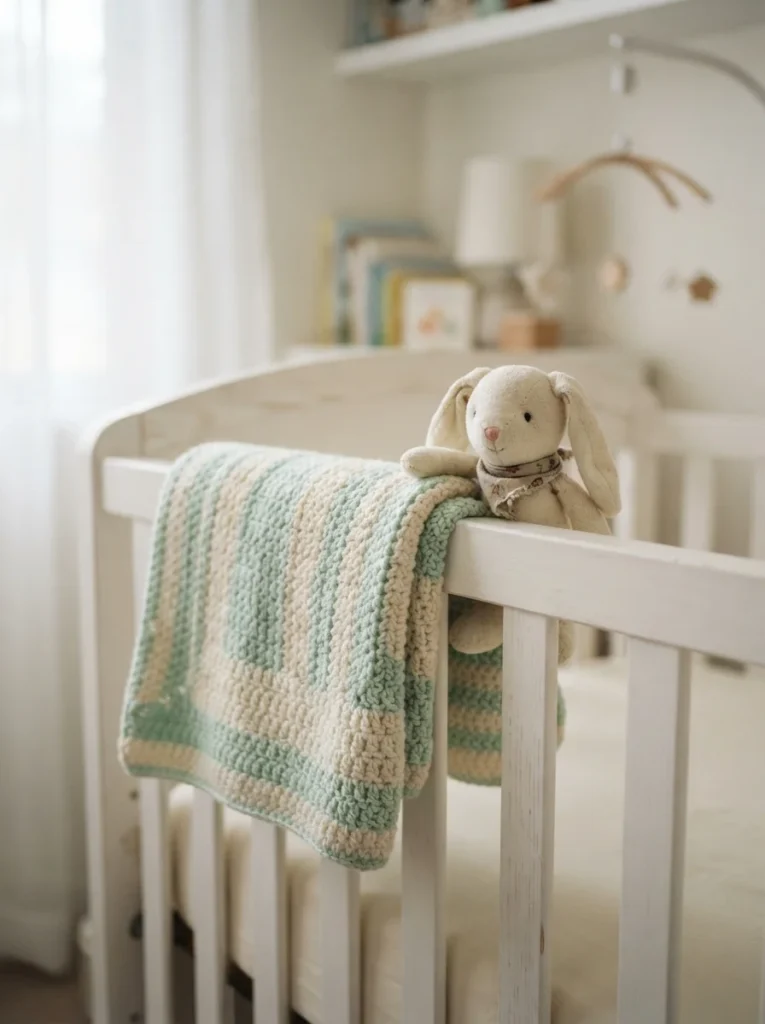
A baby blanket is the largest project on this list that still fits inside a weekend, mostly because babies are small. A thirty by thirty-six inch blanket in half double crochet takes around eight hours of work, which splits neatly across two evenings and a Sunday morning.
Choose a soft acrylic or a bamboo-cotton mix — anything scratchy is wasted effort here. Chain to thirty inches wide, then work half double crochet rows straight up. Change color every six rows for stripes, or stay in one color and finish with a contrasting border round.
Count your stitches at the end of every few rows. Half double crochet is easy to accidentally increase at the edges, and a blanket that starts thirty inches wide and ends thirty-four inches wide is the single most common beginner disappointment. A quick count every fifth row prevents it entirely.
11. Amigurumi Heart Keychain
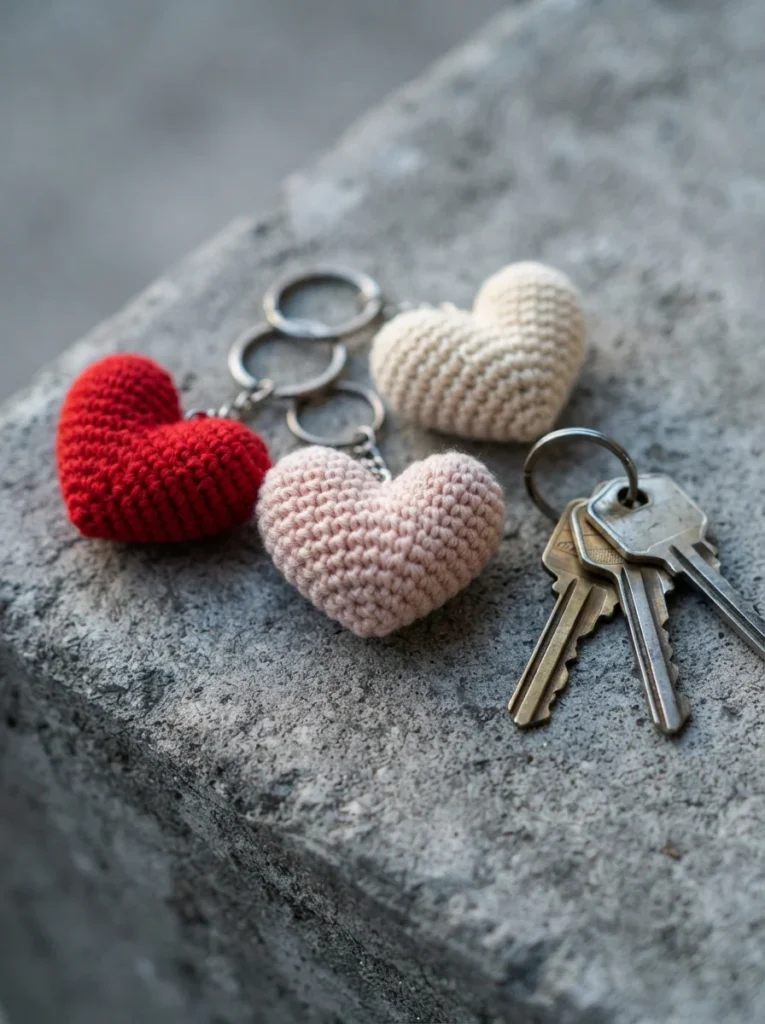
Amigurumi means crocheted stuffed toys, and a heart is the gentlest possible introduction. You work two small circles in continuous rounds, join them into a heart shape, stuff lightly, and close the top. Each one takes about twenty-five minutes.
Work with a hook one size smaller than the yarn label suggests — a 3.5mm hook with worsted yarn, for example. The tight fabric that results keeps stuffing from poking through, which is the golden rule of all amigurumi. Loose stitches make a lumpy, see-through toy.
Attach a keyring or a lobster clasp and you have something to hand out at a wedding, clip to a backpack, or sell at a craft fair for a few dollars. Scrap yarn covers the cost, so a bag of twenty hearts costs almost nothing once you own the stuffing.
12. Cabled Mug Cozy
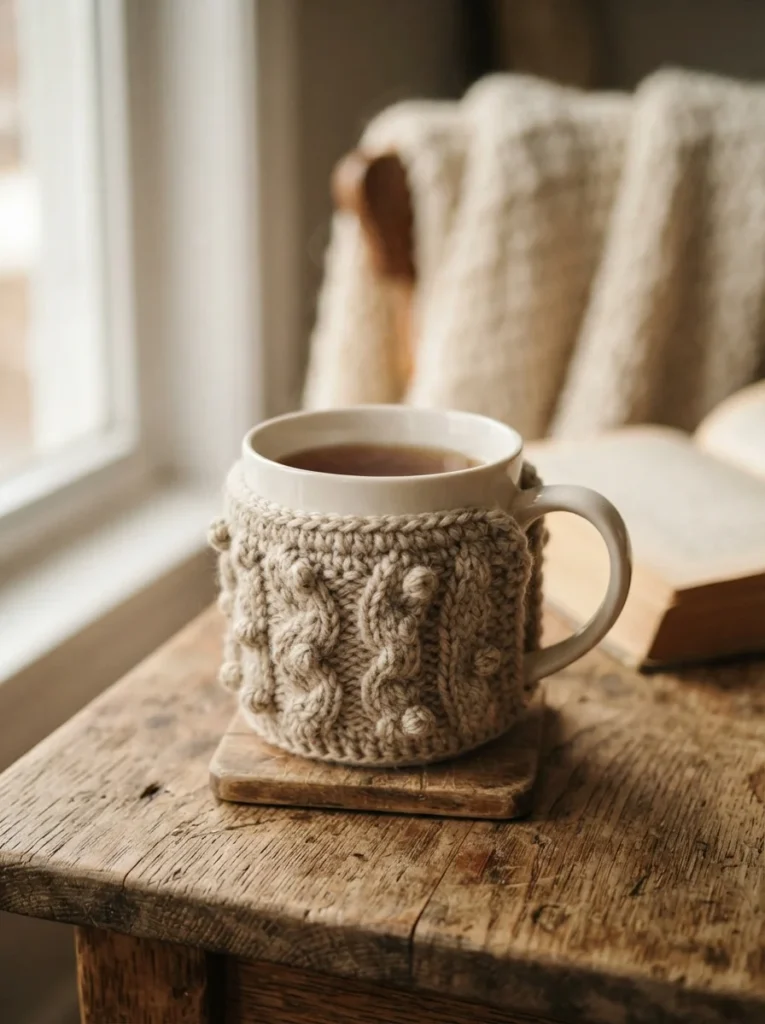
A mug cozy is a rectangle that buttons around a mug, and it’s the fastest way to practice post stitches. Front post and back post double crochets create raised vertical lines that look like knitted cables, and on a project this small you learn them in one sitting.
Measure around your mug below the handle and crochet a strip that length minus half an inch, about three inches tall. Add two buttonholes at one end by chaining two and skipping two stitches, then sew buttons on the other end.
The half-inch shortfall matters. Crochet stretches, and a cozy made to exact measurements slides down the mug within a week. Making it slightly short means it grips. Fifteen minutes of work, and it turns a plain mug into something that looks bought from a boutique.
13. Triangle Bunting Garland
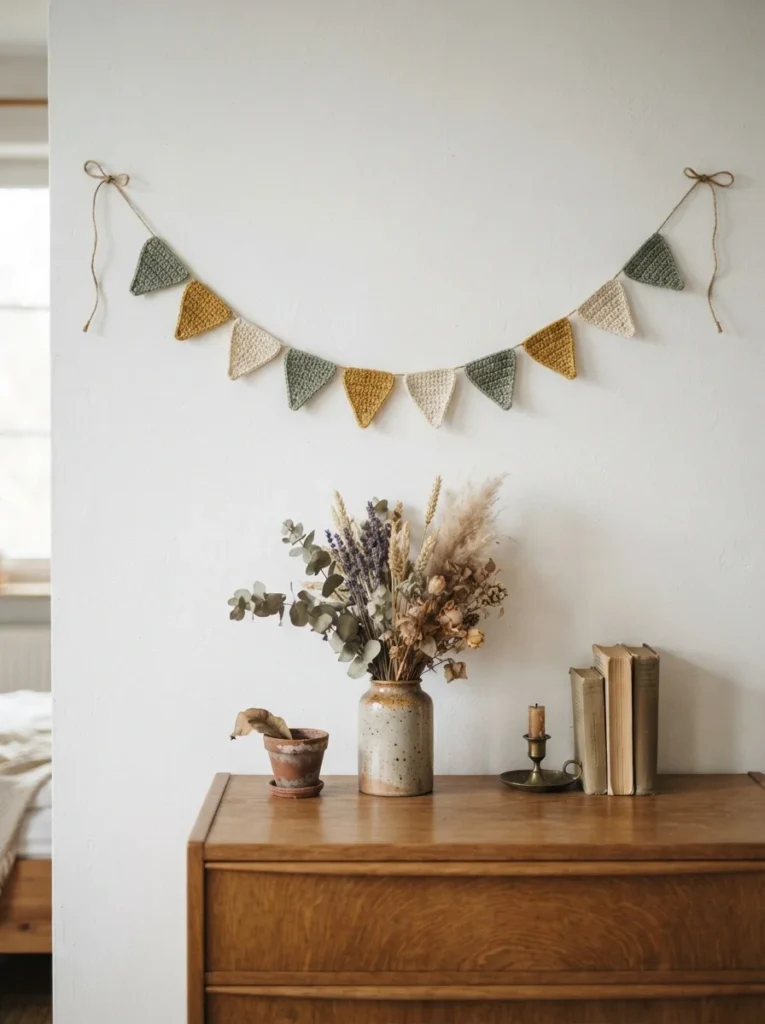
Bunting is made of triangles, and a crochet triangle is the simplest shape there is: start with three stitches and add one at each end of every row. Ten rows gives you a flag around five inches wide, and you can make a dozen while watching a film.
Once your flags are done, chain a long length of yarn and work single crochet along it, joining each triangle by working through the top edge as you pass. Leave about eight inches of plain chain at each end for tying.
Match the palette to a room or a party and the whole thing reads as intentional decor rather than a craft project. Nursery bunting in soft neutrals, birthday bunting in brights, autumn bunting in rust and gold — the pattern never changes, only the yarn.
14. Fingerless Mittens
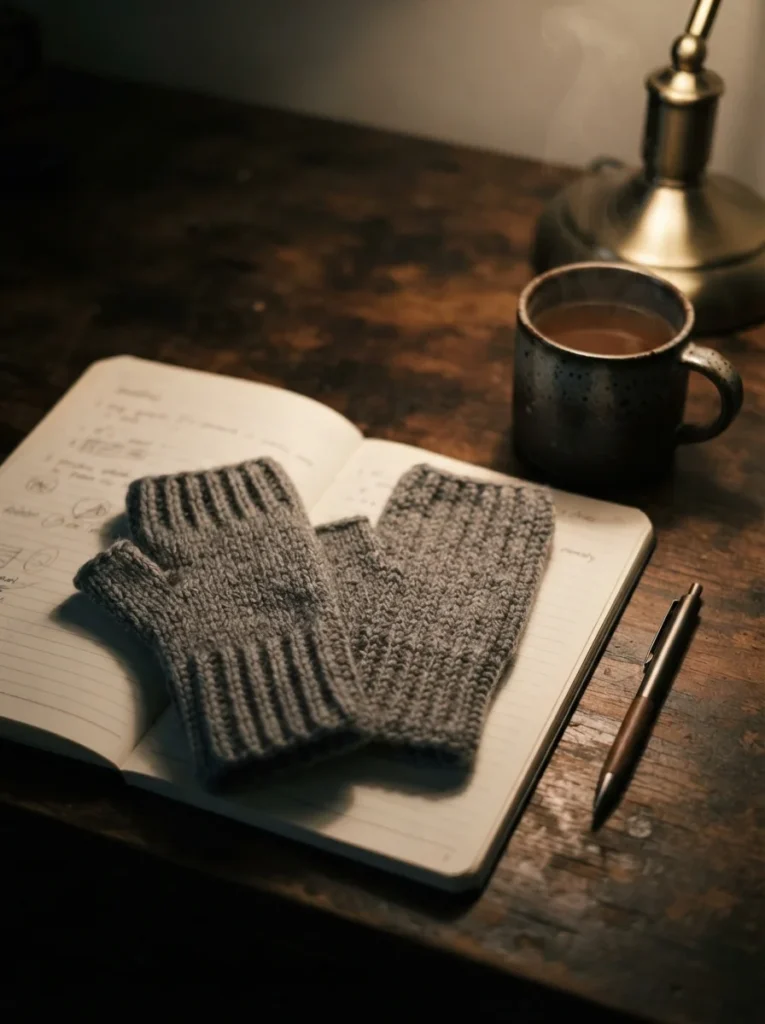
Fingerless mittens are rectangles with a gap left in the side seam for your thumb. That’s the entire construction. They take about an hour each and they’re the project that convinces most beginners they can make wearables.
Crochet a rectangle around seven inches wide and eight inches long in half double crochet, back loop only for stretch. Fold it lengthwise and seam the long edge, but stop about two inches from the top, leave a one-inch gap for the thumb, then seam the last inch closed.
Try the first one on before making its partner. Hand sizes vary more than you’d think, and it’s much easier to adjust the rectangle by a row or two than to unpick a finished seam. Once the fit is right, the second mitten takes half as long because you already know the row count.
15. Round Storage Basket
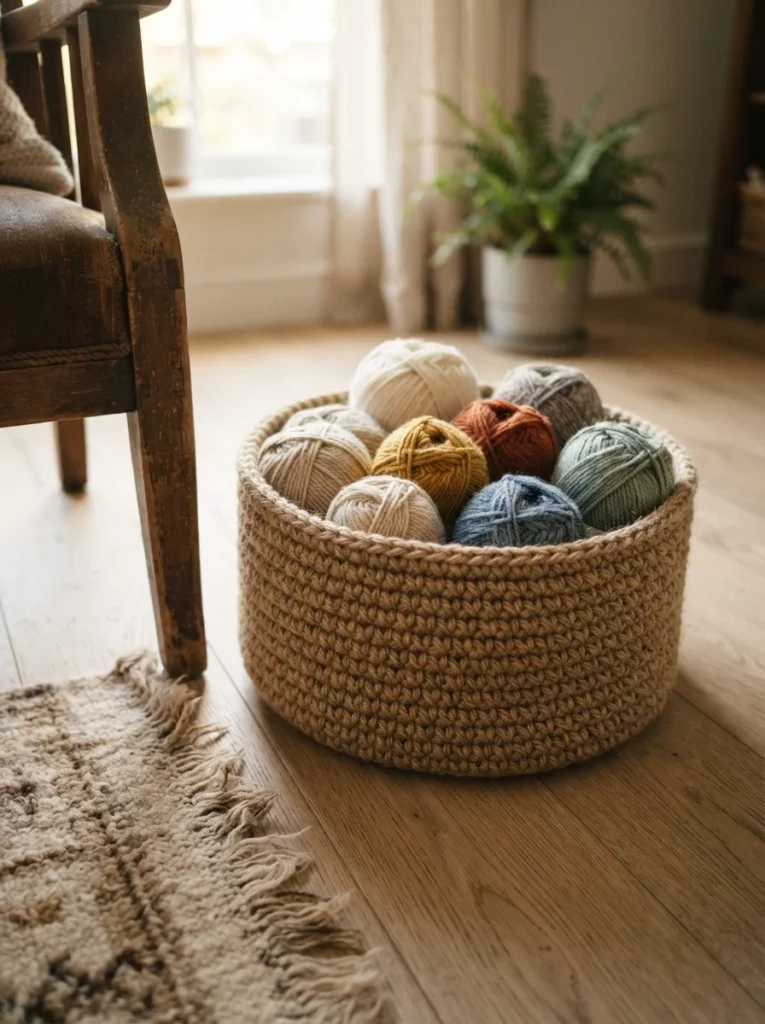
Baskets are just coasters that keep going. You crochet a flat circle for the base, then stop increasing — and the moment you stop increasing, the sides start climbing on their own. No shaping required.
The yarn choice does all the work here. Use t-shirt yarn, jute, or hold two strands of worsted together with a 9mm hook. Soft single-strand acrylic makes a basket that flops over the second you put something in it. Stiffness is the whole point.
Make the base as wide as you want the basket, then work single crochet in the back loop only for the first sidewall round to create a crisp corner. Continue in plain single crochet until it’s tall enough. A medium basket takes about two hours and will end up holding your yarn.
16. Diagonal Table Runner
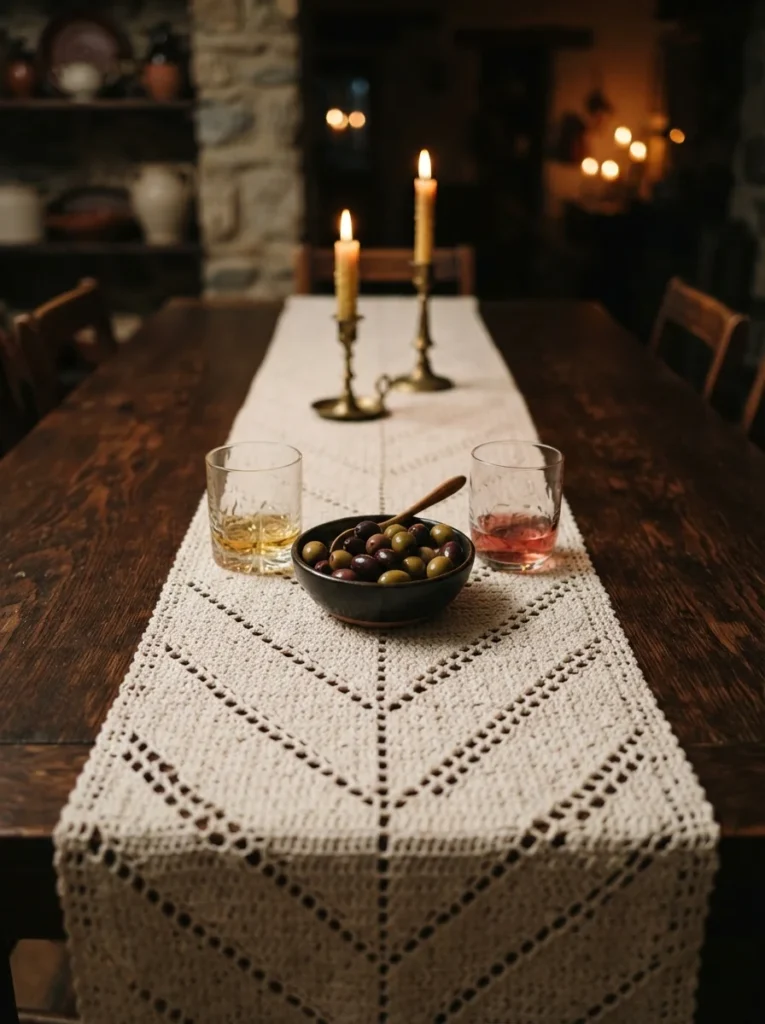
Corner-to-corner crochet, usually shortened to C2C, builds a rectangle out of small diagonal blocks. You start with one block in a corner, increase along the diagonal until the piece is as wide as you want, then decrease back down to the opposite corner. It’s oddly meditative.
Each block is three double crochets and a chain-three, so once you’ve made four blocks the pattern is in your hands. Work in cotton for a runner that lies flat and washes well. A runner fourteen inches wide and forty inches long takes about four hours.
C2C is also the technique behind pixel-art blankets, where you change colors block by block to make images. Learning it on a plain single-color runner first means you understand the mechanics before you start juggling six yarn balls at once.
17. Thick Cotton Pot Holder
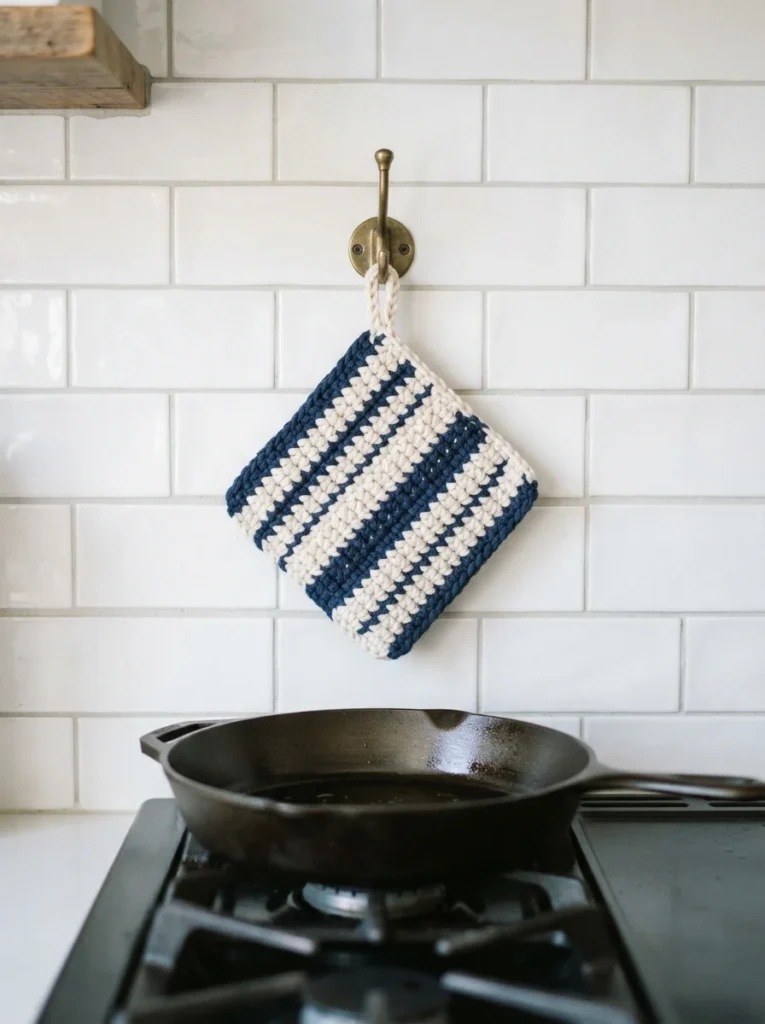
Pot holders demand thick fabric, which makes them a good excuse to learn the thermal stitch — a technique where you work into stitches two rows down, creating a double-layered fabric in a single pass. It sounds complicated and takes about ten minutes to grasp.
Use one hundred percent cotton and nothing else. Acrylic melts against a hot pan, and that’s not a small problem. A 5mm hook with worsted cotton gives you the density you want. Aim for an eight-inch square with a chain loop at one corner for hanging.
If the thermal stitch feels like too much for a first attempt, crochet two plain squares and single crochet them together around the edges. The result is just as heat-resistant and takes the same amount of time, without the learning curve.
18. Crochet Hair Bows
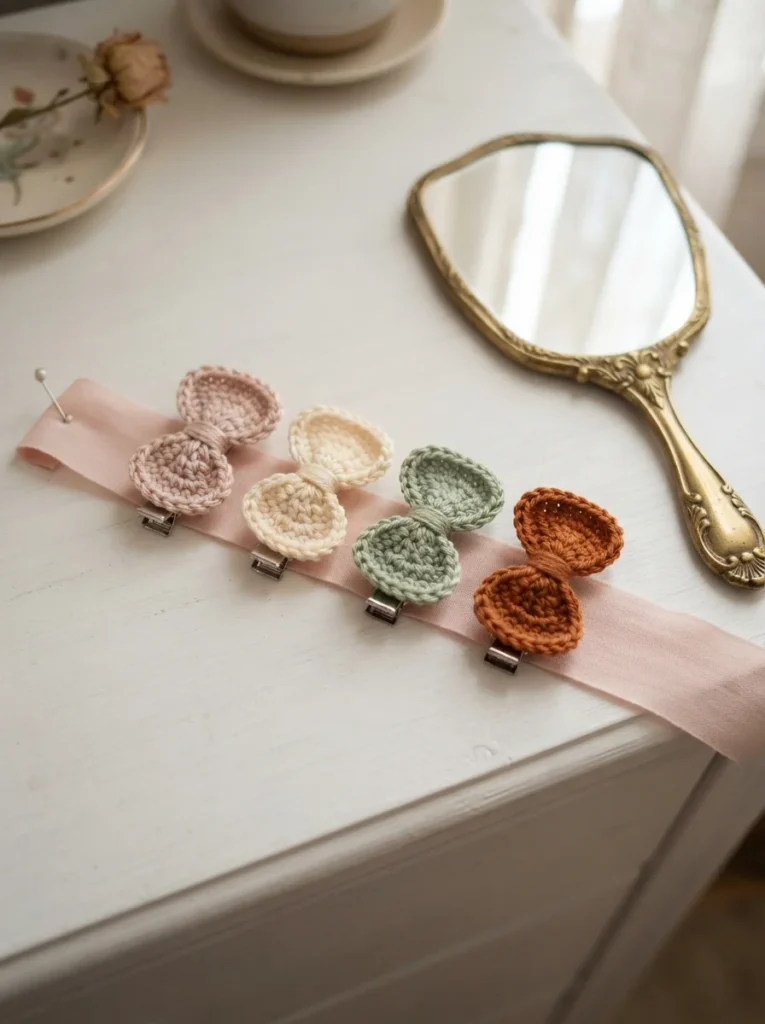
A crochet bow takes ten minutes and uses a few yards of yarn. Work a small rectangle, pinch it in the center, then wrap a narrow strip around the pinch and sew it closed at the back. Glue on an alligator clip and it’s finished.
Make the rectangle around four inches by two inches for a standard bow, or double it for something statement-sized. Double crochet gives a slightly open, floppy bow; single crochet gives a firmer one that holds its shape better on fine hair.
These sell well at markets and cost almost nothing to make, which is why they show up in nearly every beginner’s first craft fair table. Make a rainbow of them from your scrap basket and you have a full product line for the price of one skein.
19. Sunglasses and Phone Pouch
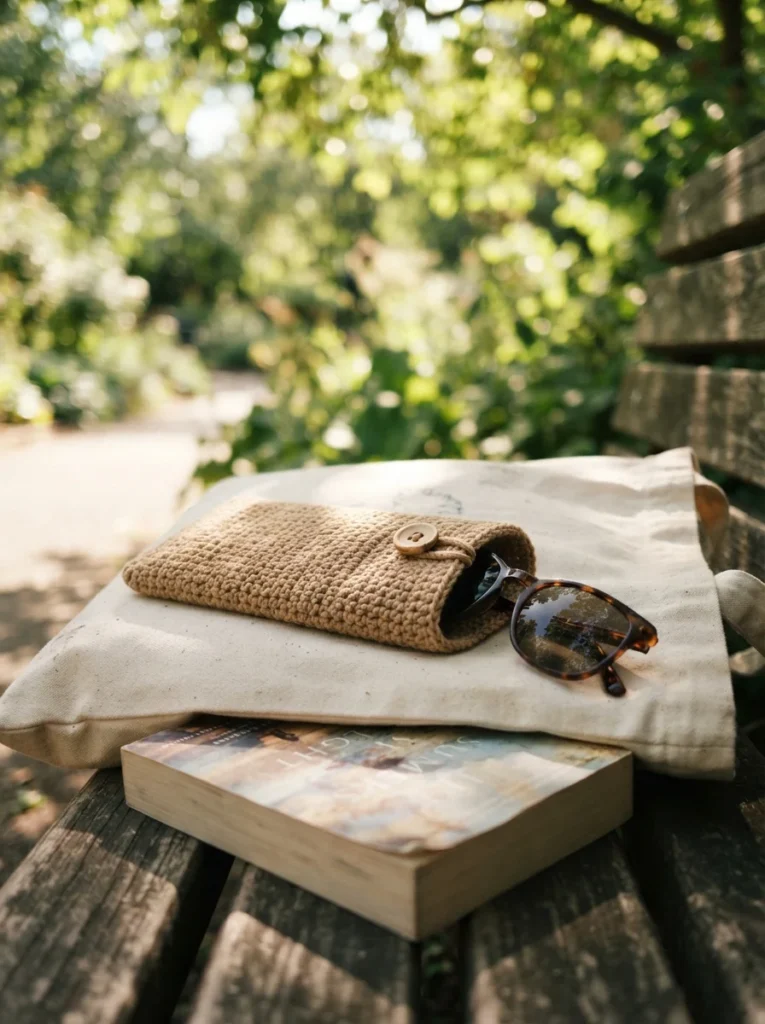
A pouch is a rectangle folded in half and seamed up two sides. Everything else is optional. Made narrow it holds sunglasses, made wider it holds a phone, and made wider still it becomes a small clutch.
Work in tight single crochet so the fabric doesn’t stretch out of shape in a bag. Chain to about three and a half inches wide for a phone, crochet until the strip is twice the height you want, fold, and seam. Add a chain loop and a button for a closure.
Line it with a scrap of felt if you’re worried about scratches — a few whip stitches around the inside edge is enough. That small extra step is the difference between a pouch that protects a screen and one that just carries it around.
20. Textured Pillow Cover
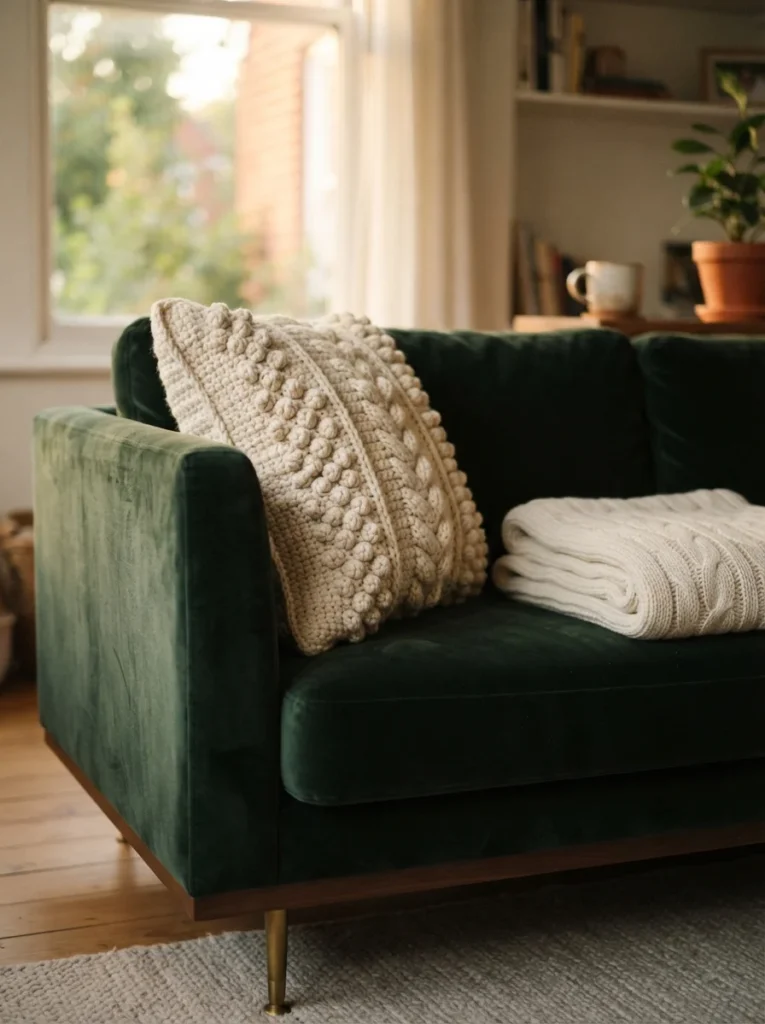
Covering a pillow form you already own is faster than it looks and completely changes a room. Crochet two squares the size of your form, or one long rectangle folded into an envelope back, then seam three sides and slip the form in.
Bobble stitch is worth trying here. You work five incomplete double crochets in one stitch and close them together, creating a raised bump. Space bobbles in a grid across a plain single crochet background and the pillow gets a texture that photographs beautifully.
An eighteen-inch cover in chunky yarn takes about five hours. Leave the fourth side open with a few buttons or an envelope overlap so you can pull the cover off and wash it, because a permanently sewn cover becomes a problem the first time someone spills coffee.
21. Velvet Yarn Scrunchies
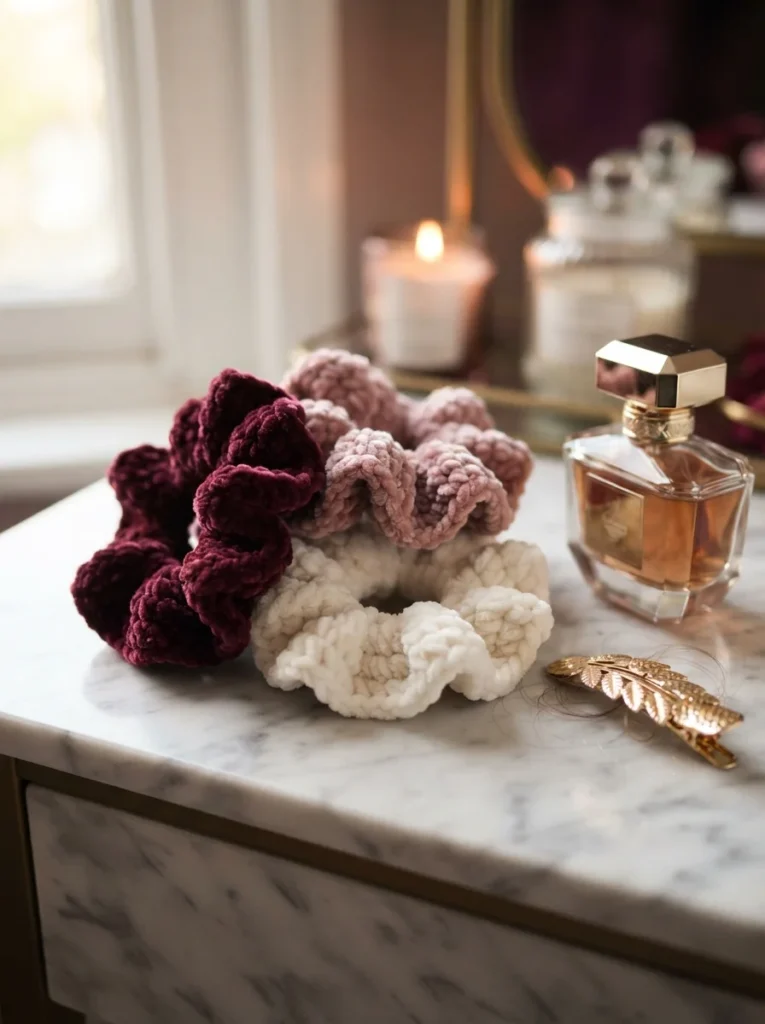
A scrunchie is single crochet worked around a hair elastic — that’s genuinely all of it. Hold the elastic, work stitches over it until it’s completely covered, then join the round and fasten off. Twelve minutes, start to finish.
Velvet or chenille yarn is what makes these look expensive. Standard acrylic gives you a scrunchie that reads as homemade; velvet gives you one that looks like it came from a boutique shelf. Use a 4mm hook and pack the stitches tightly so no elastic shows through.
Work about sixty to eighty stitches around a standard elastic for good ruffling. Fewer and it lies flat and sad. This is the project to make in batches — set up in front of a film and you’ll have a dozen by the credits.
22. Pet Blanket
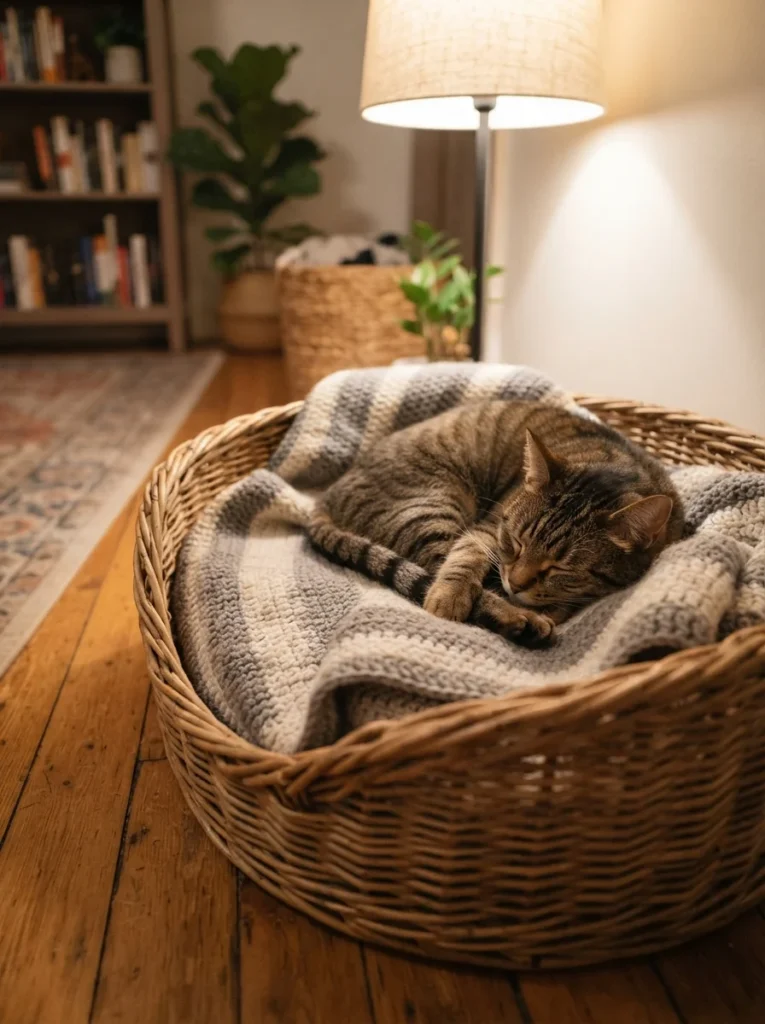
Pet blankets are the ideal place to practice, because your dog does not care about uneven edges. Any stitch works, any yarn works, and any size works as long as your animal fits on it. Two hours gets you a finished blanket for a cat or small dog.
Use washable acrylic and skip anything with loose loops or long fringe that claws can catch. Double crochet works up fast and gives a fabric with just enough drape. A twenty-four by thirty inch rectangle suits most small pets.
Animal shelters take handmade blankets in almost every city, and they go through them constantly. If you end up with a pile of practice pieces you don’t love, a quick search for a local rescue turns your beginner mistakes into something genuinely useful.
23. Crochet Bandana Cowl
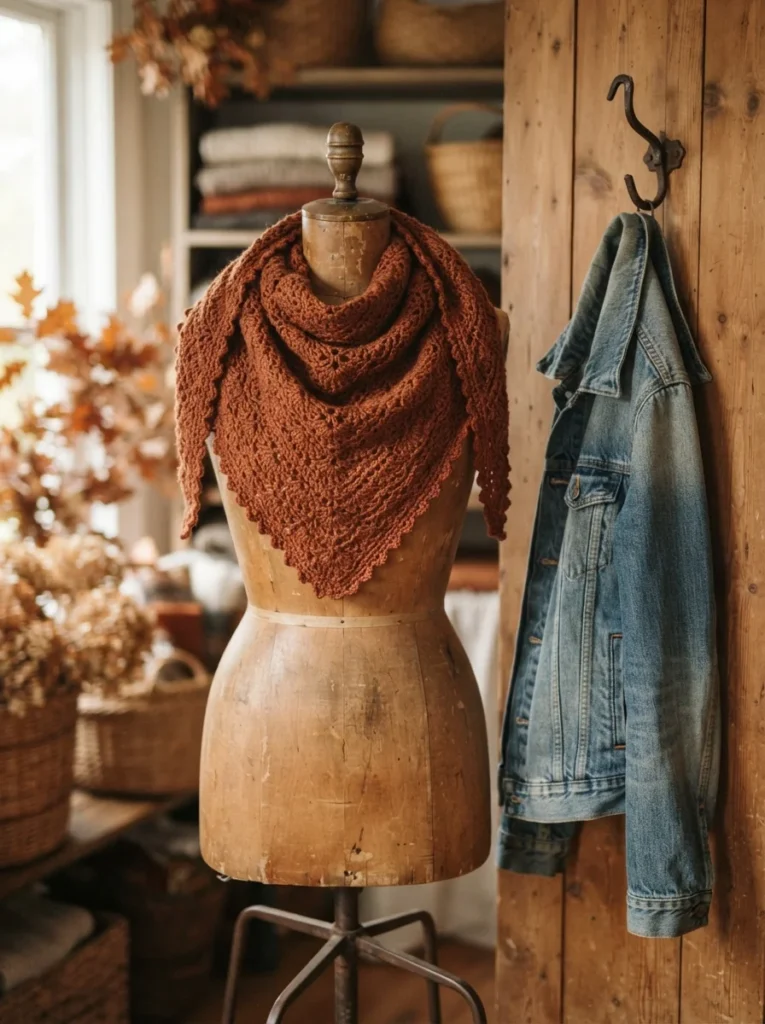
A bandana cowl is a triangle with a neckband, and it hits the sweet spot between useful and stylish. You increase along two edges to build the triangle, then add a band of double crochet along the top so it sits flat around the neck.
Start with four stitches and increase at both ends of every row until the top edge measures around twenty-four inches. Work the neckband along that edge and join it into a loop, sizing it to slip over your head without stretching.
Sport or DK weight yarn gives the drape you want. Bulky yarn makes a bandana cowl that sticks out from the neck like a bib, which nobody wants. This is one project where going thinner genuinely produces a better result, even though it takes an extra hour.
24. Round Rag Rug
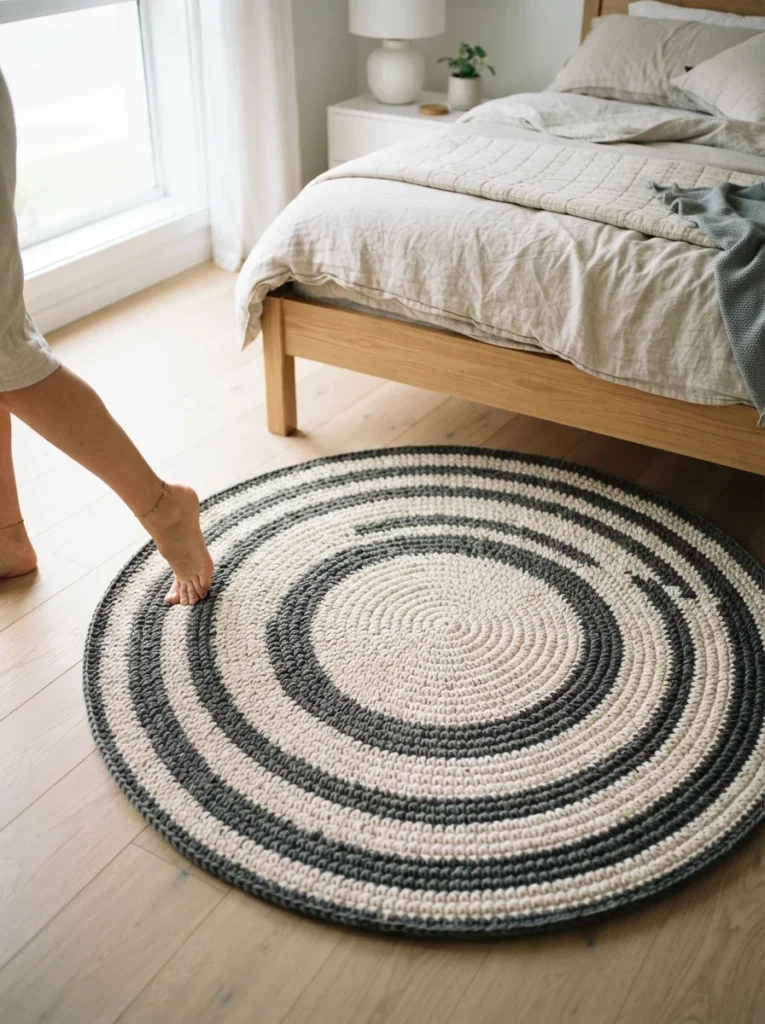
A rug is a coaster taken to its logical extreme. Same flat circle formula, same increase rules, just repeated for two or three hours until it’s the size of a bath mat. Nothing new to learn, which is exactly why it works as a beginner project.
T-shirt yarn is the material of choice. It’s thick, washable, cheap, and often made from fabric offcuts. Use a 10mm or 12mm hook and work in single crochet. A twenty-four inch round rug takes around four hundred yards, or roughly three balls.
Stripe it by changing yarn color every few rounds, or keep it plain and let the texture speak. Because the fabric is so heavy, count your increases carefully — a rug that ruffles at the edges won’t lie flat under a door, and blocking won’t save it.
25. Simple Amigurumi Bunny
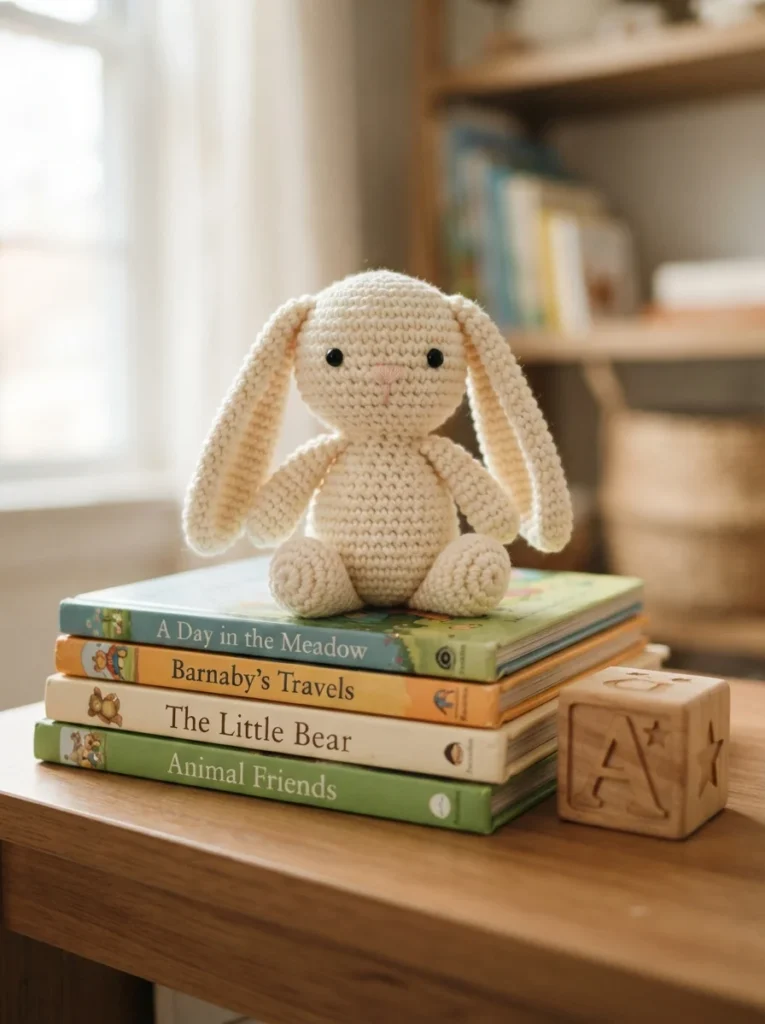
Finish the list with a proper amigurumi. A basic bunny is two shapes — a body worked as a cone and two ear ovals — and by now you already know the flat circle and the continuous round. A first bunny takes about three hours.
Work the body in continuous spirals without joining rounds, using a stitch marker to track where each round begins. Increase to the width you want, work straight for the body, then decrease at the top, stuffing firmly just before you close it. Sew the ears on and embroider or attach safety eyes.
Stuff more than feels right. Under-stuffed amigurumi sags and looks deflated within a week, while a firmly packed one holds its shape for years. Set the eyes low and wide on the face — that placement is what makes a handmade toy look sweet rather than slightly unsettling.
Final Thoughts
Every project here uses the same handful of stitches arranged in different ways, which is the quiet truth about crochet: once you can single crochet, double crochet, and work a flat circle, you can make almost anything. Start with the coasters or the dishcloth to get your tension steady, then move on to a beanie or a market bag once your stitches look even. Buy one skein of worsted cotton and one 5mm hook this week — that’s under eight dollars of commitment — and pick a single project from the top of this list. Finish it before you buy anything else. A completed coaster teaches you more than a basket full of half-started ideas ever will.

Lily Summers is a digital artist and creative storyteller who loves bringing colorful characters to life. With a passion for cartoons, fan art, and playful sketches, she inspires others to explore their imagination through art. When she’s not sketching, you’ll find her dreaming up new ideas for CraftedWizard.com to spark creativity in every artist. 🌈✨