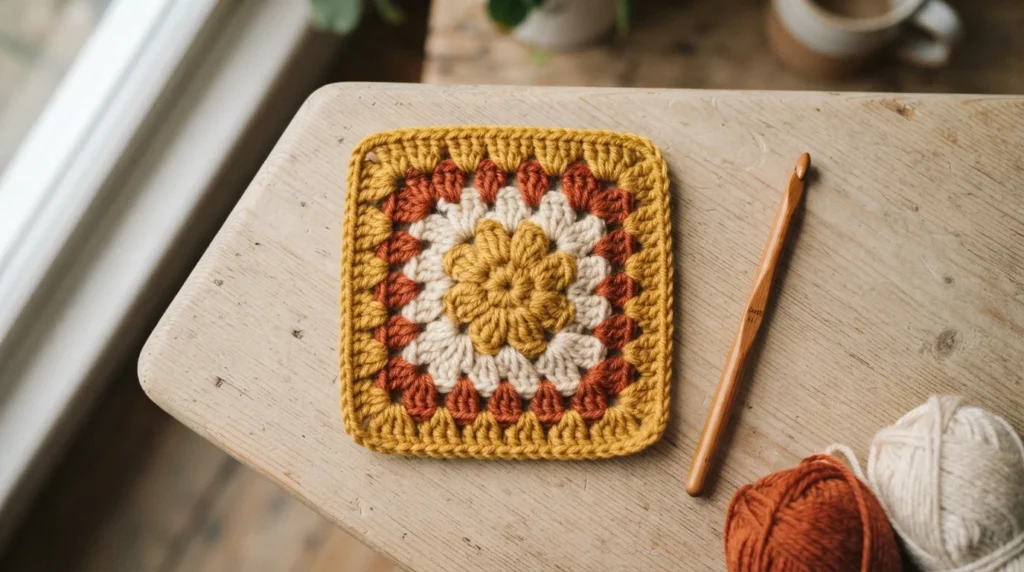
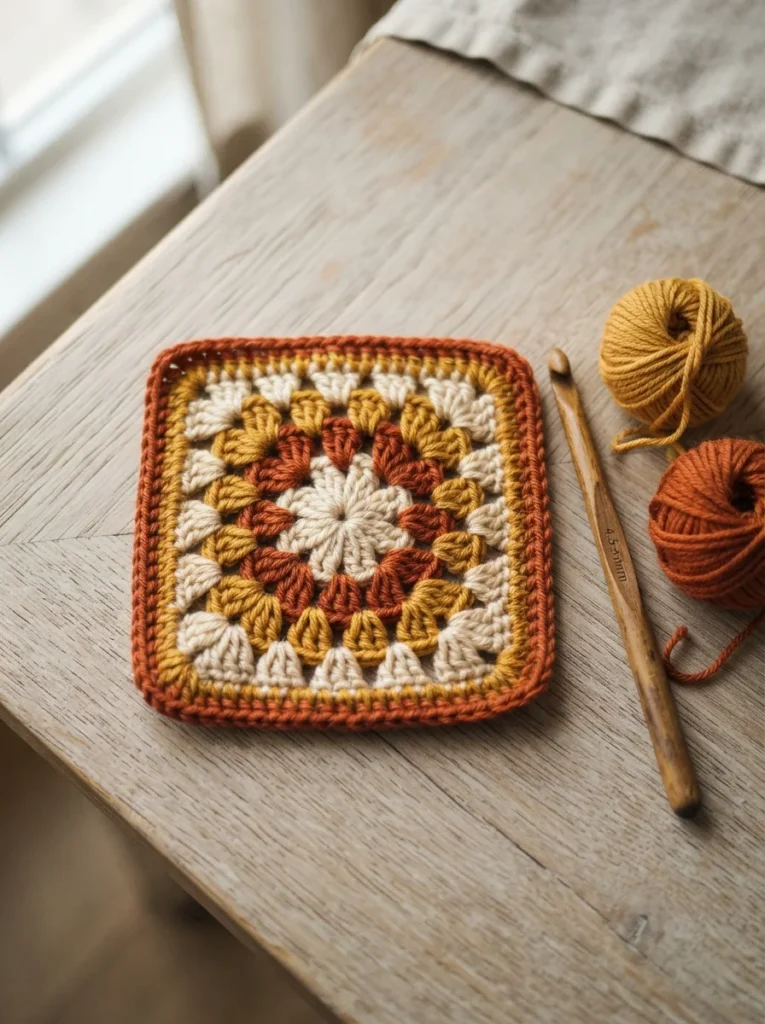
The granny square is the project that turns “I tried crochet once” into an actual hobby. It works up in about fifteen minutes, uses one stitch repeated over and over, and gives you something finished to hold at the end — which is exactly what a beginner brain wants. Six squares make a scarf. Forty-eight make a blanket. Best of all, the pattern is really just one small idea repeated outward, so once round two clicks, you can keep going forever without reading another instruction. This guide uses US crochet terms.
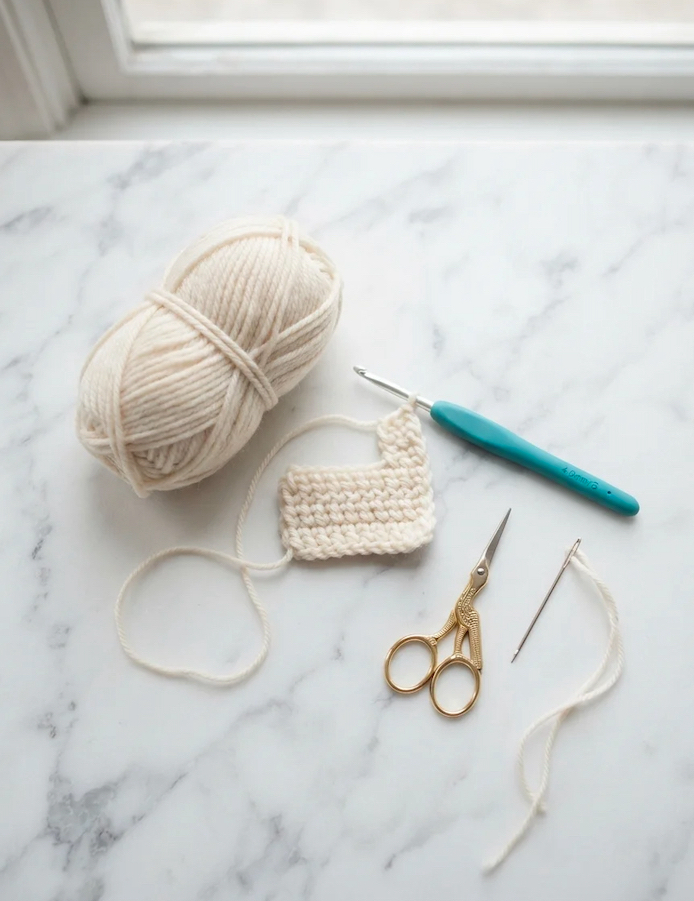
What You’ll Need
- One skein of smooth worsted-weight yarn in a light color
- A 5.0mm (H) crochet hook
- Scissors
- A yarn needle for weaving in ends
Light-colored yarn matters more than you’d think. Dark navy and black hide the stitch structure, and hunting for a loop you can’t see is how beginners get frustrated.
The Three Stitches You Already Need
A granny square uses exactly three things, and one of them does almost all the work.
- Chain (ch) — yarn over, pull through the loop on your hook.
- Slip stitch (sl st) — insert the hook, yarn over, pull straight through everything. It joins rounds together.
- Double crochet (dc) — yarn over, insert the hook into the space, yarn over and pull up a loop, yarn over and pull through two, yarn over and pull through the last two.
Practice ten double crochets in a row before starting. That’s the entire square right there.
Step 1: Make the Center Ring
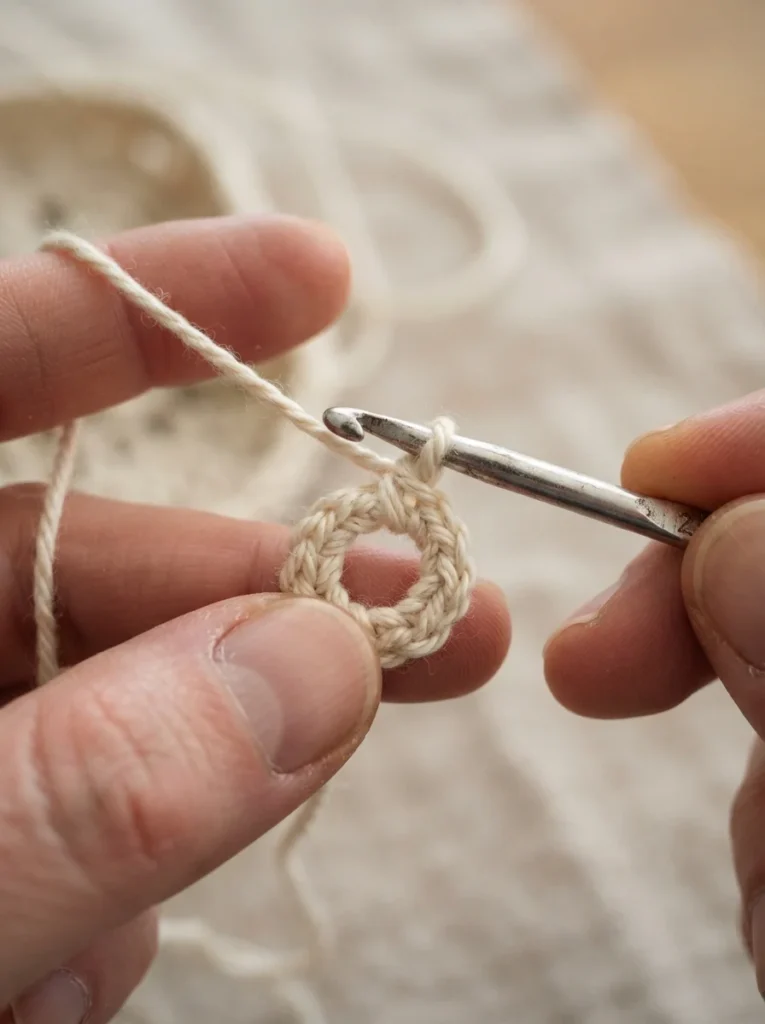
Chain 4, then slip stitch into the very first chain you made to form a small circle.
That little ring is the middle of your square. Every stitch in round one goes into the hole in the center, not into the individual chain stitches — this trips up almost every beginner, so poke your hook straight into the middle of the circle.
Step 2: Work Round One
Chain 3 — this stands in for your first double crochet. Then work 2 more double crochets into the center ring.
Now chain 2, and work 3 double crochets into the ring. Repeat that twice more, so you end up with four clusters of three stitches separated by four chain-2 gaps. Chain 2 one final time, then slip stitch into the top of that starting chain-3 to close the round.
You’re looking at a tiny puckered flower. Those four chain-2 gaps are your corners, and everything from here forward is just working into spaces, never into stitches. That single idea is the whole pattern.
Step 3: Work Round Two
Slip stitch across to the nearest chain-2 corner space.
Chain 3, then work 2 double crochets into that same corner space. Chain 2, then work 3 more double crochets into the same space. You’ve just made a corner: two clusters with a gap between them.
Chain 1, move to the next corner space, and repeat — 3 dc, chain 2, 3 dc. Do that around all four corners, then chain 1 and slip stitch into the top of the starting chain-3.
Flatten it out. It’s a square now.
Step 4: Repeat Outward Forever
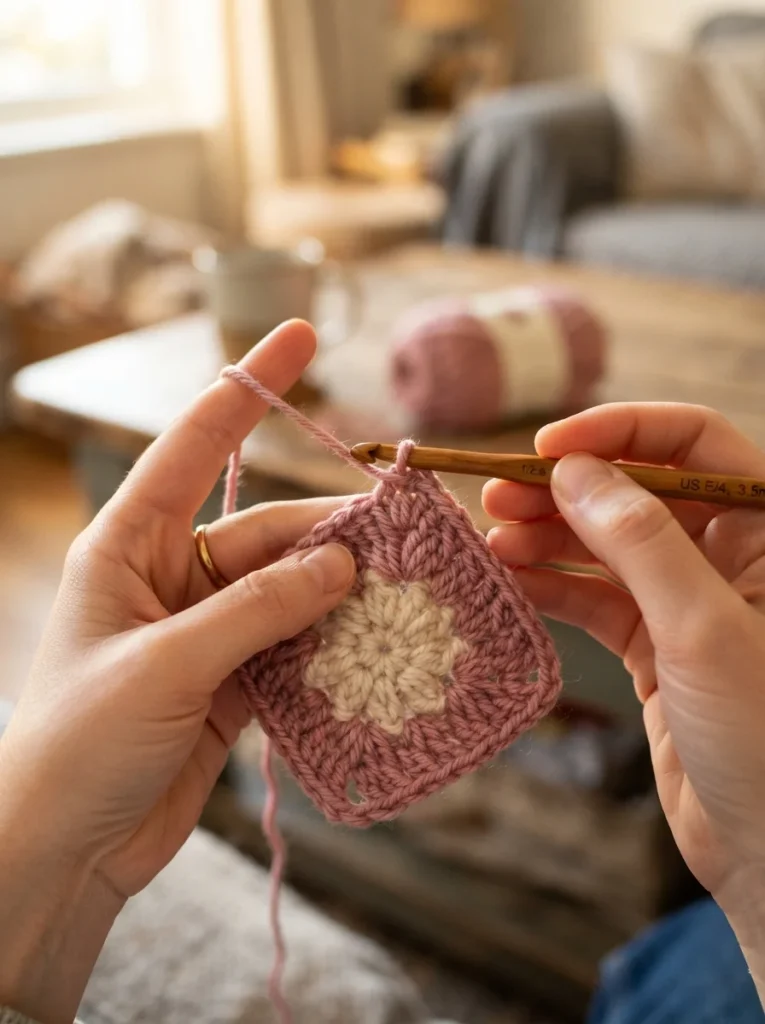
Round three uses the identical logic with one addition.
- Every corner space gets 3 dc, chain 2, 3 dc.
- Every side space between clusters gets one group of 3 dc.
- Chain 1 between every cluster along the sides.
Round four adds another side space per edge. Round five adds another. The square keeps growing and the rule never changes.
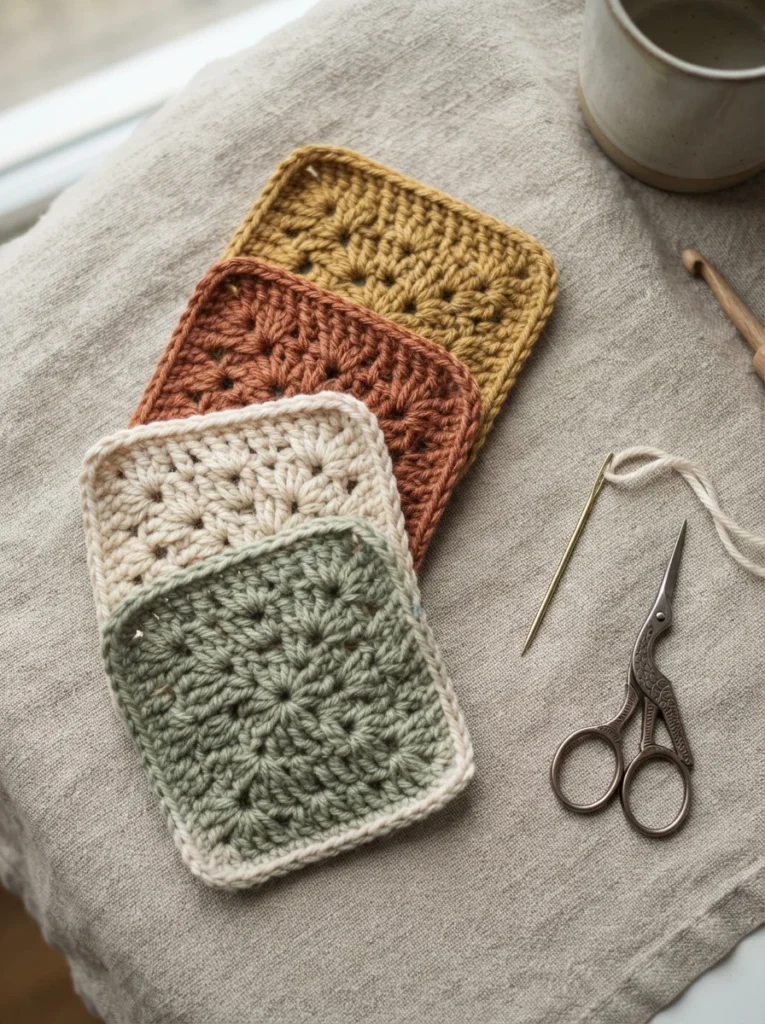
Stop whenever the size looks right. Four rounds makes a coaster, eight makes a cushion panel.
Step 5: Fasten Off and Weave In
Cut the yarn about six inches from your work, yarn over, and pull the tail all the way through the loop on your hook. Tug gently to tighten.
Thread that tail onto a yarn needle and weave it through the back of several stitches, changing direction once so it can’t slip out. Trim close.
Three Problems and Their Fixes
- Wavy, ruffled edges? You added extra stitches somewhere. Count your clusters — each side should have one more than the round before.
- Curling into a bowl? Your tension is too tight. Go up a hook size and consciously relax your grip.
- Lopsided corners? You worked into a stitch instead of a space. Look for the visible gap, not the top of a stitch.
Save This and Make Your First Square Tonight
A granny square is the cheapest possible way to find out whether you like crochet — one hook, one skein, fifteen minutes. Make one in a color you love, then make a second one and watch how much faster your hands move.
Pin this tutorial so the round-two instructions are there when you sit down with your yarn.

Lily Summers is a digital artist and creative storyteller who loves bringing colorful characters to life. With a passion for cartoons, fan art, and playful sketches, she inspires others to explore their imagination through art. When she’s not sketching, you’ll find her dreaming up new ideas for CraftedWizard.com to spark creativity in every artist. 🌈✨