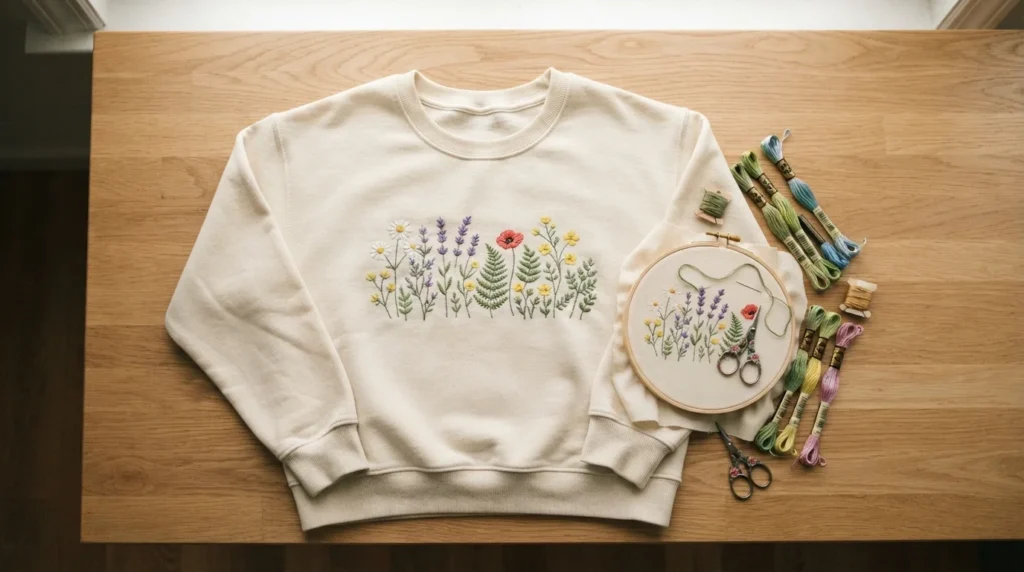
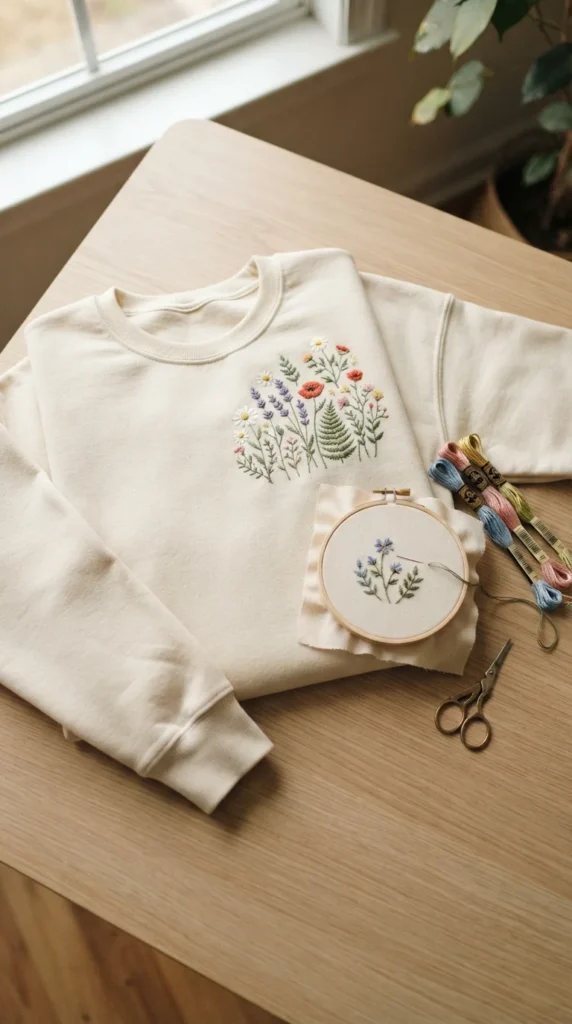
A plain sweatshirt is comfortable, but a stitched one feels like yours. Hand embroidery lets you add color, texture, and personality with nothing more than a needle, some floss, and a hoop. You don’t need years of practice, because most of these designs rely on a handful of basic stitches. Pick one idea from this list, grab an old sweatshirt, and start stitching this weekend.
1. Tiny Wildflower Sprigs on the Chest
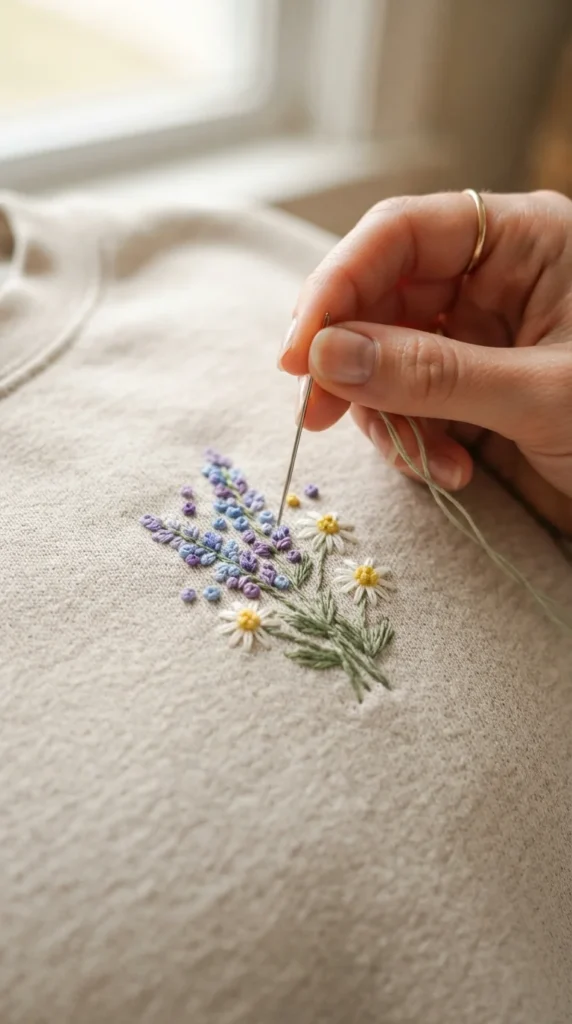
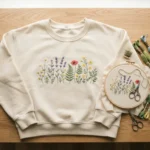
Small floral sprigs are the friendliest place to start. Stitch three or four stems with straight stitches, then add lazy daisy petals for flowers and tiny French knots for the centers. Keep the whole design about three inches wide so it sits neatly above your heart.
Trace the design onto water-soluble stabilizer and stick it to the fabric. Stitch right through it, then rinse it away when you’re done. This keeps your lines clean on thick, fuzzy fleece.
Pick two or three floss colors that sit close together, like sage, butter yellow, and dusty lavender. Fewer colors look polished and keep the project from feeling busy. Six strands of floss give you plump petals, while three strands make finer stems.
2. Initials in Satin Stitch
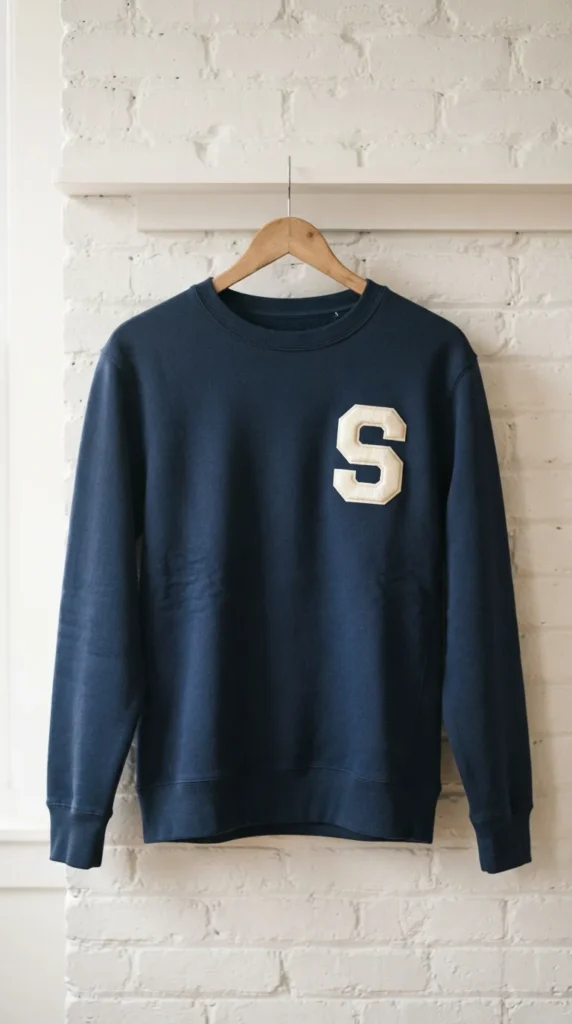
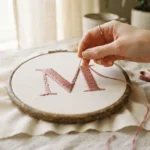
Monogram letters look classic and work on any style of sweatshirt. Choose a simple block letter and print it out at about two inches tall. Transfer it onto the fabric with a washable pen or stabilizer.
Fill the letter with satin stitch, laying parallel stitches side by side so no fabric shows between them. Outline the letter first in backstitch, which gives you a smooth edge to stitch up against. Keep your stitches all running in one direction for a glossy finish.
Light thread on a dark sweatshirt pops the most. Try your own initials, a partner’s, or a kid’s first letter. Stitching just the first letter makes a thoughtful gift that comes together in an evening.
3. Cuff and Hem Vine Borders
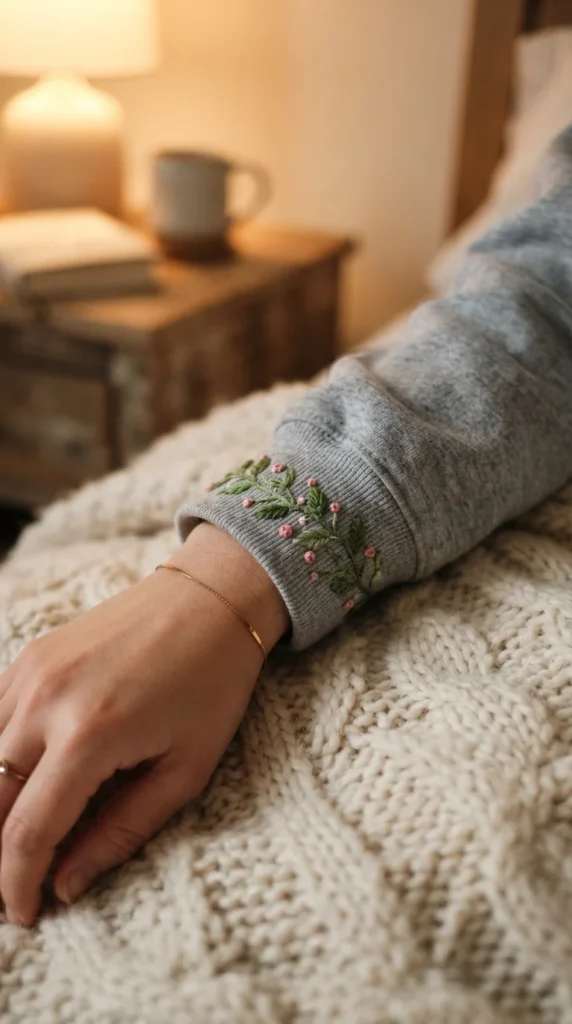
A vine that wraps around a cuff or hem is subtle and sweet. Stitch a long, wavy stem in stem stitch, then add leaves in lazy daisy or fishbone stitch at loose intervals. A few tiny buds in French knots finish it off.
Ribbed cuffs are stretchy, so stitch just above the rib on the flat part of the sleeve. If you must stitch on ribbing, use a stretch-friendly backstitch and keep your tension loose. Pulling too tight will pucker the fabric.
Repeat the vine on both cuffs for a matched pair, or put it on one cuff only for an asymmetrical look. It stays visible when you push your sleeves up, which makes it a fun detail that other people notice slowly.
4. Mountain Landscape Scene
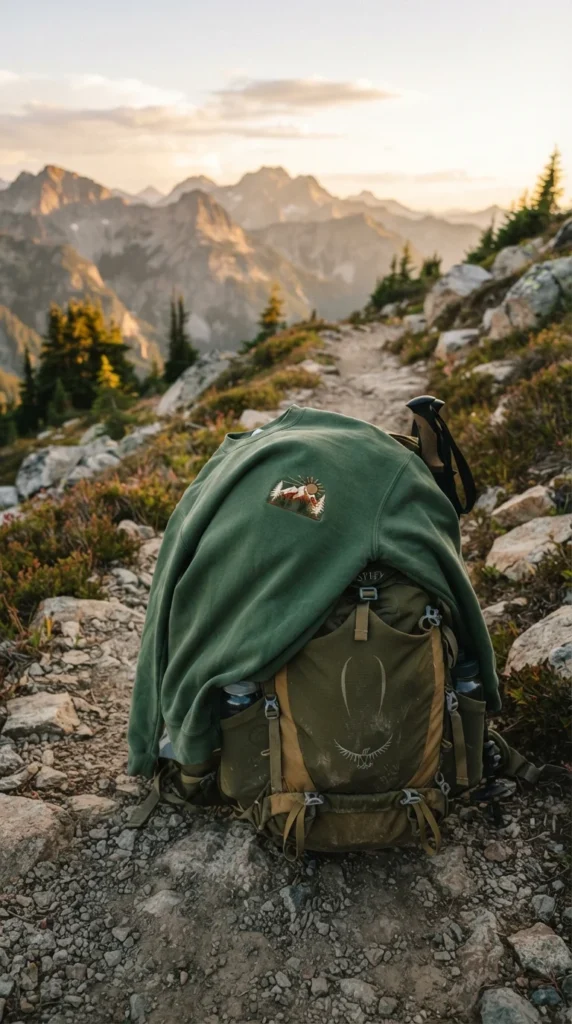
Mountain scenes pack a lot of feeling into a small space. Stitch a few overlapping triangle peaks in satin stitch or long-and-short stitch, using two or three tones of gray, blue, or rust. Add a half-circle sun above them with rays in straight stitch.
Tiny pine trees are just a vertical line with short angled stitches branching down. Scatter a few across the foot of the mountains for depth. Keep everything simple and graphic.
This design looks great on the chest or across the back of the shoulders. It’s an easy choice for hikers, campers, and anyone who misses the outdoors on a work day. Pair warm sunrise colors with a charcoal or navy sweatshirt for the strongest contrast.
5. Small Hearts on the Sleeve
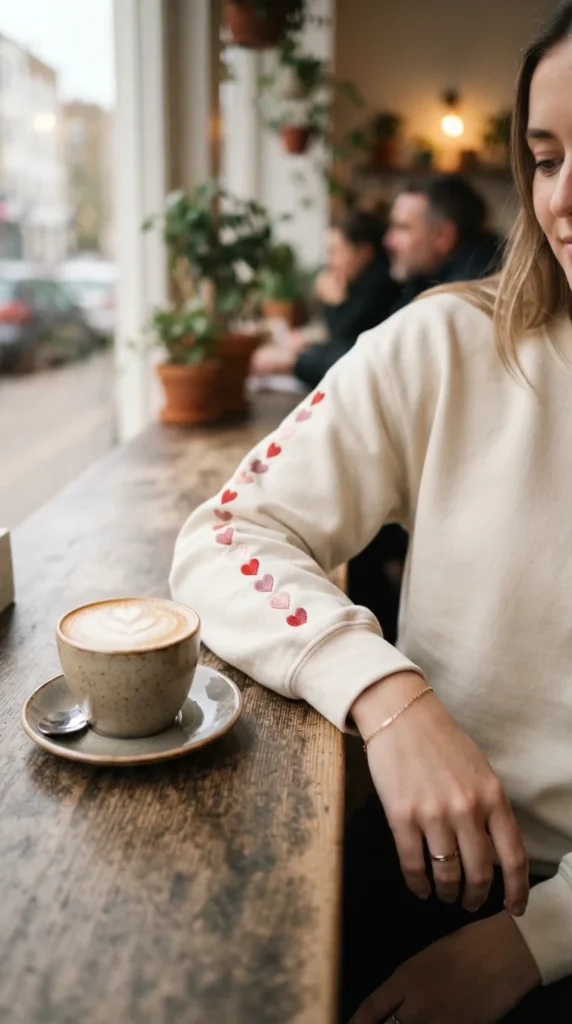
A little line of hearts running down one sleeve is as easy as it gets. Draw five or six small hearts, each about half an inch wide, and fill them with satin stitch or tight backstitch. Space them evenly or let them wander for a playful look.
Mix up the colors for a rainbow effect, or keep them all one shade for a clean look. Red on white feels classic, and soft pink on gray feels gentle.
This is a great first project because each heart is quick and mistakes disappear into the pattern. If one heart turns out crooked, it just looks charming next to the others. Try doing it while watching a show, and you’ll finish before the credits.
6. Pocket Outline Florals
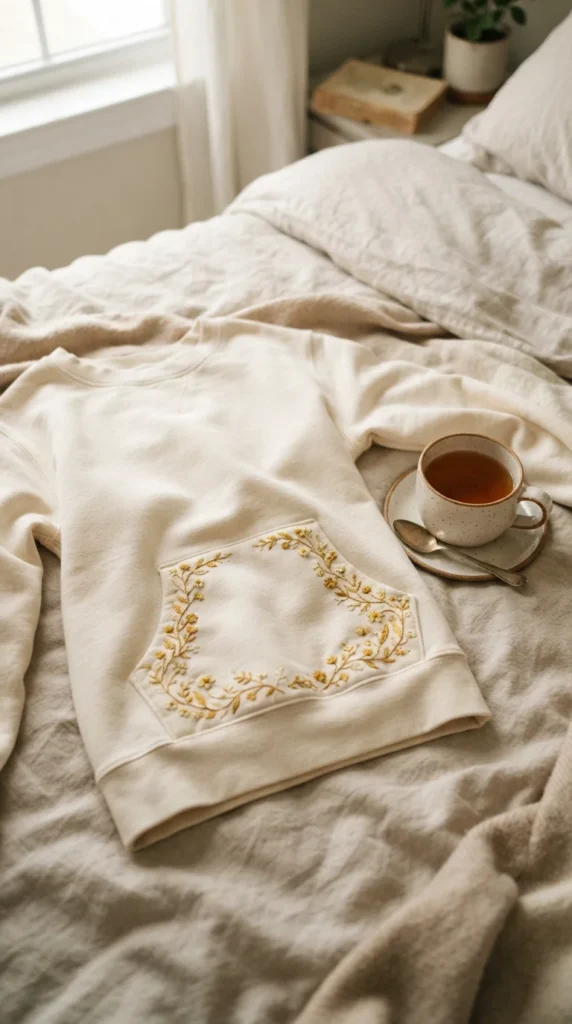
If your sweatshirt has a front pocket, you already have a built-in frame. Stitch a delicate border along the pocket edge with small flowers and leaves, following the seam as your guide. The seam also helps you keep spacing even.
Use backstitch for the stems, and lazy daisies for the petals. Tuck in a few French knots wherever you see a gap. Stay about a quarter inch from the seam so the stitches don’t catch the pocket opening.
Leave a bit of empty space between clusters so the pocket doesn’t feel crowded. A single color, like gold or white, looks refined. Multi-color floss gives you a cottage garden feel instead.
7. Embroidered Smiley and Daisy Faces
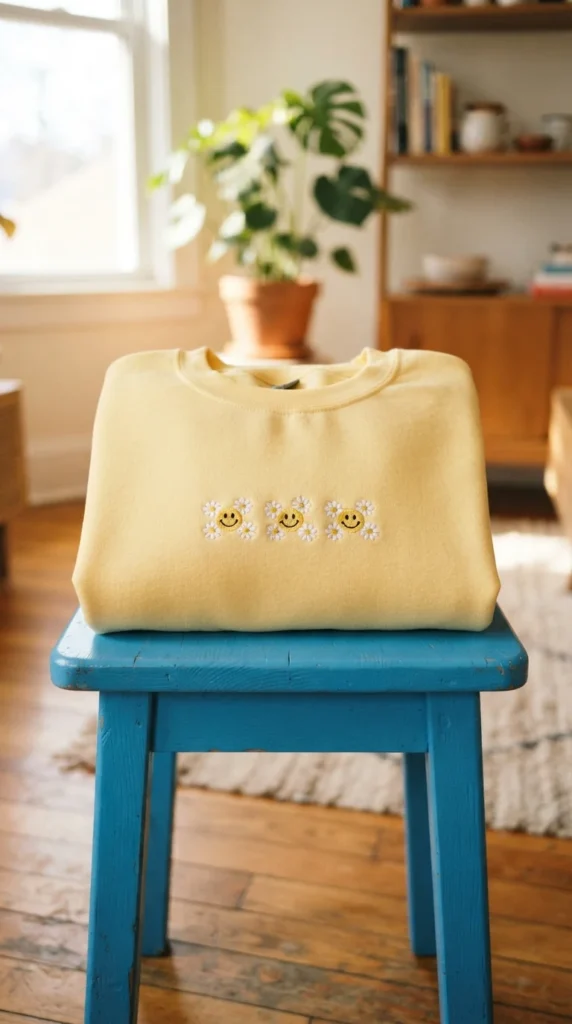
Smiley faces are cheerful and endlessly fun to stitch. Draw a circle about an inch across and fill it in with yellow satin stitch. Add two dots for eyes and a curved smile in black backstitch.
Pair a few smileys with daisies. Make each daisy with white lazy daisy petals around a yellow French knot. Scatter them across the chest or down one side like a sticker sheet.
This look suits a relaxed, retro style. Use a light-colored sweatshirt so the yellow glows, or try a black one for a bold contrast. The faces are small enough that you can stitch a whole cluster in one cozy afternoon.
8. Celestial Moon and Stars
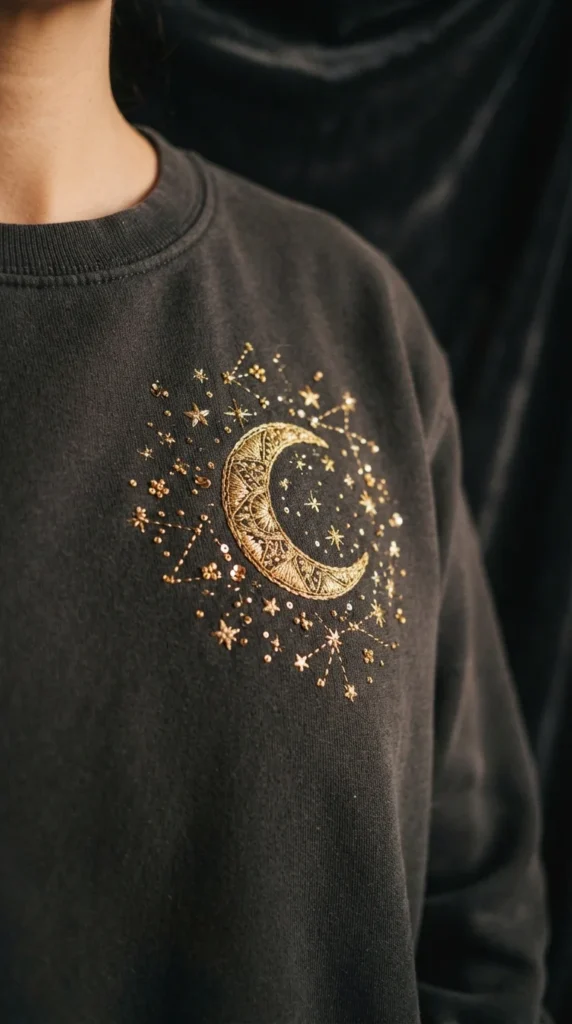
Moon and star designs look magical on dark sweatshirts. Stitch a crescent moon in satin stitch using gold or cream thread. Scatter small four-point stars around it, each made from just four straight stitches crossing at the center.
Add tiny dots in French knots to suggest distant stars. Vary the star sizes so the sky feels natural. Keep the design tilted slightly for a more relaxed look.
Metallic thread catches the light beautifully but can fray as you work. Cut shorter lengths and use a needle with a larger eye. A little thread conditioner or beeswax keeps it smooth.
9. Fruit Slices for a Summery Look
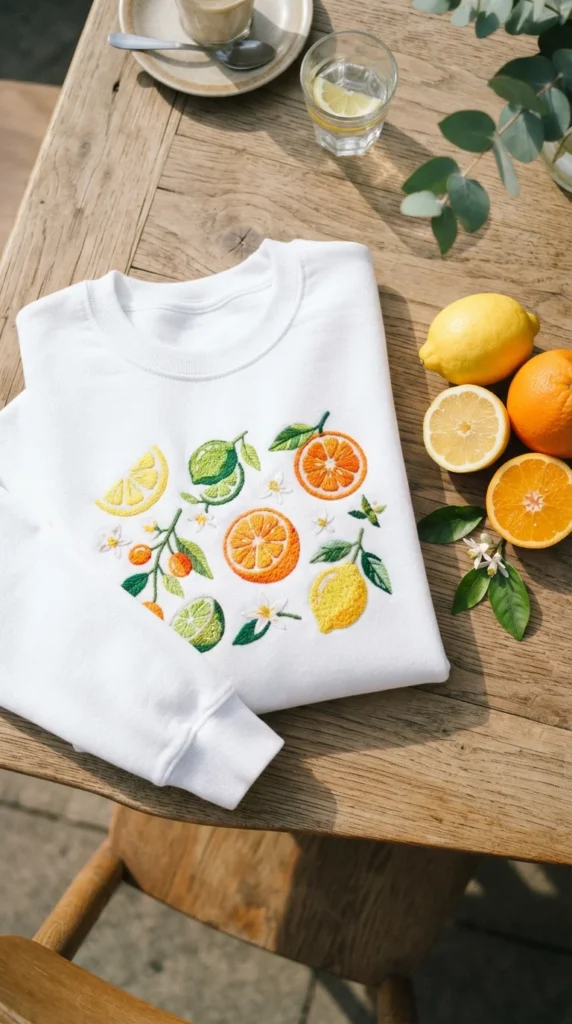
Citrus slices bring sunshine to a cold-weather wardrobe. Stitch a circle outline in backstitch, then add segments inside with straight stitches radiating from the center. Fill the segments with satin stitch in yellow, orange, or pink.
Surround each slice with a thin white rind in a different shade, and add a leaf or two in green. Make three or four slices in different sizes and cluster them on the chest.
You can switch fruit freely: strawberries, cherries, and watermelon slices all work with the same basic shapes. Use a white or pale sweatshirt so the colors stand out. It’s also a fun way to use up leftover floss from other projects.
10. Line Art Face Outline
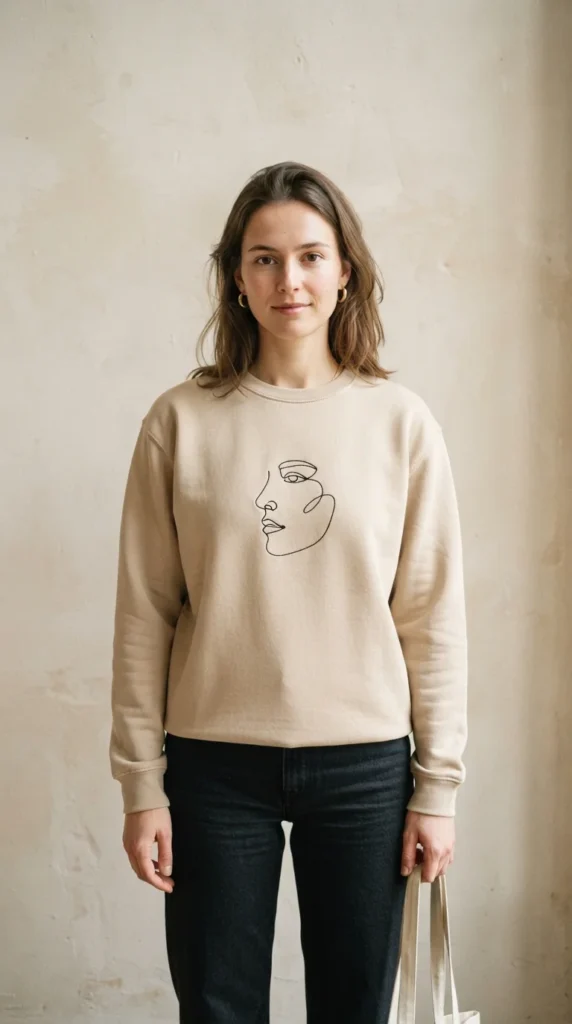
Single-line faces are a modern, artsy option that takes only one thread color. Pick a simple outline drawing of a profile or two faces overlapping, and transfer it onto the fabric. Stitch over the lines in backstitch or stem stitch.
Keep your stitches small and even so the curves flow smoothly. Short stitches follow curves better than long ones. A tiny botanical sprig coming off the hair adds a sweet detail.
Black thread on cream or white looks gallery-ready. Cream on black looks equally striking. Because it’s so minimal, this design suits people who want something simple but personal. It takes about an hour once the pattern is on the fabric.
11. Mushroom Cluster
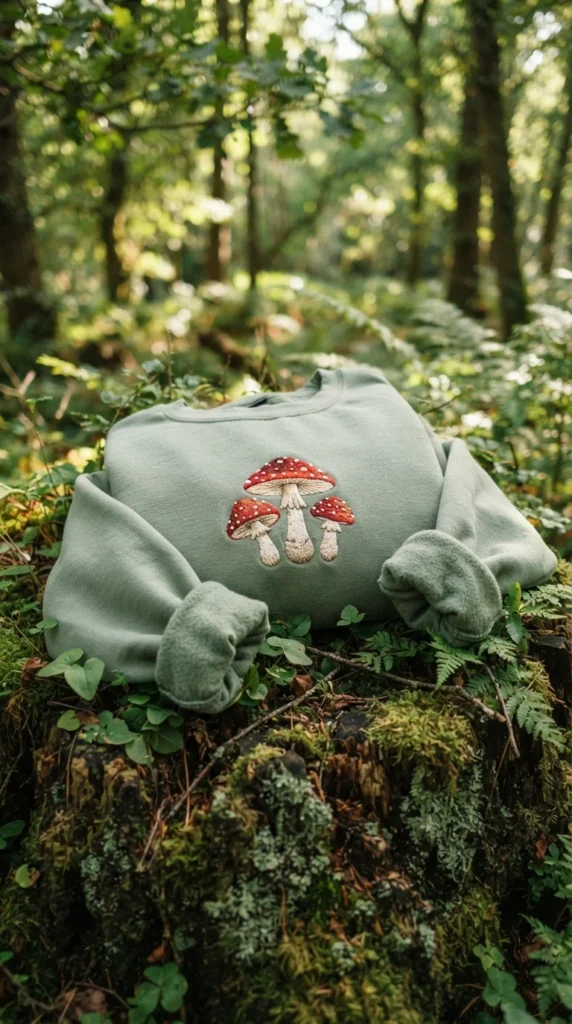
Mushrooms are everywhere in embroidery right now, and the shapes are simple. Stitch each cap in satin stitch, shaped like a half-circle, and the stem as a small curved column beneath it. Add white French knots across the caps for spots.
Mix sizes and heights so the cluster looks natural. Add a few small leaves or blades of grass along the base to ground them. Earthy shades like rust, tan, and moss green keep the look cozy.
This is a good choice for a pocket corner or lower hem. If you want a bolder look, make one large mushroom across the chest instead. Fleece grips thread well, so shapes hold up nicely.
12. Pet Portrait Outline
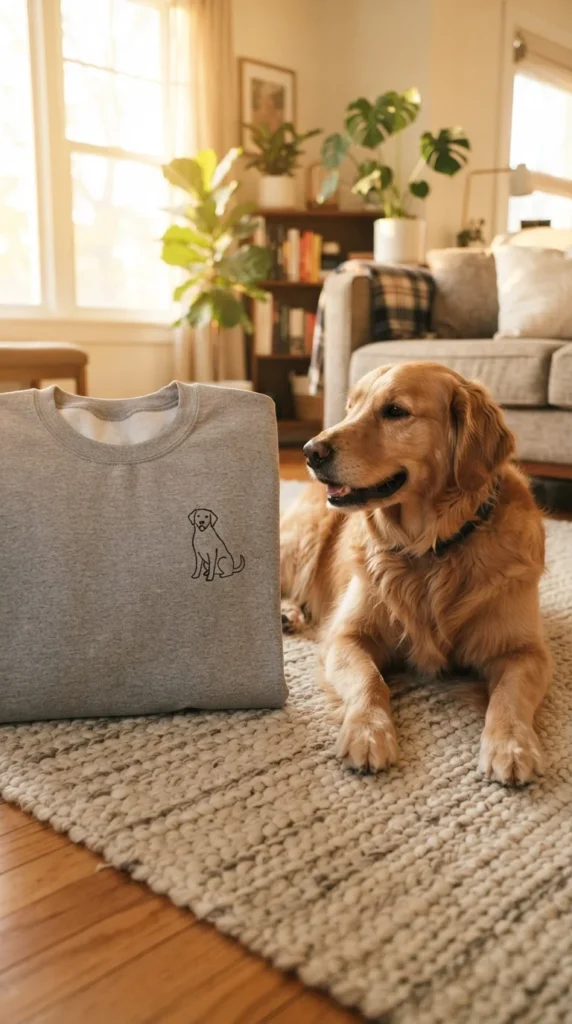
Your pet makes a lovely design. Take a clear side-view photo of your dog or cat sitting down, and trace its outline using a pencil or photo editing app. Print it at about three to four inches tall and transfer it onto the sweatshirt.
Stitch the outline in backstitch using black, brown, or white thread. Add a few interior lines for ears and a tail, plus a tiny nose in satin stitch. You don’t need to capture every detail, because the silhouette tells the story.
This one makes a great gift for a pet lover. Add a small paw print or a heart nearby for extra charm. Choose a thread color that contrasts with the sweatshirt so the outline reads from a distance.
13. Back Yoke Floral Bouquet
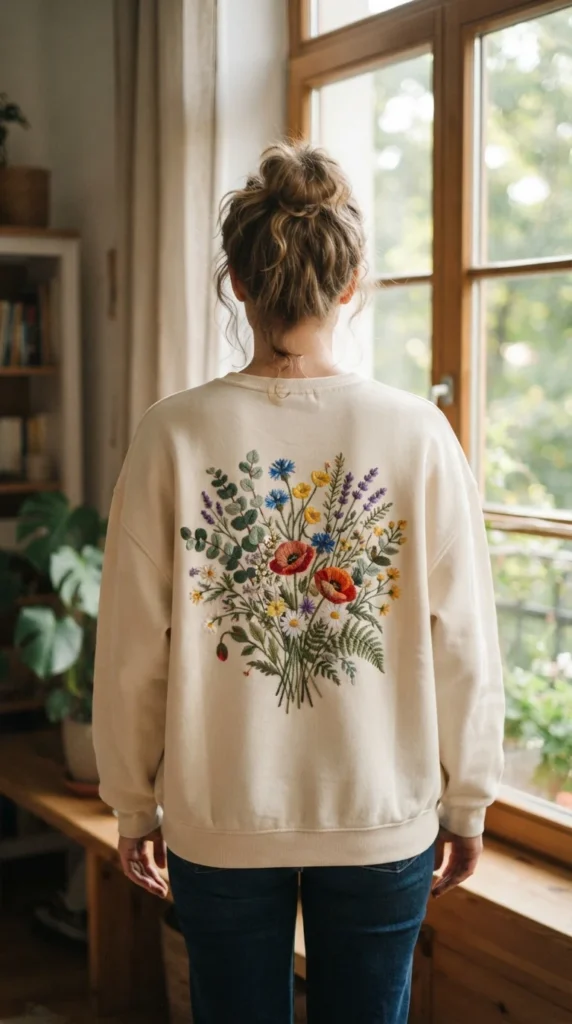
The back of a sweatshirt is an open canvas. A full bouquet stitched across the shoulders makes a statement piece that people notice as you walk away. Sketch the design on paper first, then transfer it to stabilizer.
Build the bouquet from the stems outward. Start with long curved stems, add leaves in fishbone stitch, and finish with larger flowers like poppies in satin stitch. Layering stitches adds depth.
Because it’s big, this project takes several evenings. Break it into sections and stitch a flower or two each night. Use a larger hoop, and shift it as you move across. Take care not to press the hoop over finished stitches, since you can flatten them.
14. Rainbow Arc
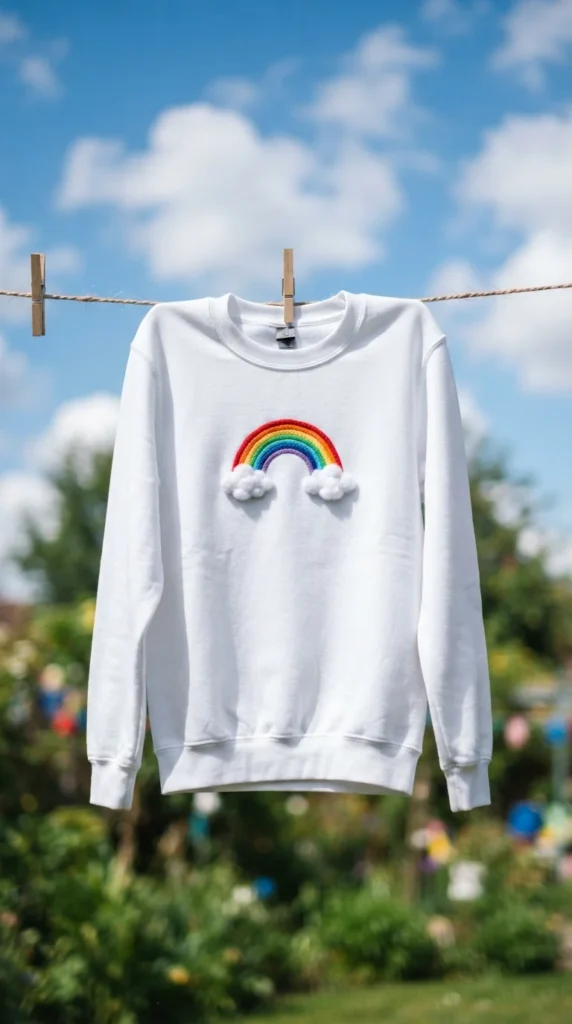
A rainbow is a happy, graphic design that’s easy to stitch. Draw several concentric arcs about a quarter inch apart. Fill each one with a different color using satin stitch or tight backstitch.
Finish the ends with two clouds made from clusters of French knots in white thread. Use red, orange, yellow, green, and blue in order. Pastel shades make it softer, and bright shades make it bold.
Because the arcs are narrow, backstitch rows work well and go faster than filling. Try stitching it on a kid’s sweatshirt, where the bright colors fit right in. It also looks charming tucked on the shoulder or the sleeve.
15. Botanical Leaf Stems Down the Front
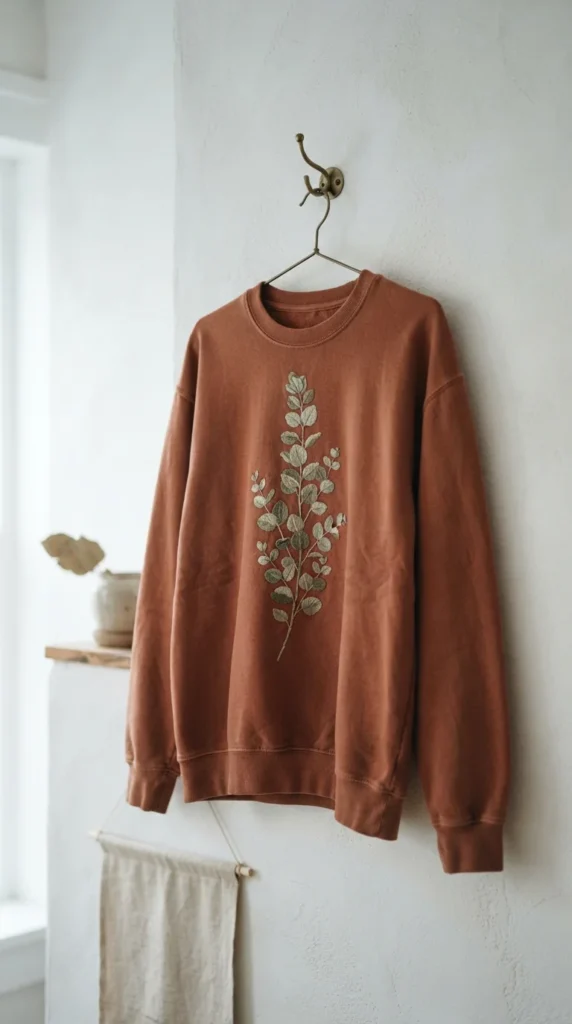
A single long branch looks elegant and simple. Draw a gently curved stem running from the shoulder or collarbone down toward the hem. Add leaves alternating on either side.
Stitch each leaf as a lazy daisy or small satin stitch oval. Use two shades of green so the branch has depth. Vary leaf sizes, with smaller ones near the tip.
This design is long, but the stitches are repetitive and relaxing. The vertical line also has a slimming, lengthening effect on a loose sweatshirt. A rust, cream, or navy sweatshirt makes the greens stand out.
16. Word or Short Phrase in Backstitch
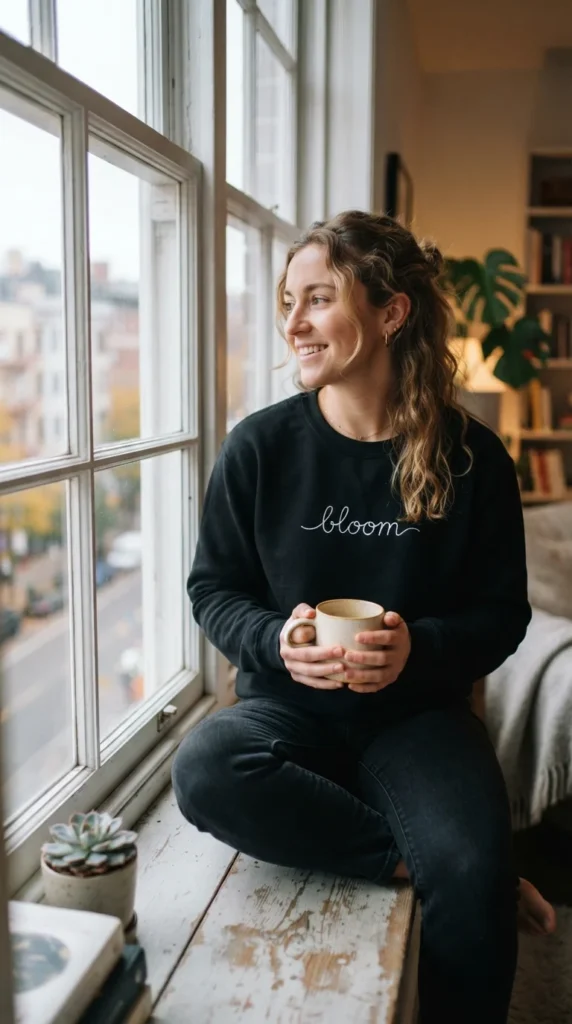
A single word can say a lot. Choose something meaningful, like a favorite place, a mantra, or a nickname. Write it out in your own handwriting or a script font, then trace it onto the fabric.
Backstitch is your best friend here. Keep your stitches short, about one eighth of an inch, so curves stay smooth. Take your time on the loops, and pull the thread gently so the letters don’t pucker.
Place the word on the chest, along a sleeve, or low on the hem. Handwriting from a loved one makes a touching gift. Test your pen on a scrap first to make sure it washes out.
17. Cottage Mushroom House
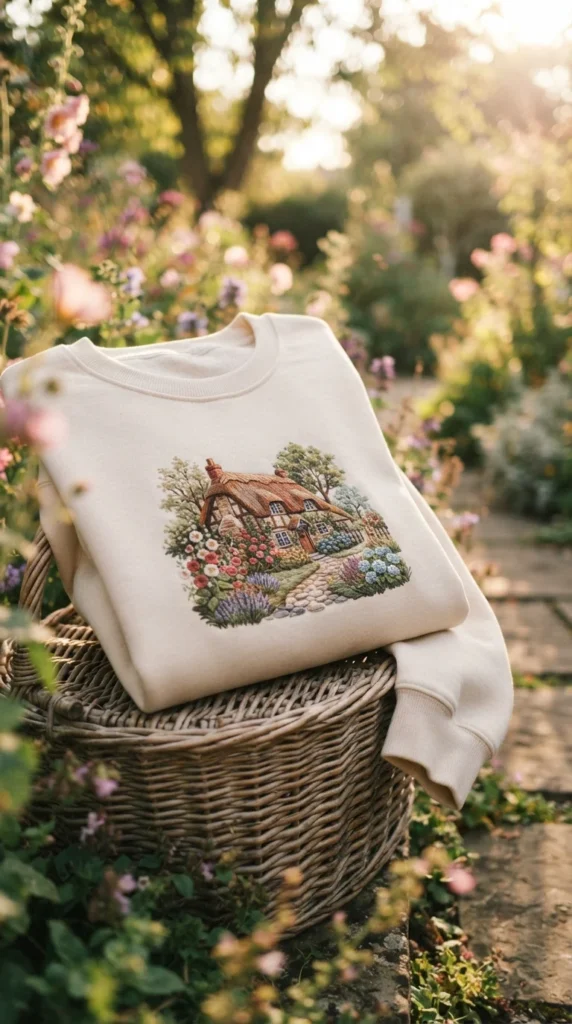
A tiny storybook cottage is a charming little scene. Stitch a small house with a curved roof in satin stitch, a round door, and two windows. Add a path in straight stitches winding to the front step.
Surround it with a few flowers and a tree. Use French knots for flower heads and bushes. Keep the scale small, about three inches across, so it fits easily on the chest.
This design has a lot of tiny details, so use fewer strands of floss, such as two or three. A sharp, thin needle helps. It looks great on the lower corner of a sweatshirt, as if the cottage is sitting at the bottom of a hill.
18. Geometric Sashiko-Style Patterns
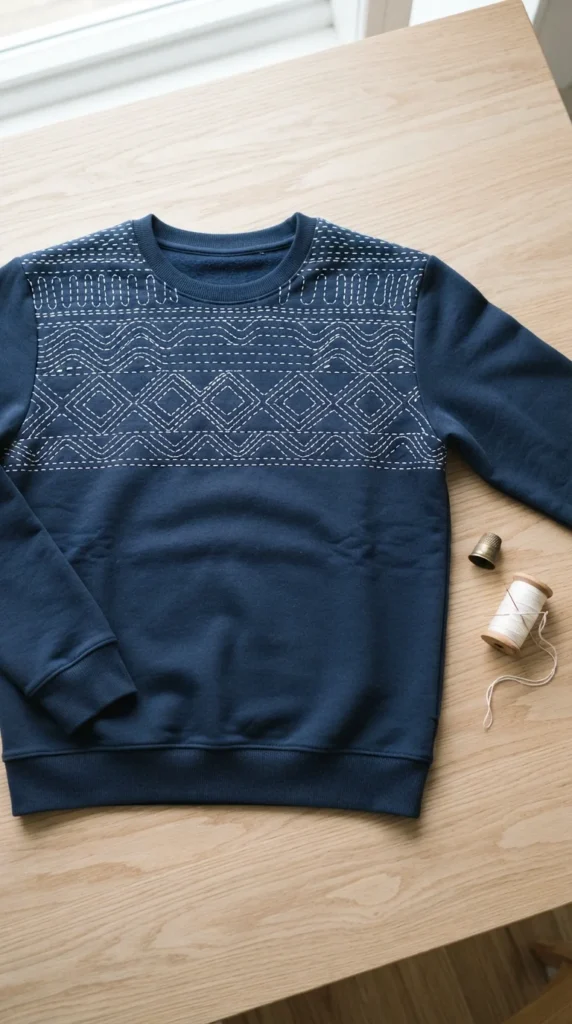
Sashiko-style stitching uses simple running stitches in repeating patterns. It’s perfect if you like order and rhythm. Mark a grid lightly with a ruler and a washable pen, then follow the lines with evenly spaced stitches.
Try waves, diamonds, or crosses across the yoke, sleeves, or pocket. White or cream thread on navy gives you the classic look, but any contrasting color works.
Aim for stitches about the same length as the gaps between them. A longer needle lets you load several stitches before pulling through. This method is a good choice for beginners because there’s only one stitch to learn.
19. Cherry Pair on the Pocket
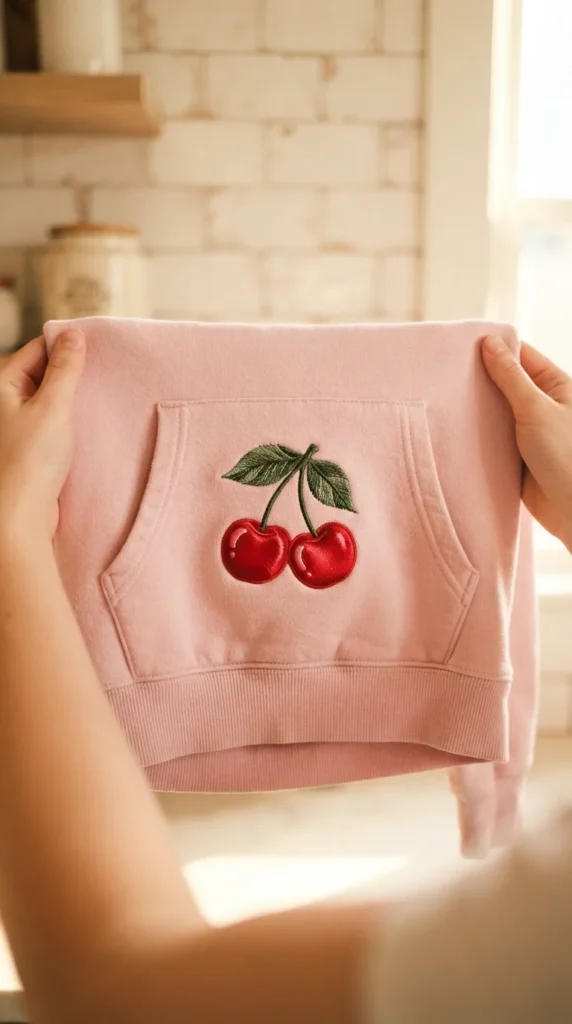
Cherries are cute, graphic, and quick. Stitch two circles in red satin stitch, each about an inch wide. Add a short white highlight on each one in a single straight stitch to give them a glossy look.
Connect the cherries with two thin curved stems that meet at the top. Add one or two leaves in green. That’s the whole design, and it fits on a pocket or the chest.
Try placing a single cherry pair off-center for a casual look. Red thread on a pale pink, cream, or light gray sweatshirt feels cheerful. Switch the colors to purple for plums or orange for peaches.
20. Embroidered Patches You Sew On
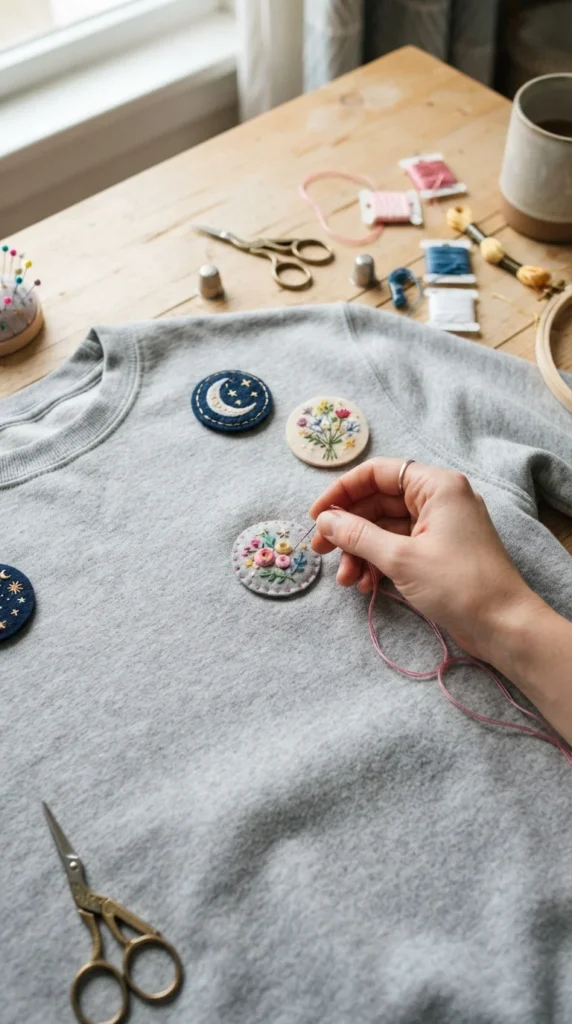
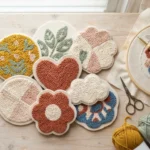
Patches let you stitch on felt, which is far easier than stitching on thick fleece. Embroider your design on a felt circle or square in your hoop. Cut it out and sew it onto your sweatshirt with small whip stitches around the edge.
Make a set of patches in different shapes: flowers, stars, moons, hearts, or tiny animals. Arrange them across the front or on the sleeves, and move them around before you commit. You can also swap them out later.
Patches are also great for covering stains or small holes. Choose felt in a color that contrasts with the sweatshirt. They’re sturdy enough to survive many washes.
21. Seasonal Rotating Motifs
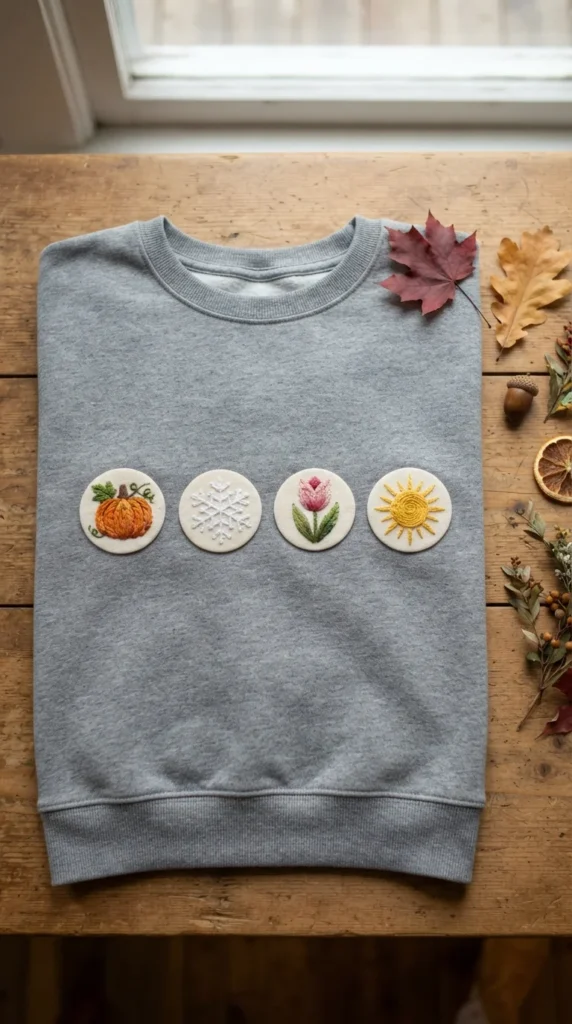
Stitch a small motif for each season and wear your favorite one. Make tiny designs, about two inches wide, on separate pieces of felt or directly on the sweatshirt: a pumpkin for fall, a snowflake for winter, a tulip for spring, and a sun for summer.
If you stitch on felt, attach each with a few hidden stitches or snaps so you can swap them. That lets one sweatshirt cover the whole year without any extra shopping.
Start with the season that’s closest, so you can wear it right away. Keep the thread colors in the same palette so your motifs feel like a collection. It’s a thoughtful, low-cost way to keep your wardrobe interesting all year.
Final Thoughts
Hand embroidery turns an ordinary sweatshirt into a piece you’ll reach for again and again. Whether you choose a tiny wildflower sprig, a monogram, or a full back bouquet, these ideas show that a few basic stitches go a long way. Pick the idea that makes you smile, gather your floss and a hoop, and stitch the first small design this weekend.
Lily Summers is a digital artist and creative storyteller who loves bringing colorful characters to life. With a passion for cartoons, fan art, and playful sketches, she inspires others to explore their imagination through art. When she’s not sketching, you’ll find her dreaming up new ideas for CraftedWizard.com to spark creativity in every artist. 🌈✨