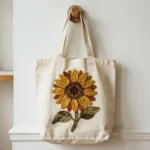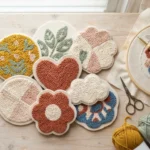
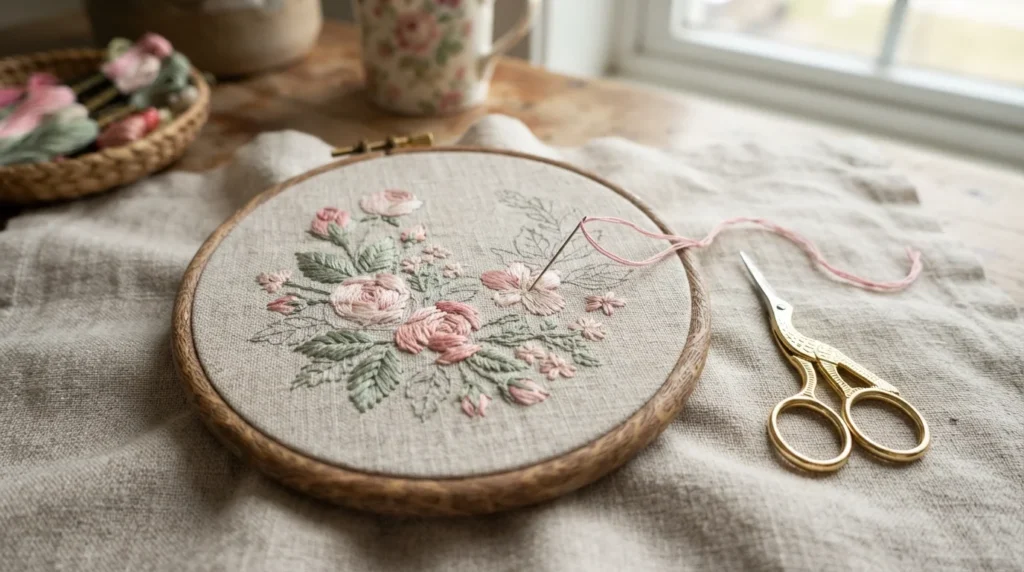
Ever scrolled past a gorgeous embroidered jacket or a tiny floral hoop and thought, “I could never do that”? Good news: you can. Almost every stunning embroidery piece is built from just a handful of simple stitches, and you can learn the essential ones in a single cozy afternoon.
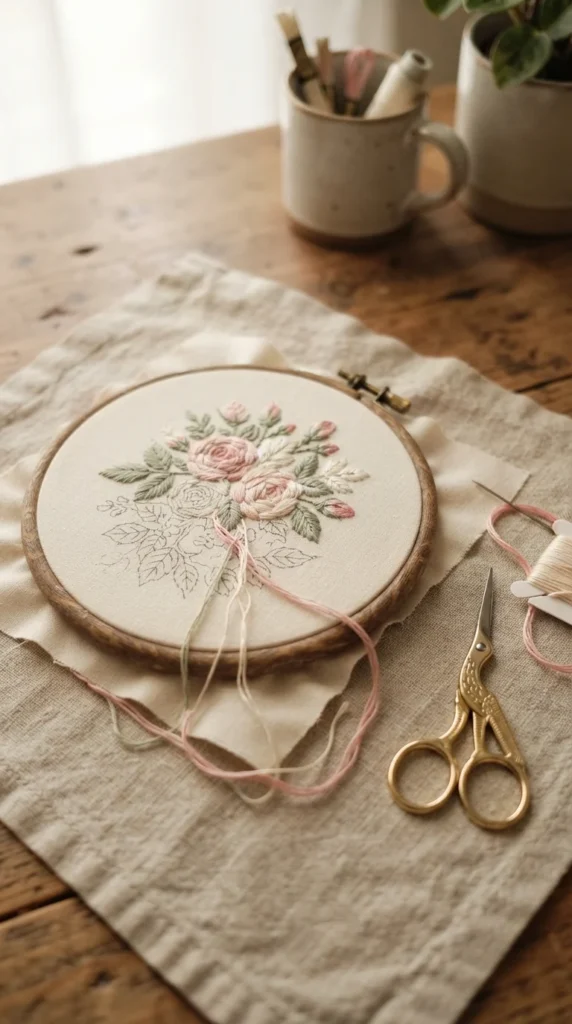
Grab a needle, some thread, and let’s get stitching!
What You’ll Need
Keep your starter kit simple:
- Embroidery hoop (5–6 inches is perfect for beginners)
- Cotton fabric or linen (tightly woven, light-colored)
- Embroidery floss (6-strand cotton, in 3–4 colors)
- Embroidery needle (size 5 or 7, with a larger eye)
- Small sharp scissors
- Water-soluble pen or pencil for marking your design
Quick tip: Most patterns use 2–3 strands of floss. Separate the strands first, then recombine them for smoother stitches.

1. Running Stitch
The easiest stitch of all, and the foundation for many others.
- Bring the needle up from the back.
- Push it down a little further along the line.
- Come back up the same distance ahead.
- Repeat, keeping stitches and gaps even.
Best for: outlines, dashed lines, and gathering.
2. Backstitch
Want a solid, clean line? This is your go-to.
- Come up one stitch-length ahead of your starting point.
- Insert the needle back at the start of that first stitch.
- Come up another stitch-length ahead, and repeat.
Best for: lettering, outlines, and fine details.
3. Stem Stitch
This one creates a lovely twisted-rope look that curves beautifully.
- Make a slanted stitch forward.
- Bring the needle up halfway back along that stitch.
- Keep the thread consistently on the same side as you work.
Best for: flower stems, vines, and curved lines.
4. Satin Stitch
Smooth, shiny, and so satisfying to fill in.
- Outline your shape first with a tiny backstitch.
- Stitch straight lines side by side, from edge to edge.
- Keep stitches snug but not tight, so the fabric doesn’t pucker.
Best for: petals, leaves, hearts, and filled shapes.

5. French Knot
Don’t panic: this tiny dot is easier than it looks.
- Bring the needle up and hold the thread taut.
- Wrap the thread around the needle once or twice.
- Insert the needle back near the starting point, holding the wraps down, and pull through gently.
Best for: flower centers, eyes, and textured dots.
Pro tip: More wraps make a bigger knot, but one or two wraps are plenty for most designs.
6. Lazy Daisy Stitch
Perfect for cute little petals and leaves.
- Bring the needle up and form a loop of thread.
- Go back down right beside where you came up, keeping the loop in place.
- Come up at the loop’s tip and make a tiny anchor stitch over it.
- Repeat in a circle to form a flower.
Best for: daisies, leaves, and floral wreaths.
7. Split Stitch
A textured stitch that looks almost like braided yarn.
- Make a stitch forward.
- Bring the needle up through the middle of that stitch, splitting the thread.
- Continue the pattern along your line.
Best for: bold outlines and filling shapes with soft texture.
8. Chain Stitch
This looping stitch adds instant charm.
- Bring the needle up and make a small loop.
- Go down where you came up, keeping the loop under the needle.
- Come up a stitch-length ahead through the loop, and pull gently.
Best for: decorative borders, lettering, and thick lines.

Tips for Stitching Success
- Keep tension gentle. Pulling too tight puckers the fabric.
- Use shorter thread. About 18 inches prevents tangles.
- Practice on scrap fabric. Try each stitch a few times before starting your project.
- Mix and match. Combine stitches in one design for depth and texture.
Your Turn to Stitch!
You now have eight beginner-friendly stitches that can create flowers, lettering, borders, and so much more. Start with one or two, practice a little each day, and you’ll be amazed how quickly your hands remember the movements.

Lily Summers is a digital artist and creative storyteller who loves bringing colorful characters to life. With a passion for cartoons, fan art, and playful sketches, she inspires others to explore their imagination through art. When she’s not sketching, you’ll find her dreaming up new ideas for CraftedWizard.com to spark creativity in every artist. 🌈✨