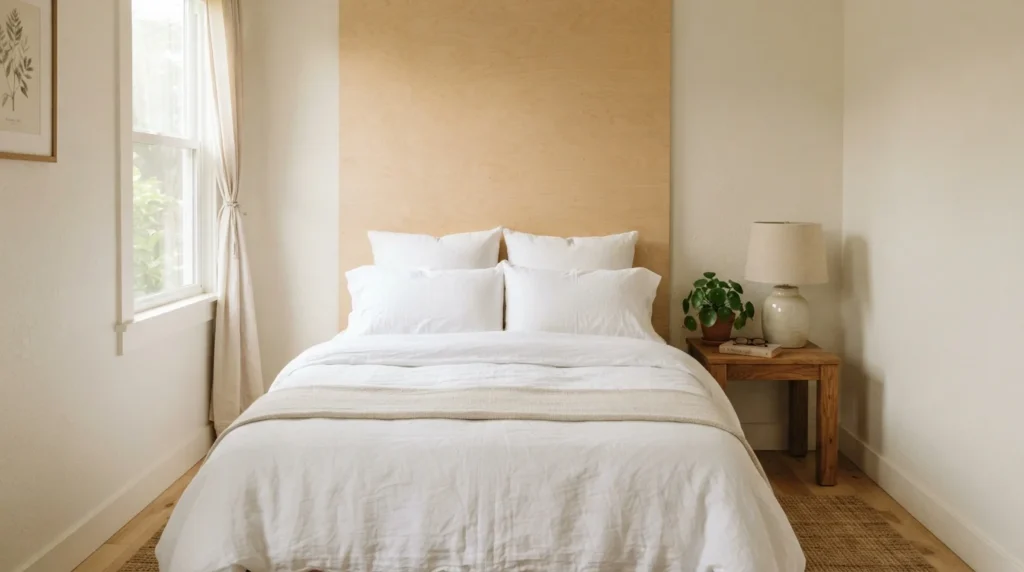
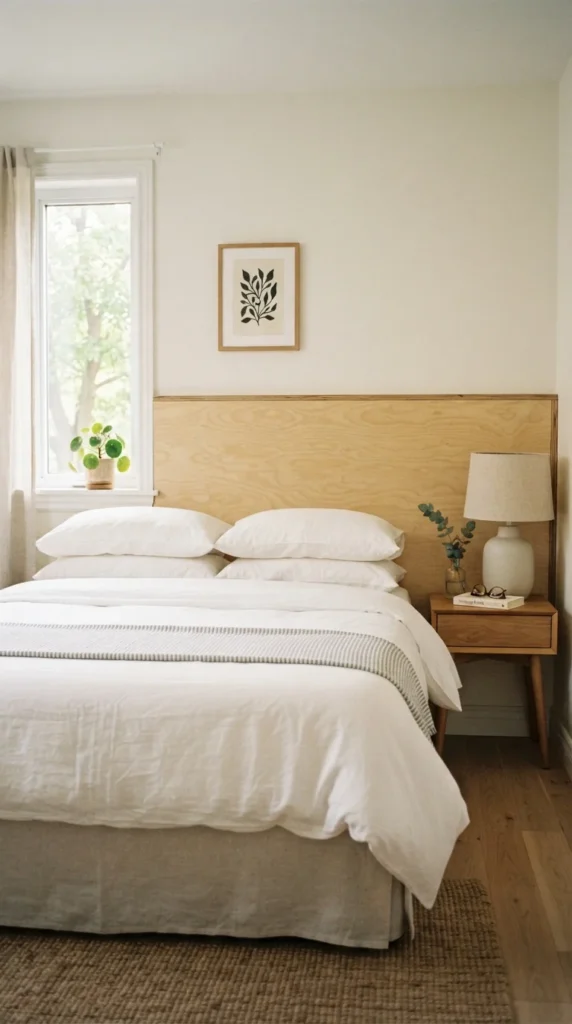
Ever priced a headboard in a store? A decent one can cost hundreds, and it still might not fit your bed or your style. Here’s the good news: one sheet of plywood, a few basic tools, and a free weekend can give you a custom headboard that looks like it came from a boutique.
This project is beginner-friendly, budget-friendly, and easy to personalize. Let’s build it.
What You’ll Need
Gather everything before you start so the build goes smoothly.
Materials
- One 4×8 sheet of 3/4-inch plywood (birch or oak veneer looks best)
- Four 1×3 or 2×2 boards for a mounting cleat and support frame
- Wood glue and 1 1/4-inch wood screws
- 120 and 220-grit sandpaper
- Wood stain, paint, or clear finish
- Heavy-duty picture-hanging cleat or a French cleat kit
Tools
- Circular saw or jigsaw
- Drill and driver
- Tape measure and pencil
- Level
- Stud finder
Time and cost: about 3 to 4 hours of work, plus drying time. Expect to spend roughly $60 to $120 depending on the plywood you choose.
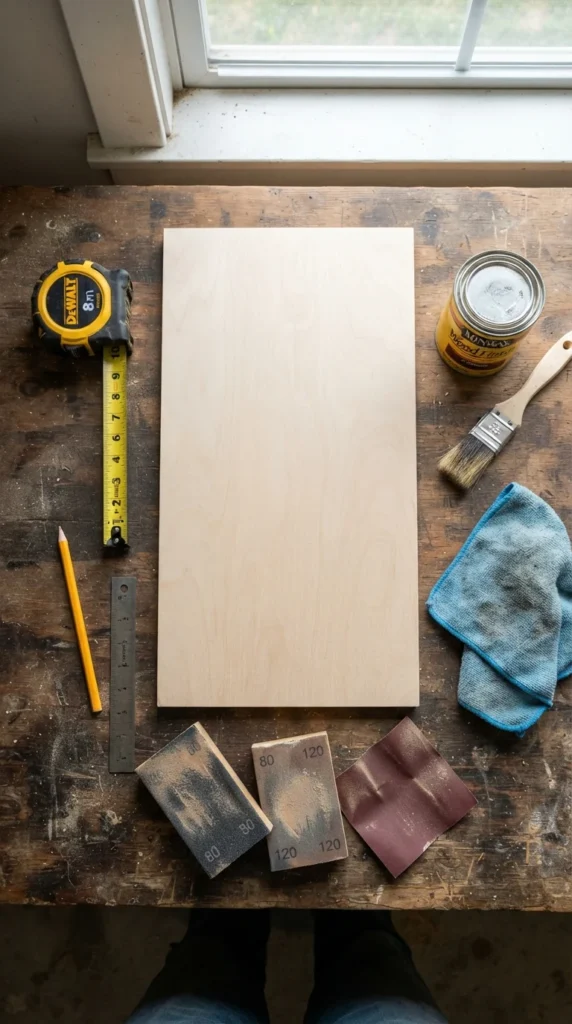
Step 1: Measure and Plan Your Size
Start with your bed width. A good headboard is usually a few inches wider than the mattress, or the same width as the frame.
Here are common widths to start from:
- Twin: 40 to 42 inches
- Full: 56 to 58 inches
- Queen: 62 to 66 inches
- King: 78 to 82 inches
For height, 24 to 36 inches above the mattress works for most rooms. Taller makes a bolder statement. Sketch your shape on paper first. Rectangle, arched, and curved top corners are all easy options.
Step 2: Cut the Plywood
Mark your measurements with a pencil and a straight edge. Clamp the sheet to a table or sawhorses so it can’t shift.
- Use a circular saw for straight cuts.
- Use a jigsaw for curves or an arched top.
- Put painter’s tape along the cut line to reduce splintering.
Cut slowly and let the blade do the work. Plywood is forgiving, but clean edges make a big difference in the final look.
Step 3: Sand Until Smooth
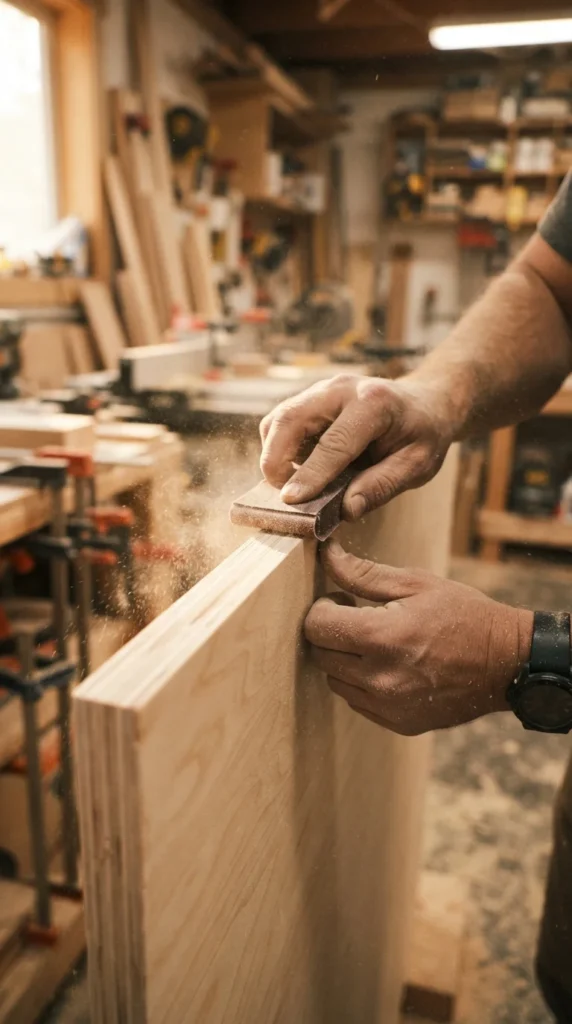
This step makes a handmade piece look professional. Start with 120-grit sandpaper to knock down rough edges and corners. Finish with 220-grit for a soft, smooth surface.
Pay extra attention to the edges, since that’s where plywood layers show. Wipe off all dust with a damp cloth before finishing.
Step 4: Add a Finish
Your finish sets the whole mood. Pick what suits your bedroom:
- Natural clear coat: shows off the pale wood grain for a Scandinavian look
- Warm stain: gives a richer, cozy feel
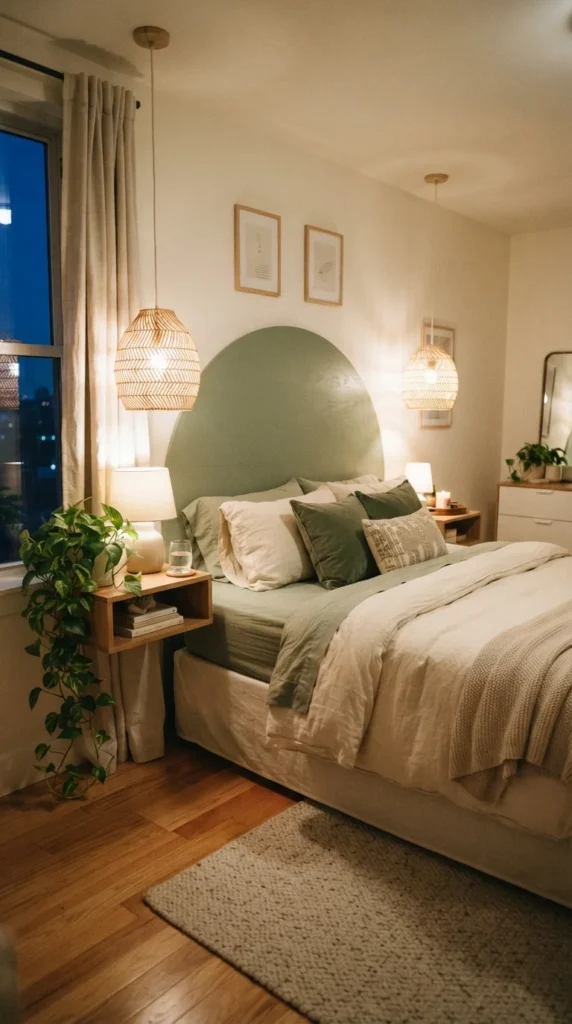
- Matte paint: try sage green, navy, or charcoal for a bold accent
- White wash: soft and airy for coastal bedrooms
Apply two thin coats rather than one thick one, and let each dry fully. Lightly sand between coats for the smoothest result.
Pro tip: If you want the layered edge to look intentional, leave it unfinished or lightly oiled for a modern, raw look.
Step 5: Mount It to the Wall
Wall-mounting keeps the headboard sturdy and saves floor space. A cleat system is the easiest method.
- Find the studs with a stud finder and mark them.
- Screw one half of the cleat to the back of the headboard.
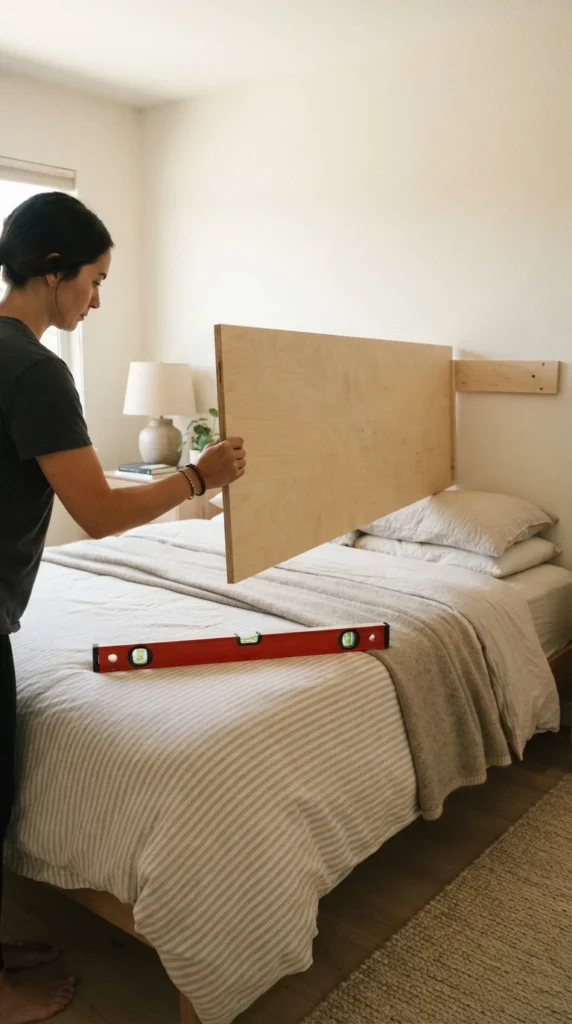
- Screw the matching half into the wall studs, using a level.
- Lift the headboard and slide it onto the wall cleat.
Hang it so the bottom sits a few inches below the top of your mattress. That hides the gap and keeps pillows from slipping behind it.
Style It Like a Pro
Once it’s up, layer in the finishing touches:
- Add a wall-hung reading light or sconces on each side.
- Stack a mix of pillows in textured fabrics.
- Hang a small framed print or woven piece above.
- Add a linen throw at the foot of the bed.
Want extra comfort? Glue foam padding to the plywood and staple fabric over it for an upholstered look.
Final Thoughts
A plywood headboard proves you don’t need a big budget or advanced skills to upgrade a bedroom. With a few cuts, some sanding, and a finish you love, you can create something that fits your space perfectly.
Save this tutorial for your next weekend project, and share it with a friend who’s been wanting a bedroom refresh!

Lily Summers is a digital artist and creative storyteller who loves bringing colorful characters to life. With a passion for cartoons, fan art, and playful sketches, she inspires others to explore their imagination through art. When she’s not sketching, you’ll find her dreaming up new ideas for CraftedWizard.com to spark creativity in every artist. 🌈✨