

Sewing gets easier the moment you stop waiting for the perfect project and start finishing small ones. Each item on this list teaches a skill you will use again, like straight seams, turning corners, topstitching, or adding elastic. Most take under an hour and use scraps you may already own. Work through them in any order and you will see your stitches get straighter with every project.
1. Drawstring Bag

A drawstring bag is the classic first project because it is mostly straight lines. You sew two rectangles together, fold down a channel at the top, and thread a cord through. That is the whole pattern.
The project teaches you to press a hem, sew a consistent seam allowance, and make a casing. Leave a small gap in the side seam where the cord exits, and backstitch at both ends so it does not pull apart.
Make a few in different sizes for shoes, laundry, or gifts. Quilting cotton works well, and an old pillowcase can supply the fabric if you want to practice for free.
2. Fabric Coasters

Coasters are tiny, which makes them a low-pressure way to practice corners. Cut two squares of fabric, add a layer of batting or felt in between, and sew around the edges. Turn it right side out and topstitch close to the rim.
The trick is clipping the corners before you turn the piece. Snip a small triangle off each point so the corners sit crisp instead of bunching up.
Because each coaster uses only a few inches of fabric, you can sew a set of six in one sitting. Use the first one as a test and the last one to see how much you have improved.
3. Standard Pillowcase

A pillowcase is three long straight seams and you are done. Many sewists use the burrito method, which rolls the main fabric inside the cuff so every raw edge ends up hidden. It sounds odd, but it works every time.
You will practice sewing long seams without drifting, which is harder than it looks. Keep your eyes on the seam guide on your machine, not on the needle.
Pick a soft cotton or flannel. A contrasting cuff makes the finished piece look polished, even when it is your very first project.
4. Scrunchies
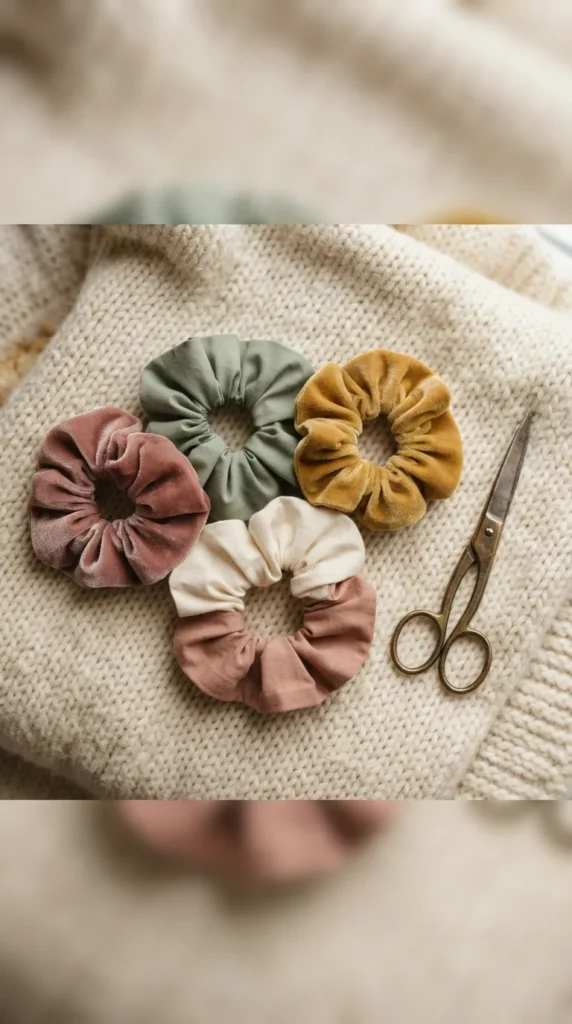
Scrunchies use one rectangle of fabric and a piece of elastic. Fold the fabric in half lengthwise, sew the long edge, turn it right side out, and thread the elastic through. A safety pin on the end of the elastic makes the threading easy.
This project builds confidence with turning tubes and joining ends. Close the final gap with a slip stitch by hand or a tiny machine seam.
Scraps from larger projects are perfect here. A strip about 4 by 22 inches makes a full-size scrunchie, so you can use leftovers and still get a gift-worthy result.
5. Reusable Cloth Napkins
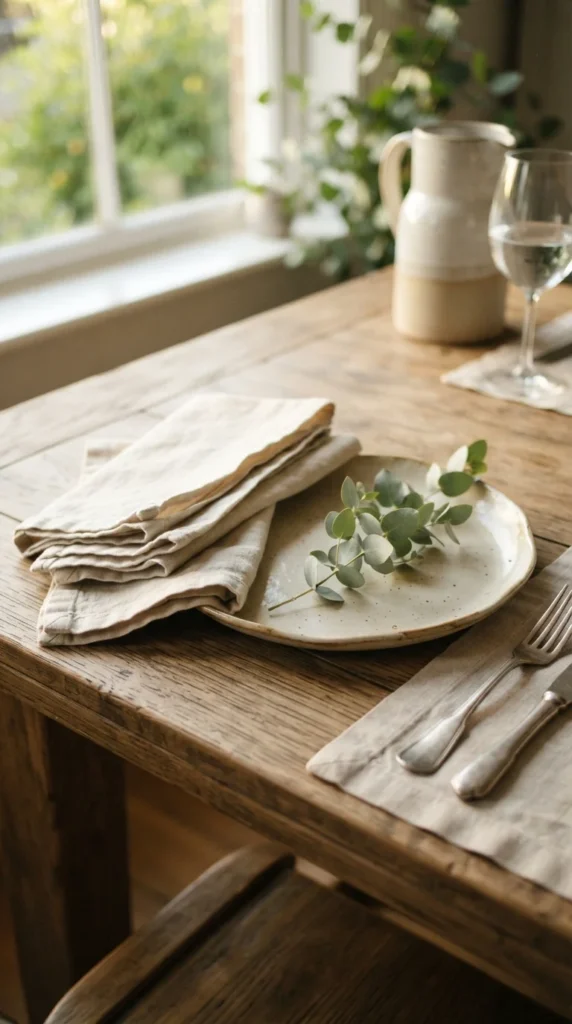
Cloth napkins teach one of the most useful skills in sewing, the mitered corner. You fold each edge over twice, press, and stitch around the perimeter. The folded corners create a neat diagonal seam that looks professional.
Cut squares about 16 inches wide. Press carefully before you sew, because a good press does half the work for you.
You can use up fabric scraps or old cotton sheets. Make a set of four, and you will have practiced the same technique enough times for it to feel natural.
6. Simple Tote Bag
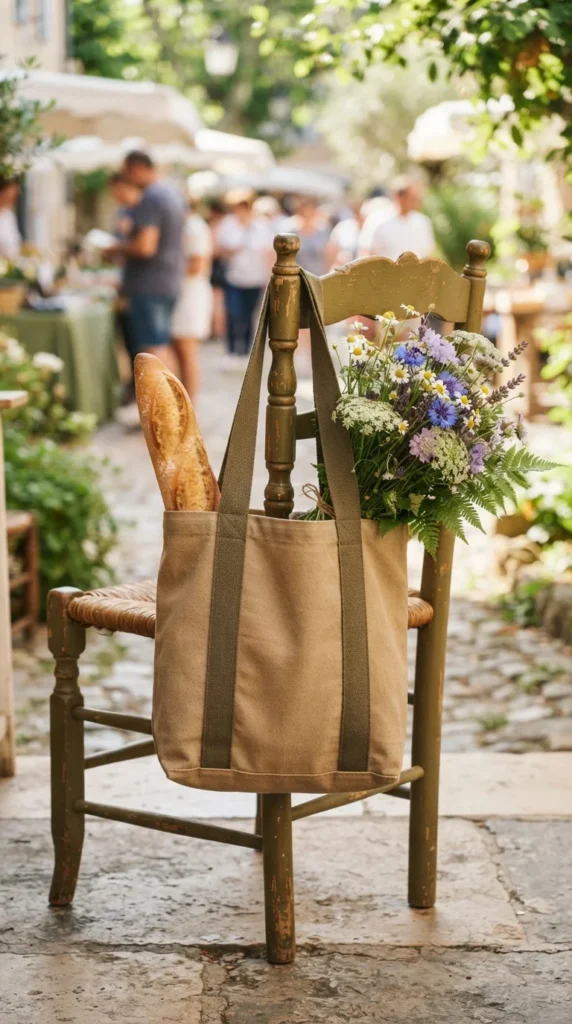
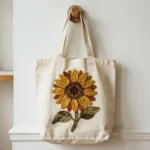
A tote bag adds a skill you have not used yet: attaching straps. Sew two panels together, make a hem at the top, and stitch handles on with a box pattern. The X inside the box keeps the strap secure under weight.
Use medium-weight fabric like canvas or denim so the bag holds its shape. Lightweight cotton works too if you add a layer of interfacing.
Make the bag about 15 by 16 inches, which fits groceries or a laptop. It is a project you will actually use, and that makes practice feel worthwhile.
7. Fabric Bookmarks
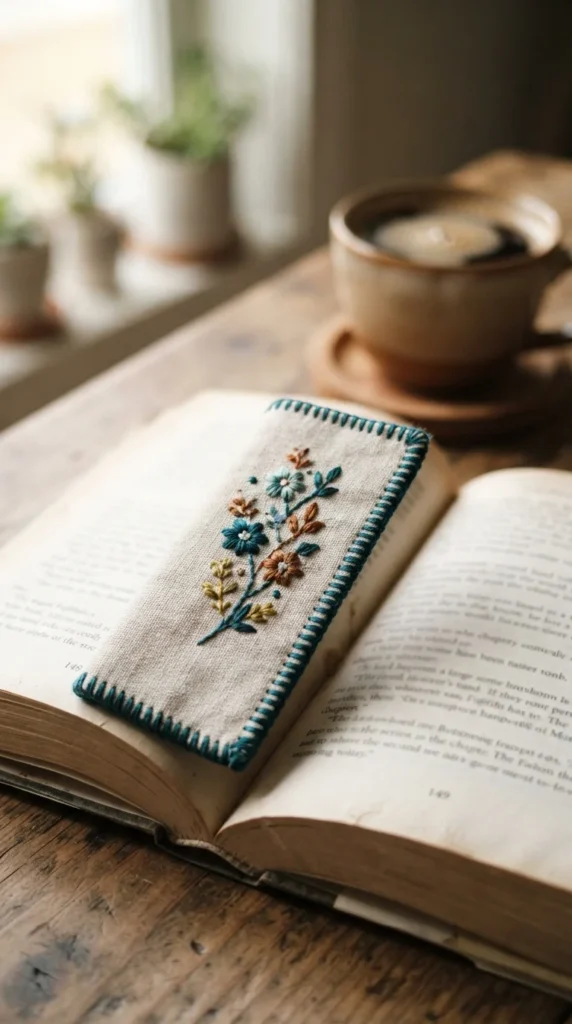
Bookmarks are small enough to finish during one episode of your favorite show. Sew two thin rectangles together, turn them, and topstitch the edges. You get tons of practice with narrow seams and precise turning.
Add a tassel or a tiny ribbon at the top if you want. Try a zigzag stitch around the edge for a decorative look.
Since they take so little fabric, bookmarks are great for testing new prints and thread colors. Make a stack and give them away to friends who love to read.
8. Pot Holders
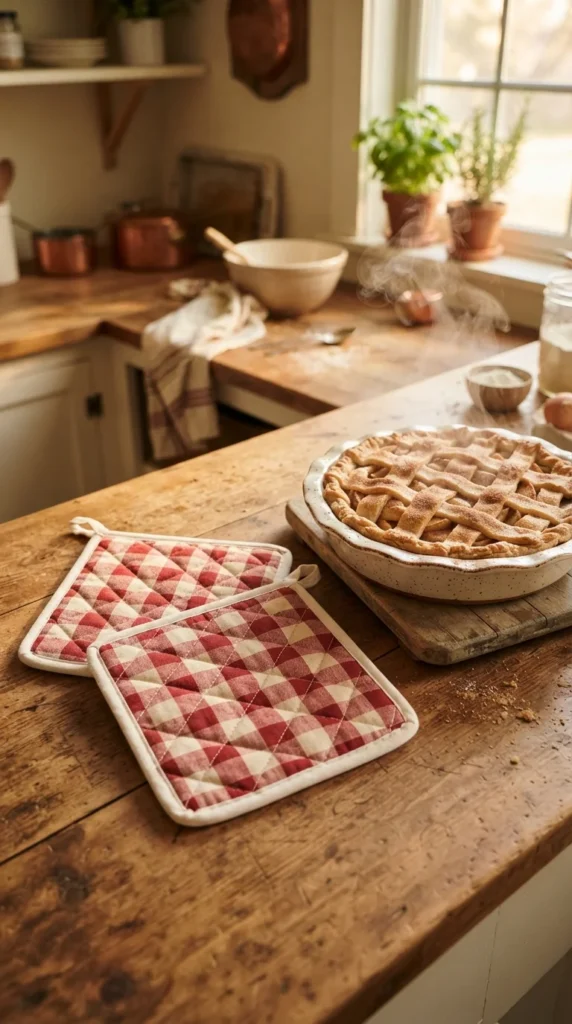
A pot holder introduces layering. You stack cotton fabric with insulated batting, which makes a thick sandwich, then stitch through all the layers. It teaches you how to keep thick fabric moving evenly under the presser foot.
Use heat-resistant batting, not standard quilt batting. Sew a few diagonal quilting lines across the front so the layers stay put.
Finish with bias tape around the edge, or use a simple pillowcase-style turn. A small loop at one corner makes it easy to hang up.
9. Elastic-Waist Skirt

A basic skirt is your first step into wearable sewing without fitting headaches. You sew one big tube of fabric, fold the top to make a waistband casing, and thread elastic through it. There are no zippers and no darts.
Measure your waist and hips, then cut the fabric about twice as wide as your hip measurement for gentle gathers. A hem at the bottom finishes it off.
Pick a fabric with a bit of drape, such as rayon challis or lightweight cotton lawn. It hangs nicely and sews easily. You can wear the result right away.
10. Knotted Headband
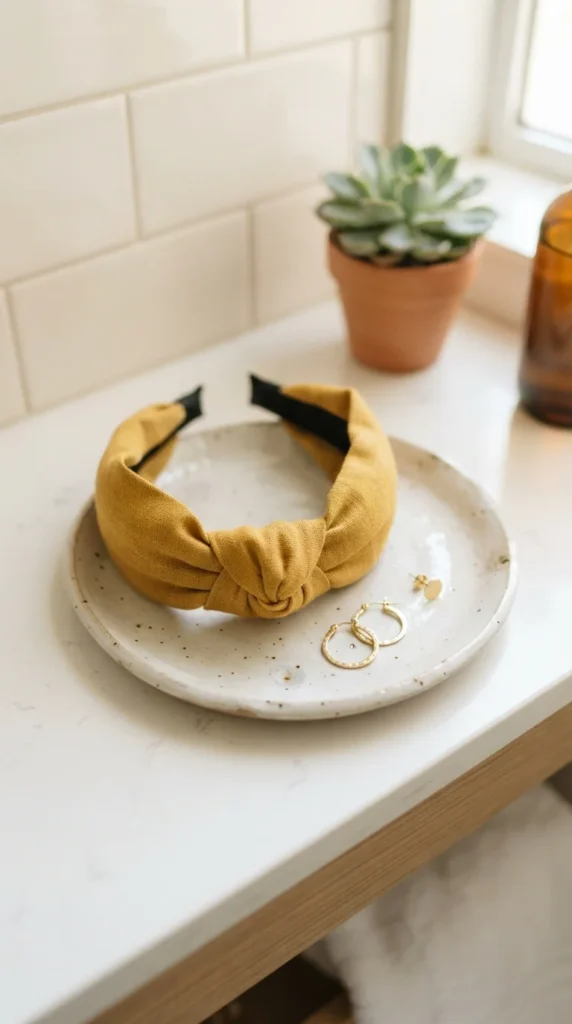
A knotted headband combines tube turning with a little shaping. Cut a long strip, fold it, sew the edges, and turn it inside out. Gather the center into a knot and tack it down by hand.
The project looks trickier than it is. Use a bodkin or a safety pin to pull the tube through, and take your time on the turn.
Jersey and cotton both work, and a slight stretch makes it more comfortable. Make several in colors that match your wardrobe, and you will have gifts ready for birthdays.
11. Envelope Pillow Cover
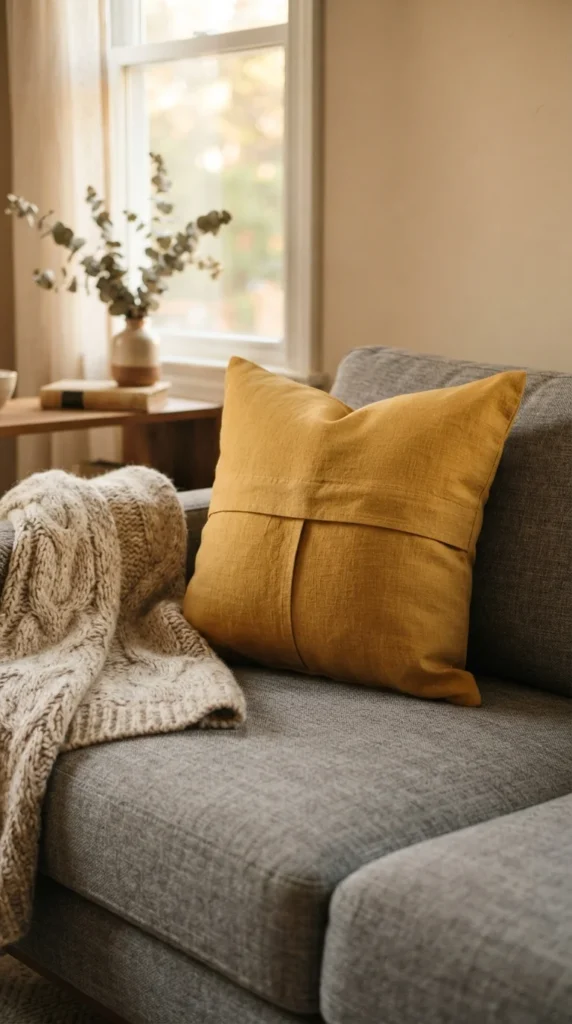
An envelope pillow cover has no zipper, which makes it ideal for practice. You cut one front piece and two back pieces that overlap in the center, then sew around the outside. The overlap holds the pillow form inside.
Hem the inside edges of the back pieces first so they look neat when the cover is on. Press everything before you sew the final seams.
Cut the cover slightly smaller than the pillow form so the finished pillow looks full. For a 16-inch pillow, a 15-inch cover fits snugly.
12. Table Runner

A table runner is a long rectangle, so it trains you to sew straight over distance. Sew two layers right sides together, leave an opening, turn, and topstitch. You can also use a single layer and hem all four sides.
Press the seams as you go. Long pieces get wrinkled easily, and a flat piece sews much more accurately.
Choose a seasonal print for a holiday version, or sew solid linen for everyday use. You can add a strip of contrasting fabric down the center for a patchwork look.
13. Fabric Gift Bags
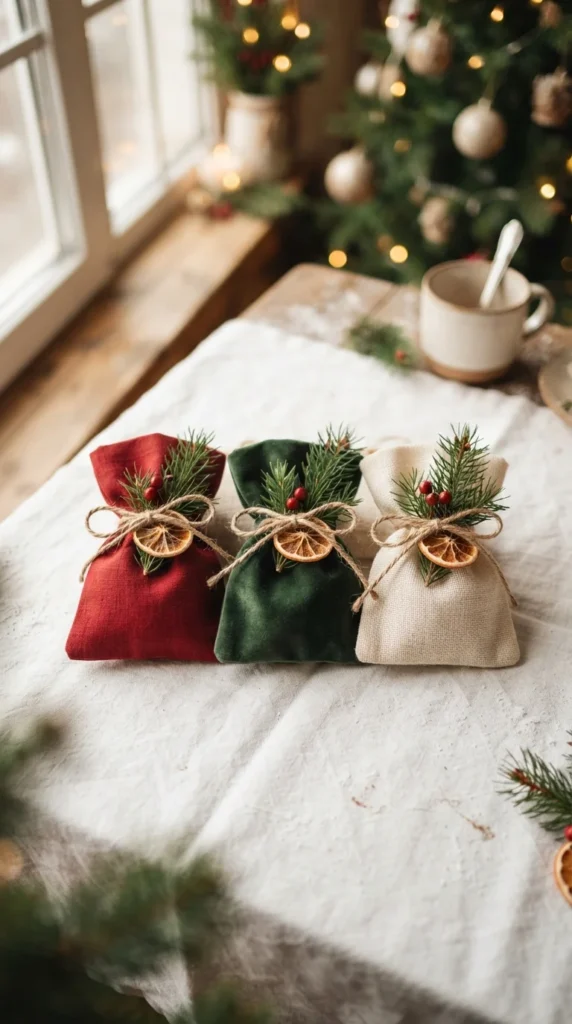
Fabric gift bags are reusable, which makes them a thoughtful alternative to wrapping paper. Sew a simple pouch with a hemmed top and add a ribbon or drawstring. The project repeats the same skills as the drawstring bag, so it reinforces them.
Make bags in several sizes to fit different gifts. Small ones suit jewelry, and larger ones can hold a book.
Pick holiday prints and keep a few ready all year. Your friends can reuse them, and you will get to practice again.
14. Pin Cushion

A pin cushion is a project that helps you right away. Cut two circles or squares, sew most of the way around, stuff with fiberfill, and close the gap by hand. You get practice with curves and hand stitching in one go.
Use a ladder stitch to close the opening so the seam disappears. Pull gently and the thread vanishes inside the fabric.
Fill it with crushed walnut shells for extra weight, or use fiberfill for softness. A small cushion also makes a sweet gift for another sewing friend.
15. Placemats
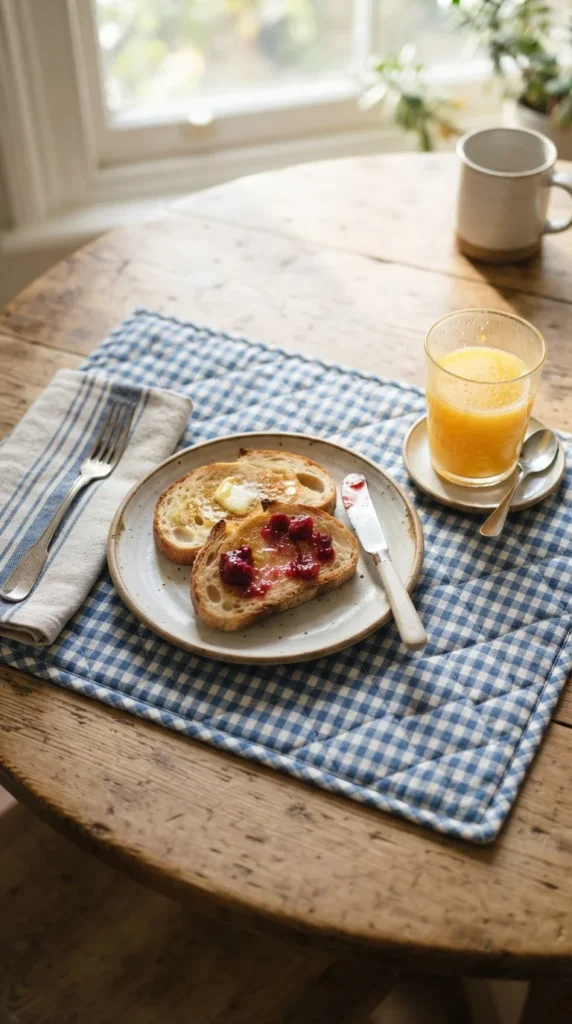
Placemats are bigger than coasters, so you get more practice with accuracy. Cut two rectangles about 13 by 18 inches, add batting if you like, and stitch the edges. Turn, press, and topstitch.
Use the project to practice sewing parallel lines. Quilt a few straight rows across the surface using the edge of your presser foot as a guide.
Make a set of four so you can use them at the table. Matching placemats and napkins look great together and show off your progress.
16. Reusable Snack Bags
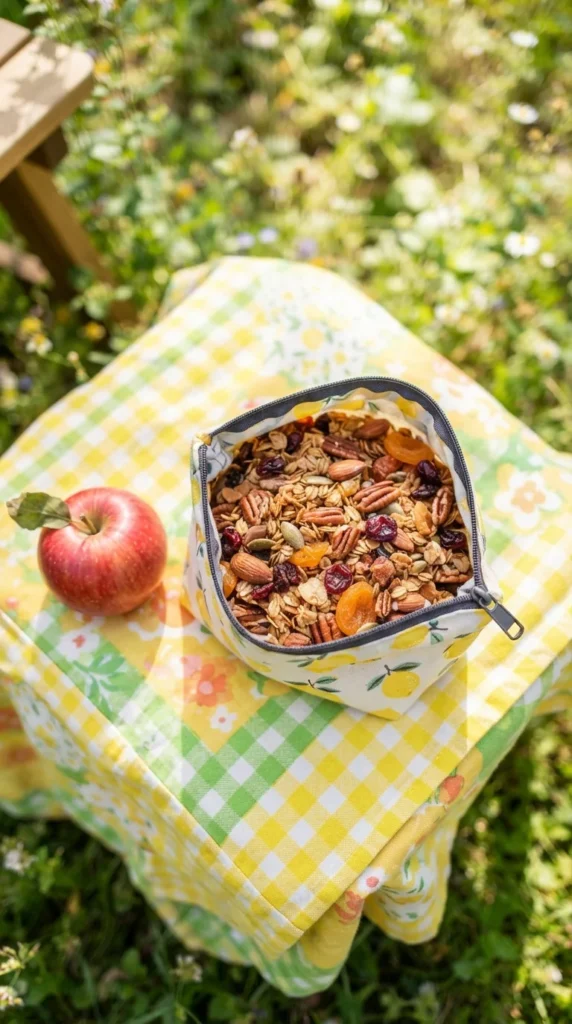
Reusable snack bags teach you how to handle specialty fabric. Food-safe waterproof fabric like PUL is a bit slippery, so use clips instead of pins. Sew a simple pouch with a fold-over or zipper closure.
Try a longer stitch length so the needle does not perforate the fabric too closely. Test on a scrap first.
Cost is low, and the savings over plastic bags add up. Make a set in three sizes for sandwiches, snacks, and small items.
17. Eye Pillow
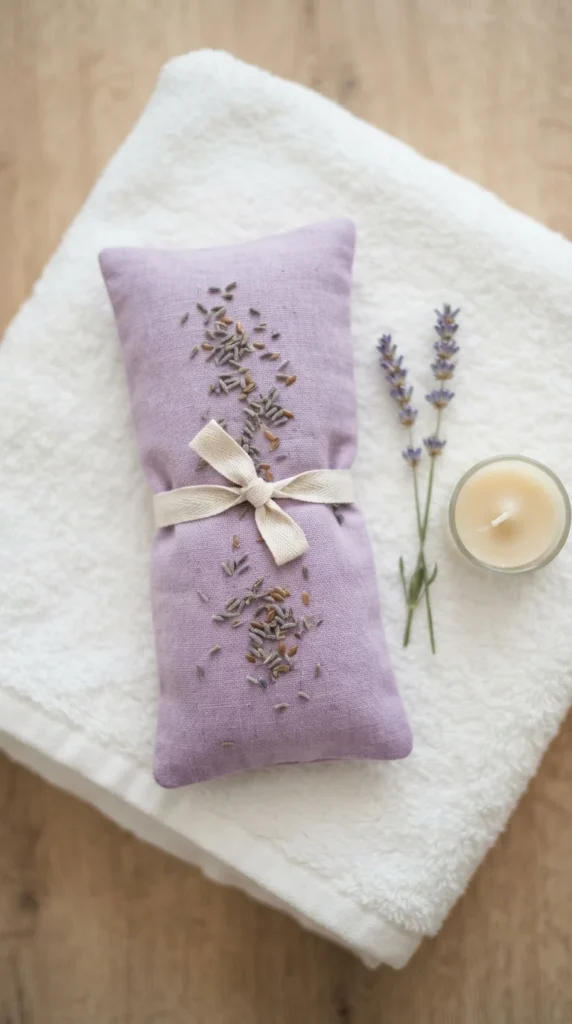
An eye pillow is a small rectangle filled with flaxseed or rice. Sew three sides, fill, and close the final side. It is a great lesson in filling a project and finishing it neatly.
Add dried lavender if you want a calming scent. Use a funnel to fill without making a mess.
For a clean finish, sew a line through the middle so the filling stays in two sections. Make a few and share them with friends who could use a break.
18. Rice Heating Pad

A rice heating pad is a larger cousin of the eye pillow. Sew a long tube of natural-fiber fabric, fill it with rice, and divide it into channels. You can warm it in the microwave for sore shoulders or cold evenings.
Use 100 percent cotton or flannel, because synthetic fabrics can melt. Sew channels every few inches so the rice stays evenly spread.
Heat in short bursts and check the temperature each time. The pad makes a practical gift and gives you practice with long, narrow seams.
19. Dog Bandana

A dog bandana uses a triangle of fabric with narrow hems. It trains you on sewing long diagonal edges, which can stretch if you are not careful. Cut the fabric on the straight grain and press as you go.
Sew a double fold hem around the edges. A tie-on version slips right over the collar, while a classic version ties behind the neck.
Measure your dog’s neck and cut the size to fit. Small scraps work well, and you can make a bandana for every holiday.
20. Fabric Basket
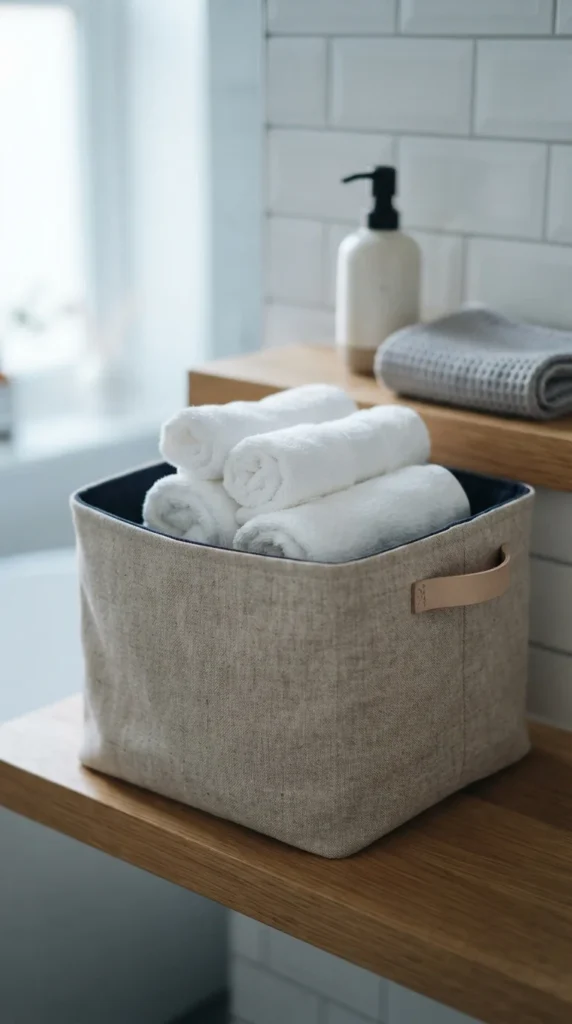
A fabric basket gives you a first taste of boxed corners. Sew the sides, then pinch and stitch the bottom corners to create a flat base. The result stands up on its own when you use stiff interfacing.
Make an outer shell and an inner lining, and join them at the top. Fold the top edge over for a cuff, and the contrast shows.
Use the basket to hold yarn, toys, or bathroom supplies. A pair of baskets in different sizes can make any shelf feel organized.
21. Key Fob

A key fob is one of the smallest projects you can make. Fold a strip of fabric, stitch the long edge, and slide on a split ring or swivel clasp. It takes about ten minutes.
The tiny scale is a good test for sewing narrow tubes. Practice sewing slowly so the seam stays even.
Use sturdy cotton or canvas, because this piece gets a lot of wear. Make one for your keys and a few as quick gifts.
22. Pajama Shorts
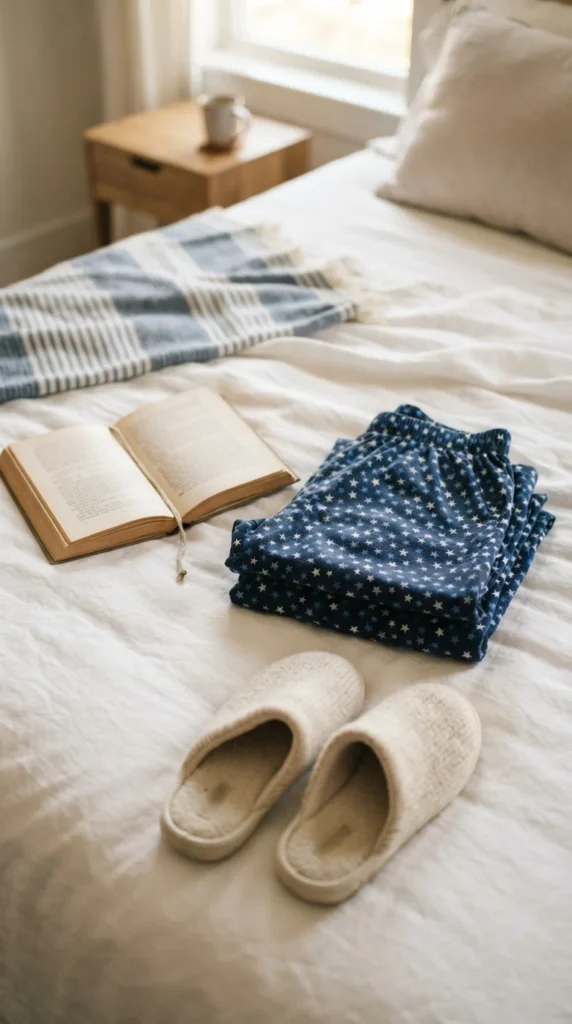
Pajama shorts are a beginner-friendly way to sew actual clothing. You sew two leg pieces, join the center seams, and add an elastic waistband. There is no zipper, and the loose fit forgives small mistakes.
Use a pattern or trace a pair you already own. Cotton flannel and lightweight cotton are easy to sew and comfortable to wear.
Try French seams for a clean inside finish. They enclose the raw edges, and the technique teaches you precision.
23. Reusable Cotton Rounds

Reusable cotton rounds replace disposable pads for removing makeup. Cut two circles, one flannel and one terry cloth, and stitch them together around the edge. Turn and topstitch, or serge the edges for a quick finish.
Circles are a good way to practice curves. Pivot the fabric slowly and keep the seam allowance even.
Stitch a dozen in one go using scraps. Toss them in a mesh bag for washing, and you will have a stash ready for weeks.
24. Bunting Banner

Bunting is a string of triangles sewn onto a long strip of bias tape. It gives you repetitive practice with straight stitching and triangle shapes. Cut a cardboard template so every flag is the same size.
Sew two triangles together, turn them, and press. Then tuck each flag into the folded bias tape and stitch along the length.
Make a banner for birthdays, holidays, or a child’s bedroom. Using lots of scraps from different projects gives it a cheerful, collected look.
25. Burp Cloths

Burp cloths are a favorite baby shower gift, and they are easy to make. Cut a rectangle from flannel on one side and terry cloth or another flannel on the other. Sew around the edges and topstitch.
Round the corners for a softer look. You get more practice with gentle curves this way.
Pre-wash your fabrics so they do not shrink later. A set of three in coordinating prints makes a thoughtful gift for a new parent.
26. Glasses Case

A glasses case adds padding and a lining to your skills. Sew an outer shell, a lining, and a layer of batting, then fit them together. A fold-over flap or a zipper holds everything inside.
Use fusible fleece for a firm but soft cushion. Press slowly so the layers bond without bubbles.
You can also adapt the pattern for a phone sleeve or a pencil case. A small project like this uses leftover scraps well.
27. Simple Apron

An apron brings together many of the skills you have practiced: hems, straps, and pockets. Cut a main piece, hem all the edges, and attach neck and waist ties. Add a pocket for a finishing touch.
Pocket placement is a good test of accuracy. Press the edges under, pin it in place, and topstitch close to the edge.
Use sturdy cotton twill or canvas so the apron lasts. If you like it, make a matching one as a gift for a friend who cooks.
28. Mug Rug

A mug rug is a mini quilt, and it is a great stepping stone toward bigger quilting projects. Sew a few small squares together in rows, add batting and a backing, and finish the edges. It is about the size of a coaster with room for a snack.
Press your seams open or to one side so the patchwork lies flat. Accurate quarter-inch seams make the squares line up.
Use up small scraps from the projects above. A mug rug makes a lovely finish to your practice list and shows how far you have come.
Final Thoughts
Practice is the fastest way to get better at sewing, and these 28 projects give you a clear path from simple straight seams to wearable clothes. Each one is small, useful, and quick enough to finish in a single session. Pick three that appeal to you, gather your scraps this weekend, and sew the first one. Save this list on Pinterest so you can come back whenever you want your next project.

Lily Summers is a digital artist and creative storyteller who loves bringing colorful characters to life. With a passion for cartoons, fan art, and playful sketches, she inspires others to explore their imagination through art. When she’s not sketching, you’ll find her dreaming up new ideas for CraftedWizard.com to spark creativity in every artist. 🌈✨