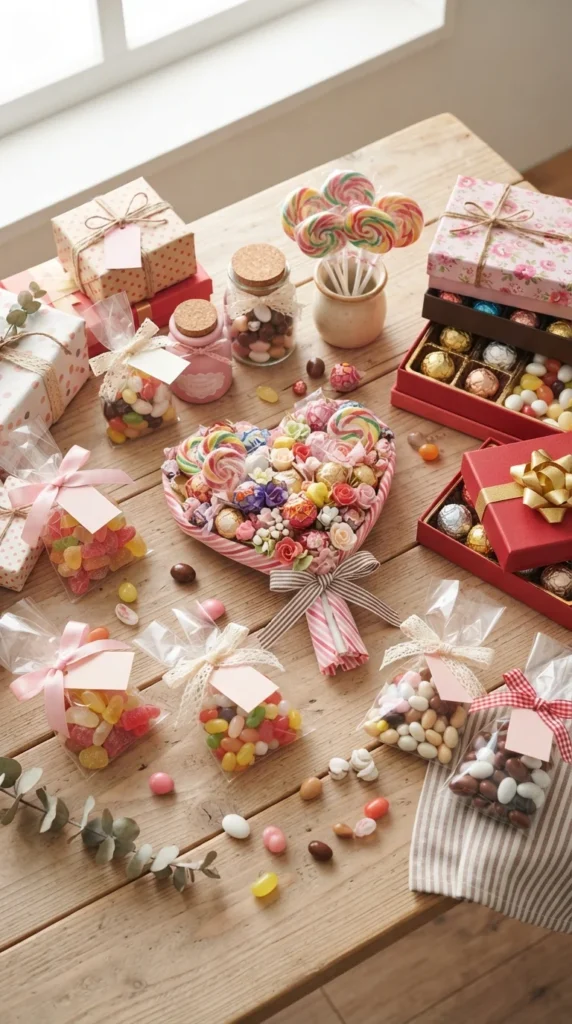
A sweet gift becomes even more special when you make it yourself. Whether you’re preparing a birthday surprise, a Valentine’s Day treat, a thank-you present, or a small gift for a friend, candy offers endless ways to get creative. With colorful wrappers, ribbons, jars, paper boxes, and a little imagination, you can turn ordinary sweets into thoughtful presents that look beautiful and taste delicious. These 27 creative DIY candy gift ideas include simple projects for beginners, personalized surprises, and eye-catching arrangements that are fun to make and lovely to receive.
1. DIY Candy Bouquet
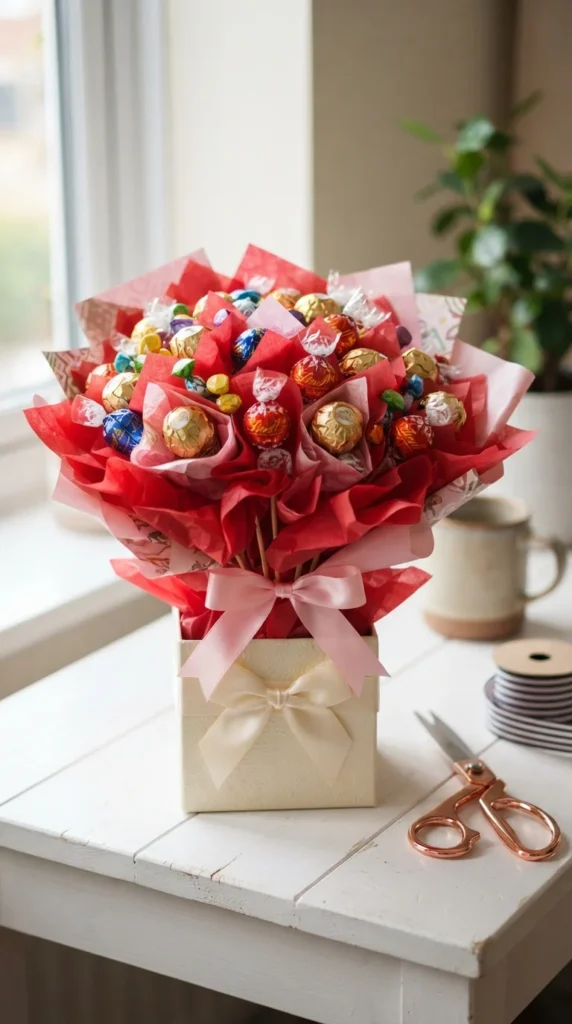
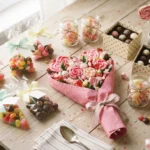
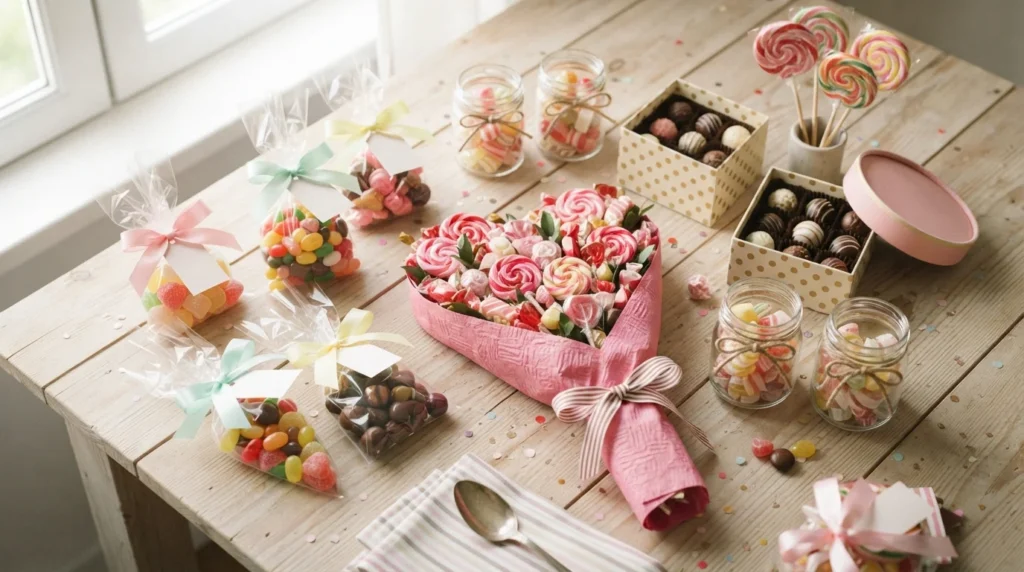
A candy bouquet is a playful alternative to a traditional flower arrangement. Attach individually wrapped chocolates and candies to wooden sticks using suitable tape, then arrange them at different heights in a small container or gift box. Add tissue paper between the sweets to create the appearance of flower petals.
Choose candy colors that match the occasion. Red and pink work well for romantic gifts, while bright rainbow colors suit birthdays and celebrations. Finish the arrangement with a large ribbon around the base and a small handmade card tucked between the candies.
2. Personalized Candy Jars
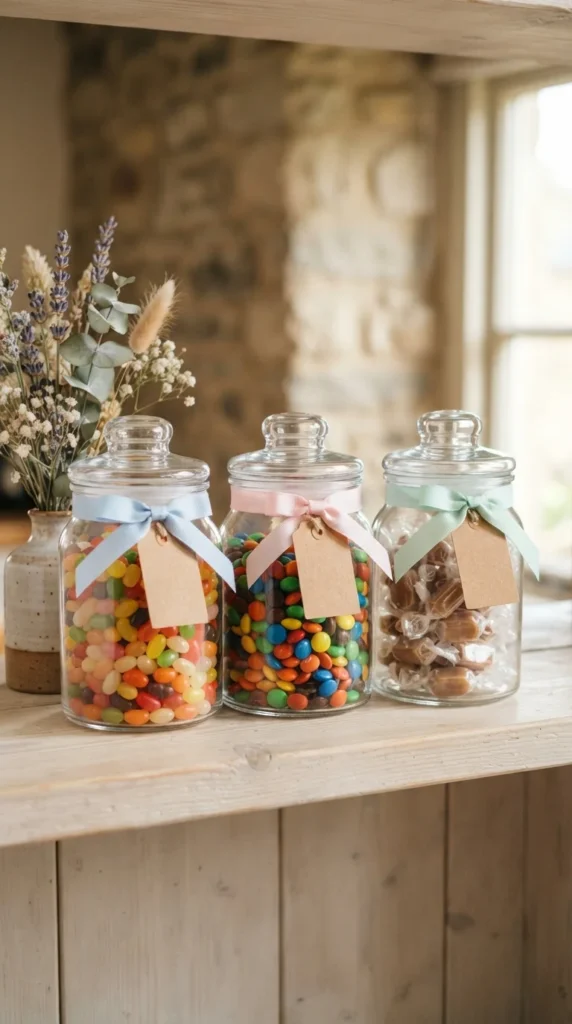
Candy jars make charming presents for teachers, coworkers, friends, and family members. Wash and dry small glass jars, fill them with a favorite assortment of sweets, and secure the lids tightly. Wrap ribbon around each lid or neck to give the containers a coordinated appearance.
You can personalize each jar with a favorite color, a recipient’s initials on a separate card, or a small decorative charm. For a polished finish, arrange two or three jars in a gift basket with tissue paper. Choose individually wrapped candies when you want the gift to remain easy to share.
3. DIY Chocolate Gift Box
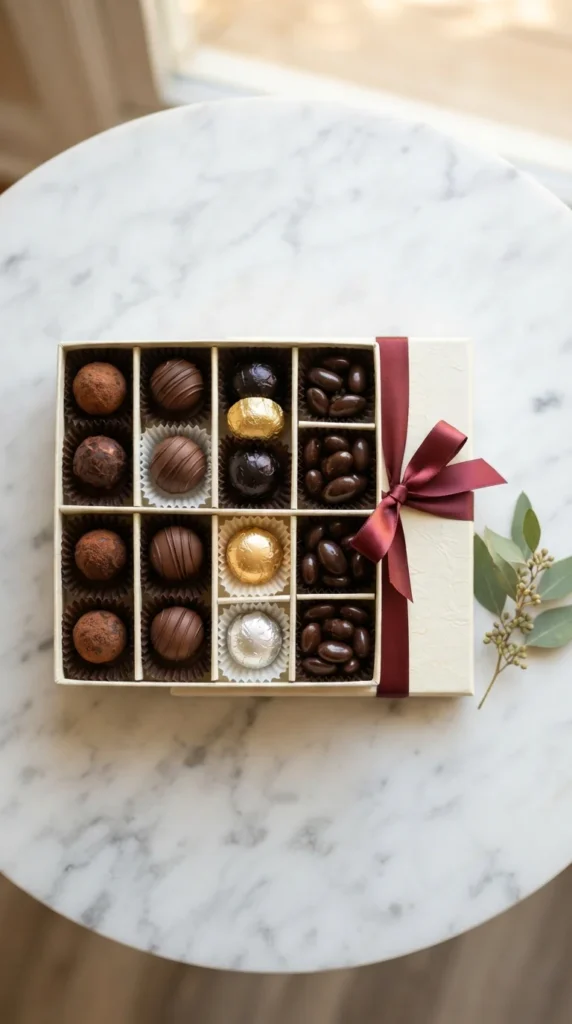
A homemade chocolate box can look like a boutique gift when the sweets are arranged with care. Start with a sturdy box and line the inside with food-safe paper or individual confectionery cups. Arrange assorted chocolates by size, color, or flavor so the contents look organized when the lid opens.
Choose a combination of milk chocolate, dark chocolate, truffles, and chocolate-covered nuts, taking the recipient’s preferences into account. Tie a ribbon around the outside and add a small card underneath the lid. Store the box in a cool place so the chocolates retain their shape.
4. Candy-Filled Paper Cones
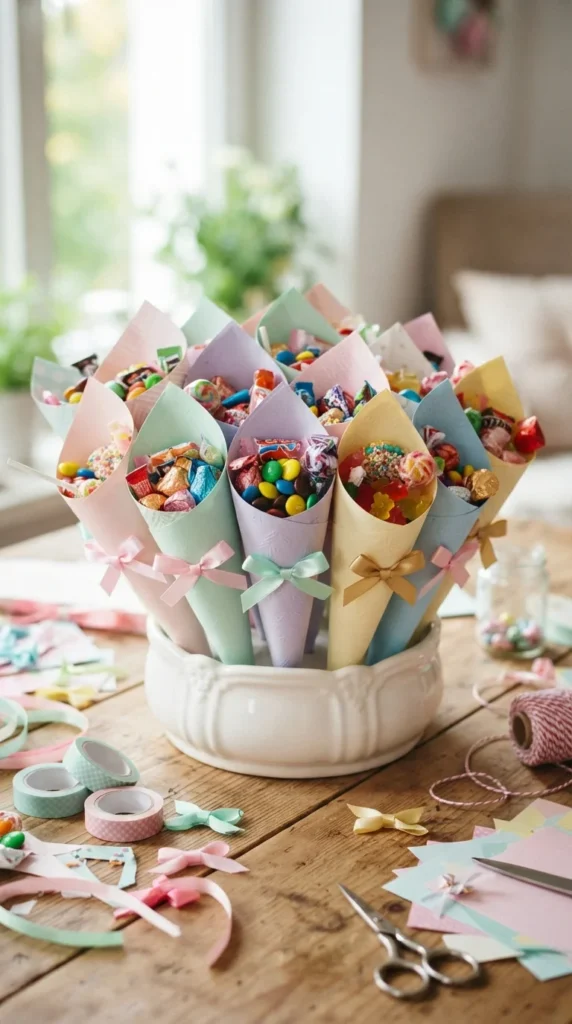
Paper candy cones are easy to make for birthday parties, school celebrations, and small thank-you gifts. Roll sturdy decorative paper into a cone, secure the seam with tape, and fold the bottom neatly so the sweets remain inside. Add a small piece of tissue paper at the opening for a decorative touch.
Fill each cone with individually wrapped candies and a few lollipops. Punch two small holes near the top and thread ribbon through them to create a handle. Make several cones in coordinating colors for party favors or place one at each guest’s seat.
5. DIY Candy Gift Basket
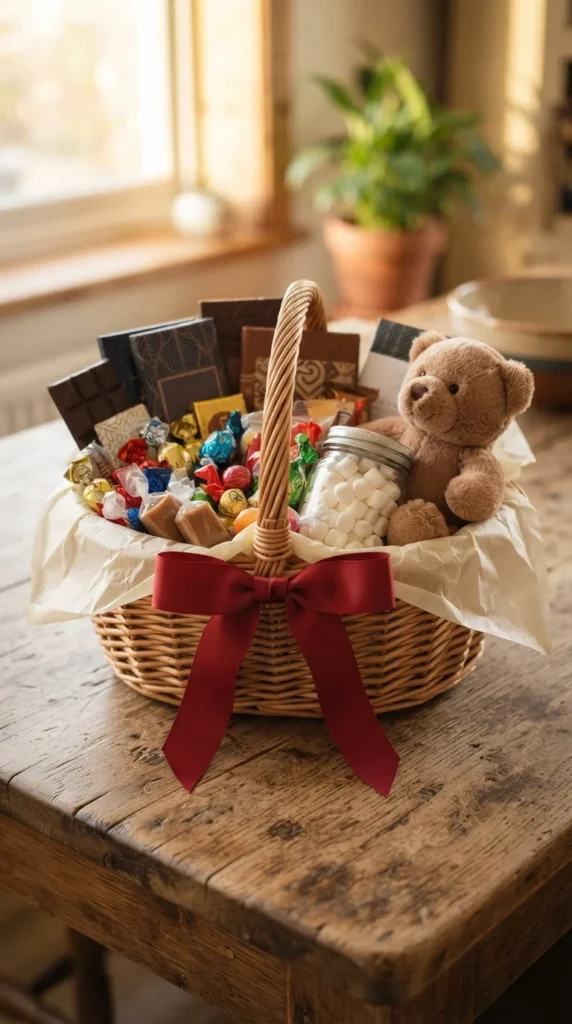
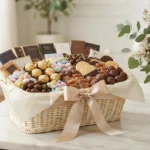
A candy basket lets you combine several little treats into one generous-looking present. Start with a shallow basket or sturdy gift box, then add crumpled tissue paper to create a raised base. Place the tallest packages at the back and arrange smaller sweets toward the front so everything remains visible.
Include a mix of chocolates, hard candies, gummies, and the recipient’s favorite snack. You can also add a mug, a small toy, or a reusable water bottle if the occasion calls for something extra. Wrap the basket in clear cellophane when transporting it, and tie the top with a ribbon.
6. Candy-Filled Heart Boxes
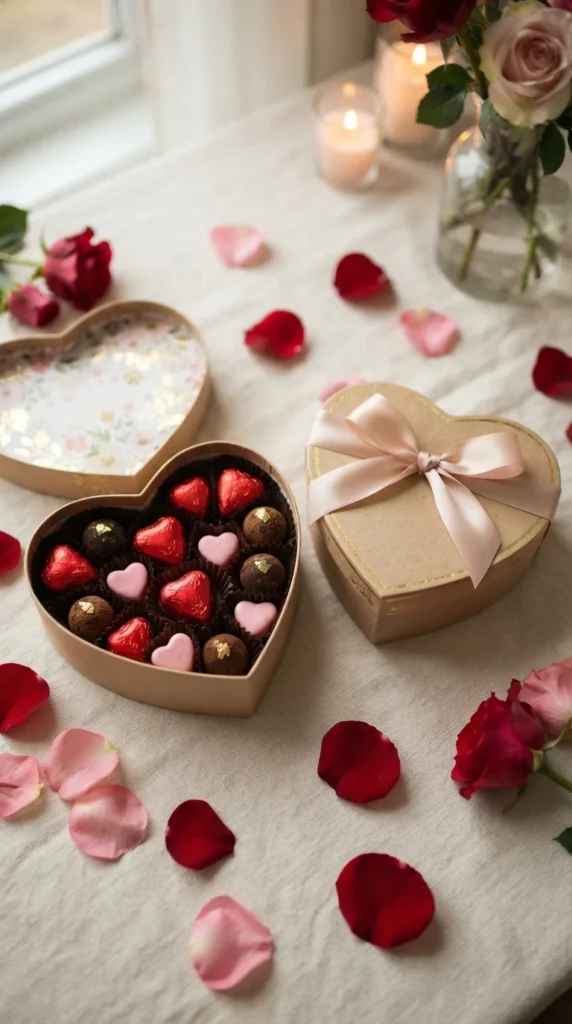
Heart-shaped candy boxes are ideal for anniversaries, Valentine’s Day, and romantic surprises. Use a ready-made heart box or cut sturdy cardstock into matching heart-shaped pieces to form a simple container. Cover the outside with decorative paper, then line the inside with food-safe paper cups.
Arrange the sweets in rows or alternate different colors to create a patterned display. Red and pink wrappers give the box a traditional romantic appearance, while cream and gold create a more understated look. Add a ribbon and a handwritten note to make the gift feel personal.
7. DIY Candy Kabobs
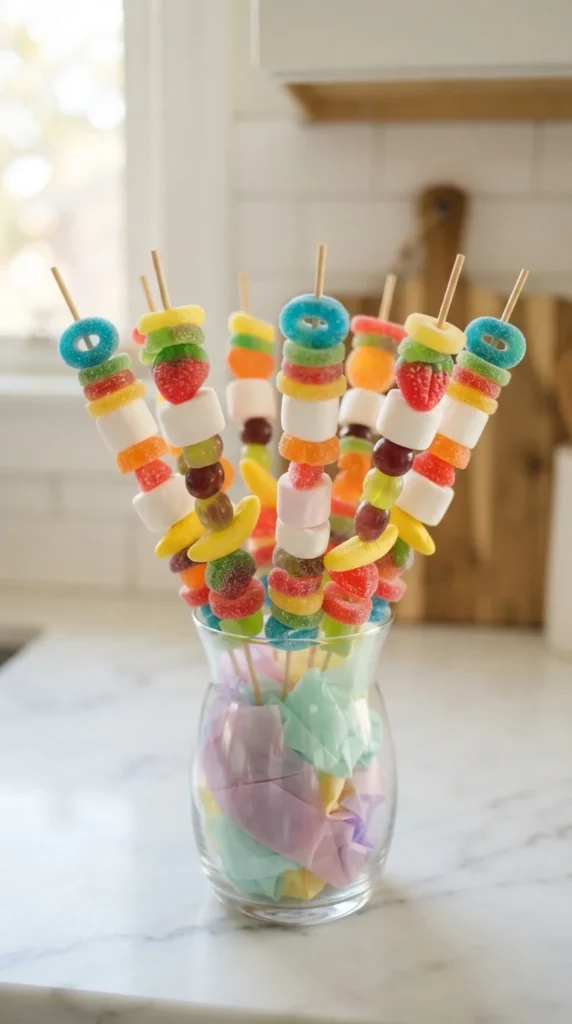
Candy kabobs are fun gifts for children, teenagers, and anyone who enjoys colorful sweets. Thread large soft candies onto food-safe skewers, alternating shapes and colors to create an attractive pattern. Leave enough space at the bottom to hold each skewer comfortably.
Wrap each finished kabob in a clear food-safe bag and secure it with a ribbon. You can group several together in a decorated container for a birthday present or party favor. Keep the sharp ends covered, and supervise young children when serving skewered treats.
8. Mini Candy Gift Bags
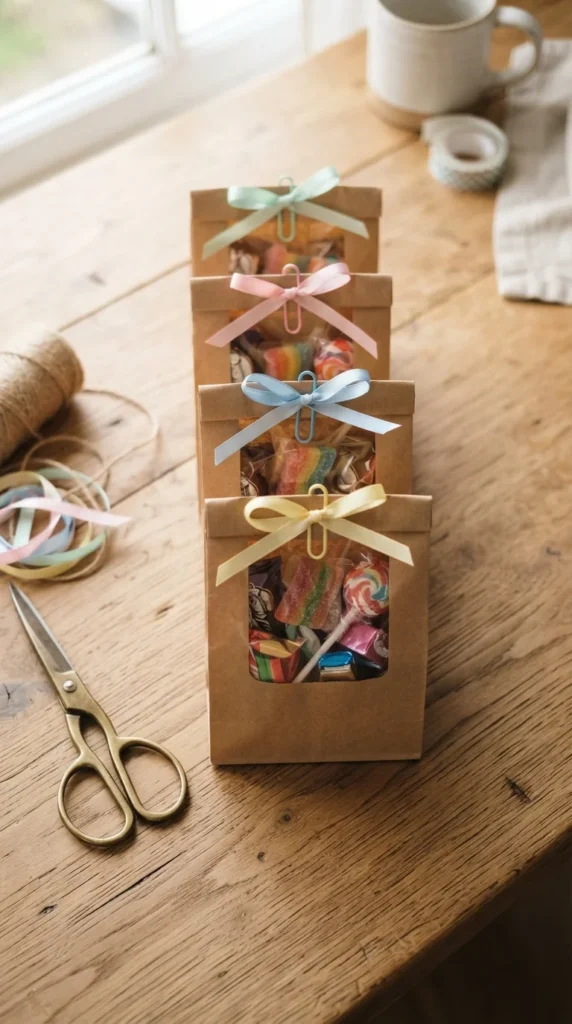
Mini candy bags are practical when you want to prepare several presents at once. Choose small paper favor bags, fill each with a carefully selected mix of sweets, and fold the tops over neatly. Close them with decorative stickers, ribbon, or a small clothespin.
Personalize the bags with different colors for each recipient or add a small blank tag for a handwritten message. They work well for classroom treats, office celebrations, party favors, and neighbor gifts. Keep the contents consistent if you’re making bags for a group so everyone receives a similar assortment.
9. DIY Chocolate-Covered Strawberries
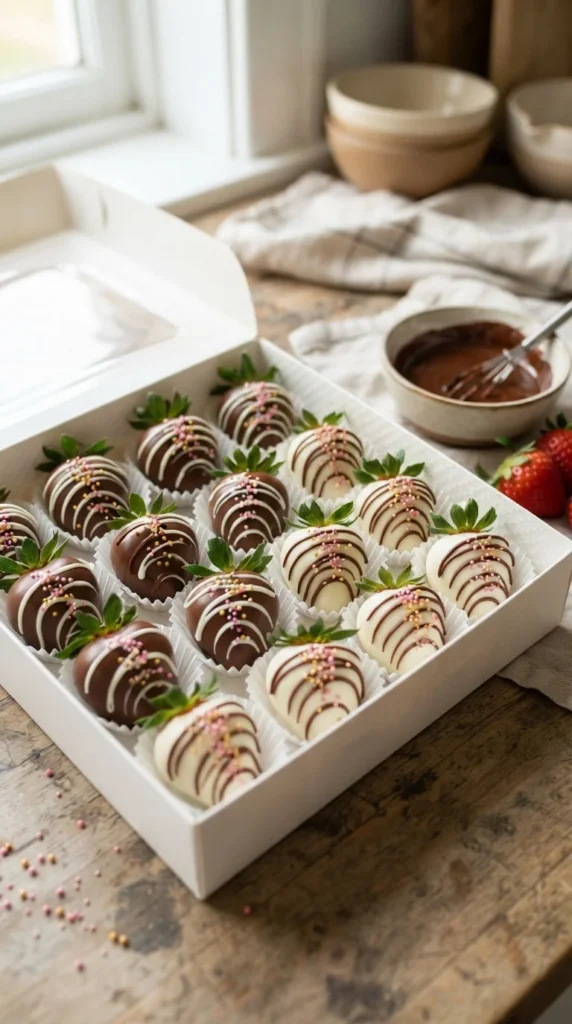
Chocolate-covered strawberries make an elegant edible gift for birthdays, anniversaries, and special dinners. Wash the strawberries and dry them completely before dipping them into melted chocolate. Place each berry on parchment paper, then add a drizzle of contrasting chocolate or a small amount of sprinkles before the coating sets.
Arrange the finished strawberries in a clean food-safe box with paper cups to prevent them from touching. Since these treats contain fresh fruit, keep them refrigerated and deliver them promptly. Tell the recipient to enjoy them soon, as they won’t last as long as packaged candies.
10. Candy-Filled Mug Gift
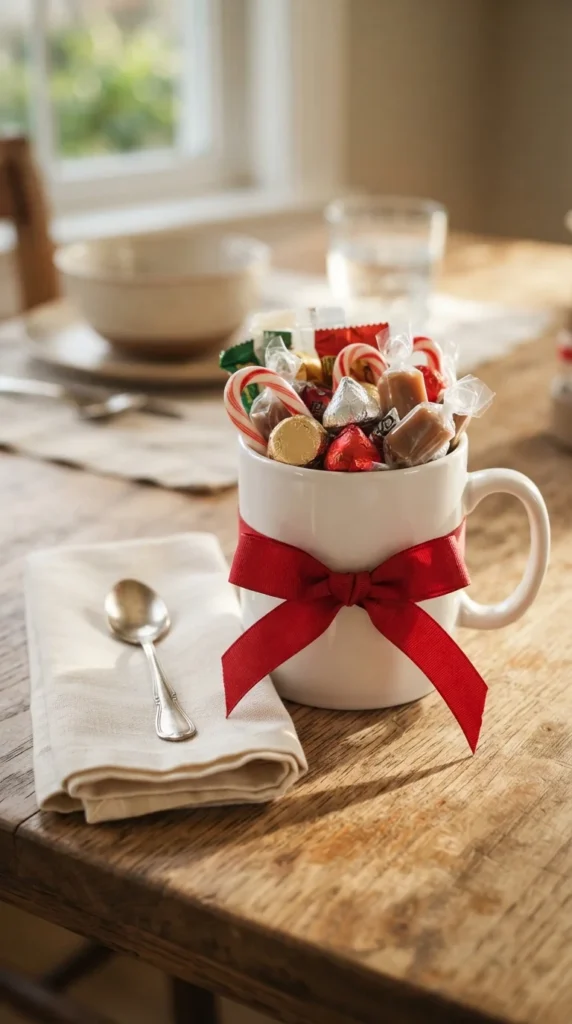
A candy-filled mug is a useful present that the recipient can enjoy long after the sweets are gone. Choose a ceramic mug in a color or style the recipient likes, then fill it with individually wrapped chocolates, hard candies, or small packets of hot chocolate mix.
Add shredded paper around the sweets to hold them in place. Wrap a ribbon around the handle and tuck in a small card. For a cozy winter gift, pair the mug with chocolate treats and marshmallows; for a birthday, use colorful sweets that match the recipient’s favorite colors.
11. DIY Lollipop Bouquet
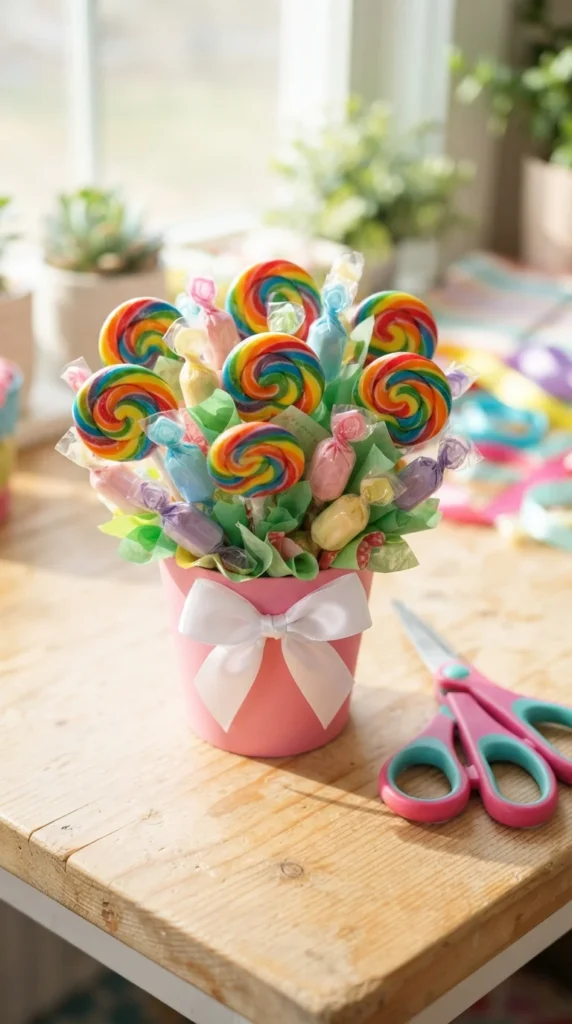
A lollipop bouquet is a bright, cheerful gift that takes only a few supplies. Arrange lollipops on sticks inside a small container filled with floral foam suitable for crafts or tightly packed decorative filler. Vary their heights so each lollipop remains visible.
Add tissue paper around the stems to create a flower-like appearance. Choose rainbow lollipops for a playful birthday gift or red and white sweets for a coordinated holiday arrangement. Cover any exposed craft filler with tissue paper, and keep the finished bouquet upright during transport.
12. DIY Candy Gift Boxes With Paper Flowers
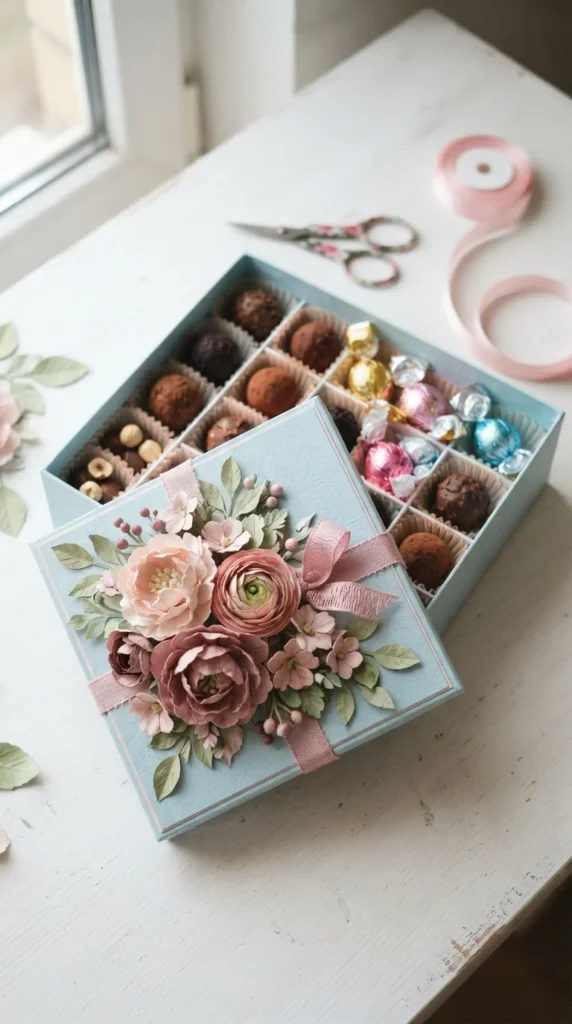
Combine paper crafting and edible treats by decorating a simple gift box with handmade flowers. Cut petals from colored cardstock, layer them into small blossoms, and attach the flowers to the lid. Add paper leaves or a narrow ribbon around the sides for extra detail.
Line the inside with food-safe paper before adding individually wrapped sweets. A pastel color scheme gives the box a delicate look, while bright orange, purple, and black work well for seasonal gifts. Keep the decorations on the outside so the candy remains separate from glue and craft materials.
13. DIY Candy Wreath
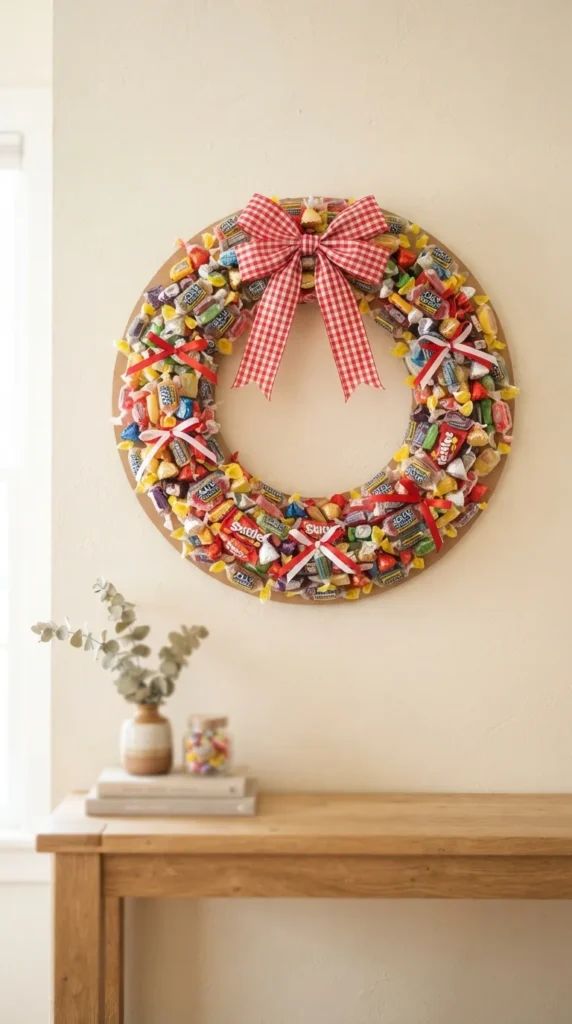
A candy wreath turns wrapped sweets into an unusual gift that can double as a decorative display. Cut a sturdy cardboard ring, cover it with ribbon or tissue paper, and attach individually wrapped candies around the base. Use small pieces of tape or removable ties so the wrappers stay intact.
Alternate candy colors to create stripes or a repeating pattern. Add a large bow at the top and attach a loop of ribbon at the back for hanging. Because candy can attract insects and soften in warm conditions, display the wreath indoors and wrap it for storage until gifting time.
14. DIY Chocolate Bark Gift Packs
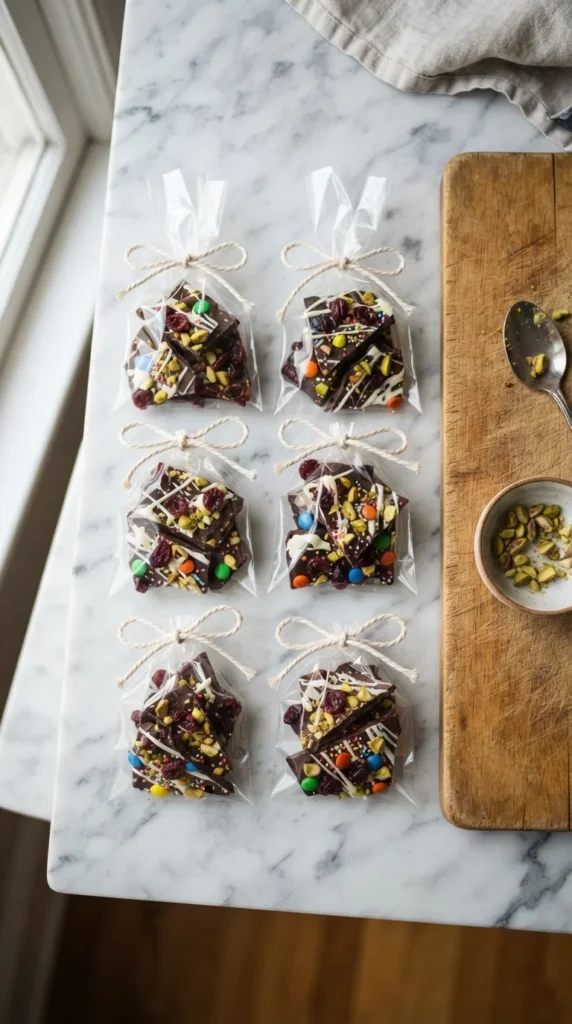
Chocolate bark is an easy homemade treat that looks beautiful when packed in small portions. Melt chocolate, spread it in an even layer on parchment paper, and add toppings such as dried fruit, crushed biscuits, nuts, or candy pieces. Let it set completely before breaking it into bite-sized pieces.
Place the pieces in food-safe bags or small confectionery boxes. Choose toppings that suit the recipient and clearly mention common allergens when sharing homemade food. Store the packs in a cool place so the chocolate keeps its texture and appearance.
15. Candy-Filled Test Tube Gifts
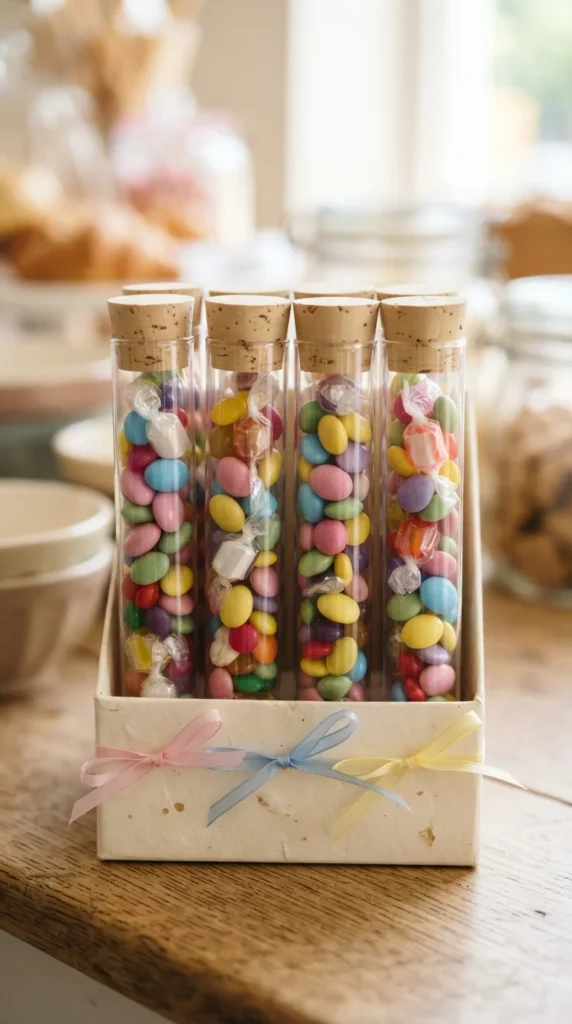
Clear candy tubes create a modern presentation for small gifts and party favors. Use food-safe tubes with secure caps, then fill each with one type of candy or alternate colors in layers. Small sweets such as mini chocolate beans and tiny wrapped candies work well because they fit neatly inside.
Arrange the tubes in a compact box or tie several together with ribbon. Match the candy colors to a birthday theme, baby shower, graduation party, or seasonal event. Use containers designed for food rather than laboratory equipment, and keep the caps secure during transport.
16. DIY Candy Pizza
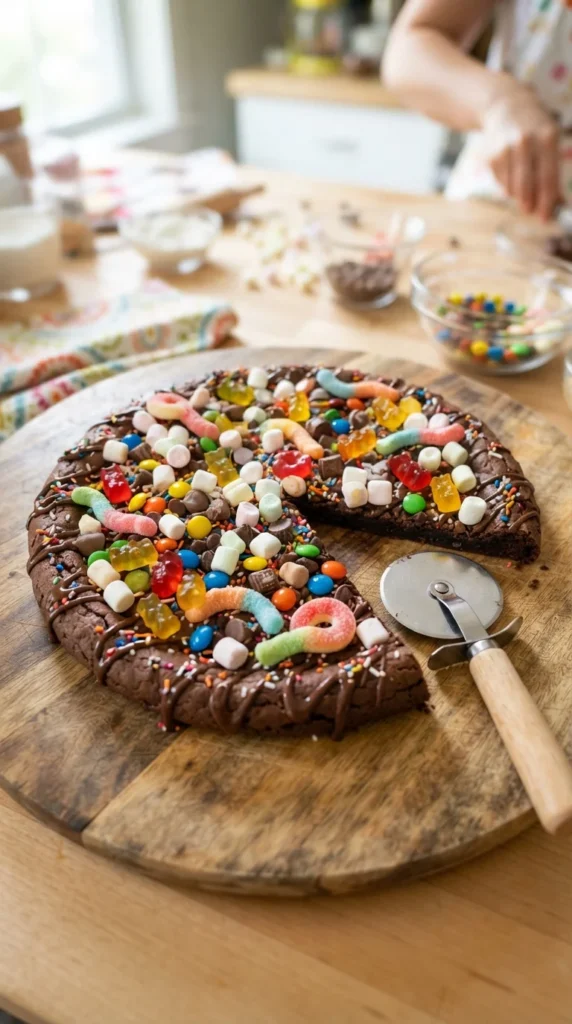
Candy pizza is a fun edible present for children and candy lovers. Use a large round cookie or a prepared chocolate base, then add a thin layer of melted chocolate or another suitable topping to help the sweets stay in place. Arrange gummies, chocolate pieces, and marshmallows in colorful sections.
Once the topping has set, place the candy pizza in a shallow food-safe box. Add parchment paper underneath to make serving easier. This treat works best when prepared close to gifting time, particularly if the base or toppings soften in warm weather.
17. DIY Candy Advent Calendar
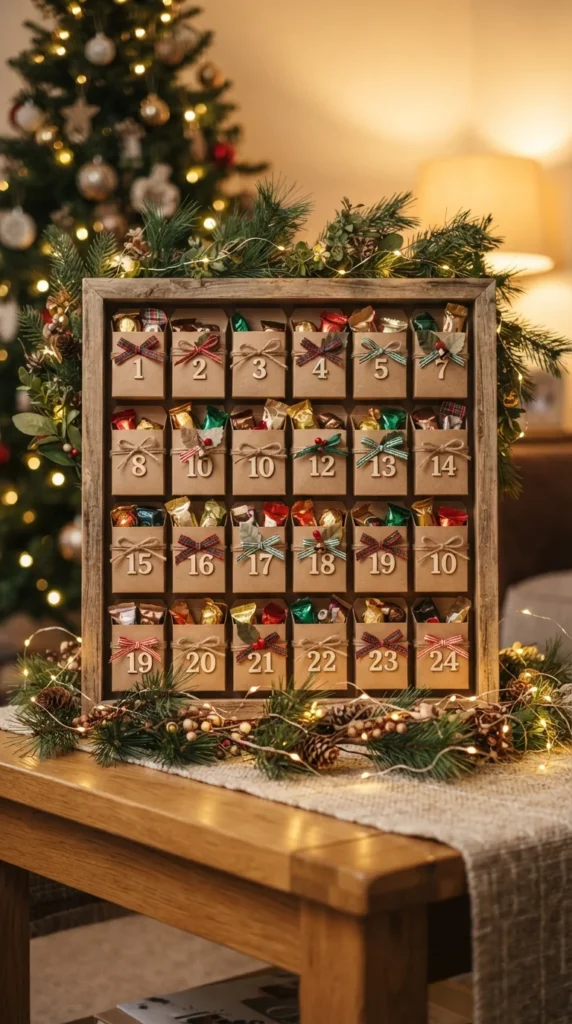
An advent calendar turns a collection of small candies into a gift that lasts several days. Gather 24 small boxes, envelopes, or paper bags and fill each with a wrapped sweet or tiny chocolate. Arrange them on a tray, in a frame, or along a decorative string.
Use different wrapping papers to create a coordinated holiday display. If the recipient prefers variety, alternate chocolates, gummies, and hard candies. Add a small handwritten number to each container and explain that one package can be opened each day leading up to the celebration.
18. DIY Candy-Filled Balloons
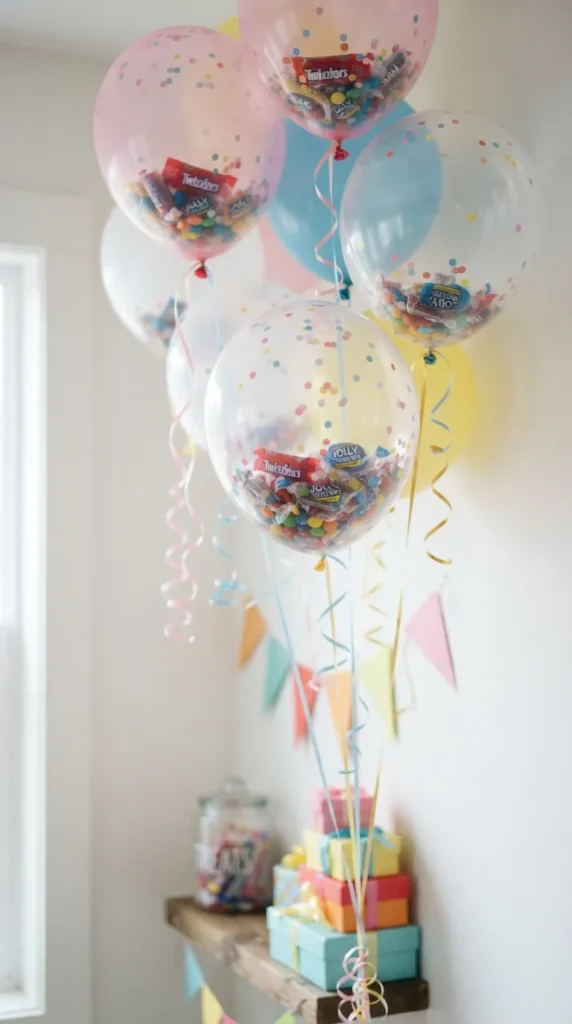
Candy-filled balloons add a playful touch to a birthday surprise. Use clear balloons designed for decorative filling, place a few small lightweight wrapped candies inside before inflation, and inflate them according to the manufacturer’s instructions. Tie a ribbon around each balloon knot.
Group the balloons with coordinating colors or attach them to a gift box for a dramatic presentation. Choose lightweight items that won’t damage the balloon material, and avoid sharp-edged candy wrappers. Keep popped balloons and loose pieces away from young children because they can pose a choking hazard.
19. DIY Candy Gift Drawer Box
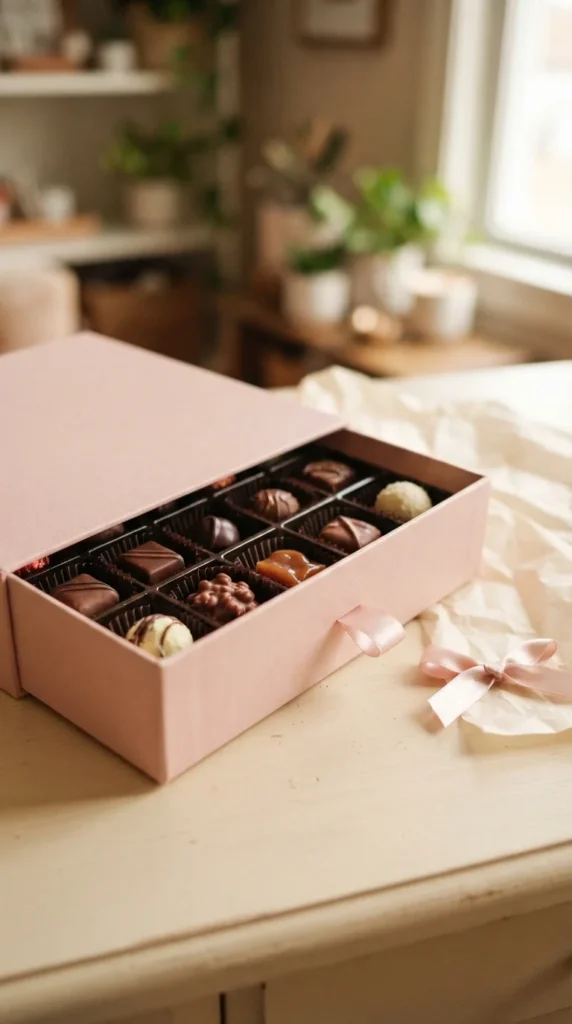
A drawer-style gift box gives candy a neat, boutique-inspired presentation. Use a ready-made sliding box or construct one from sturdy cardstock, making sure the inner tray slides smoothly. Add small dividers from folded cardboard to keep the sweets separated.
Line each compartment with food-safe paper and fill it with a different candy. Choose a contrasting ribbon for the drawer pull and decorate the outer sleeve with simple shapes or a paper flower. This style works especially well for anniversaries, birthdays, and thank-you gifts.
20. DIY Candy Bouquet in a Mason Jar
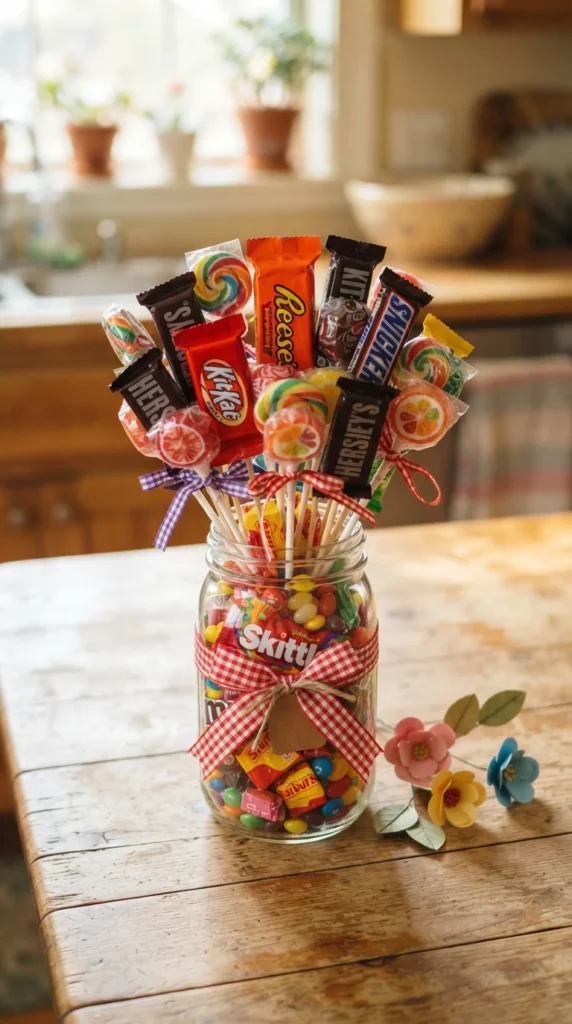
A mason jar can serve as both a container and the base for a compact candy bouquet. Fill the bottom with wrapped sweets or decorative filler, then position candy sticks upright so they form a small arrangement. Use tissue paper to cover any visible filler and help support the taller pieces.
Decorate the jar with ribbon, twine, or a fabric cover over the lid. Choose a wide jar for larger chocolate bars and a narrow one for lollipops. Since the sweets are already packaged, the recipient can enjoy them individually without disturbing the rest of the arrangement.
21. DIY Candy-Filled Favor Boxes
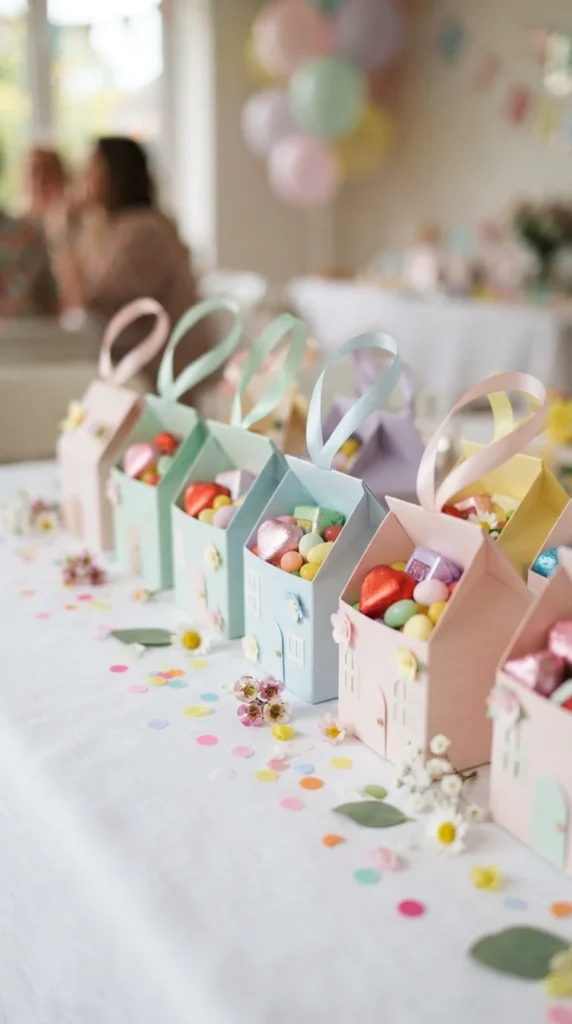
Small favor boxes are ideal for weddings, birthday dinners, baby showers, and family gatherings. Fold pre-cut cardstock into simple boxes or use ready-made favor containers, then add ribbon handles or decorative bows. Keep the design consistent when making several boxes for an event.
Fill each container with wrapped sweets or individually packed chocolates. Pastel colors suit spring celebrations, while gold and cream create a more formal look. Arrange the boxes on a tray or place one at each guest’s seat for a thoughtful take-home gift.
22. DIY Candy Chocolate-Dipped Pretzel Rods
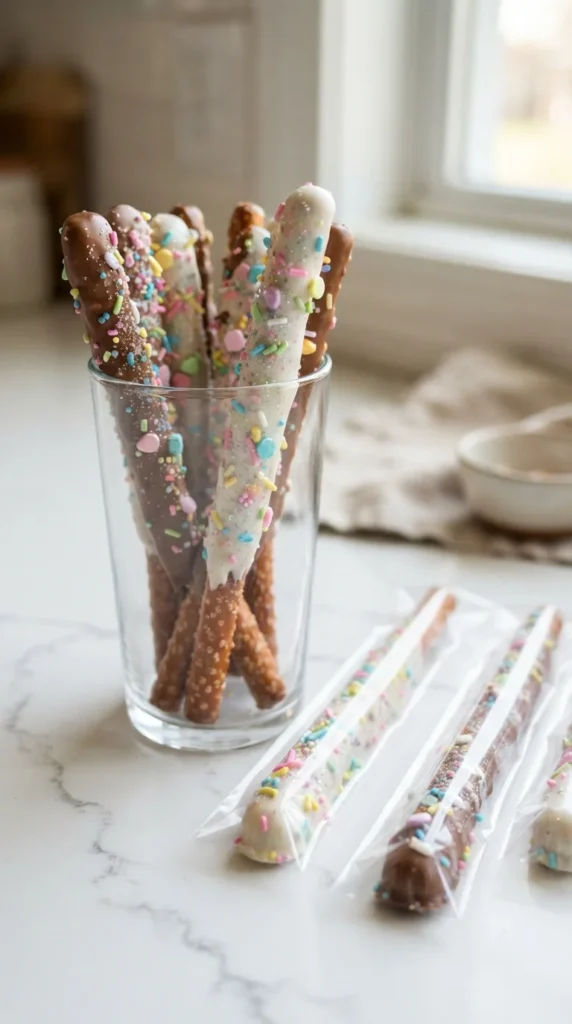
Chocolate-dipped pretzel rods offer a satisfying combination of sweet and salty flavors. Melt chocolate, dip each pretzel rod halfway, and place it on parchment paper. Add sprinkles, crushed candy, or a contrasting chocolate drizzle before the coating hardens.
Once set, package the rods in individual food-safe sleeves and tie them with ribbon. Arrange several in a tall container or lay them in a shallow gift box. Keep the pretzels dry and store them in an airtight container until gifting so they retain their crunch.
23. DIY Candy Shadow Box
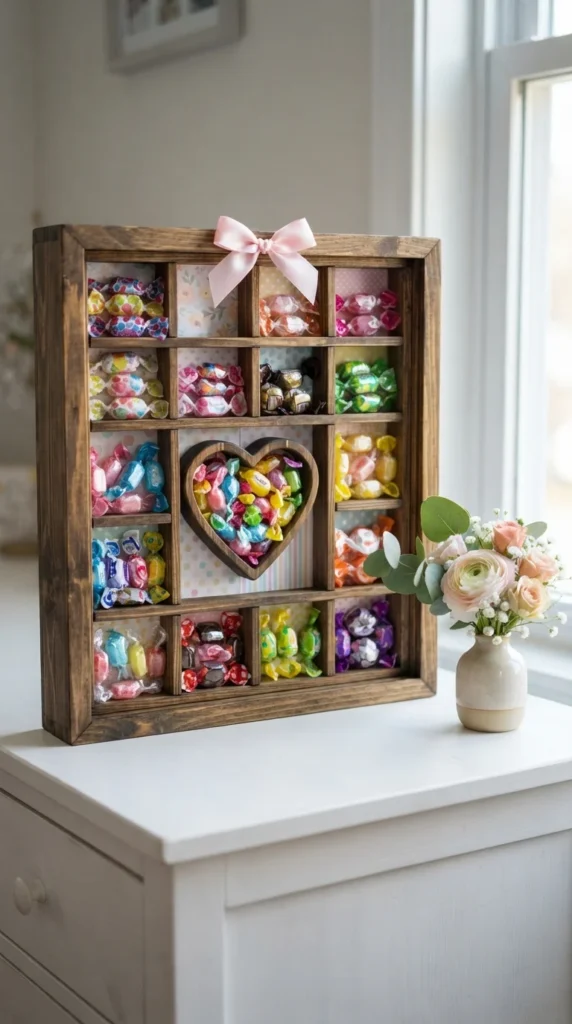
A candy shadow box combines a framed display with a collection of edible treats. Choose a deep frame with enough space for the candy, then create sections using sturdy cardboard dividers. Cover the backing with decorative paper before arranging the wrapped sweets.
Use different colors to form a heart, a rainbow, or simple geometric sections. Keep the candy in its original wrappers so it remains separate from the frame and decorative materials. If the box will be displayed for a while, choose sweets that tolerate room temperature and keep it away from direct sunlight.
24. DIY Candy Cone Bouquet
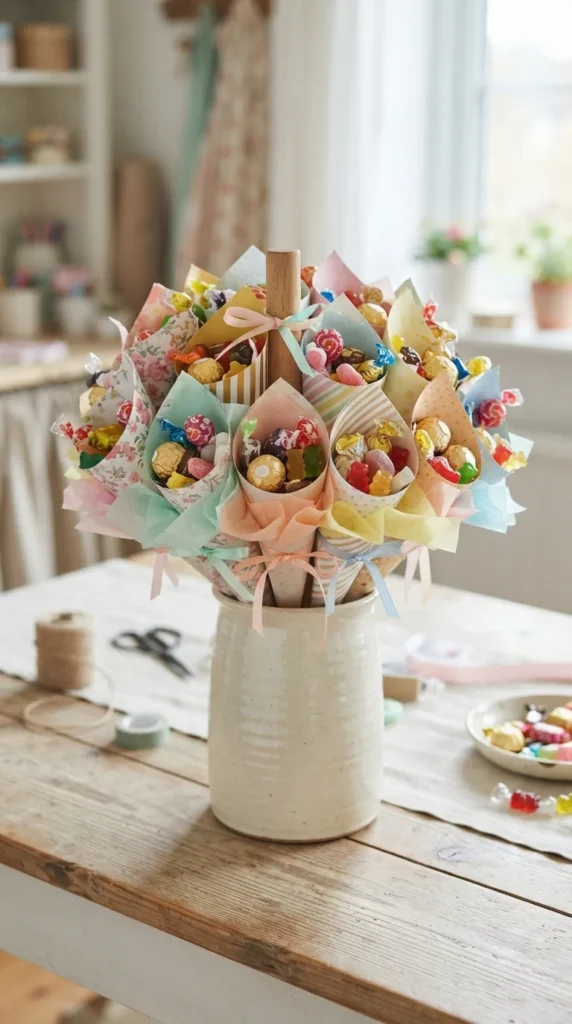
A candy cone bouquet combines the simplicity of paper cones with the look of a floral arrangement. Make several cones from decorative cardstock, fill them with wrapped sweets, and attach them to lightweight sticks or supports. Arrange the cones in a circular pattern so the finished bouquet looks full from every side.
Choose a matching palette for a coordinated design or use several bright colors for a cheerful birthday gift. Wrap the central handle with ribbon and add tissue paper around the base. Keep the arrangement stable in a container so the cones don’t tip over when moved.
25. DIY Candy Gift Pillow Boxes
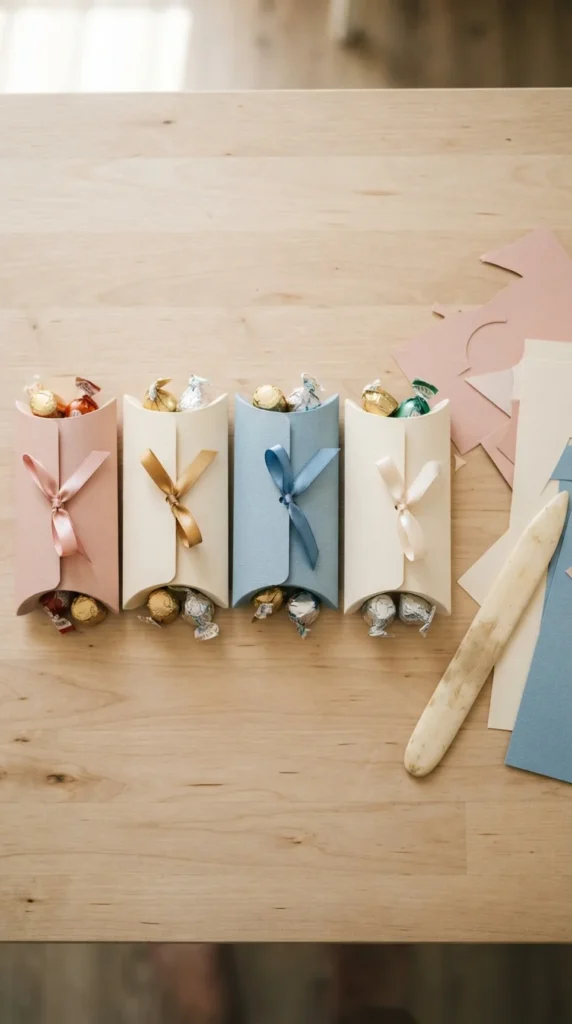
Pillow boxes are compact and attractive containers for small candy gifts. Use a pillow-box template, trace it onto cardstock, cut along the outline, and fold the curved flaps inward to form the finished shape. Secure the box with a small piece of tape if the design calls for it.
Fill each box with wrapped chocolates, hard candies, or small confectionery packets. Add a ribbon around the middle or attach a tiny decorative flower. These boxes are especially useful when you want to give a small treat without carrying a large basket or gift bag.
26. DIY Candy and Cookie Gift Box
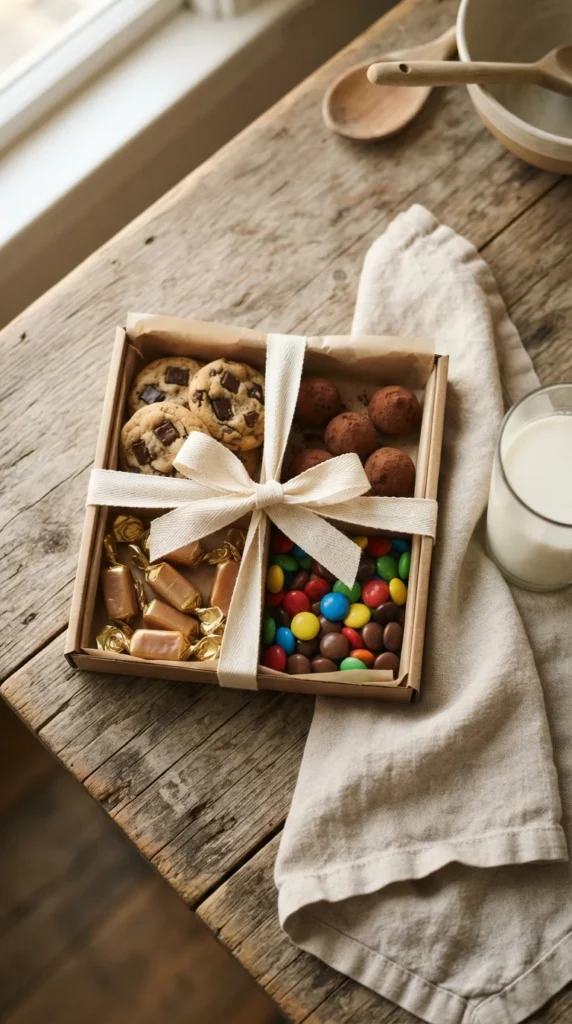
Pair homemade cookies with packaged candy to create a gift with different flavors and textures. Bake a batch of chocolate chip cookies or sugar cookies, allow them to cool completely, and place them in food-safe bags or separate compartments. Fill the remaining spaces with wrapped chocolates and caramels.
Choose a sturdy box that keeps the cookies from breaking during transport. Add parchment paper between the sections and finish with a ribbon around the outside. Mention homemade ingredients and common allergens when giving the box to someone who may have dietary restrictions.
27. DIY Personalized Candy Gift Tower
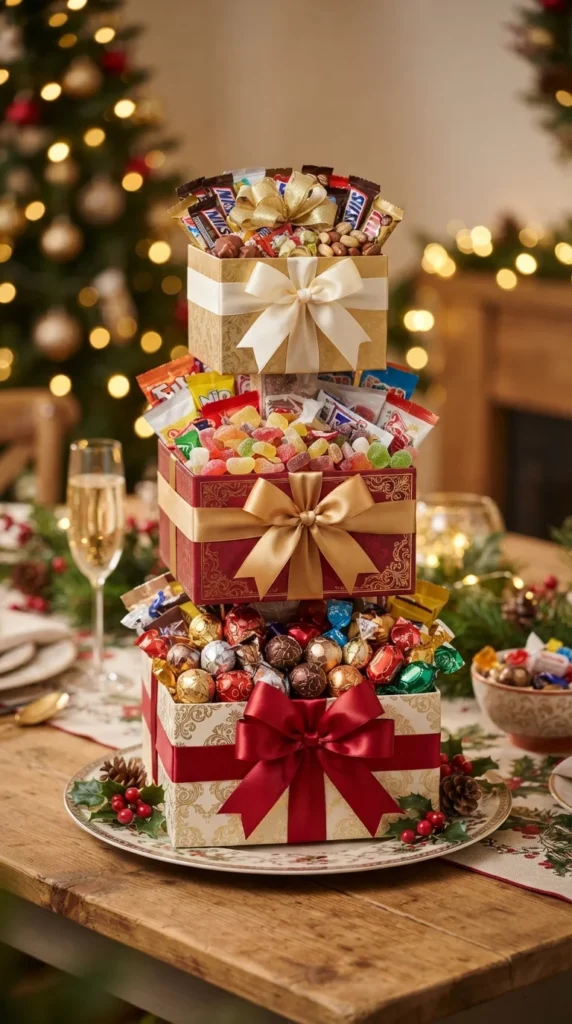
A candy gift tower creates a dramatic presentation for birthdays, anniversaries, and festive celebrations. Choose three sturdy boxes in graduated sizes, fill them with wrapped sweets, and stack them from largest to smallest. Use ribbon around each box to tie the arrangement together visually.
Personalize the tower with the recipient’s favorite candy, preferred colors, or small additions such as a greeting card. Secure the boxes so they won’t slide during transport, and keep heavier sweets in the bottom tier. This arrangement works particularly well when you want one gift to feel generous without buying a large pre-made hamper.
Final Thoughts
Making candy gifts at home gives you plenty of ways to turn simple sweets into personal, memorable presents. From chocolate boxes and candy bouquets to colorful favor bags and gift towers, these 27 ideas suit birthdays, holidays, anniversaries, and everyday surprises. Start with one project that matches your recipient’s taste, gather a few supplies, and spend an afternoon creating something special. Choose your favorite idea and make your first handmade candy gift today.

Lily Summers is a digital artist and creative storyteller who loves bringing colorful characters to life. With a passion for cartoons, fan art, and playful sketches, she inspires others to explore their imagination through art. When she’s not sketching, you’ll find her dreaming up new ideas for CraftedWizard.com to spark creativity in every artist. 🌈✨