Have you ever seen a beautifully arranged candy gift basket and wondered how something so simple could look so luxurious? The secret isn’t spending a fortune on expensive sweets. It’s choosing the right colors, mixing different textures, using elegant packaging, and arranging every item with care. Whether you’re making a birthday surprise, a Valentine’s Day present, a thank-you gift, or a holiday treat, a DIY candy gift basket can look like it came from a high-end gift shop. With a few affordable supplies and these easy steps, you can create a sweet gift that feels thoughtful, polished, and special.
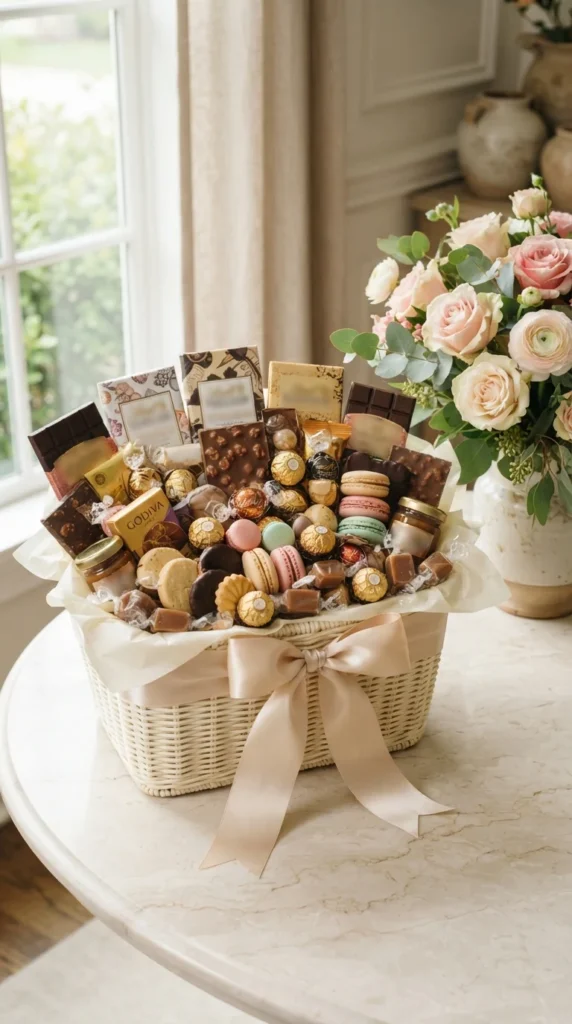
Step 1: Choose a Beautiful Basket or Gift Box
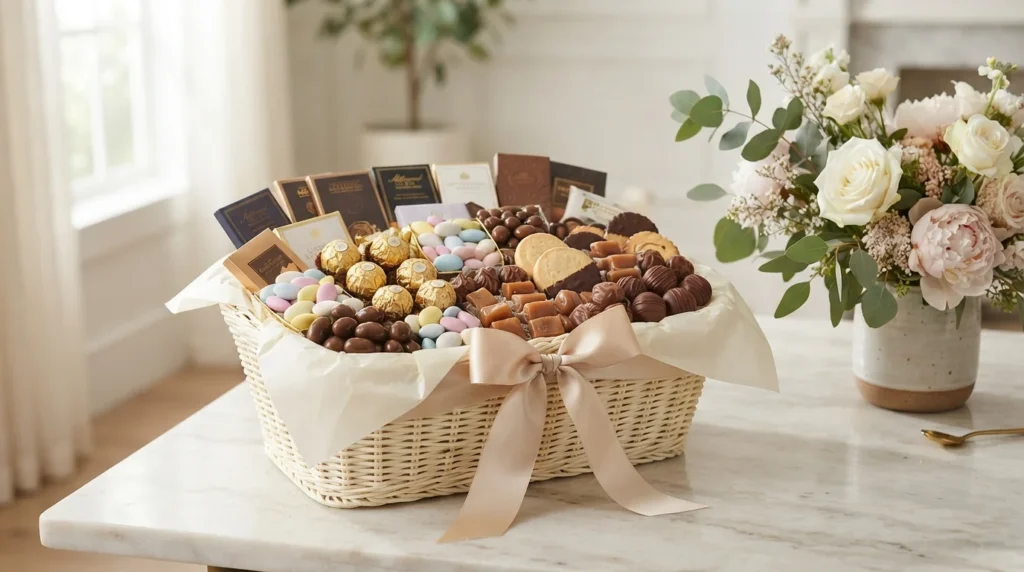
The container sets the tone for your entire gift. A simple basket can look expensive when its shape, color, and finish complement the candy inside.
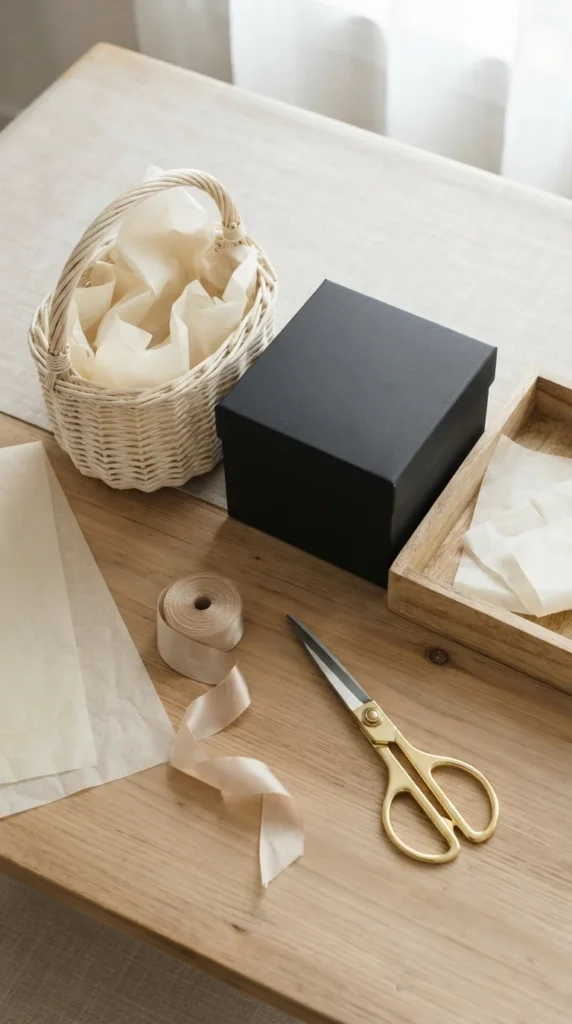
Choose one of these options:
- Woven basket: Perfect for classic birthday gifts and holiday hampers.
- Matte gift box: Ideal for modern, minimalist presentations.
- Wooden tray: Works well for chocolate lovers and gourmet-themed gifts.
- Reusable storage basket: A practical option that the recipient can enjoy after eating the treats.
Stick to neutral shades such as cream, white, beige, black, or natural wood if you want a sophisticated appearance. Avoid containers that are too large for the amount of candy you have, since empty spaces can make the arrangement look unfinished.
Step 2: Pick Candy in Coordinating Colors
You don’t need dozens of different sweets to make an impressive basket. A carefully selected assortment often looks better than a container filled with unrelated wrappers.
Start with three or four colors that work well together. Here are some combinations to try:
- Gold, cream, and brown: Great for a luxury chocolate basket.
- Pink, white, and red: Lovely for Valentine’s Day or romantic gifts.
- Black, gold, and silver: A sophisticated choice for milestone birthdays.
- Pastel pink, blue, and yellow: Perfect for cheerful birthday surprises.
- Red, green, and gold: Ideal for Christmas gifting.
Mix different candy shapes and sizes to add visual interest. Include chocolate bars, wrapped truffles, caramel sweets, hard candies, and small packets of gourmet treats.
Choose a few recognizable favorites alongside one or two unusual sweets. If the recipient loves dark chocolate or fruity gummies, make those the focus rather than filling the basket with treats they may not enjoy.
Step 3: Gather Your Wrapping and Decorative Supplies
Small decorative details can make a basic candy basket look professionally arranged. Fortunately, you can create a polished finish with a handful of simple supplies.
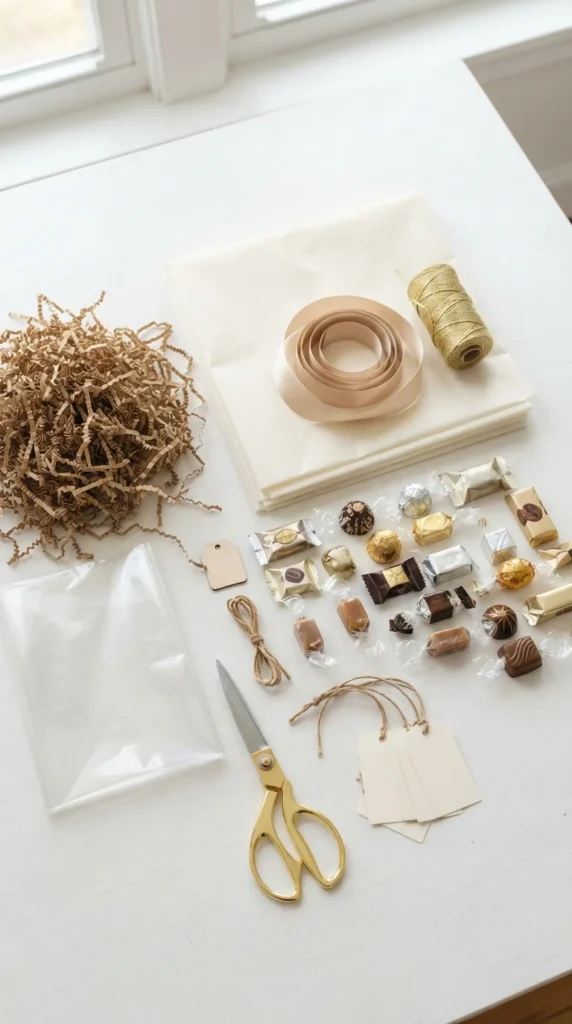
Gather these materials before you begin:
- Tissue paper in one or two coordinating colors
- Shredded paper filler or crinkle-cut packing paper
- Satin or grosgrain ribbon
- Clear cellophane, if you want to wrap the entire basket
- A small blank gift tag
- Double-sided tape and scissors
Choose ribbon with a smooth finish rather than several competing patterns. A single wide ribbon can make a stronger impression than lots of small decorations.
Step 4: Build a Strong Base
The way you fill the bottom of your basket affects how the finished gift looks. Without a good base, smaller candies may sink out of sight while larger packages lean against the sides.
Begin by placing crumpled tissue paper or suitable packing filler inside the container. Add enough to raise the candy above the rim slightly, creating a full, generous appearance. Cover the filler with a smooth sheet of tissue paper for a cleaner finish.
For extra height, place a small, sturdy cardboard platform underneath the filler. Make sure it sits securely and remains hidden once the candy is arranged.
Keep the base stable rather than packing it so loosely that the sweets move around. A little preparation here makes the next step much easier.
Step 5: Arrange the Candy Like a Professional
This is where your basket starts to look like a gift-shop creation. Instead of dropping the candy in randomly, arrange it in layers with a clear visual structure.
Follow this simple method:
- Place the tallest items at the back. Chocolate boxes and large candy packets create a backdrop.
- Add medium-sized treats in the middle. Angle them slightly so their packaging remains visible.
- Fill the front with smaller sweets. Wrapped truffles, caramels, and mini chocolate bars work well.
- Fill small gaps with decorative paper. This makes the basket appear fuller without hiding the candy.
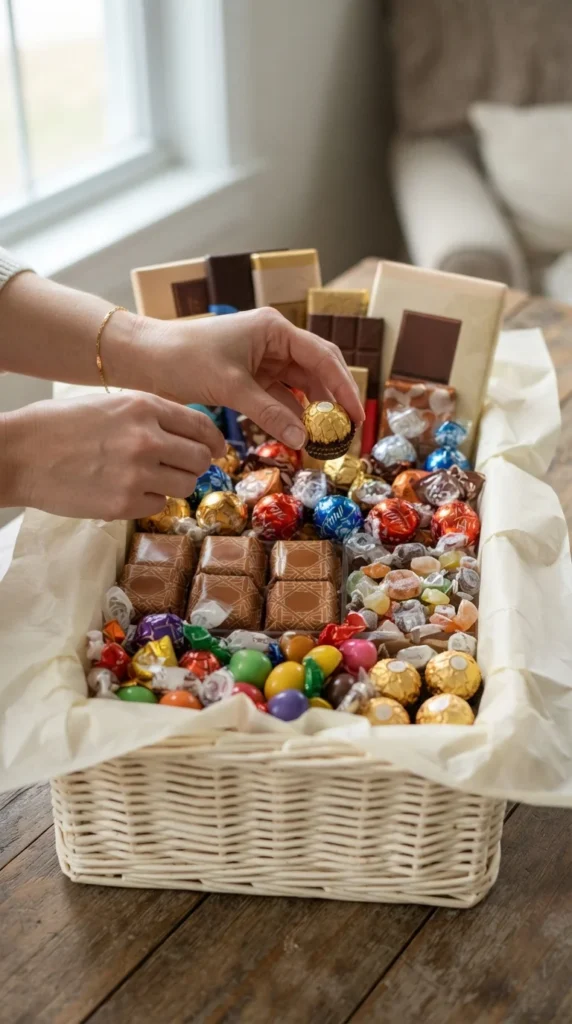
Try to keep the visual weight balanced on both sides. Rotate packages until the most attractive colors and shapes face forward. If you are adding jars or glass containers, position them securely and avoid placing heavy items on top of delicate sweets.
Step 6: Add Elegant Finishing Touches
A few carefully chosen decorations can turn your candy basket into something memorable. The goal is to complement the sweets rather than cover them up.
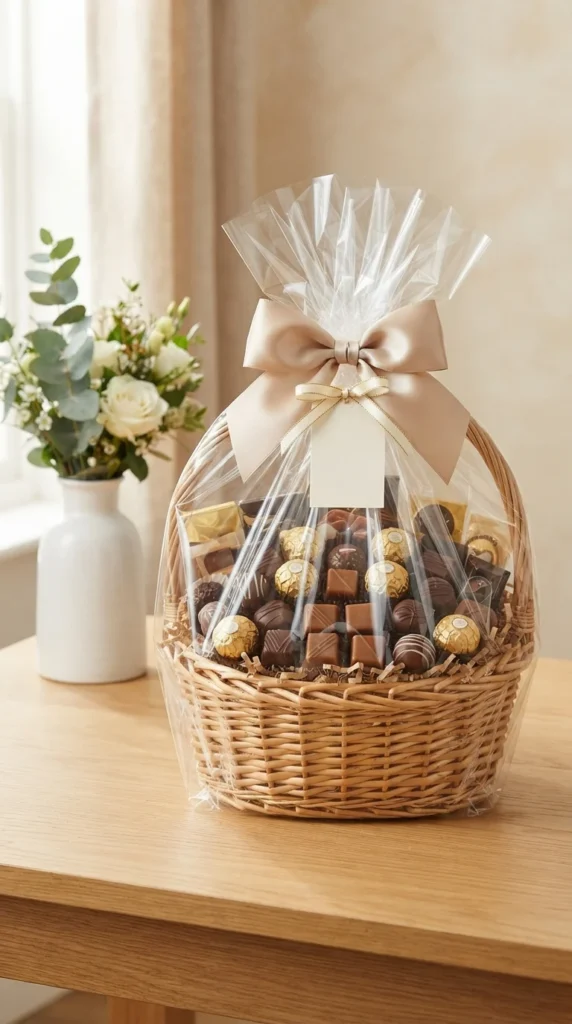
Tie a wide satin ribbon around the handle or the front of the basket. Add a small blank gift tag with a handwritten message, such as a birthday wish or a personal thank-you. You can also tuck in a small artificial flower or a simple decorative sprig.
If you want a wrapped presentation, place the basket on a large sheet of clear cellophane, gather the material above the tallest item, and secure it with ribbon. Keep the wrap loose enough that the candy remains visible.
Step 7: Make It Personal Before Gifting
The best candy baskets feel like they were created for one specific person. Think about the recipient’s favorite flavors, hobbies, and the occasion before choosing your final additions.
For a birthday, include their favorite chocolate and a few colorful sweets. For a thank-you gift, choose a restrained color palette with gourmet treats. For a romantic present, add heart-shaped chocolates and a handwritten note.
Check the finished basket from the front and sides. Replace any damaged wrappers, straighten the ribbon, and fill any obvious gaps. If you’re giving the basket to someone with dietary restrictions, check ingredient labels and avoid including sweets that conflict with those restrictions.
Final Thoughts
A beautiful candy gift basket comes down to thoughtful candy choices, coordinated colors, a sturdy base, and careful arrangement. You don’t have to spend a lot to achieve a luxurious look; even everyday sweets can look special when presented with care. Choose your container, gather your favorite treats, and follow these steps to create a personalized gift for your next celebration. Save this guide for your next DIY gift project and start making a candy basket someone will love!

Lily Summers is a digital artist and creative storyteller who loves bringing colorful characters to life. With a passion for cartoons, fan art, and playful sketches, she inspires others to explore their imagination through art. When she’s not sketching, you’ll find her dreaming up new ideas for CraftedWizard.com to spark creativity in every artist. 🌈✨