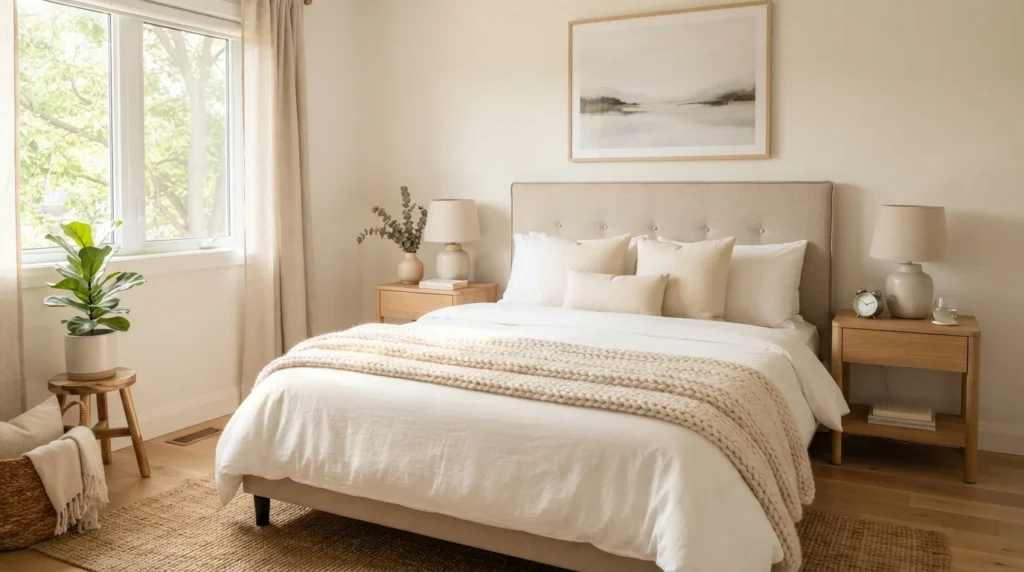
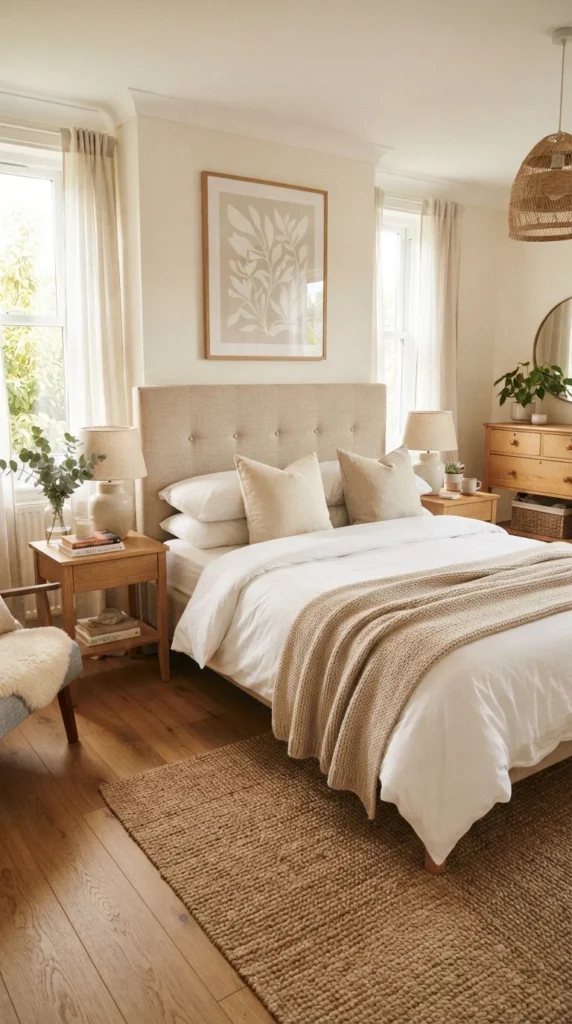
Want to give your bedroom a stylish makeover without spending a fortune on new furniture? A DIY headboard is a simple way to transform your sleeping space and make it feel more polished, cozy, and personal. Whether you love modern minimalism, rustic wood, or soft upholstered designs, you can create a beautiful headboard using affordable materials and basic tools. The best part? You can customize the size, color, and finish to match your existing bedroom decor.
Why Make Your Own DIY Headboard?
A headboard creates a focal point behind your bed, making the entire room feel more put together. Even a simple design can add texture, color, and character to an otherwise plain bedroom.
Making your own also gives you control over the final result. You can choose materials that fit your budget, reuse leftover wood, or select fabric that complements your bedding.
Here are a few reasons to try this project:
- Affordable makeover: Spend less than you might on a store-bought headboard.
- Personalized design: Choose your favorite colors, shapes, and materials.
- Beginner-friendly options: Start with a painted wall design or a simple fabric panel.
- Flexible sizing: Create a headboard that fits your bed and available wall space.
Materials and Tools You’ll Need
Before you begin, decide which style you want to create. For this tutorial, we’ll focus on a simple upholstered headboard because it adds softness and works well with many bedroom styles.
Gather these supplies:
- A plywood or suitable backing board cut to your desired size
- Upholstery foam or thin padding
- Batting for a smooth finish
- Fabric such as linen, cotton, or velvet
- A staple gun and compatible staples
- Measuring tape, scissors, and a pencil
- Sandpaper for smoothing rough edges
- Appropriate mounting hardware
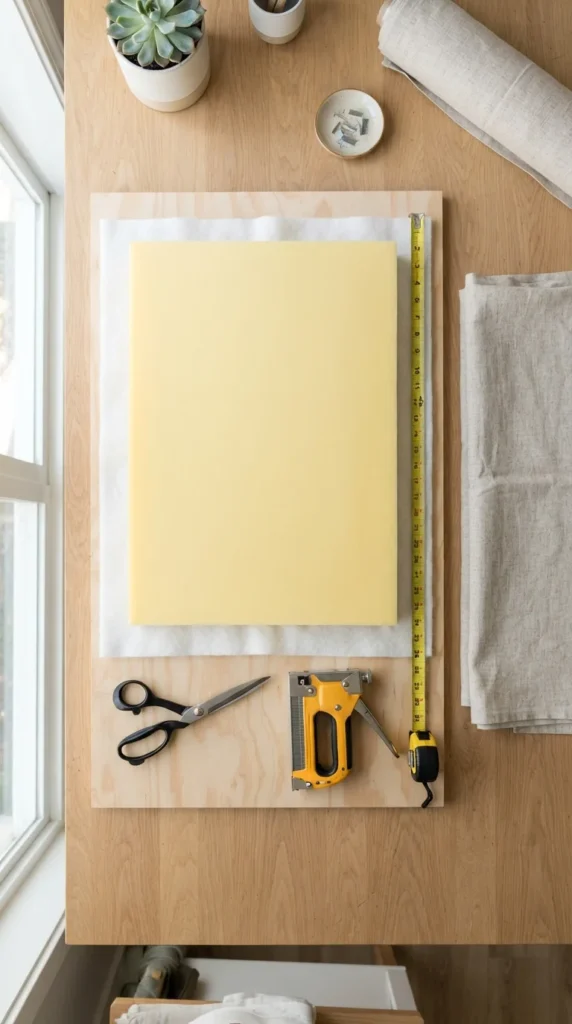
Choose a fabric that feels comfortable and complements your room. Beige, cream, gray, and muted green are easy to style, while navy or emerald can create a bolder focal point. Measure your mattress width before purchasing materials, and plan the height based on how much of the headboard you want visible above your pillows.
Step 1: Measure and Prepare the Headboard
Start by measuring the width of your bed. A headboard that matches the mattress width creates a classic appearance, while a panel extending a few inches beyond each side can make the bed feel more substantial.
Decide how tall you want the finished piece to be. A shorter panel suits minimalist bedrooms, while a taller design creates a more dramatic backdrop.
Mark your measurements on the backing board and have it cut to size if you don’t have the right tools. Sand any rough edges so the fabric won’t snag during assembly.
If you’re using a pre-cut board, check that it is sturdy enough to support the padding and fabric. Place it on a flat surface before moving to the next step.
Step 2: Add Foam and Batting
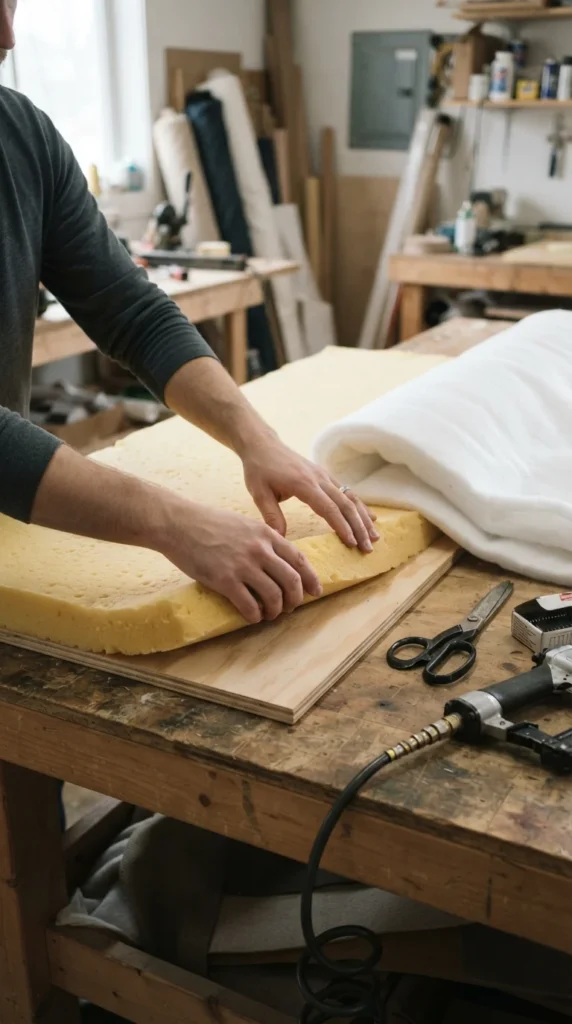
Place the foam over the front of the board and trim any excess around the edges. A thin layer works well for a simple headboard, while thicker foam creates a plusher surface for sitting up and reading in bed.
Next, spread the batting over the foam. Leave enough material around the edges to wrap it around the back of the board.
Pull the batting gently and staple it to the rear, working from the center of each side toward the corners. Keep the material smooth without stretching it too tightly. Fold the corners neatly to avoid bulky areas that might show through the fabric.
Step 3: Cover the Headboard With Fabric
Lay your chosen fabric face down on a clean surface, then position the padded board on top with the padded side facing the fabric.
Cut the fabric so you have enough extra material to wrap around the back. Pull one edge over the board and secure it with staples. Repeat on the opposite side, keeping the fabric taut and checking the front regularly for wrinkles.
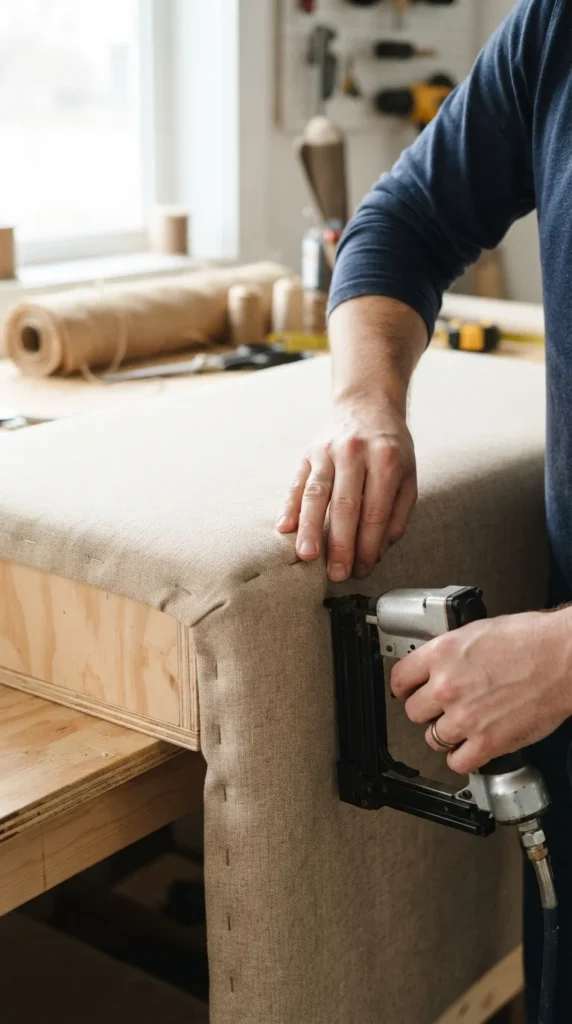
Work along the remaining sides, paying special attention to the corners. Fold them like neatly wrapped gift corners so the fabric lies flat. Trim excess material from the back once everything is secure, taking care not to cut too close to the staples.
Before mounting the headboard, inspect the front from several angles. Smooth fabric and tidy edges will make the finished piece look much more professional.
Step 4: Mount Your DIY Headboard Safely
Once the upholstery is complete, position the headboard behind your bed to check its height and alignment. The bottom edge can sit just behind the mattress or slightly lower, depending on your bed frame and preferred appearance.
Use mounting hardware suited to the board’s weight and your wall type. If you’re attaching the headboard directly to the bed frame, confirm that the frame can support it and follow the manufacturer’s installation guidance.
For a heavy panel, use suitable wall anchors or locate the wall studs. Don’t rely on simply leaning a tall or heavy headboard against the wall, as it could tip over.
Step 5: Style Your Bedroom for a Finished Look
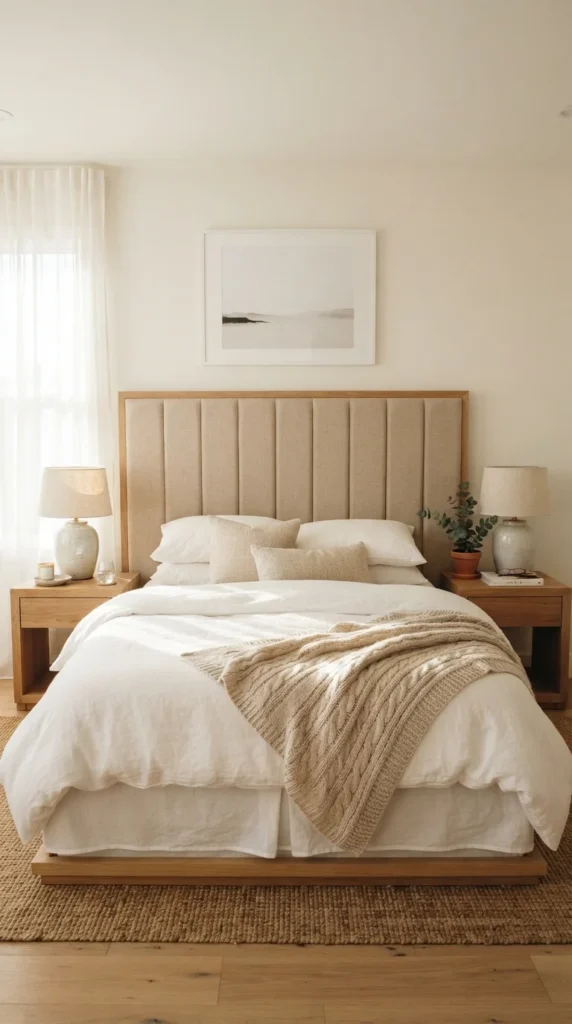
Now comes the fun part: styling your new headboard. Choose bedding and accessories that complement its color and texture rather than competing with it.
Try these simple decorating ideas:
- Add two or three textured cushions for a layered look.
- Use matching bedside lamps to create visual balance.
- Introduce a wooden nightstand or woven basket for natural warmth.
- Keep the surrounding wall simple if your headboard has a bold color or pattern.
You can also update the look seasonally by changing your duvet cover, throw blanket, or cushion colors. A neutral headboard makes these small changes especially easy.
Final Thoughts
Making a DIY headboard is a practical way to refresh your bedroom without replacing your existing furniture. With a sturdy backing board, comfortable padding, and fabric you love, you can create a personalized feature that looks stylish and feels right for your space. Take your measurements, choose your favorite material, and work through each step at your own pace. Save this tutorial for your next bedroom makeover and start creating a headboard you’ll love!

Lily Summers is a digital artist and creative storyteller who loves bringing colorful characters to life. With a passion for cartoons, fan art, and playful sketches, she inspires others to explore their imagination through art. When she’s not sketching, you’ll find her dreaming up new ideas for CraftedWizard.com to spark creativity in every artist. 🌈✨