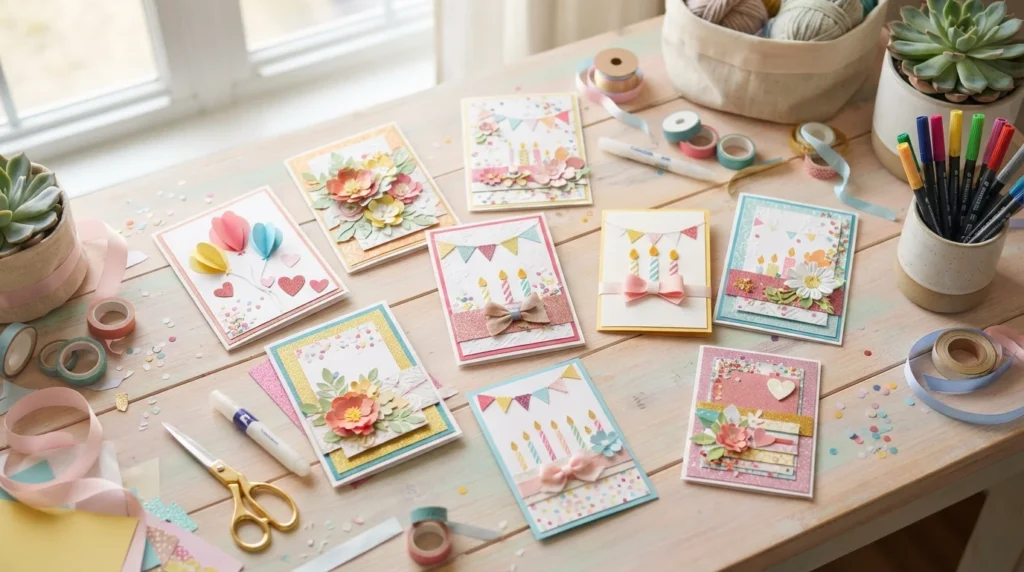
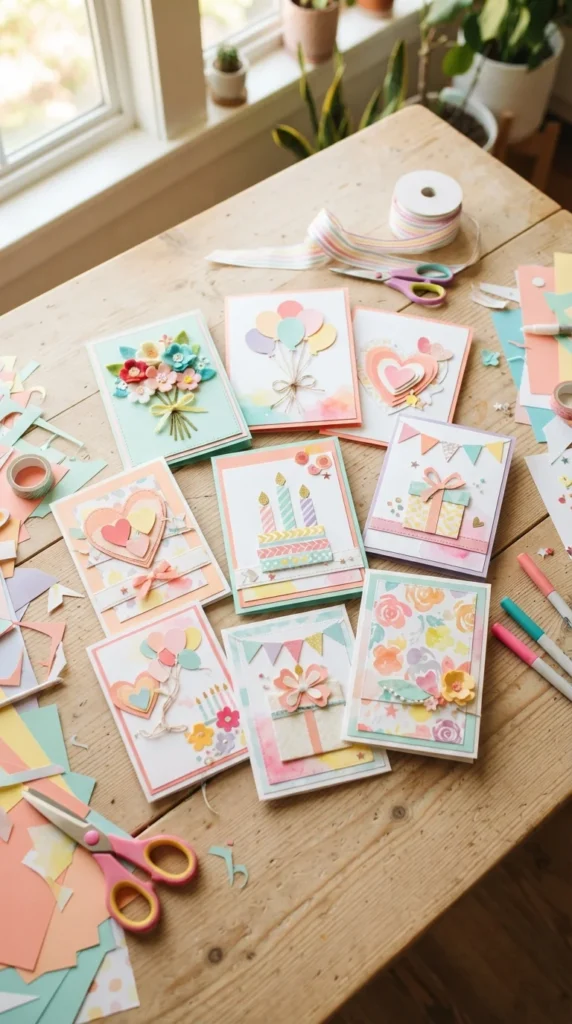
A handmade birthday card can turn a simple birthday message into a keepsake someone wants to save. With paper, ribbon, buttons, stickers, and a few basic craft supplies, you can create something that feels personal without spending much. These cute DIY birthday card ideas work for friends, siblings, parents, partners, teachers, and anyone who deserves a little extra thought on their special day. Pick one that matches their personality, gather your supplies, and make a card they will remember.
1. Layered Birthday Balloon Card
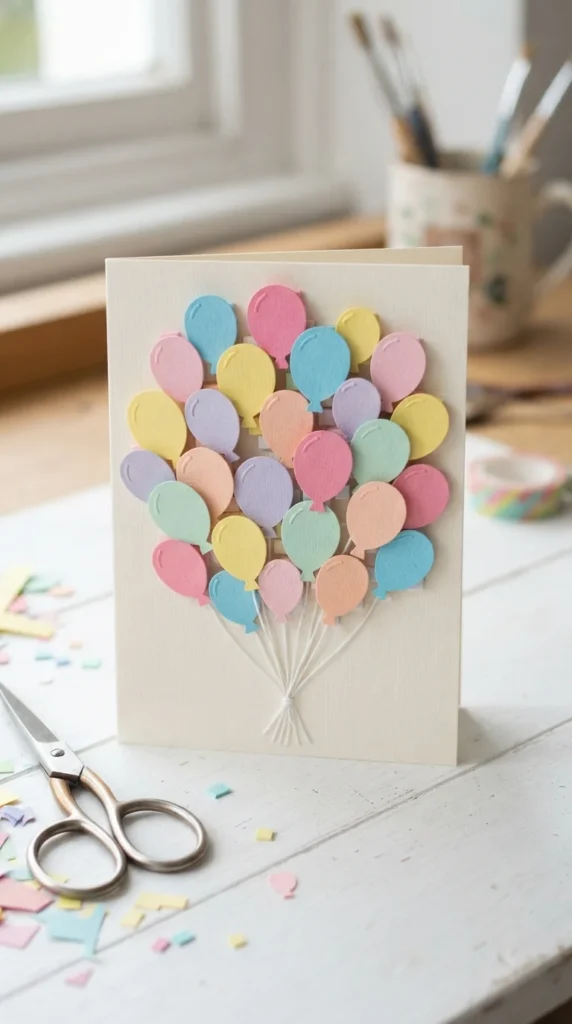
Create a playful balloon card with several paper balloons cut from different colors and patterns. Use a small round object as a guide for the balloon shapes, then cut them out and add tiny paper strings underneath. Layer a few balloons with foam adhesive so some sit higher than others.
For extra detail, tie thin pieces of baker’s twine around the lower part of each balloon. Arrange the balloons in a loose cluster across the front of a folded cardstock card. Leave a little open space near the center for your handwritten birthday message.
Try mixing solid colors with tiny floral or polka-dot patterns. The result feels cheerful without requiring advanced crafting skills.
2. Pop-Up Birthday Cake Card
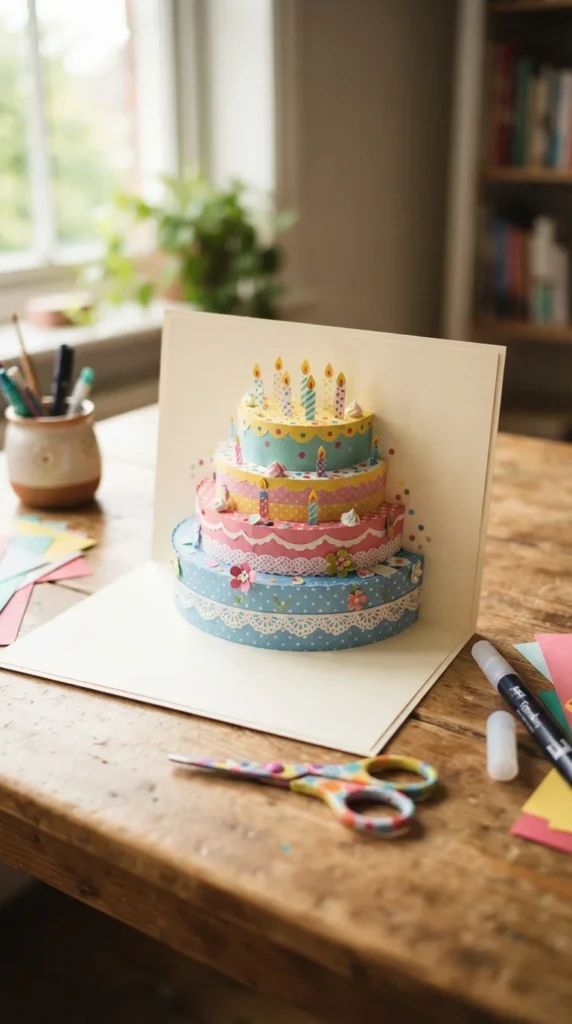
A pop-up cake creates a fun surprise as soon as the recipient opens the card. Start with a piece of sturdy cardstock and cut two parallel slits near the center fold. Push the cut section inward to form a small platform for the cake.
Cut three cake layers from colored paper and attach them to the pop-up platform. Add frosting edges, tiny candles, sprinkles, and a few paper dots for decoration. Use contrasting colors so every layer stands out when the card opens.
Use lightweight paper for the decorations so the card closes easily. A pastel cake with colorful candles works for almost any age, while richer colors can make the design feel more grown-up.
3. Paper Flower Birthday Card
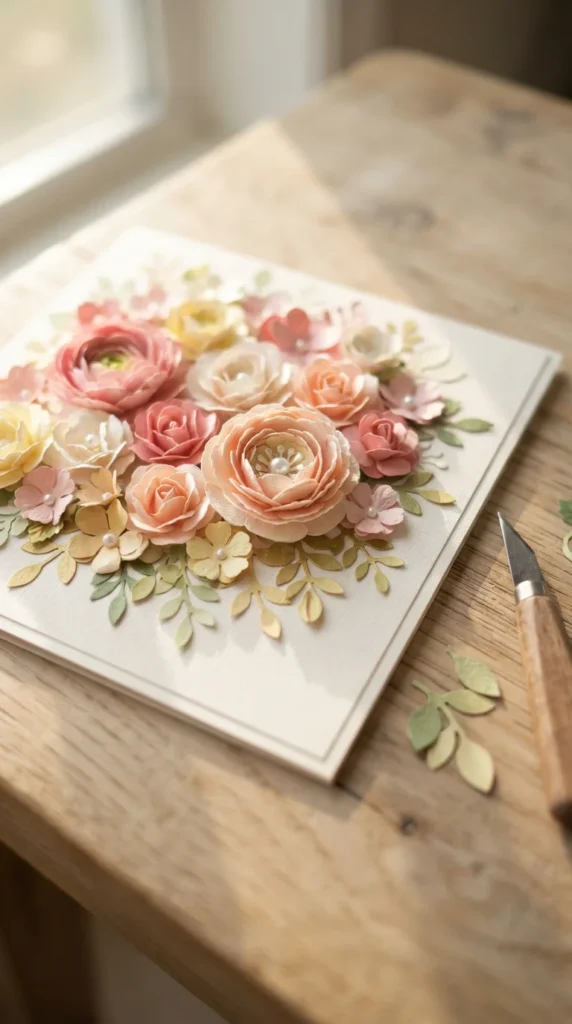
Paper flowers can make a birthday card look like a tiny bouquet. Cut flower shapes in three different sizes, then layer them from largest to smallest. Curl the edges of the petals gently around a pencil to give them dimension.
Add a small pearl, button, or paper circle to the center of each flower. Arrange three or five flowers on one side of the card and balance them with handmade leaves and small paper stems.
For a softer design, use cream, peach, pink, and muted green. For a younger recipient, try bright yellow, coral, turquoise, and purple. The card becomes even sweeter when the flower arrangement reflects the recipient’s favorite colors.
4. Cupcake Birthday Card
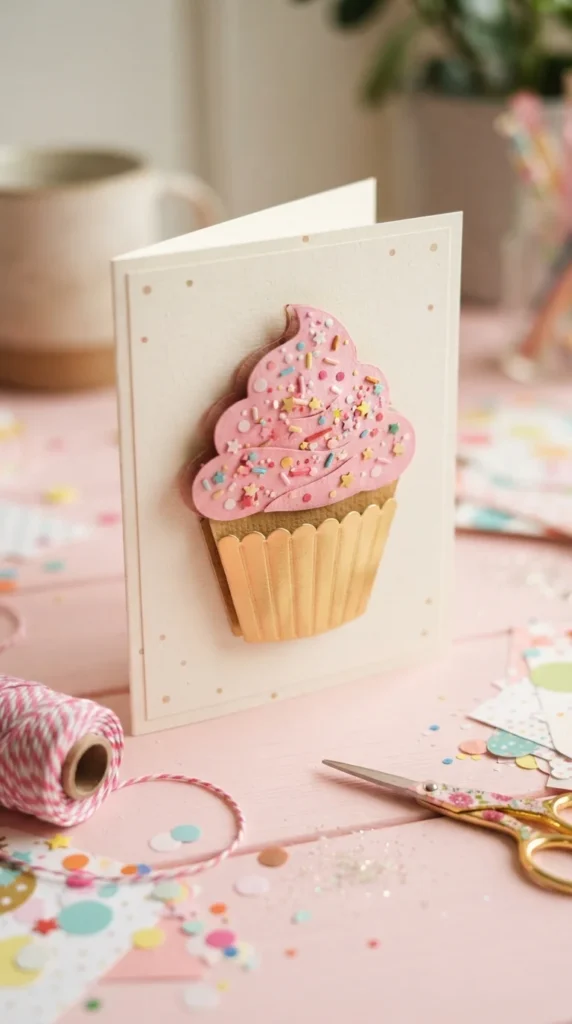
Turn a simple cupcake shape into the star of the card. Cut a small cupcake wrapper from patterned paper and create the frosting from several curved paper pieces layered on top of one another. Add tiny paper sprinkles in different colors.
Use foam adhesive behind the frosting so it appears raised from the card. A small red or pink paper circle can become the cherry on top.
This design works particularly well for children, teenagers, and anyone who enjoys cute desserts. You can also make several mini cupcakes across the card for a party-table effect.
5. Heart Balloon Birthday Card
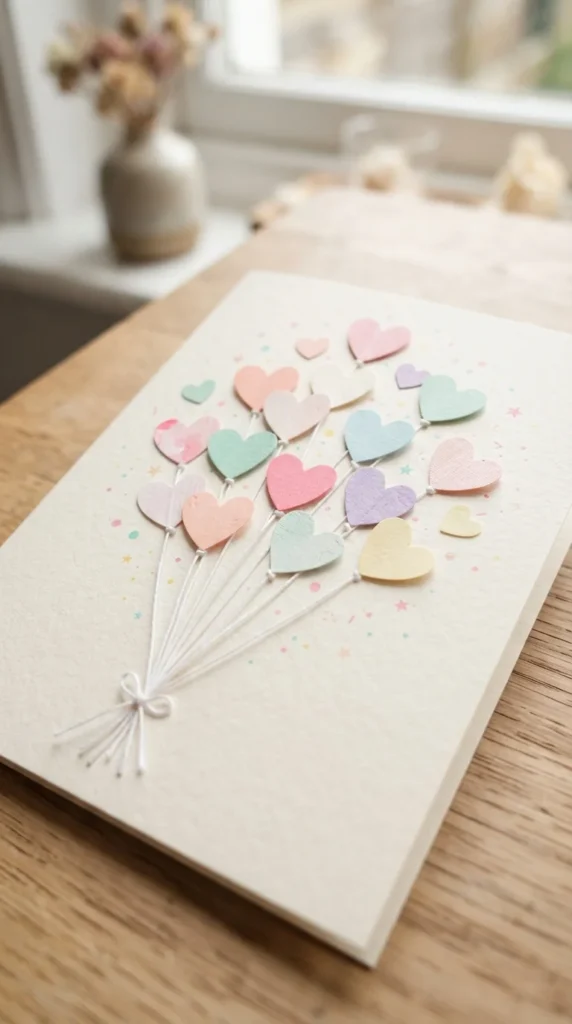
Combine two classic birthday shapes by turning hearts into balloons. Cut hearts from pink, red, peach, lavender, and patterned paper, then attach thin strings beneath them. Arrange them at different heights to create movement.
Add tiny paper bows where the strings meet. A few small stars or dots can fill the empty spaces without making the design crowded.
For a romantic birthday card, use blush and burgundy shades. For a friend or sibling, choose bright colors and playful patterns. This project takes very little material and can be finished in one sitting.
6. Rainbow Birthday Card
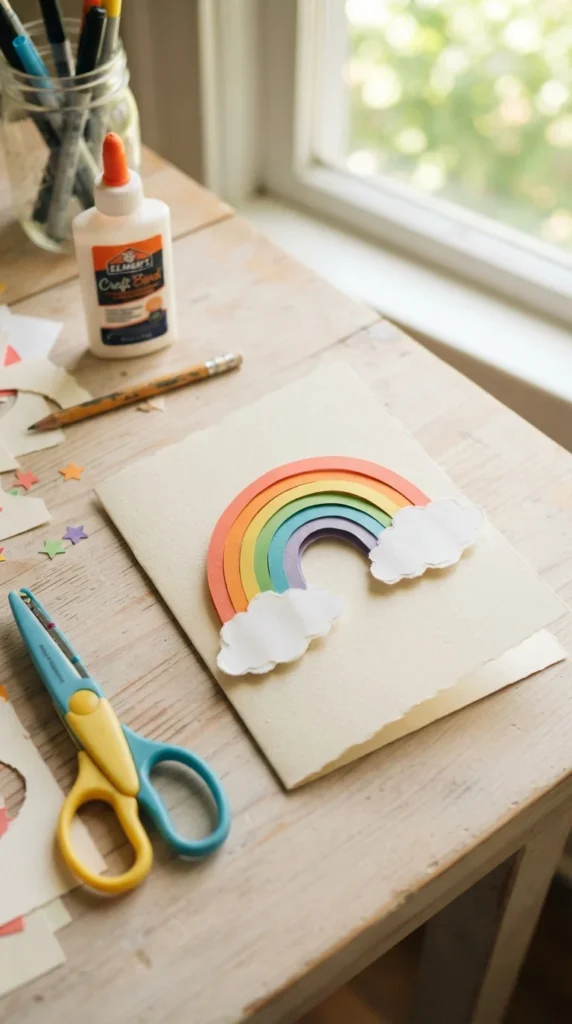
A paper rainbow makes a birthday card feel cheerful from the moment it is opened. Cut several curved strips in different colors, keeping each strip slightly smaller than the one before it. Layer them carefully to form a clean rainbow shape.
Place fluffy cloud shapes beneath both ends using white cardstock. You can add tiny hearts, stars, or circles around the rainbow for extra character.
This idea is especially cute for kids and cheerful friends. For a softer style, use pastel shades instead of strong colors. Add a handwritten message inside to give the bright design a personal touch.
7. Confetti Shaker Birthday Card
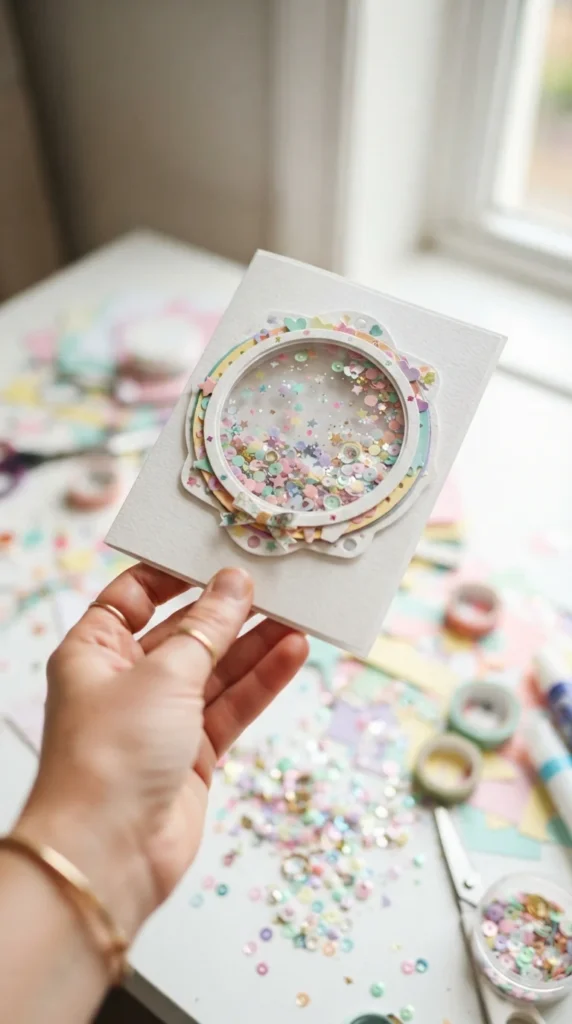
Give the birthday card a little movement with a homemade shaker window. Cut a rectangular or circular opening from the front of the card and cover the opening with clear acetate. Place a thin foam border around the window, add lightweight confetti, then seal it with another cardstock layer.
Use paper circles, tiny stars, sequins, or small punched shapes as the filling. Keep the pieces small enough to move freely when the recipient shakes the card.
Choose two or three main colors rather than filling the window with every shade. A white card with gold, blush, and silver confetti can feel elegant, while rainbow confetti creates a fun party look.
8. Birthday Gift Box Card
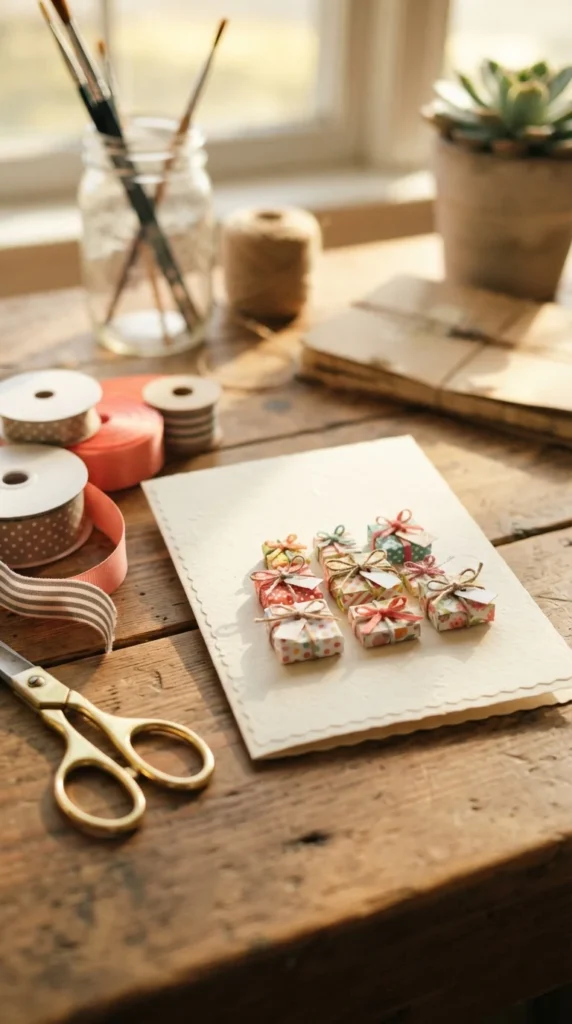
Make a miniature present collection using small rectangles of patterned paper. Fold or layer each piece to resemble a wrapped gift, then add narrow strips of contrasting paper as ribbons.
Top each gift with a tiny bow made from ribbon or thin paper. Attach the presents across the bottom of the card at different heights for a playful arrangement.
This project is easy to customize for the recipient. Use floral paper for someone who loves soft designs, geometric patterns for a modern style, or bright colors for a child. A few tiny stars around the presents can complete the party scene.
9. Birthday Candle Card
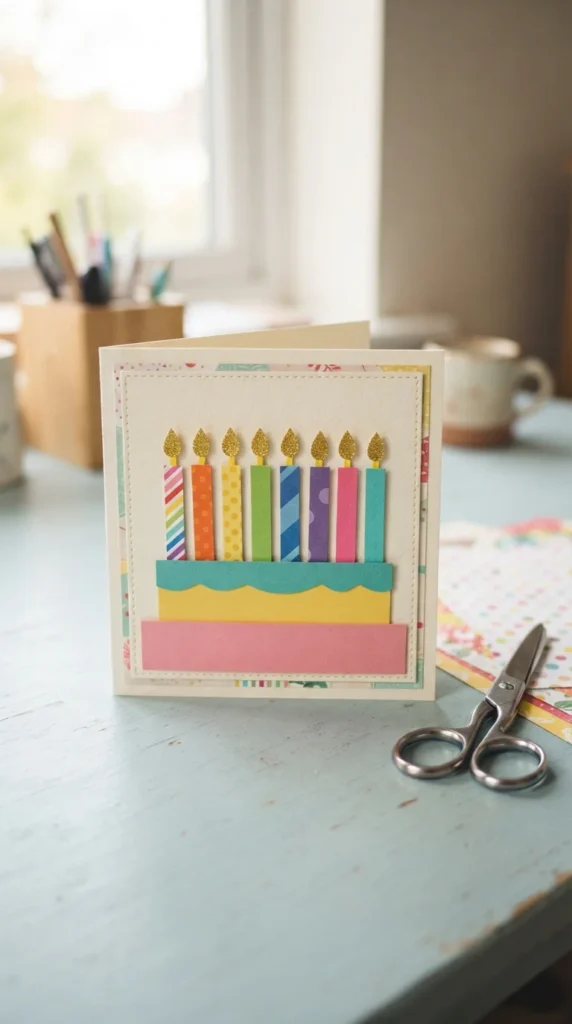
Create a simple candle card with colorful strips of paper and tiny flame shapes. Cut each candle from a different color, then add narrow white or metallic strips to imitate candle decorations.
Place the candles along a paper cake base or arrange them directly across the card. Small foam squares can give several candles a raised appearance.
For a stylish adult birthday card, use cream, black, gold, and muted pink. For children, use bright primary colors and playful patterns. The design is simple enough for beginners while still looking polished when the pieces are aligned carefully.
10. Butterfly Birthday Card
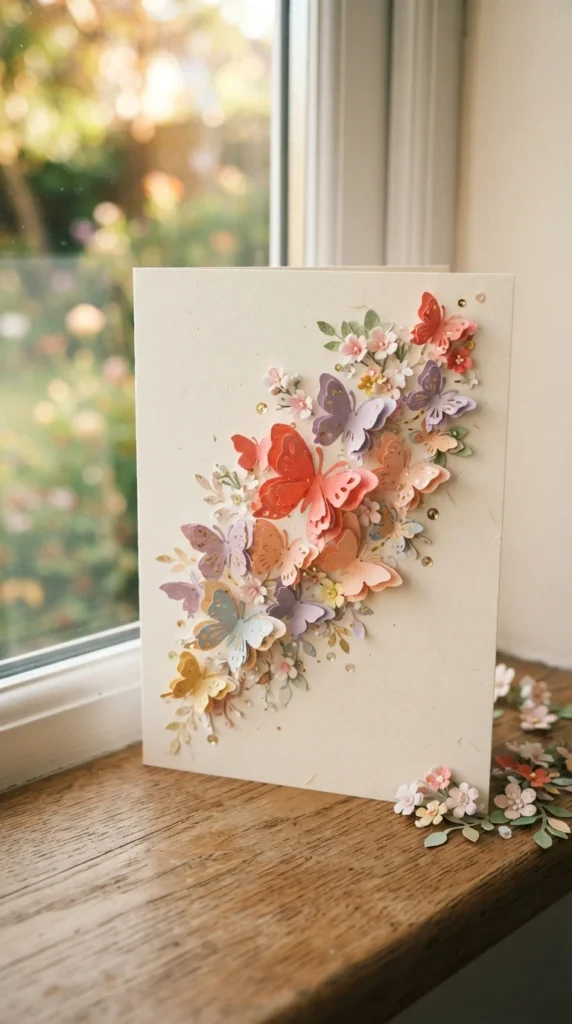
Butterflies bring a light and playful touch to a birthday card. Use a butterfly punch or a simple printed template to cut several shapes from colorful cardstock. Fold each butterfly gently down the center so the wings rise from the card.
Arrange the butterflies as if they are flying upward from one corner. Add a few tiny paper flowers or dots near the bottom to create a garden-inspired scene.
For a sophisticated look, keep the colors within one family. A combination of blush, cream, peach, and dusty lavender works beautifully for adults. Bright rainbow butterflies are perfect for younger recipients.
11. Cute Animal Birthday Card
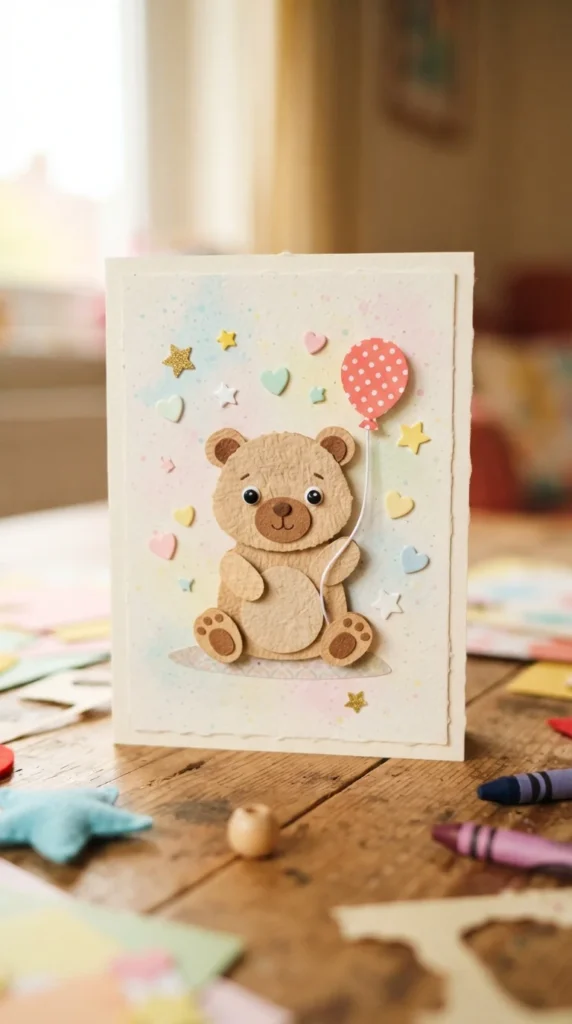
Make the birthday card around the recipient’s favorite animal. A bear, bunny, cat, puppy, or panda can become the main character using simple paper shapes.
Layer circles for the face, smaller circles for the ears, and tiny pieces for the eyes, nose, and paws. Add a paper balloon or birthday hat to make the character feel ready for a celebration.
Keep the facial features simple and friendly. Soft colors such as cream, tan, peach, and pale blue work well for a gentle look. Children can also help choose the animal and colors, turning the card itself into a small craft activity.
12. Birthday Bow Card
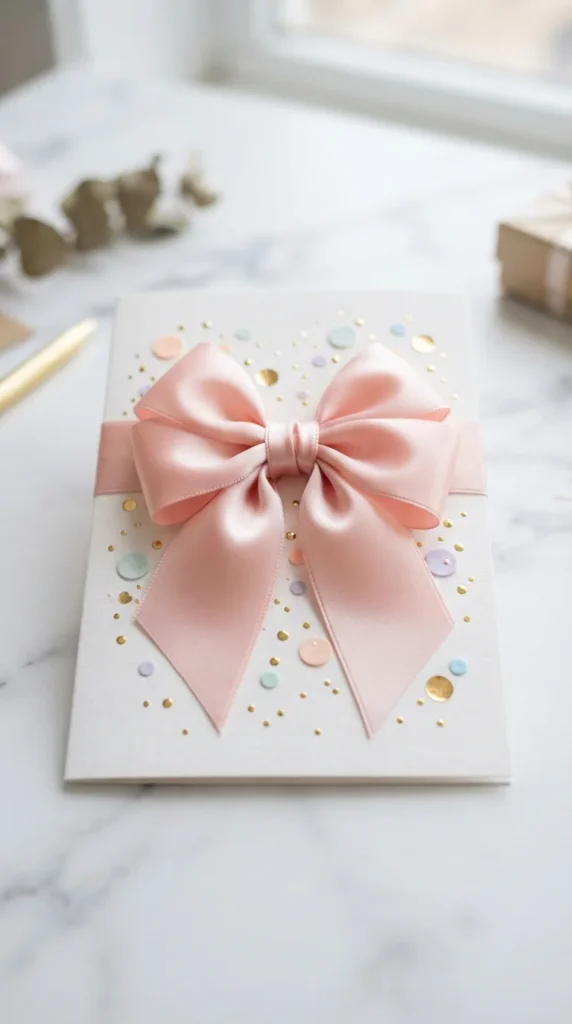
A large bow can make a handmade card look like a beautifully wrapped birthday present. Use satin ribbon, velvet ribbon, or paper strips to create the bow. Secure the center with a small button, pearl, or contrasting ribbon knot.
Attach the bow to the middle of the card and keep the surrounding decoration simple. A few paper dots or tiny hearts can frame the bow without taking attention away from it.
Choose the ribbon based on the recipient’s style. Dusty pink feels soft and feminine, navy looks polished, and red creates a classic birthday effect. This card works especially well when you want a handmade design that feels elegant rather than childish.
13. Polaroid-Style Birthday Card
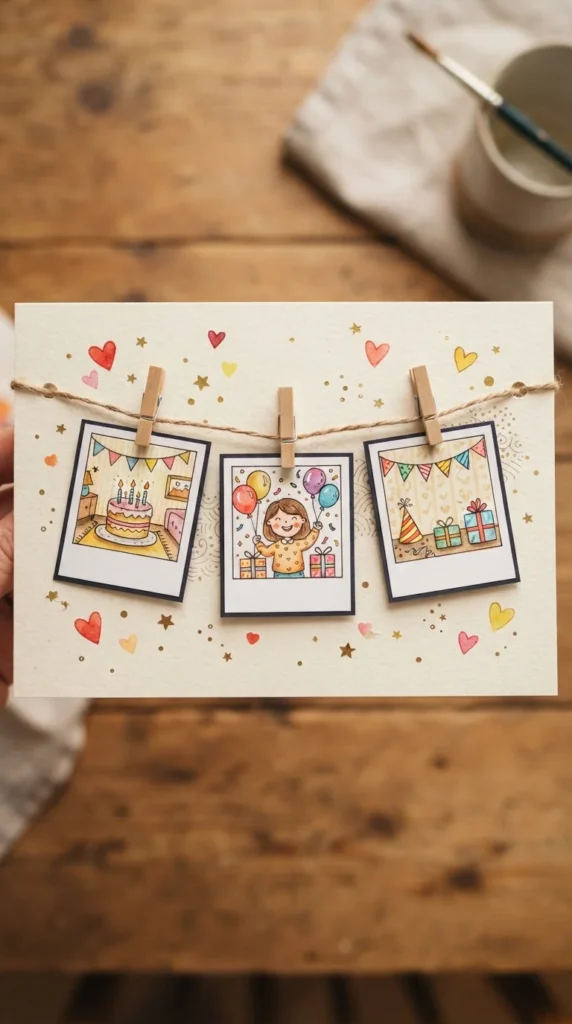
Create tiny paper photo frames to give the birthday card a scrapbook-inspired look. Cut white rectangles with slightly larger borders and place small photos, drawings, or patterned paper inside each frame.
Arrange the frames across a thin paper or twine line and attach them with miniature clothespins. If you are making the card for someone close to you, using real printed photographs can make the project much more personal.
Keep the rest of the card simple so the mini frames remain the main feature. Add tiny hearts, stars, or colorful dots around the frames to give the card a cheerful finish.
14. Cupcake Liner Birthday Card
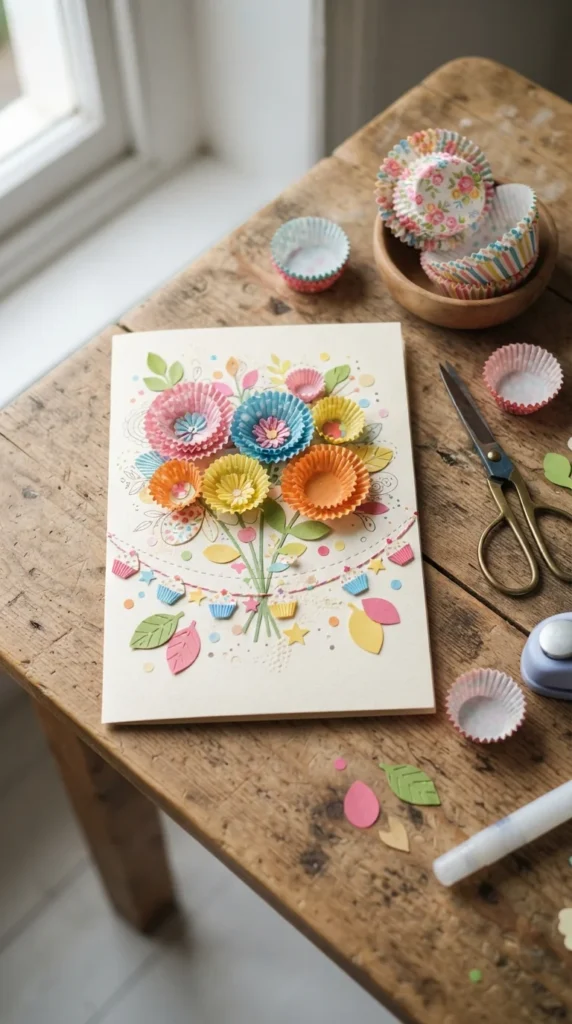
Turn unused cupcake liners into charming birthday decorations. Flatten a few liners, fold them into flower shapes, or stack two liners together to create dimensional blooms.
Attach the flowers to the front of the card and add small paper circles to their centers. Green paper leaves can make the arrangement resemble a tiny bouquet.
Choose liners in colors that match the recipient’s personality. Patterned liners can create extra visual detail without requiring additional decoration. This is also a handy way to use leftover baking supplies from your kitchen.
15. Washi Tape Birthday Card
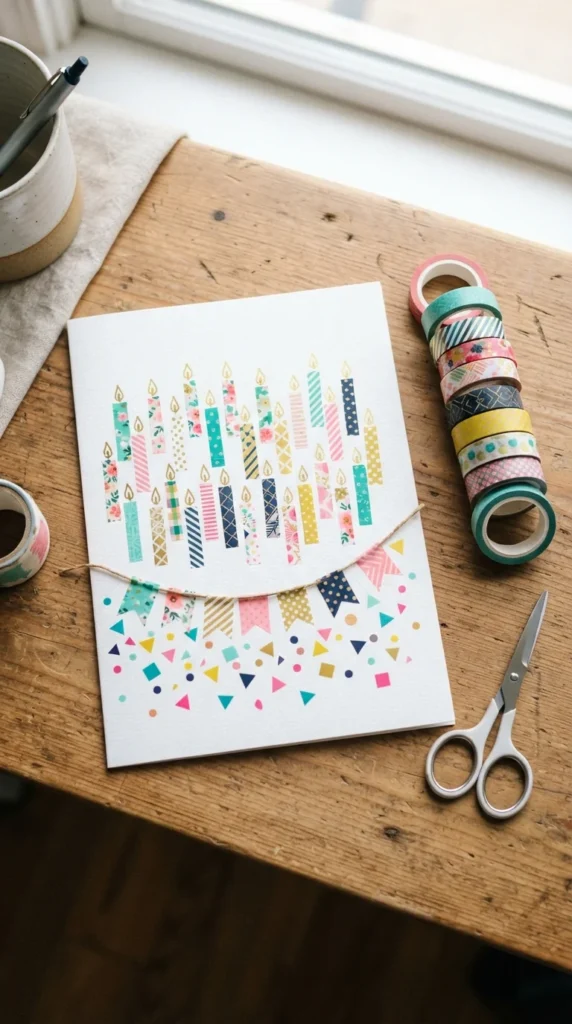
Washi tape makes a quick birthday card when you want something cute without complicated cutting. Tear or cut small pieces of tape and arrange them as candles, flags, stripes, or geometric shapes.
For candle designs, place several vertical tape strips in different colors and add tiny paper flames above them. You can also create a party banner by folding short tape pieces over a thin string.
Mixing two or three patterns usually gives the card a cleaner appearance than using many unrelated designs. Finish with a handwritten message inside and let the colorful tape carry the front design.
16. Hand-Drawn Birthday Doodle Card
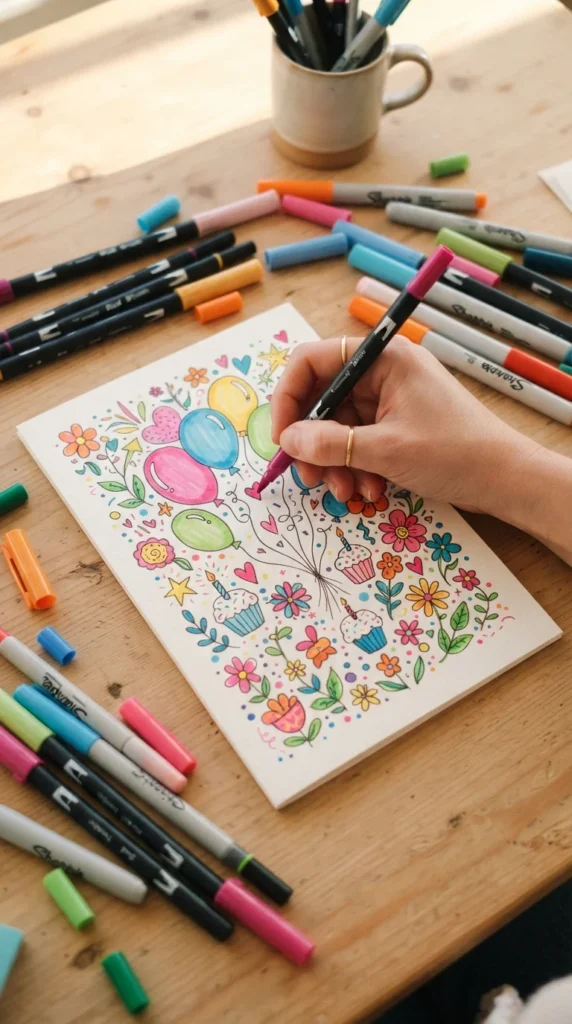
You do not have to be an artist to make a charming doodle card. Start with simple shapes such as circles, hearts, stars, flowers, candles, and balloons. Arrange them around the card edges while leaving the center open.
Use black or dark brown ink for the outlines and add color with markers, colored pencils, or watercolor pencils. Slightly imperfect lines can make the card feel personal and handmade.
Try drawing objects connected to the recipient. A favorite drink, pet, hobby, flower, or snack can turn a basic doodle card into something that feels made specifically for them.
17. Birthday Sun Card
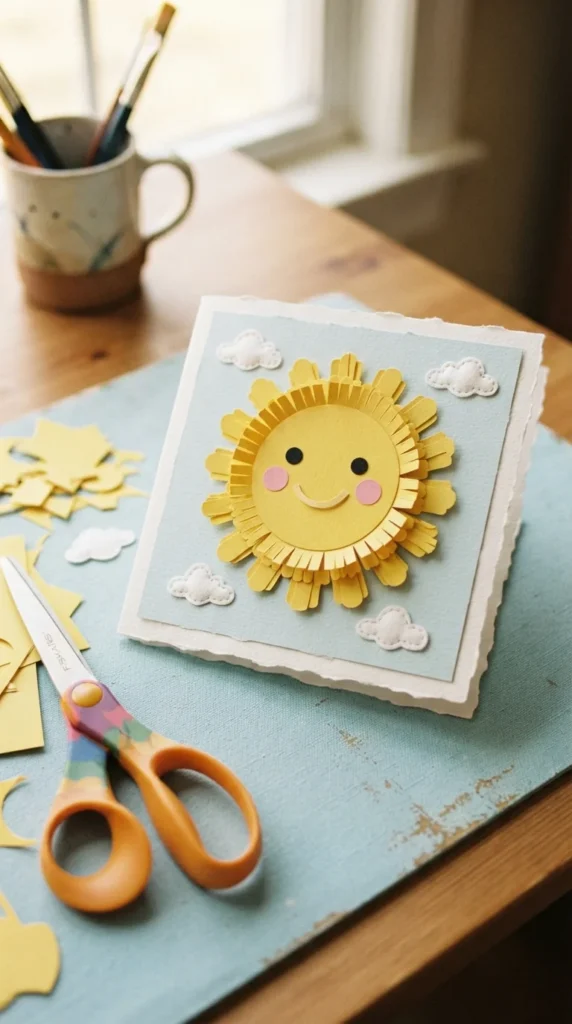
Create a sunny birthday card with a large layered paper sun as the focal point. Cut a yellow circle and add narrow triangular rays around the outside. Use foam adhesive between layers to create a raised effect.
Small clouds made from white paper can sit around the sun. You can add tiny hearts or colorful dots to fill the background without making it busy.
This idea works especially well for someone who brings cheerful energy into your life. A pale blue background makes the yellow sun stand out, while a cream background gives the card a warmer handmade feel.
18. Mini Birthday Banner Card
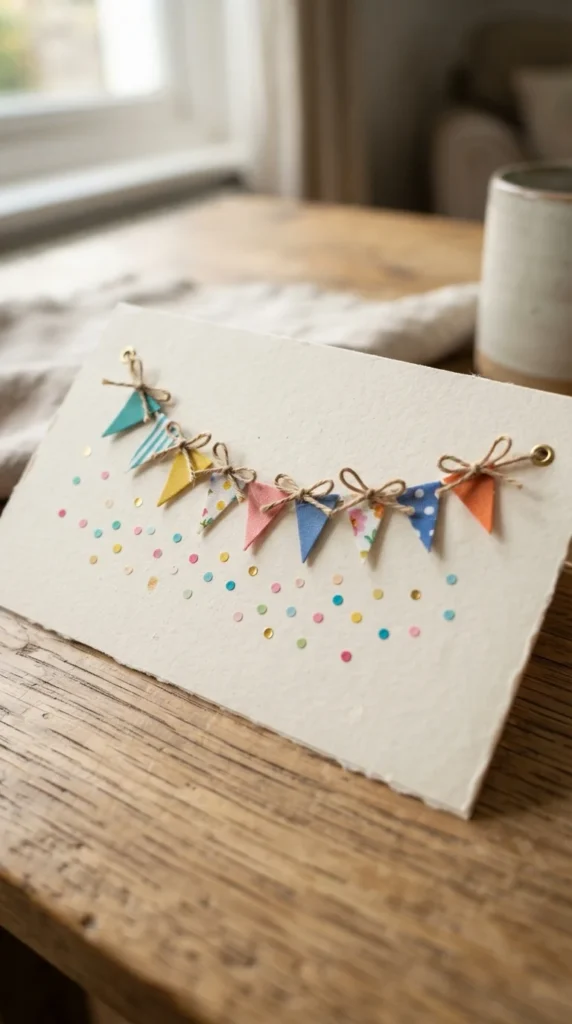
A tiny party banner can turn an ordinary card into a miniature celebration. Cut small triangles from colorful paper and attach them to a short piece of twine or thin string.
Secure the ends of the string to the card with tiny bows or small paper circles. Arrange the banner in a gentle curve rather than a straight line for a more natural party look.
Choose colors that coordinate with the recipient’s favorite shades. You can also use patterned scrapbook paper for the flags and add a few matching confetti circles beneath the banner.
19. Ice Cream Birthday Card
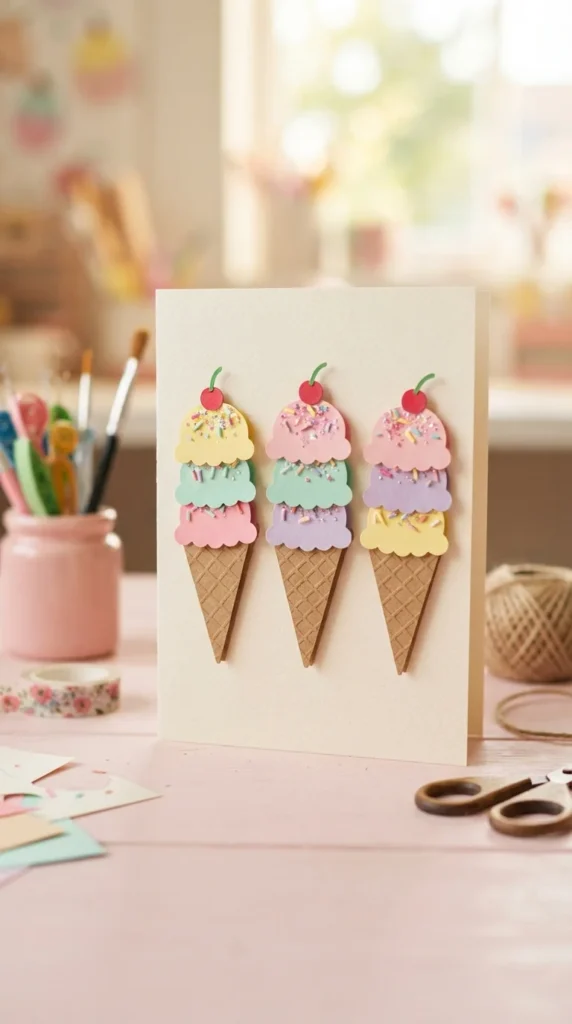
Make a sweet birthday card inspired by an ice cream shop. Cut small triangles from tan cardstock for the cones and layer pastel circles or scalloped shapes above them for the scoops.
Add tiny paper sprinkles, cherries, or chocolate chips to give each scoop a different look. Arrange three cones across the front of the card, with the center cone slightly higher.
Pink, mint, lavender, peach, and pale yellow create a soft dessert-shop palette. For a more playful design, use brighter colors and add tiny stars around the cones.
20. Birthday Cake Slice Card
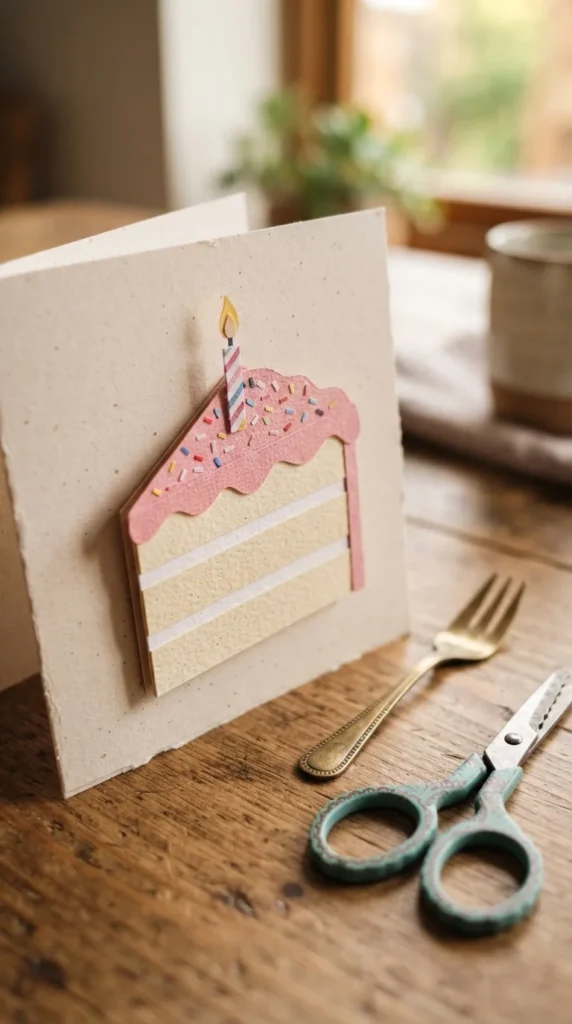
Instead of creating an entire cake, make one adorable slice the centerpiece. Cut triangular layers from cream and colored paper, then stack them to imitate sponge cake and frosting.
Add a wavy frosting edge, tiny sprinkles, and a small candle on top. Foam tape between the layers gives the slice more dimension.
This design feels especially cute when paired with a small paper plate or fork detail. Try strawberry pink, chocolate brown, or lemon yellow layers depending on the recipient’s favorite dessert.
21. Button Flower Birthday Card
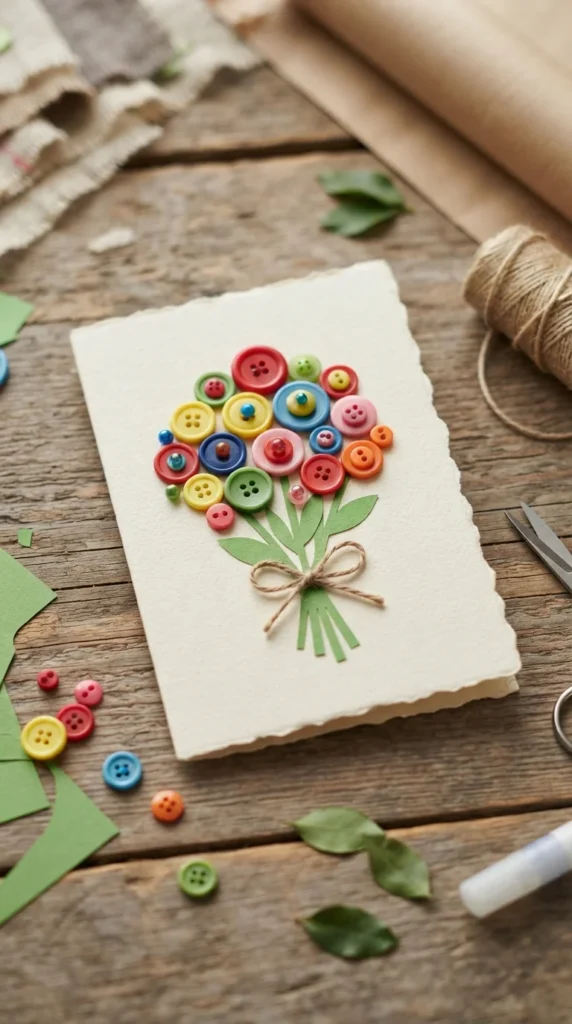
Turn spare buttons into flower centers for a charming handmade bouquet. Cut simple paper flowers and attach one button in the center of each bloom. Use different button sizes to create variety.
Draw or glue thin paper stems beneath the flowers and add a few green leaves. Keep the bouquet grouped on one side of the card so there is room inside for a personal birthday message.
Buttons in mixed colors can create a playful look, while matching buttons give the bouquet a more coordinated style. If the card is for a small child, avoid loose buttons that could become a choking hazard.
22. Sparkling Star Birthday Card
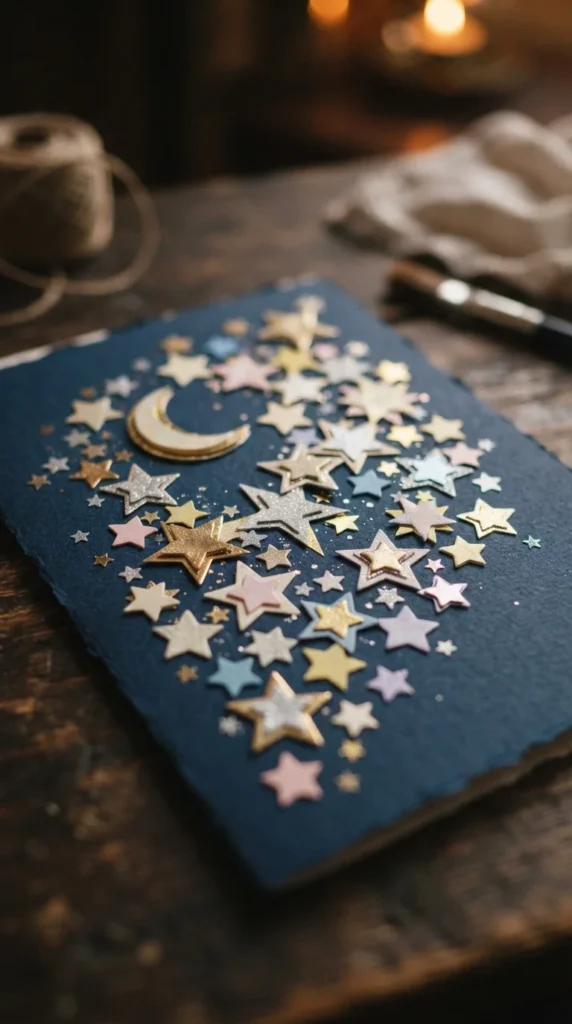
Create a starry birthday card with layered stars in different sizes. Cut the stars from metallic paper, glitter cardstock, or plain colored paper and stack smaller stars over larger ones.
A deep blue or navy background makes the stars stand out beautifully. Add a few tiny circles and crescent shapes to create a night-sky-inspired birthday scene.
For a softer look, replace dark cardstock with cream and use gold, blush, and champagne shades. This design works particularly well for someone who likes elegant decorations with a little sparkle.
23. Birthday Coffee Cup Card
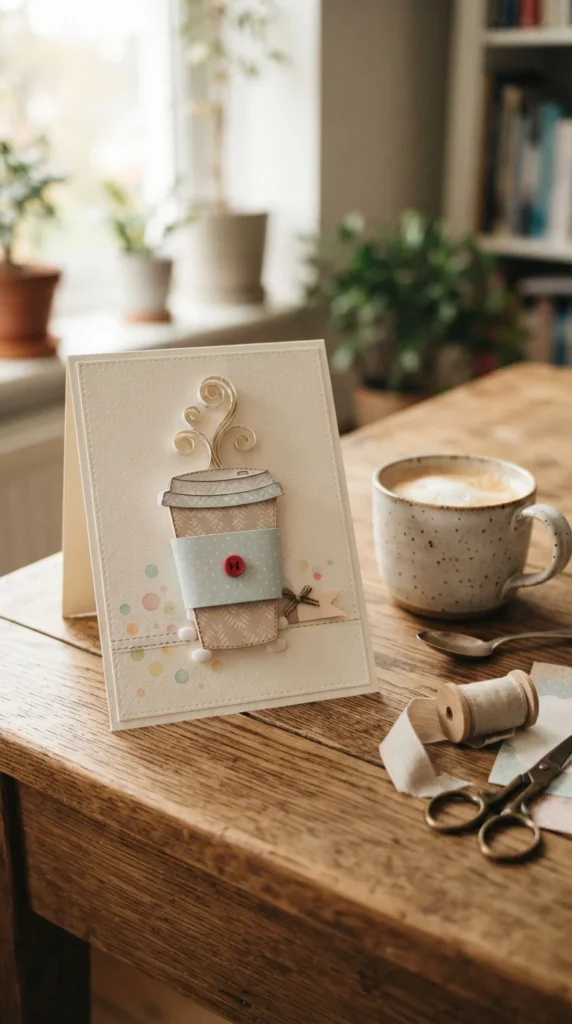
For the coffee lover in your life, make the birthday card around a miniature takeaway cup. Cut the cup shape from cream cardstock and add a colored paper sleeve around the middle.
Create thin curls from paper to represent steam and place a tiny heart on the cup. You can add a small paper pastry beside it for a café-inspired scene.
Use warm beige, brown, cream, blush, or sage green for a cozy palette. The design feels personal when it reflects a hobby or daily ritual that the recipient enjoys.
24. Birthday Garden Card
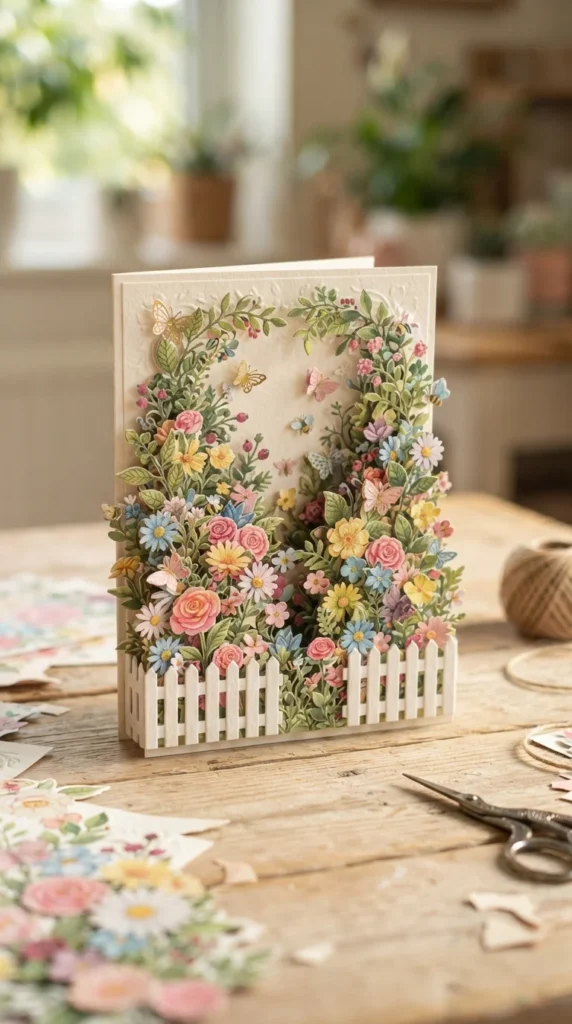
Build a tiny garden across the front of the birthday card. Layer paper flowers, leaves, grass, butterflies, and small decorative elements to create depth.
A narrow strip of white cardstock can become a miniature fence along the bottom. Place taller flowers behind shorter ones so the garden has several visual layers.
Choose flowers that match the recipient’s favorite colors. A pastel garden feels delicate, while bright yellow, orange, pink, and blue flowers create a lively birthday scene. Add a personal note inside about a favorite shared memory.
25. Birthday Pocket Card
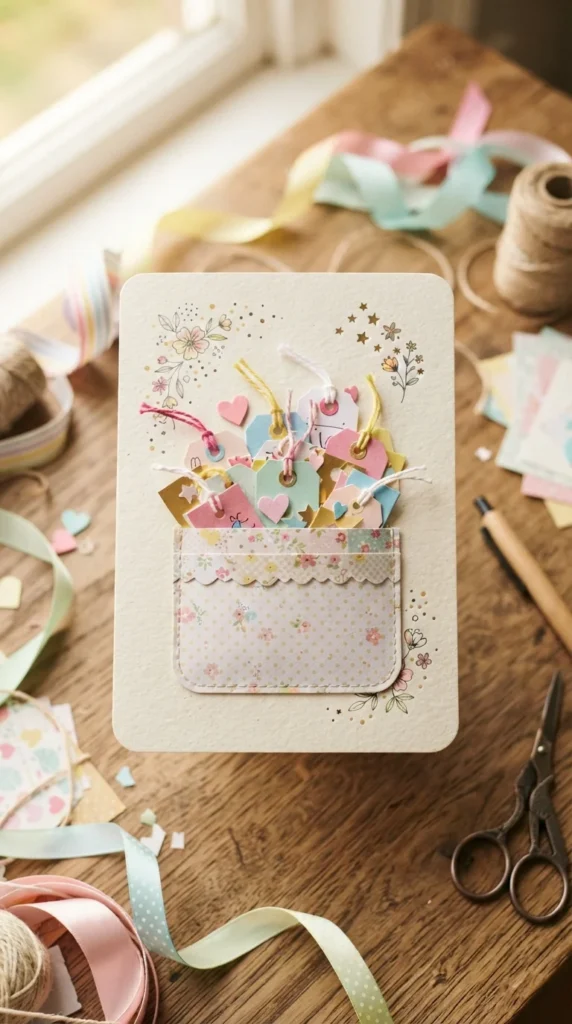
Make a birthday card with a little pocket that holds several tiny surprises. Fold a small rectangle of patterned paper into a pocket and attach it to the lower half of the card.
Fill it with miniature paper hearts, stars, tiny drawings, or blank tags where you can write short memories and wishes. Each little piece can share one reason you appreciate the recipient.
Use scrapbook paper for the pocket and coordinating cardstock for the inserts. This idea works especially well for close friends, siblings, partners, or family members because the tiny notes can carry personal memories.
26. Personalized Photo Birthday Card
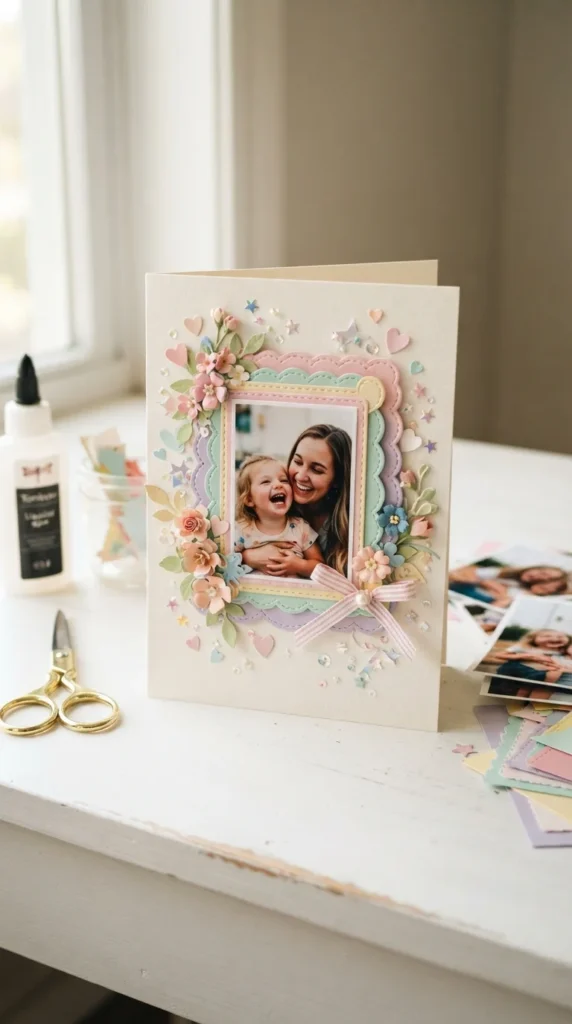
A favorite photograph can turn a simple handmade card into a meaningful keepsake. Choose a clear photo of the recipient, a shared memory, or a special moment and trim it into a small square or rectangle.
Mount the photo on colored cardstock to create a frame, then decorate around it with paper flowers, hearts, ribbon, or tiny stars. Keep the decorations around the edges so the photograph remains the main feature.
Add a handwritten message inside that connects to the photo. You can mention where it was taken, a funny memory, or one thing you appreciate about the person. That personal detail can make the card feel far more meaningful than a store-bought design.
Final Thoughts
A handmade birthday card does not have to be complicated to make someone smile. From pop-up cakes and paper flowers to photo cards and tiny party banners, these ideas give you plenty of ways to match the card to the person receiving it. Pick one design today, gather the paper and supplies you already have, and add a handwritten message that only you could write. That personal touch is what turns a cute DIY card into a birthday keepsake.

Lily Summers is a digital artist and creative storyteller who loves bringing colorful characters to life. With a passion for cartoons, fan art, and playful sketches, she inspires others to explore their imagination through art. When she’s not sketching, you’ll find her dreaming up new ideas for CraftedWizard.com to spark creativity in every artist. 🌈✨