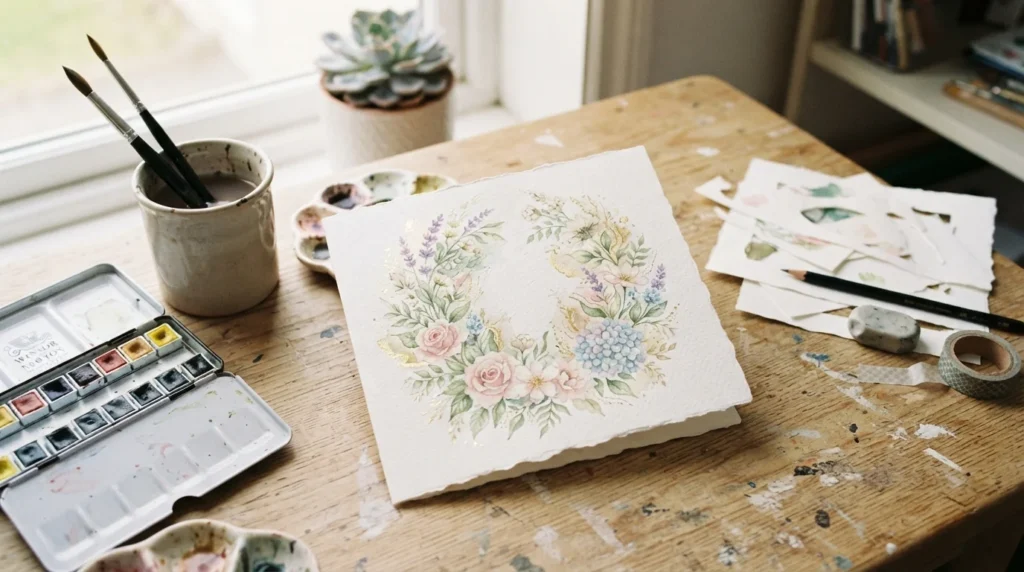
A handmade birthday card feels extra special when it has a little color, texture, and personality. Watercolors are perfect for this because even simple brushstrokes can create a soft, artistic finish that looks beautifully handmade. You do not need to be an experienced artist or own a huge collection of supplies. With watercolor paper, a few colors, and some patience, you can create a card that feels personal and thoughtful.
Gather Your Watercolor Card Supplies
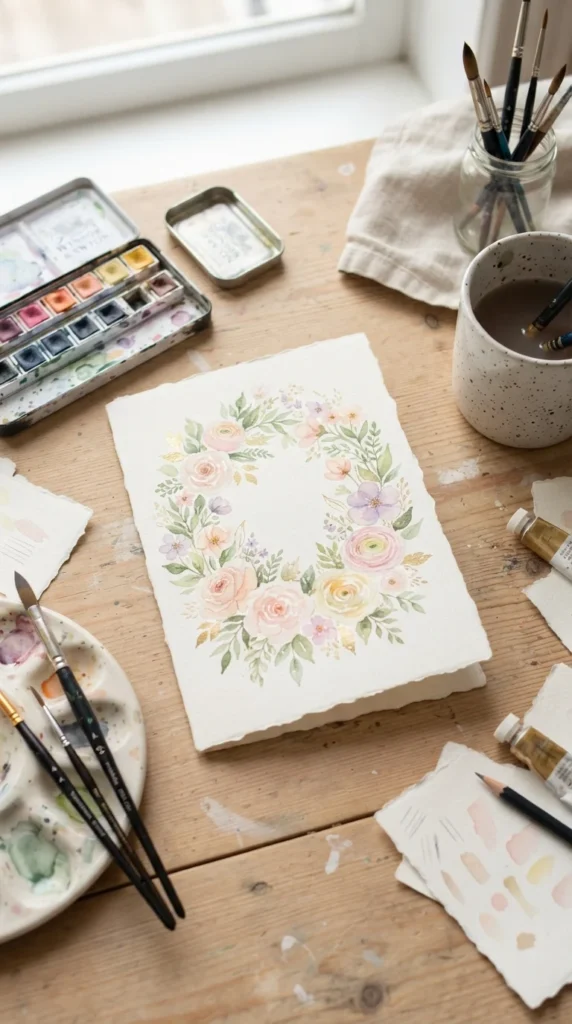
Before painting, gather everything in one place so you can work comfortably. The quality of the paper makes a big difference because regular printer paper can wrinkle and buckle when it gets wet.
Here is what you will need:
- Thick watercolor paper or watercolor cardstock
- Watercolor paints
- A small round brush and a medium brush
- Clean water in a small cup
- Paper towel
- Pencil and eraser
- Black or dark waterproof fine-liner
- Gold or metallic paint, if desired
- Ruler and craft knife or paper cutter
- Glue and decorative paper, if adding extra details
Choose watercolor paper around 300 GSM if possible. It handles water much better and gives your finished card a sturdy feel.
For the card base, fold a sheet of watercolor cardstock in half. Lightly press along the fold with a ruler or bone folder for a neat crease.
Plan Your Birthday Card Design
A little planning can make the painting process much easier. Start by deciding what you want on the front of the card. Flowers, balloons, cupcakes, butterflies, leaves, and simple birthday cakes are all beginner-friendly subjects.
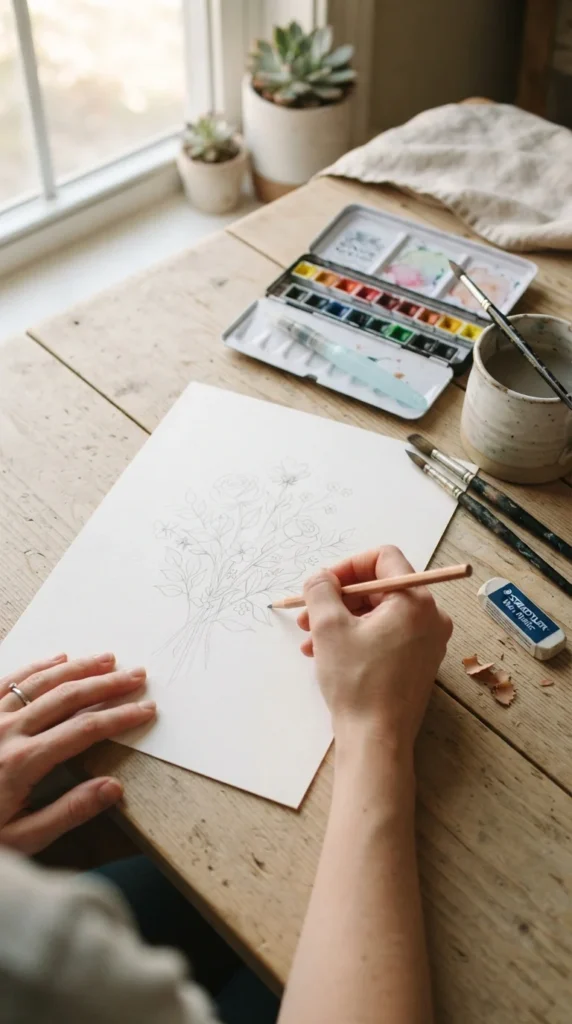
Use a pencil to sketch the main shapes very lightly. Avoid pressing hard because pencil lines can remain visible beneath transparent watercolor.
For a simple floral design, sketch a few flowers in one corner and let the leaves curve toward the center. Another easy option is a row of colorful balloons floating upward.
Keep the design slightly open rather than filling every part of the card. White space gives the watercolor artwork room to stand out and makes the card feel clean.
Start With Light Watercolor Layers
Now comes the fun part: painting. Begin with a small amount of water and a light layer of color. Watercolor becomes darker as you add more pigment, so starting softly gives you more control.
Dip your brush into clean water, pick up a small amount of paint, and apply it inside your pencil sketch. Let the first layer dry before adding another layer for darker areas.
Try these simple techniques:
- Wet-on-dry: Paint directly onto dry paper for cleaner edges.
- Wet-on-wet: Add clean water first, then drop color into it for soft edges.
- Layering: Let one color dry before adding another shade.
- Color mixing: Mix two nearby colors on a palette for gentle variations.
For flowers, try pale pink with a deeper pink near the centers. For leaves, combine two shades of green rather than using one flat color.
Add Details With Fine Brushstrokes
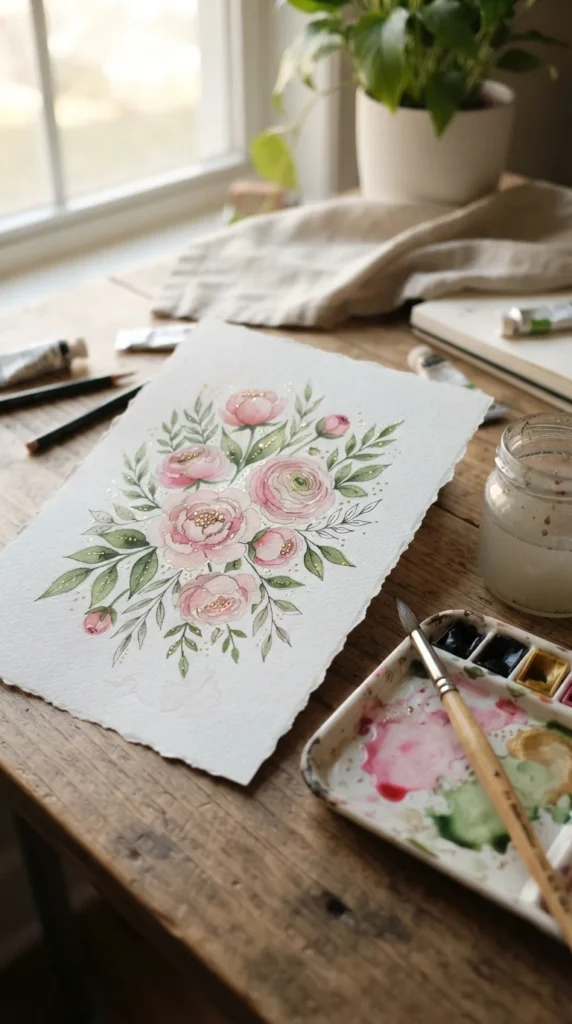
Once the main watercolor areas have dried, add smaller details. A thin brush can create flower stems, leaf veins, balloon strings, cake decorations, or tiny stars.
You can also use a waterproof fine-liner to outline selected areas. Do not outline everything if you want a softer watercolor appearance. A few dark lines around important details can create contrast while keeping the painting delicate.
Metallic gold can add a pretty finishing touch. Use it sparingly around flower centers, balloon strings, stars, or small decorative dots.
Let the Card Dry Completely
Patience matters when working with watercolor. If you add details while the previous layer is still wet, colors can spread into areas where you may not want them.
Place the card flat and allow it to dry naturally. Avoid using a hair dryer too close to the paper because strong heat can warp the cardstock.
Once the painting is completely dry, gently erase any visible pencil marks. Use a soft eraser and light pressure so you do not damage the painted surface.
If the paper has curled slightly, place it between two clean sheets of paper under a heavy book for a while. This can help flatten the card.
Add a Personal Handmade Touch
The painting is only part of the finished card. You can add a few simple details around the watercolor artwork to make the design feel more personal.
Consider adding:
- A narrow strip of patterned paper along one edge
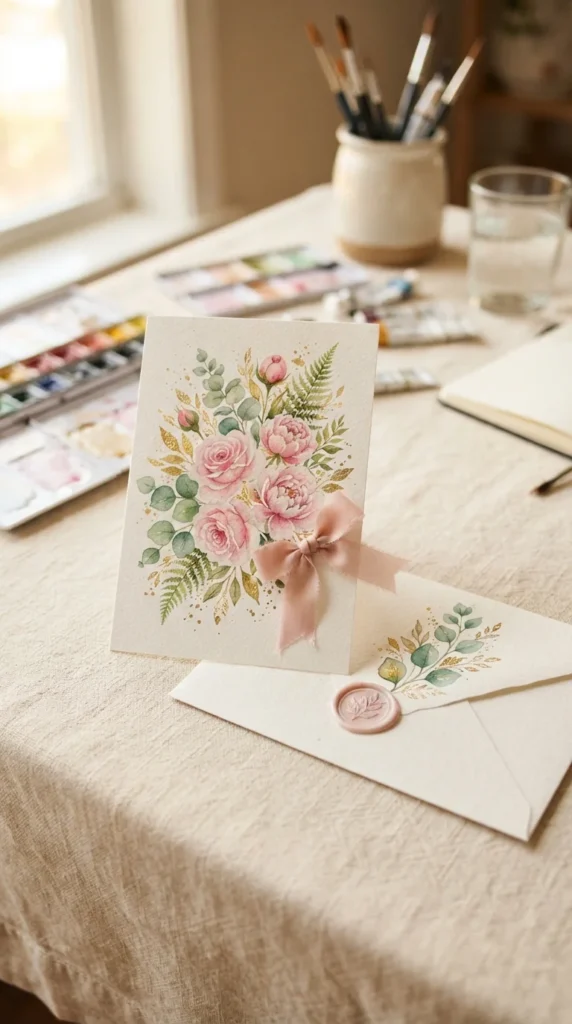
- A small ribbon bow
- Tiny paper flowers
- Gold or silver dots
- A matching envelope
- A handwritten birthday message inside
Avoid adding too many decorations. The watercolor artwork should remain the main feature of the card.
For a close friend or family member, write a short message that mentions a shared memory or something you appreciate about them. That personal note can make a simple handmade card much more meaningful.
Make Every Card Your Own
One of the best things about watercolor cards is that no two paintings have to look exactly alike. You can change the color palette, subject, layout, and level of detail to match the person receiving the card.
For a cheerful design, try yellow, coral, turquoise, and pink. For a more elegant card, use blush, sage green, cream, and touches of gold. You can even paint a simple night sky with stars for someone who prefers a darker color palette.
Do not worry about making every flower or shape perfect. Small variations are part of the charm of handmade artwork.
Final Thoughts
Making a watercolor birthday card is a simple way to turn paper and paint into a thoughtful keepsake. Start with a simple design, build your colors in light layers, and give each section enough time to dry before adding details. Finish it with a personal handwritten message and a few carefully chosen decorations. Save this idea for the next birthday on your calendar and make a handmade card that feels truly personal.

Lily Summers is a digital artist and creative storyteller who loves bringing colorful characters to life. With a passion for cartoons, fan art, and playful sketches, she inspires others to explore their imagination through art. When she’s not sketching, you’ll find her dreaming up new ideas for CraftedWizard.com to spark creativity in every artist. 🌈✨