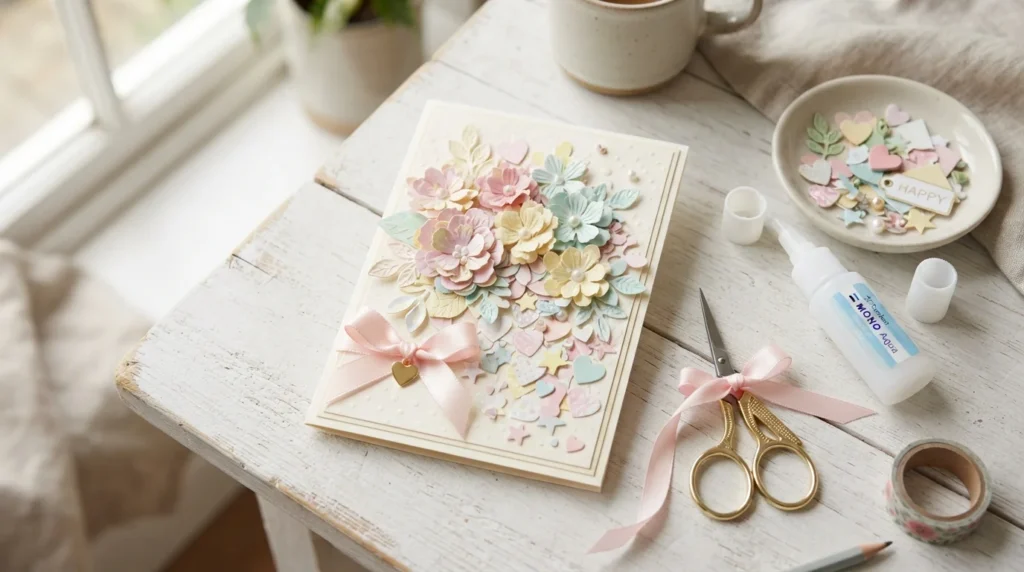
A handmade birthday card can turn a simple sheet of paper into a keepsake that feels personal and thoughtful. You do not need expensive craft supplies or advanced skills to make one that looks beautiful. With cardstock, colorful paper, scissors, glue, and a few decorative details, you can create a charming card in less than an hour.
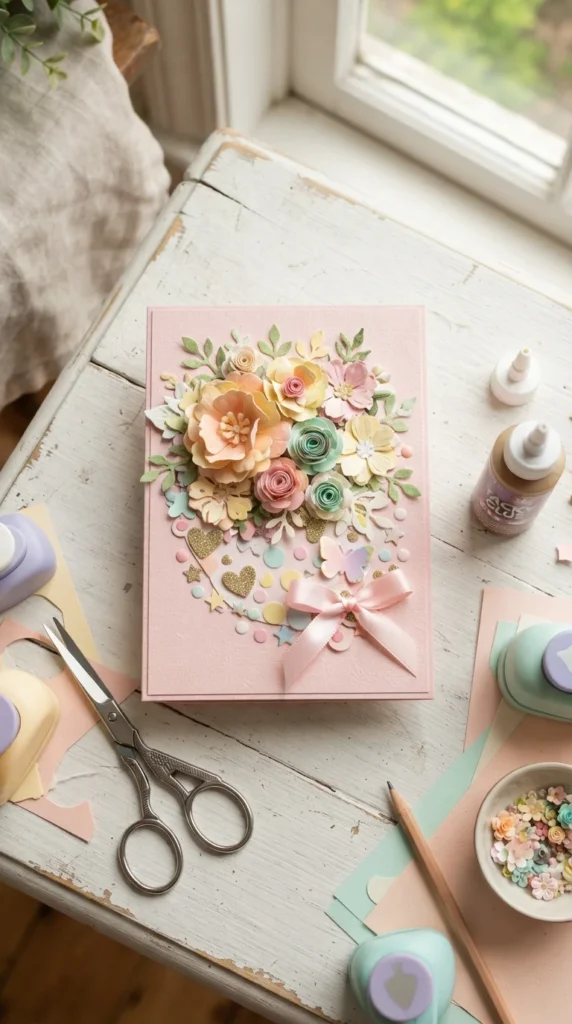
Whether you are making a card for a friend, parent, sibling, or coworker, the best part is that you can match the colors and decorations to their personality. Follow these simple steps to create your own paper birthday card from scratch.
Gather Your Paper Craft Supplies
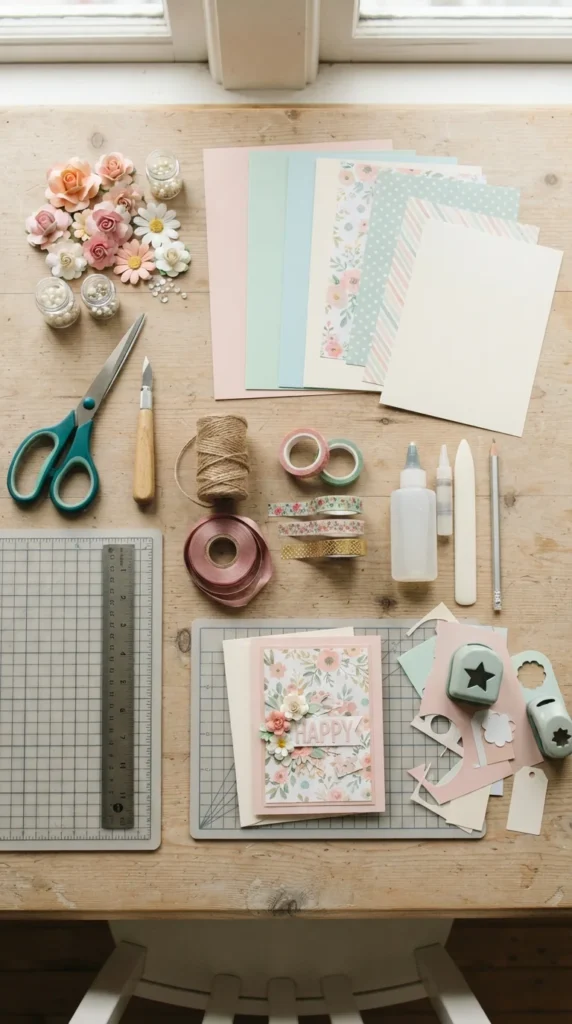
Start by collecting everything you need before you begin. Keeping your supplies together makes the process easier and lets you focus on the design.
You will need:
- One sheet of thick cardstock for the card base
- Colored or patterned paper for decorations
- Scissors
- Glue stick or craft glue
- Pencil and ruler
- Colored markers or pens
- Ribbon, stickers, pearls, or paper flowers for decoration
- Optional: decorative scissors, paper punches, or washi tape
Choose cardstock that is thick enough to fold without becoming floppy. White, cream, pastel pink, lavender, blue, and sage are great choices for a soft Pinterest-inspired look.
Fold the Paper Into a Card Base
Take your cardstock and place it on a flat surface. Measure the center of the sheet with a ruler and lightly mark the folding point with a pencil.
Fold the cardstock carefully in half, matching the edges before pressing down along the crease. For a cleaner fold, use the edge of your ruler to gently press the crease after folding.
You can make a standard portrait-style card or turn the paper sideways for a landscape design. If you are using patterned paper, keep the pattern on the outside and choose a plain sheet for the inside message.
For a slightly more polished look, trim a few millimeters from the front panel so the inside layer creates a narrow border. This small detail can make a simple card look more professionally assembled.
Create a Layered Paper Design
Now it is time to decorate the front. Cut a rectangle from colored paper that is slightly smaller than the card’s front panel. Glue it onto the card, leaving an even border around the edges.
Next, create a simple focal point. You could cut out:
- Hearts in three different sizes
- Paper flowers with layered petals
- Stars and circles
- Butterflies
- Birthday balloons
- A large decorative bow
Layering different paper shapes gives the card more dimension. Use foam adhesive or small folded pieces of cardstock behind a few shapes to make them stand slightly above the card surface.
Add a Handmade Paper Flower
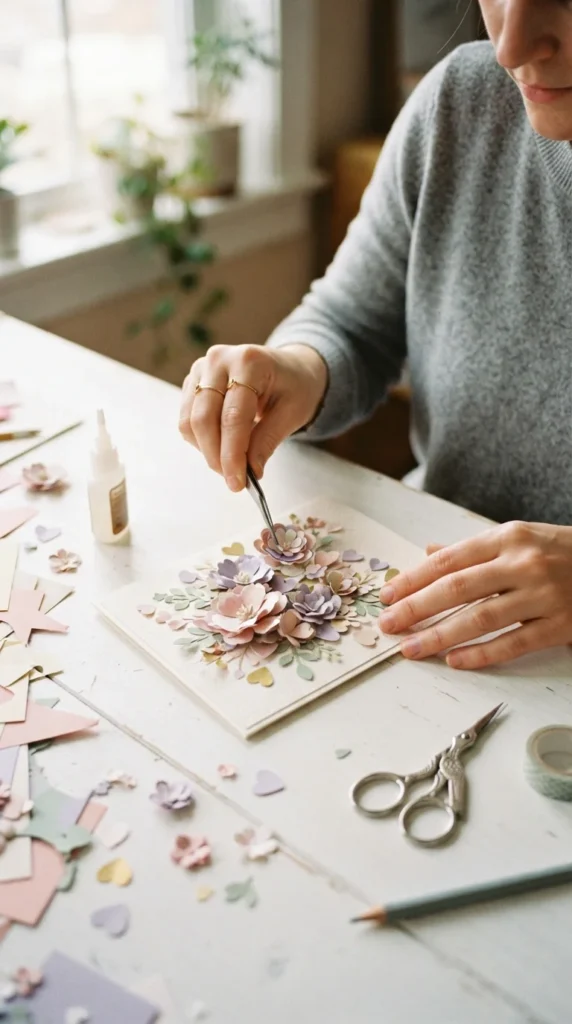
Paper flowers are one of the easiest ways to make a birthday card look special. Cut several small flower shapes from two or three coordinating colors of paper.
Layer the flowers by placing a smaller shape on top of a larger one. Add a small circle, pearl, or contrasting paper dot to the center.
For a simple flower:
- Cut five or six rounded petals.
- Slightly curl each petal with your fingers.
- Glue the petals together around the center.
- Add a small paper circle or bead in the middle.
- Attach the finished flower to the card.
Create two or three flowers in different sizes and place them in one corner. Add a few small paper leaves between them to make the arrangement look more natural.
Make a Simple Paper Balloon Design
If you want a playful birthday card, paper balloons are another easy option. Cut several oval shapes from colorful paper and fold each one gently down the center.
Glue the folded balloons onto the card, keeping only the center crease attached. This gives each balloon a slightly raised appearance.
Draw thin strings underneath the balloons using a fine marker. Tie the strings together near the bottom with a tiny paper bow or ribbon.
Use three or four colors that work well together. Pastel shades create a soft aesthetic card, while bright colors give the design a fun party feel.
Decorate the Inside of the Card
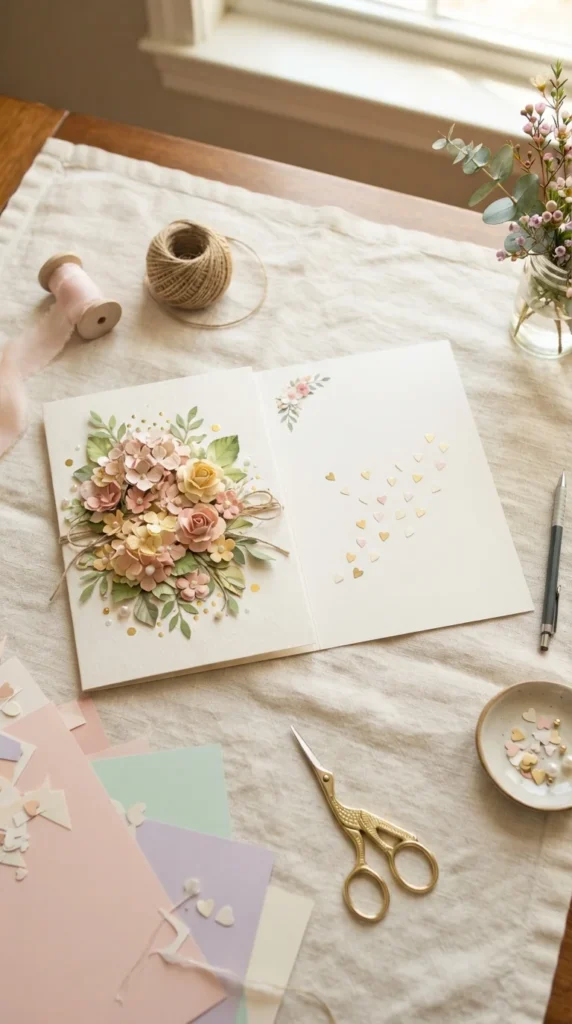
The inside does not have to be complicated. Add a small paper heart, flower, or balloon in one corner to connect the inside design with the front.
Leave plenty of space for your personal birthday message. A handwritten note will make the card feel much more meaningful than filling every part of the page with decorations.
You can also add a small pocket made from patterned paper. Tuck a tiny photograph, mini note, or paper heart inside the pocket as an extra surprise.
Finish With Small Decorative Details
Take a final look at the card and check whether any area feels too empty or crowded. Add small details only where they improve the overall design.
Try using:
- Tiny pearl embellishments
- Small paper leaves
- Washi tape strips
- A satin ribbon bow
- Mini paper stars
- Decorative corner shapes
Keep the colors consistent throughout the card. Two or three main colors are usually enough to create a neat handmade appearance.
Once the glue has dried, place the card inside an envelope that matches the design. You can also decorate the envelope with a small paper flower or matching sticker.
Final Thoughts
Making a birthday card with paper is a simple craft that gives you plenty of room to be creative. Start with a sturdy cardstock base, add layered paper shapes, and finish with a few personal decorations that suit the birthday person. The design does not have to be perfect—the handmade details are what make it special. Save this idea for your next birthday project and make a paper card that your friend or family member will want to keep.

Lily Summers is a digital artist and creative storyteller who loves bringing colorful characters to life. With a passion for cartoons, fan art, and playful sketches, she inspires others to explore their imagination through art. When she’s not sketching, you’ll find her dreaming up new ideas for CraftedWizard.com to spark creativity in every artist. 🌈✨