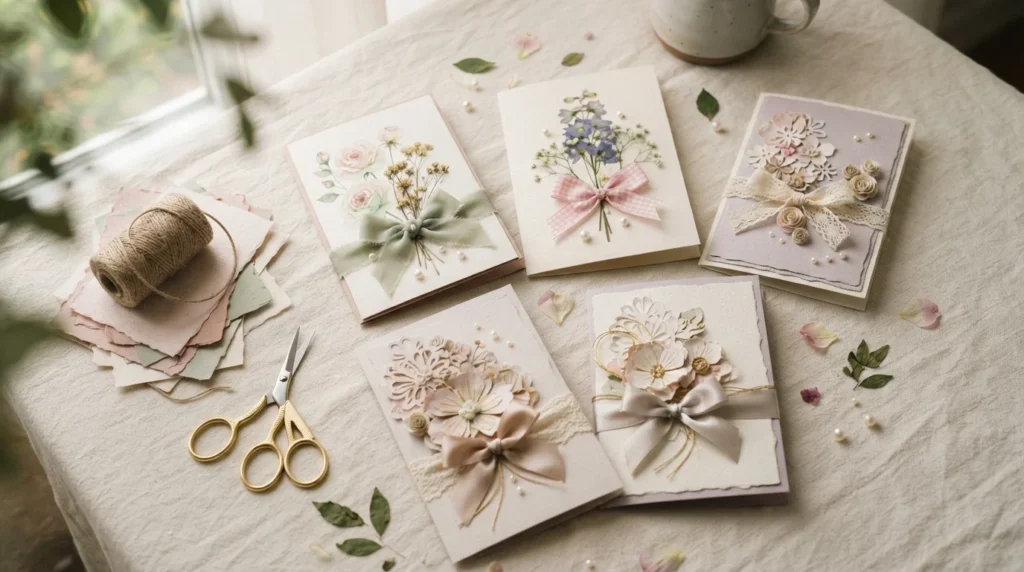
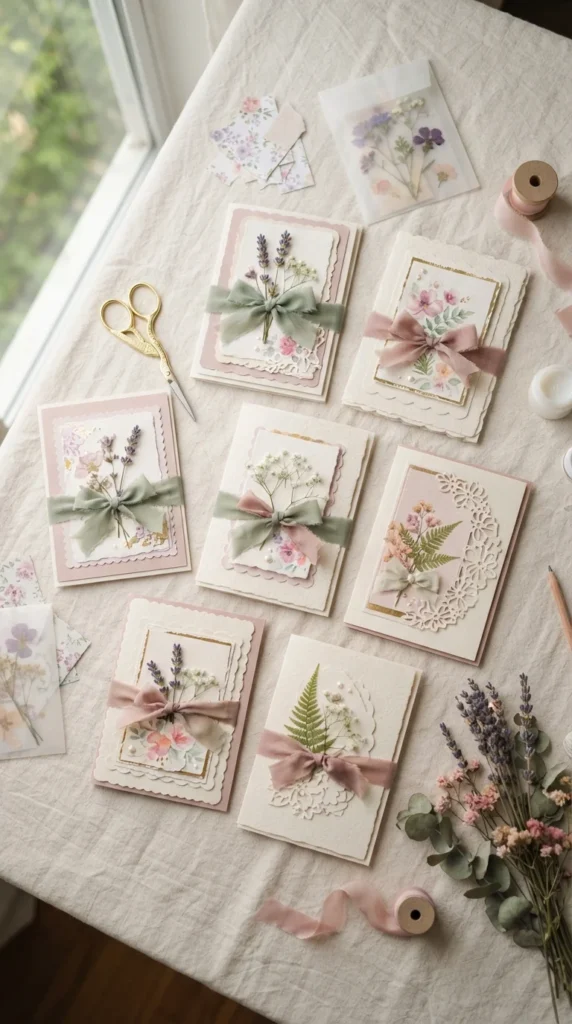
A handmade birthday card can turn a simple birthday wish into a keepsake someone wants to display. With a few sheets of pretty paper, ribbon, flowers, stickers, or tiny embellishments, you can create a card that feels personal without requiring advanced crafting skills. These aesthetic birthday card ideas range from soft floral designs to playful bows, elegant layers, and cute handmade details. Pick one that matches the birthday person’s style, gather your supplies, and make your own Pinterest-worthy card today.
1. Pastel Floral Birthday Card
Pastel flowers are an easy way to give a birthday card a soft, feminine appearance. Cut small flower shapes from pink, peach, lavender, and cream cardstock, then layer two or three pieces to create dimension. Add a tiny pearl or rhinestone at the center of each flower for a polished finish.
Keep the flowers clustered around one corner instead of covering the entire card. This leaves open space and gives the design a clean appearance. A thin satin ribbon tied around the lower edge can add another delicate detail without making the card feel crowded.
2. Minimalist Bow Card
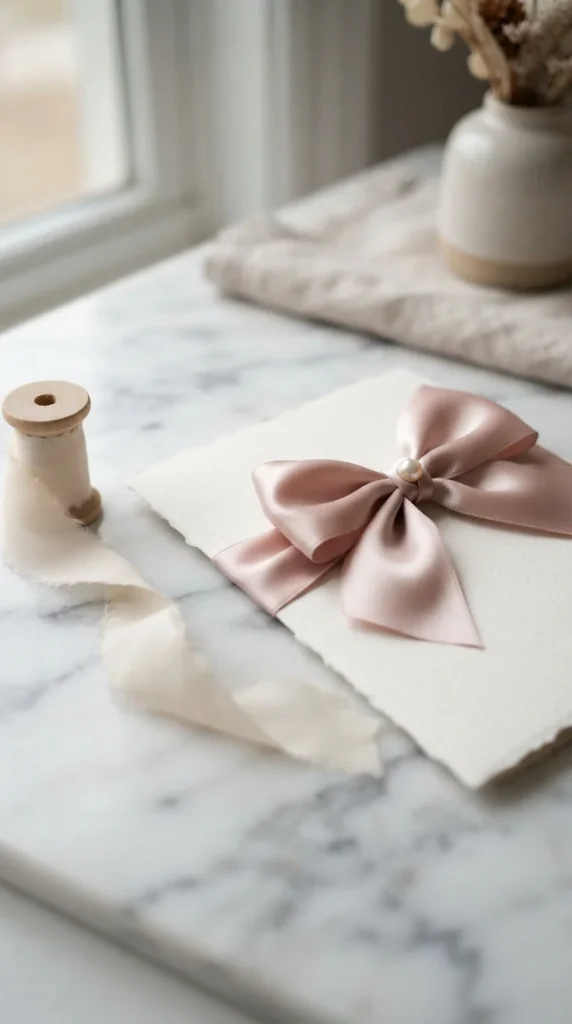
A large bow can become the main feature of a simple birthday card. Choose satin, velvet, grosgrain, or sheer ribbon in a color that matches the recipient’s personality. Attach the bow near the center or slightly toward one side for a stylish asymmetrical layout.
For a refined finish, use a small pearl or decorative bead at the center of the bow. Pair it with an ivory, blush, or pale gray card base. This design works well when you want something pretty but quick to assemble.
3. Pressed Flower Birthday Card
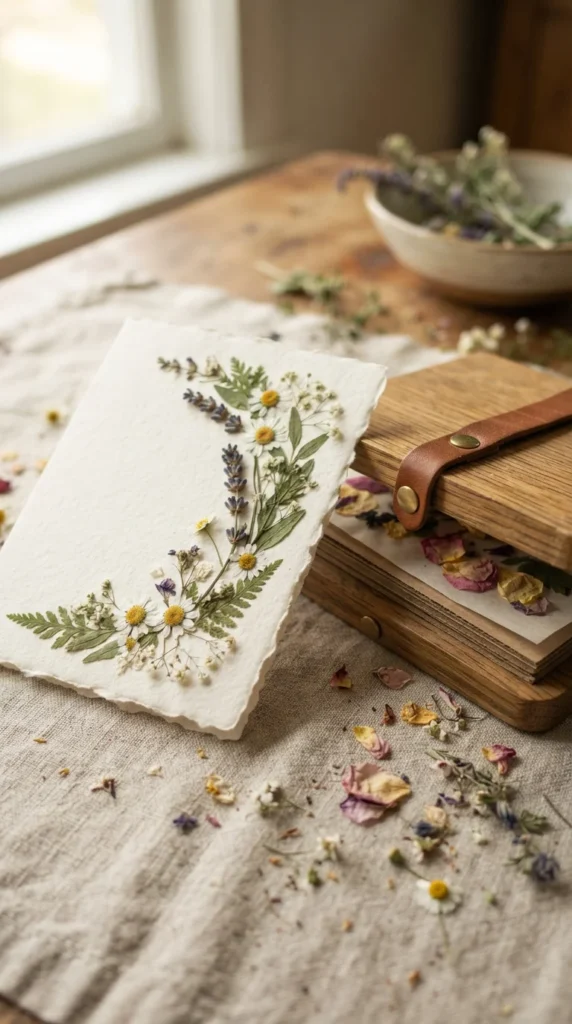
Pressed flowers give a handmade card a delicate botanical feel. Arrange small dried flowers along one edge before attaching them with clear craft glue. Tiny daisies, baby’s breath, lavender, and small leaves work especially well for this style.
Use a neutral cardstock base so the flowers remain the focus. You can also place a thin sheet of translucent paper over part of the arrangement for a soft layered effect. Keep the botanical pieces flat and lightweight so the finished card remains easy to place inside an envelope.
4. Polaroid Photo Card
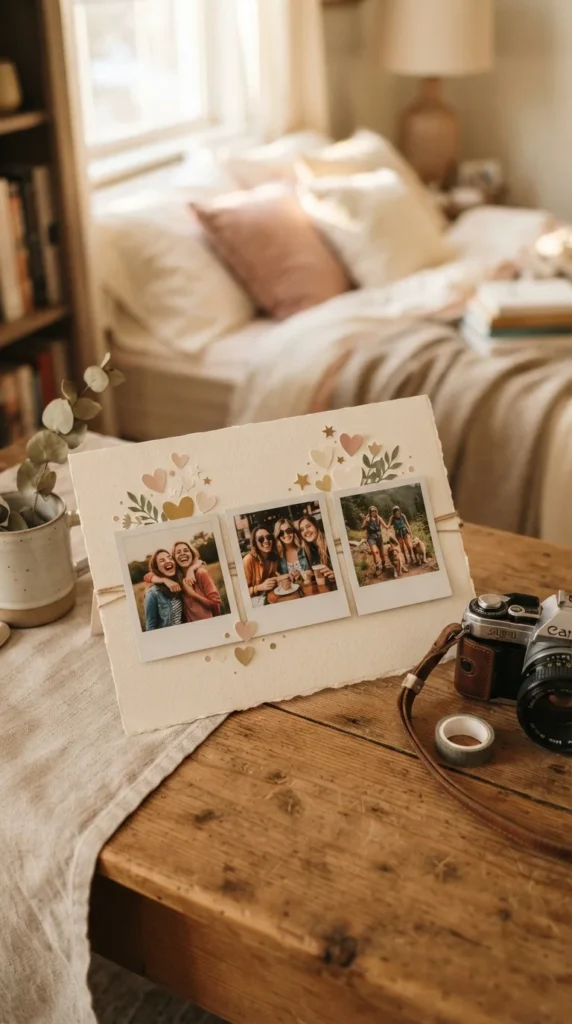
Turn favorite memories into the main decoration by creating miniature photo frames. Print two or three small photographs and mount each one onto white paper with a wider bottom edge. Arrange the frames across the card like a tiny photo wall.
Add small paper hearts, stars, or ribbon pieces around the photos. For a friend or family member, this idea can feel especially personal because the decoration also tells a little story. Choose photos with similar colors if you want the finished card to have a cohesive appearance.
5. Layered Heart Birthday Card
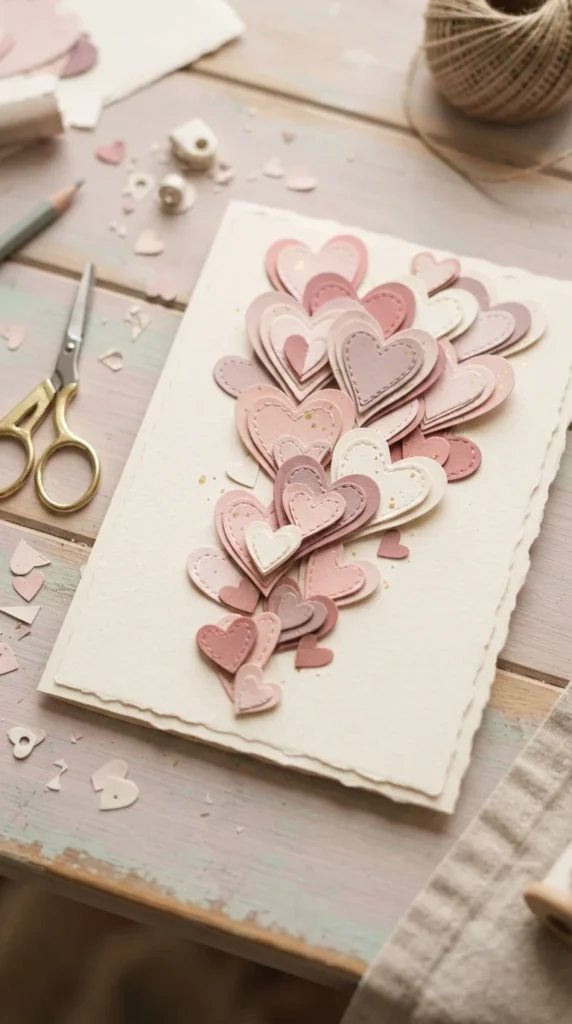
Layered hearts are simple enough for beginners and can create a beautiful dimensional effect. Cut hearts in several sizes from coordinating cardstock, then attach them with foam adhesive or folded paper spacers. Slightly overlap the shapes so the card has visible depth.
Try using three shades of one color rather than many unrelated colors. A blush, rose, and cream combination looks soft and cohesive. Leave a section of the card uncovered so the design has room to breathe.
6. Watercolor Floral Card
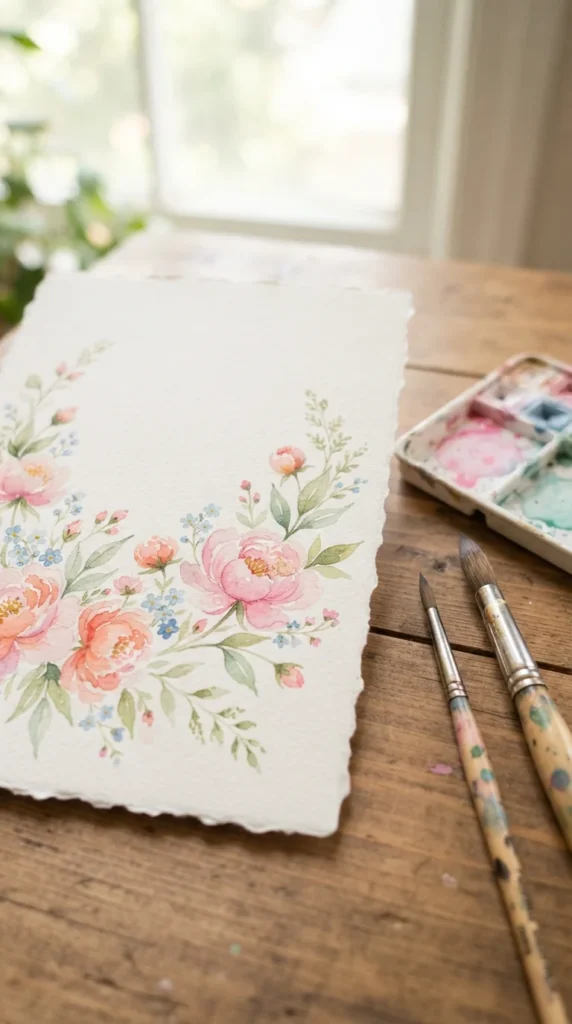
Watercolor flowers can make a birthday card feel like a small piece of artwork. You do not have to paint detailed petals; loose shapes and soft color washes can create lovely flowers with very little effort. Start with pale colors and add darker details after the first layer dries.
Use textured watercolor paper for the painted section, then mount it onto a slightly larger cardstock base. A narrow strip of metallic paper along one edge can frame the artwork and give the card a polished appearance.
7. Pearl and Lace Card
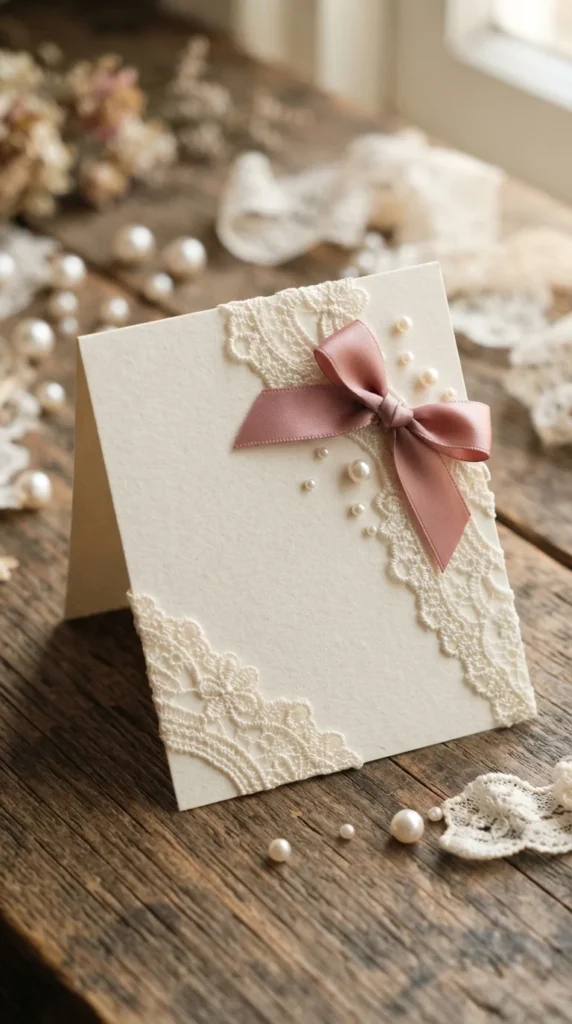
Pearls and lace create a graceful card design with a soft vintage-inspired feel. Attach a narrow piece of lace across the bottom third of the card, then add a ribbon above it. A few small pearls can be placed along the lace pattern.
Keep the decorations concentrated in one area instead of covering the entire surface. Cream, blush, champagne, and dusty rose shades work beautifully together. This design is especially suitable for someone who enjoys elegant accessories and soft decorative details.
8. Cute Birthday Cake Card
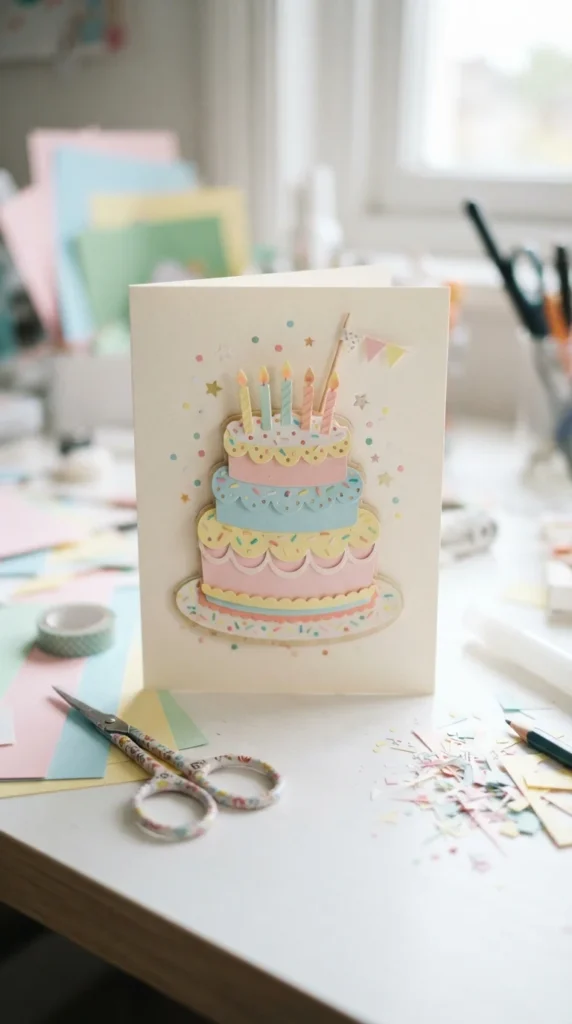
A paper birthday cake makes a cheerful centerpiece for a handmade card. Cut three rectangles in different widths and stack them to form cake tiers. Add scalloped paper frosting, tiny candles, and miniature sprinkles using small paper dots.
For more dimension, attach each cake layer with foam tape. You can also add a small ribbon bow beneath the cake. Use playful pastel shades for a younger recipient or neutral cream and gold tones for an adult birthday.
9. Butterfly Cutout Card
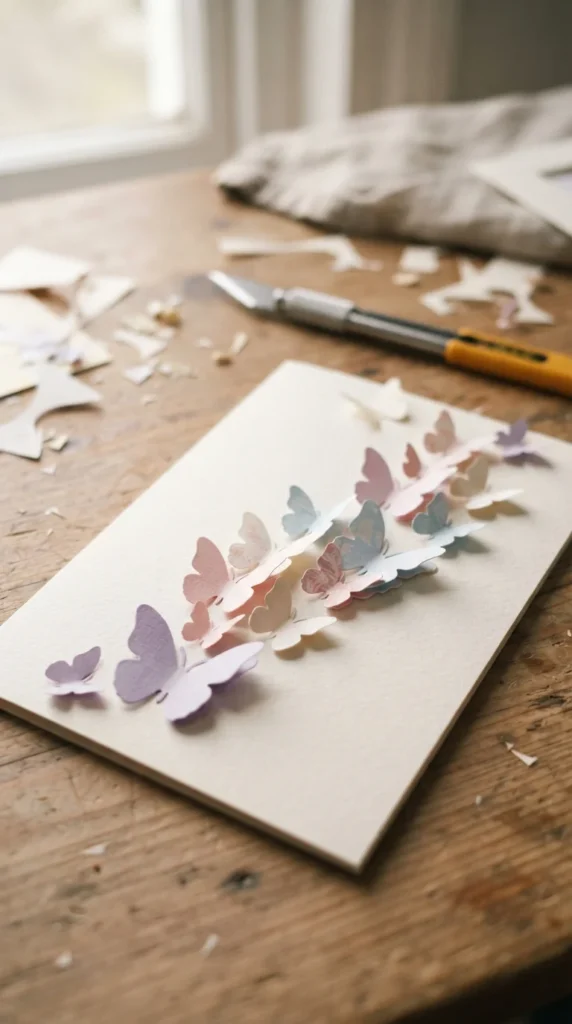
Butterflies can give a card a light and graceful appearance. Cut several butterfly shapes from patterned or solid cardstock and fold the wings slightly upward. Attach only the center of each butterfly so the wings remain raised.
Arrange the butterflies in a gentle curve that moves from one corner toward the center. Mixing two or three sizes keeps the design visually interesting. Pale lavender, blush, ivory, and powder blue create a soft palette that works well for many birthday styles.
10. Vintage-Inspired Floral Card
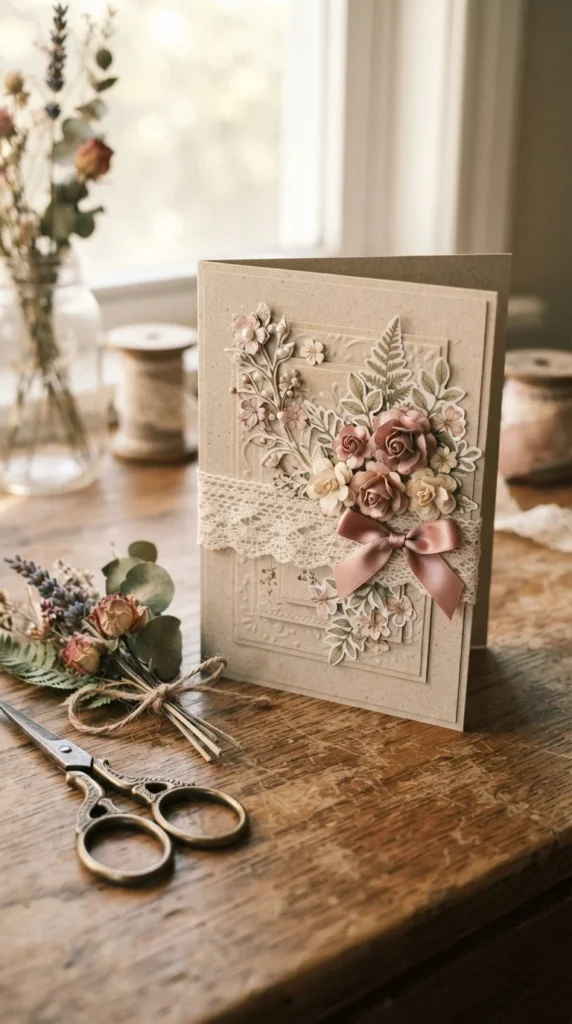
For a vintage-inspired look, use muted colors and textured materials. Cream cardstock paired with dusty rose flowers, lace, ribbon, and small botanical shapes can create an old-fashioned decorative style without looking heavy.
Torn paper edges can add texture around the floral arrangement. Keep the colors soft and slightly muted, then finish with a small bow or pearl. This design works particularly well for someone who enjoys cottage-style decor, floral stationery, or classic crafts.
11. Ombre Paper Heart Card
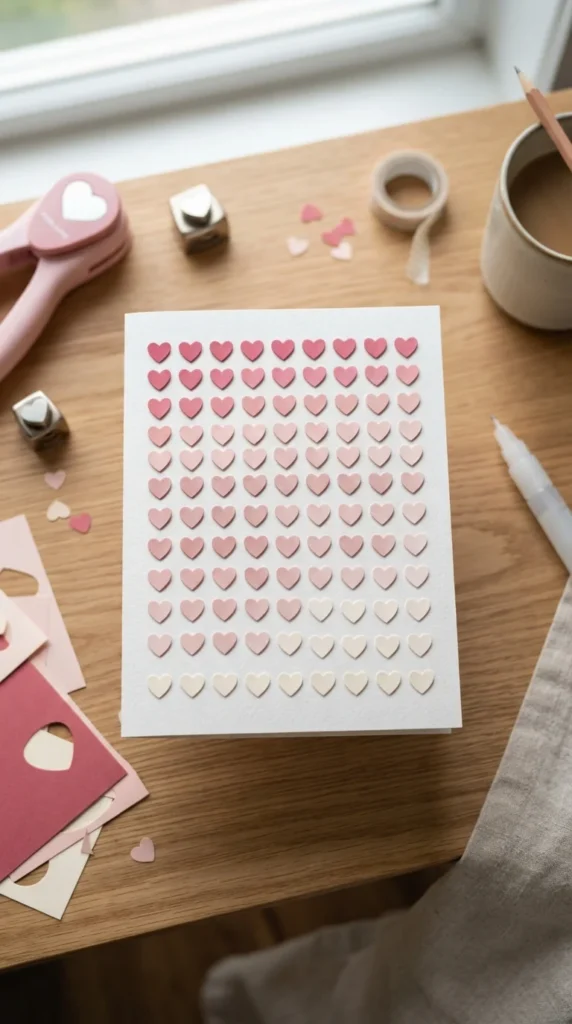
An ombre card can look sophisticated while using very basic materials. Choose several shades within the same color family and cut small hearts from each sheet. Arrange them from the darkest shade to the lightest across the card.
You can create straight rows, a heart-shaped cluster, or a gentle wave. Attach some hearts flat and raise a few with foam adhesive to add dimension. This idea is particularly useful when you have leftover cardstock from other projects.
12. Handmade Envelope Pocket Card
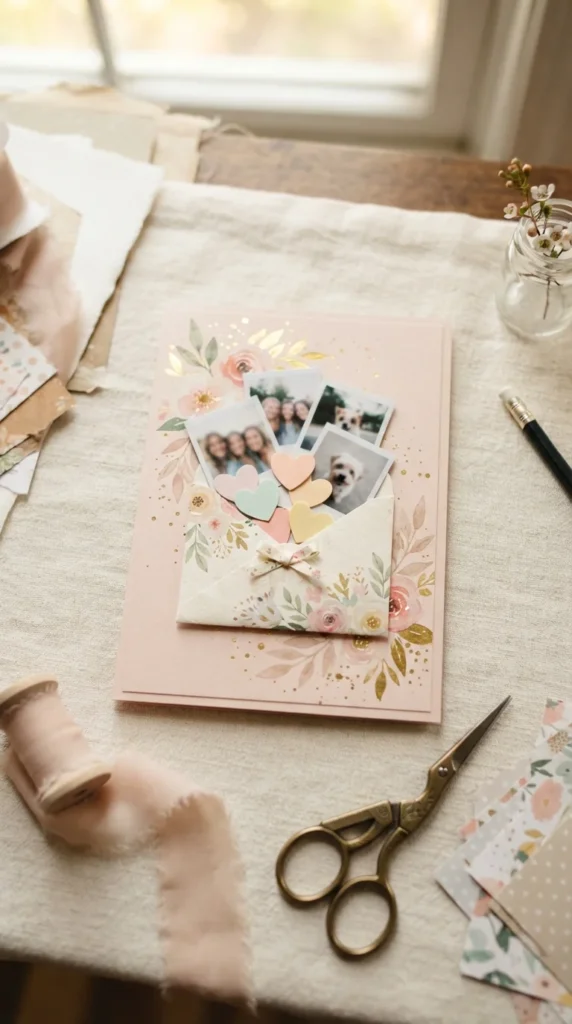
Turn the card into a tiny keepsake by adding a pocket to the front. Fold a small envelope from patterned paper and attach it to the cardstock, leaving the opening accessible. Fill it with miniature photographs, paper hearts, tiny drawings, or small handwritten notes.
Choose one pattern for the pocket and keep the rest of the card simple. A ribbon loop can make the pocket easier to open while adding another decorative detail. This idea gives the recipient something to explore after opening the card.
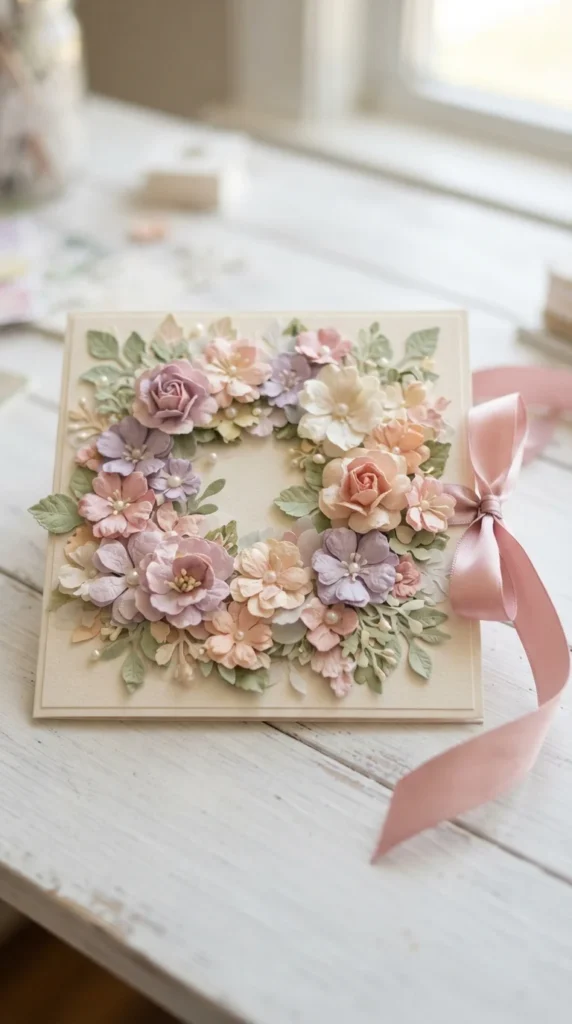
13. Floral Wreath Birthday Card
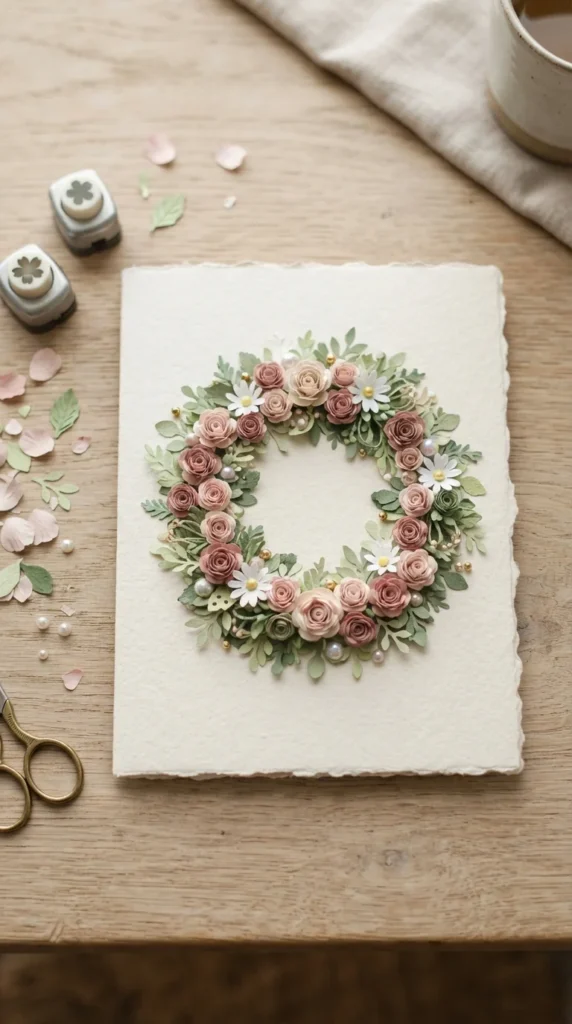
A floral wreath creates a balanced focal point without covering the whole card. Start by lightly marking a circle on the cardstock, then arrange small flowers and leaves around the guide. Once you like the placement, glue each piece into position.
Use a mixture of tiny flowers and leaves rather than making every piece identical. Leave the center open for a personal message. A pale pink ribbon tied beneath the wreath can finish the design while keeping the overall appearance soft.
14. 3D Balloon Card
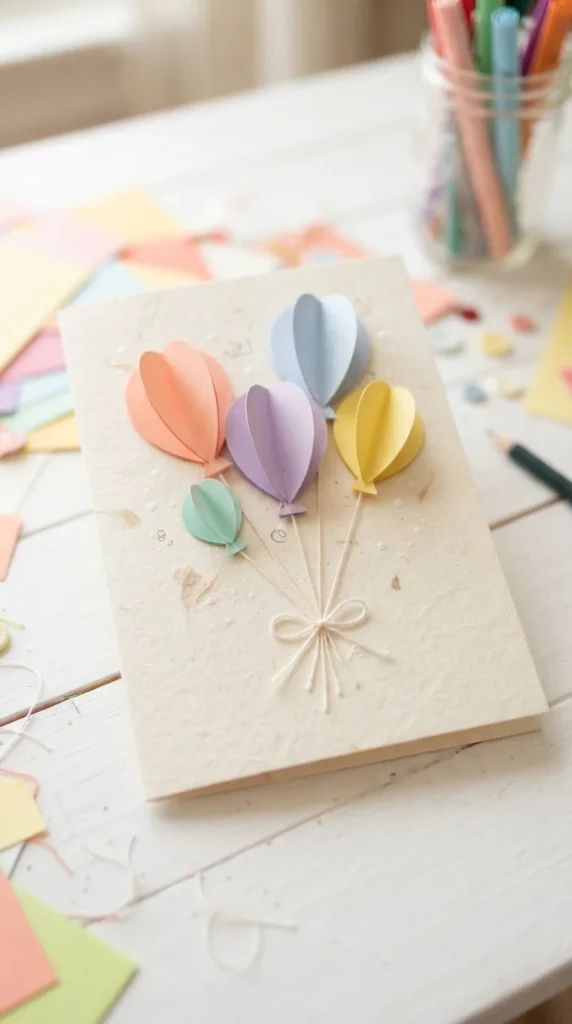
Paper balloons can turn a flat card into a playful 3D project. Cut balloon shapes from colored cardstock and fold each one down the middle. Glue the folded pieces together at their center lines to create rounded balloon shapes.
Attach thin thread or drawn paper strings underneath each balloon. Arrange them at different heights for a floating effect. This idea works for children, teens, and adults when you adjust the color palette to suit the recipient.
15. Gold Foil Accent Card
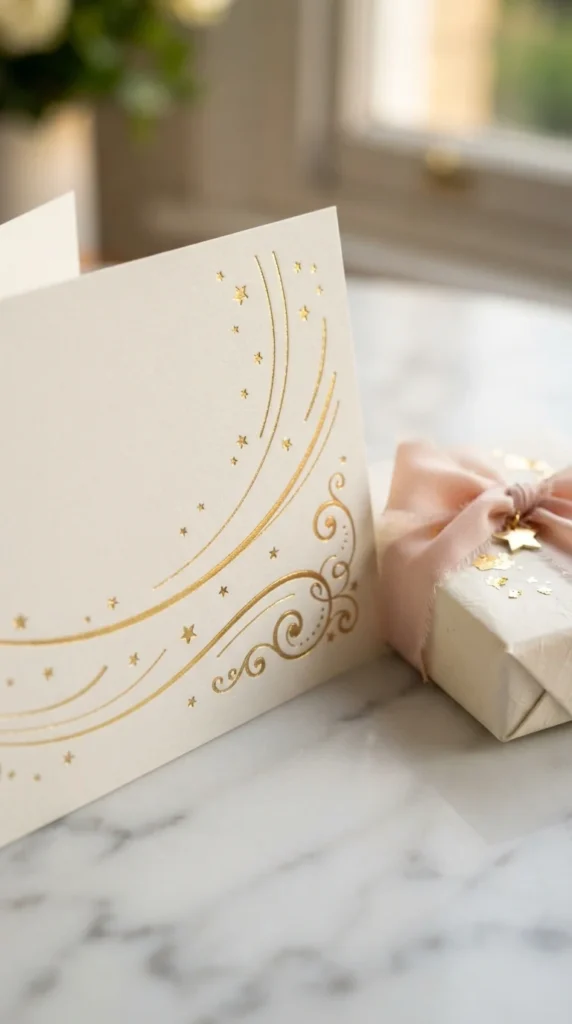
Small metallic details can make a simple card feel polished. Use gold foil paper, metallic cardstock, or adhesive foil sheets to create tiny stars, dots, leaves, or geometric shapes. Keep the accents limited to one section of the card.
Pair gold with ivory, blush, black, navy, or pale pink depending on the recipient. A small metallic border around a central paper shape can also create a framed effect. The key is to use just enough shine to make the design interesting without covering the entire surface.
16. Cottagecore Flower Card
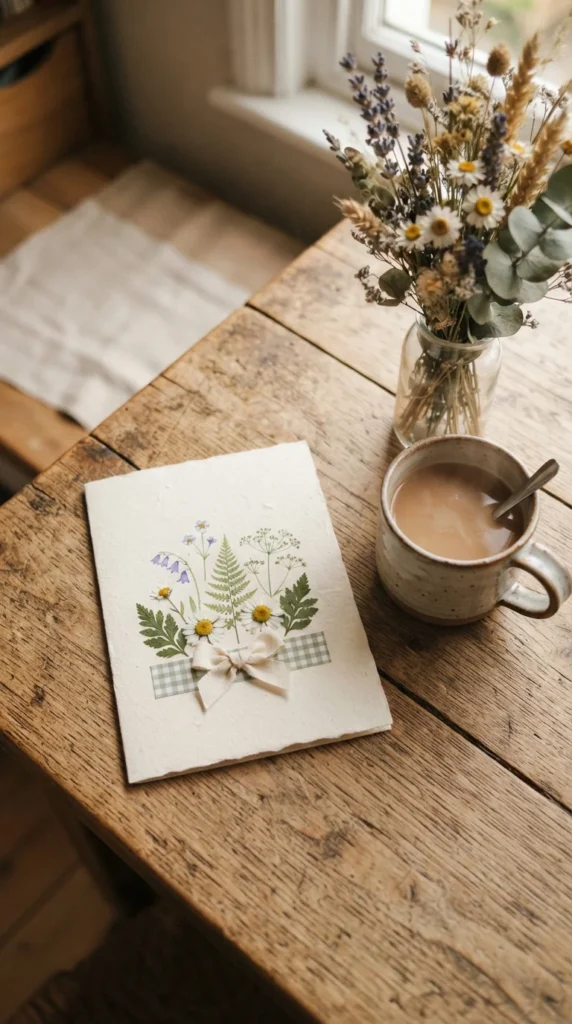
For a cozy cottage-inspired design, combine small flowers, gingham paper, leaves, and natural textures. Use cream cardstock as the base and add a small gingham panel along one edge. Arrange tiny flowers over the border or around a central decorative shape.
Muted sage, cream, blush, pale yellow, and dusty blue work nicely for this style. A tiny fabric bow can add texture. Keep the arrangement slightly imperfect so it feels handmade rather than overly uniform.
17. Monochrome Black and White Card
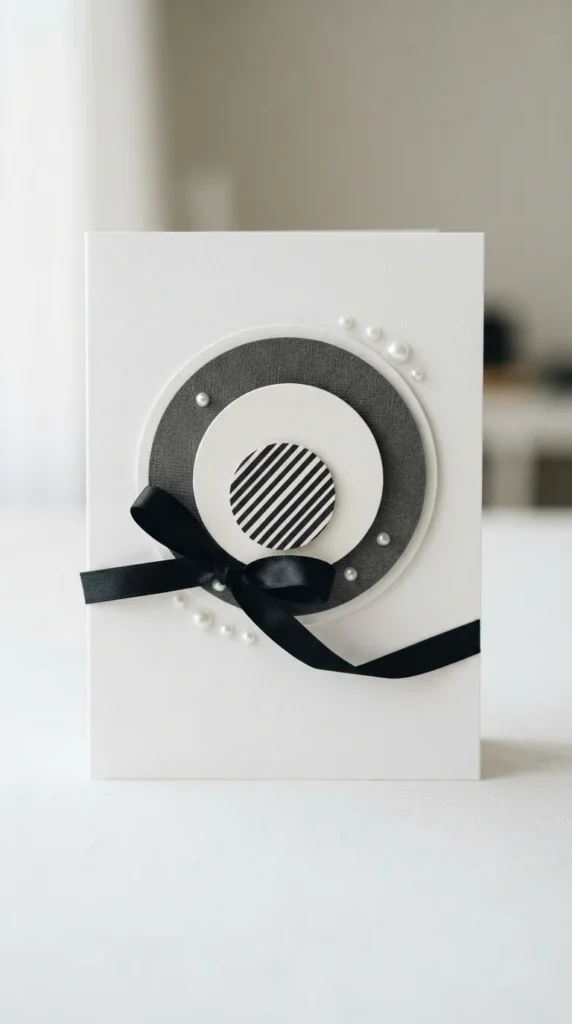
A monochrome palette can create a striking birthday card without bright colors. Combine black and white cardstock with gray accents, geometric cutouts, or simple paper shapes. A matte black ribbon can add texture against a white card base.
Use different finishes to keep the limited palette interesting. Pair smooth paper with textured cardstock or glossy accents with matte surfaces. This design can work especially well for someone who prefers modern fashion, minimalist interiors, or clean stationery.
18. Ribbon Cascade Card
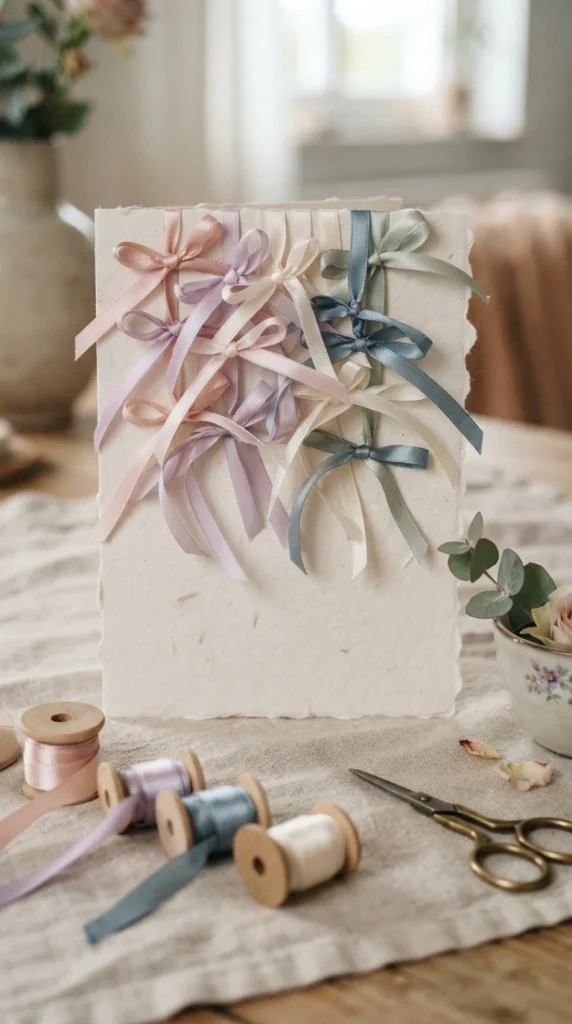
Use leftover ribbon pieces to create a colorful cascade across the front of a card. Cut several ribbons at different lengths and attach their upper ends along the top edge. Let the pieces hang downward, then add tiny bows to a few strands.
Mix satin, sheer, and textured ribbon for contrast. Keep the colors within one soft palette so the design stays cohesive. This is also a handy way to use small ribbon scraps that are too short for larger craft projects.
19. Miniature Garden Card
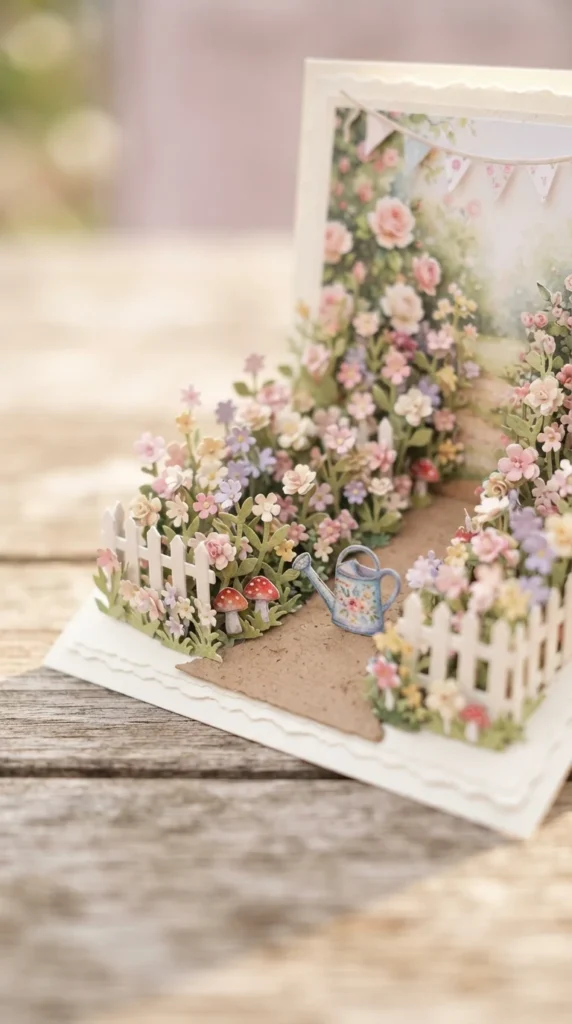
Create a tiny garden scene across the front of the card using paper cutouts. Add flower stems, leaves, a little fence, mushrooms, butterflies, or a miniature watering can. Layer some pieces with foam adhesive to give the scene depth.
A pale green cardstock panel can act as the garden background. Keep the individual elements small so the finished scene feels like a miniature world. This idea is especially cute for anyone who enjoys gardening, flowers, or whimsical stationery.
20. Scalloped Edge Birthday Card
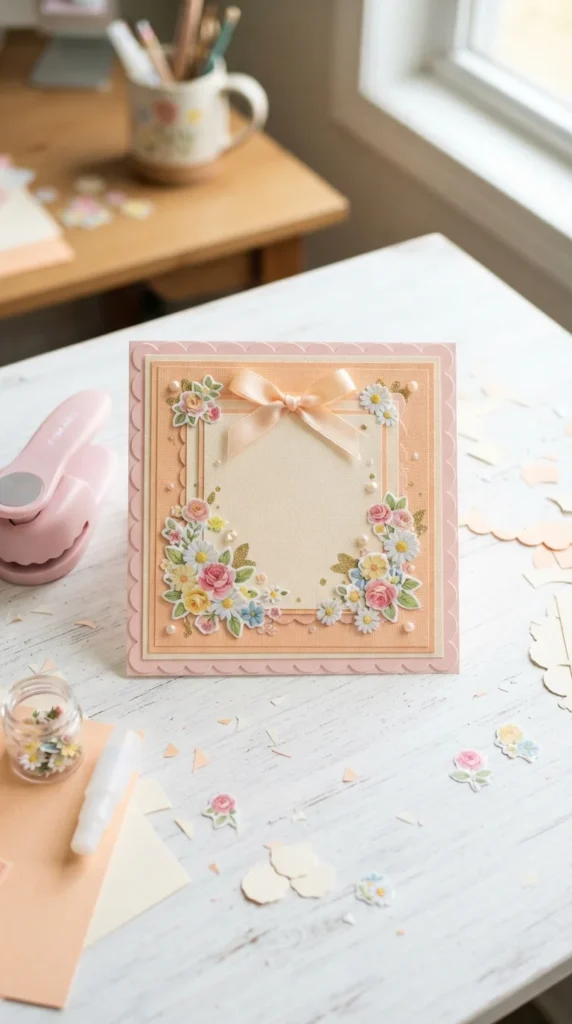
A scalloped edge gives a handmade card a soft decorative outline. Use decorative scissors, a craft punch, or a simple repeated half-circle template to create the border. Layer two cardstock colors so the lower piece peeks through the scallops.
Add a small floral arrangement or bow near one corner. You can also use patterned paper behind the scalloped layer for extra detail. This design is simple enough for beginners and can be adapted to almost any color combination.
21. Aesthetic Scrapbook Card
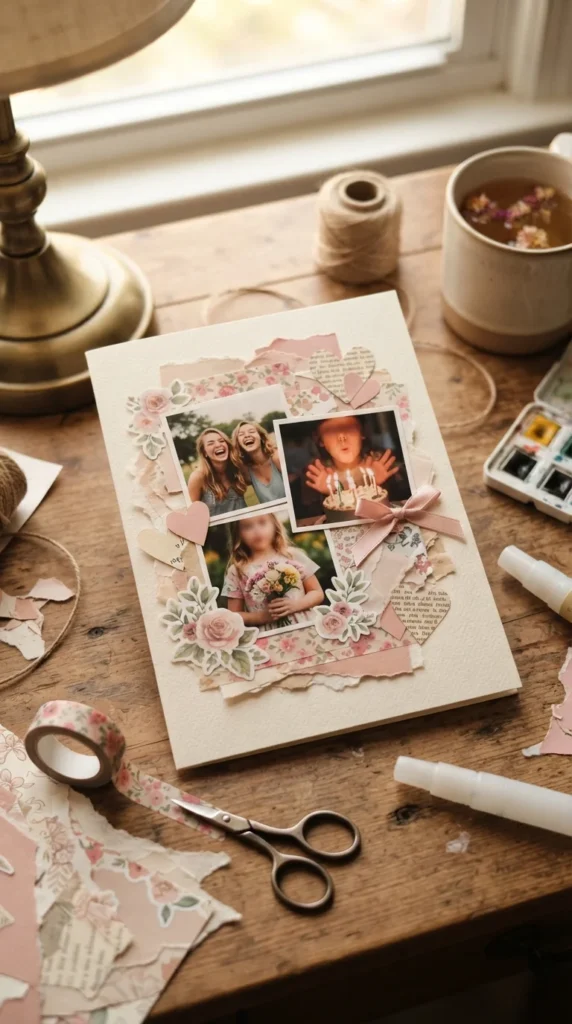
Combine several favorite craft supplies into one scrapbook-style birthday card. Start with a torn paper background, then layer a small photograph, patterned paper, washi tape, flowers, and decorative shapes. Vary the size of each piece so the layout feels collected rather than rigid.
Choose two or three main colors and repeat them throughout the design. A small piece of lace or ribbon can soften the paper layers. This approach is perfect when you have a craft drawer full of stickers, scraps, photos, and embellishments.
22. Puffy Sticker Birthday Card
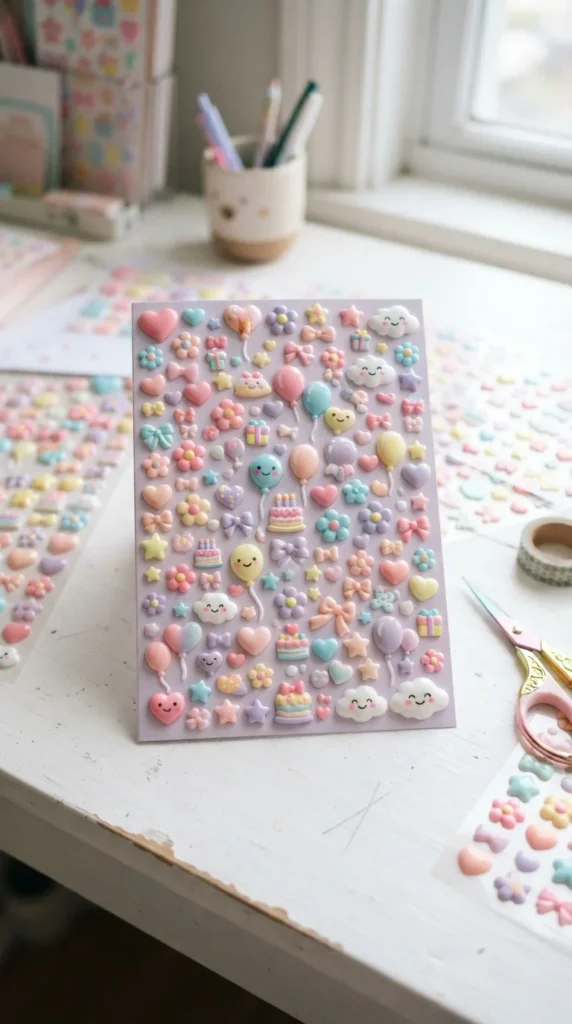
Puffy stickers are a quick way to create a card with plenty of dimension. Choose a small collection that shares the same color palette, then arrange the stickers around one main shape or decorative panel.
Avoid placing every sticker at equal distances. A few clustered details mixed with open space will make the design feel more natural. Add a ribbon or small paper flower if you want a handmade element alongside the ready-made stickers.
23. Layered Window Card
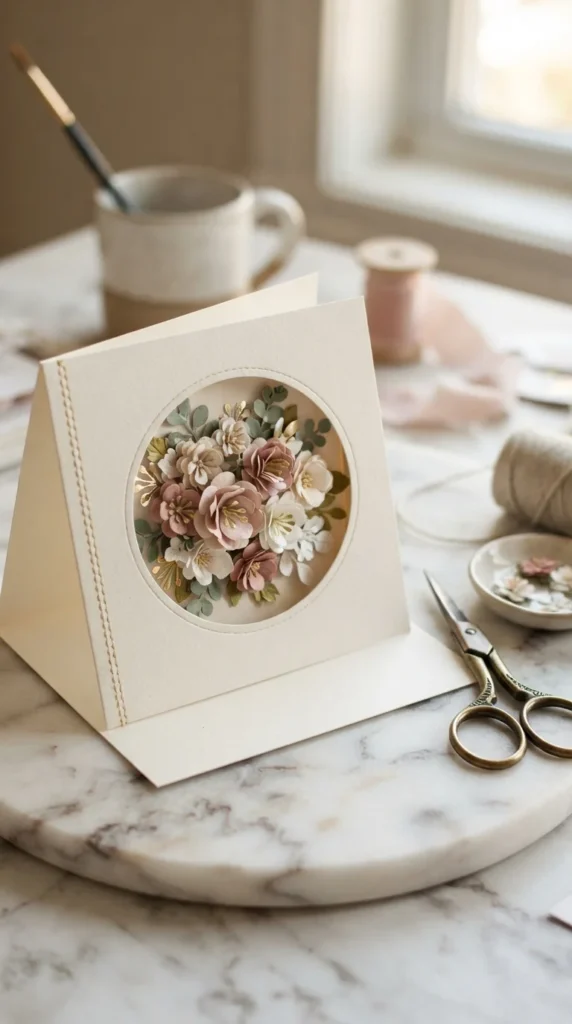
A window card adds a little surprise when the recipient opens or moves the card. Cut a circle, arch, or heart from the front panel, then place a decorative paper scene behind the opening. Flowers, butterflies, photographs, or layered shapes can work inside the window.
Use foam adhesive between some layers to create depth around the opening. A contrasting cardstock color behind the window can make the inner design stand out. Keep the front relatively simple so the window remains the main feature.
24. Elegant Floral Bouquet Card
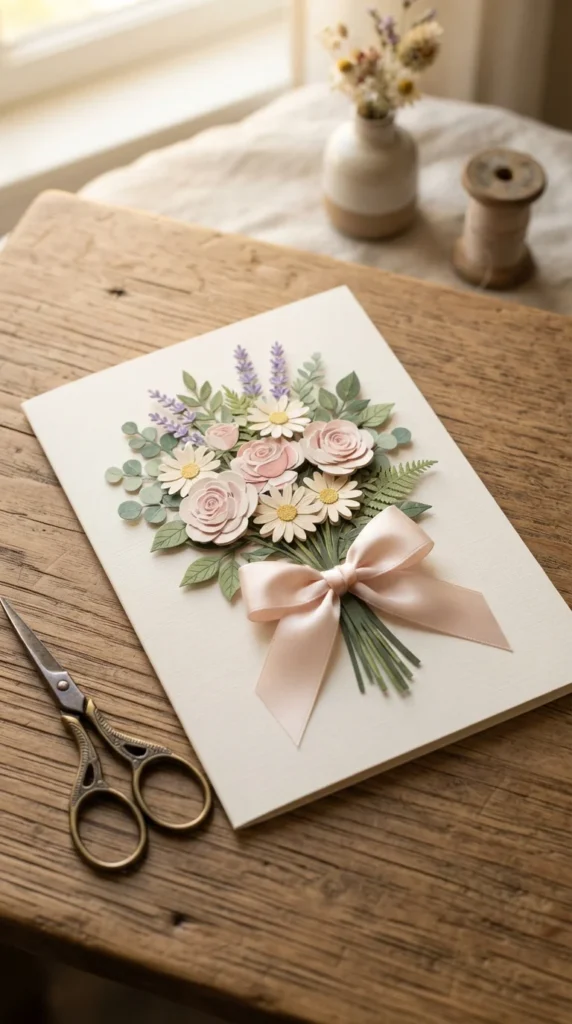
Finish your collection with a handmade paper bouquet that looks like a tiny floral gift. Create several flowers in different sizes, add green leaves, and arrange the stems into a small bouquet on the front of the card. Tie the stems together with a satin ribbon.
Use three or four flower colors rather than trying to match every shade. Cream roses with blush flowers, lavender accents, and green leaves create a soft palette that suits many birthdays. Attach the bouquet with foam tape for a raised effect that makes the design feel like a miniature arrangement.
Final Thoughts
Aesthetic birthday cards do not have to involve complicated tools or expensive supplies. Simple flowers, ribbons, photographs, paper layers, pearls, and colorful cutouts can turn ordinary cardstock into a personal keepsake. Choose one idea that matches the birthday person’s style, gather the materials you already have, and start with the main decorative element. Make one card today, then add your own colors and handmade details to create something the recipient will want to keep.

Lily Summers is a digital artist and creative storyteller who loves bringing colorful characters to life. With a passion for cartoons, fan art, and playful sketches, she inspires others to explore their imagination through art. When she’s not sketching, you’ll find her dreaming up new ideas for CraftedWizard.com to spark creativity in every artist. 🌈✨