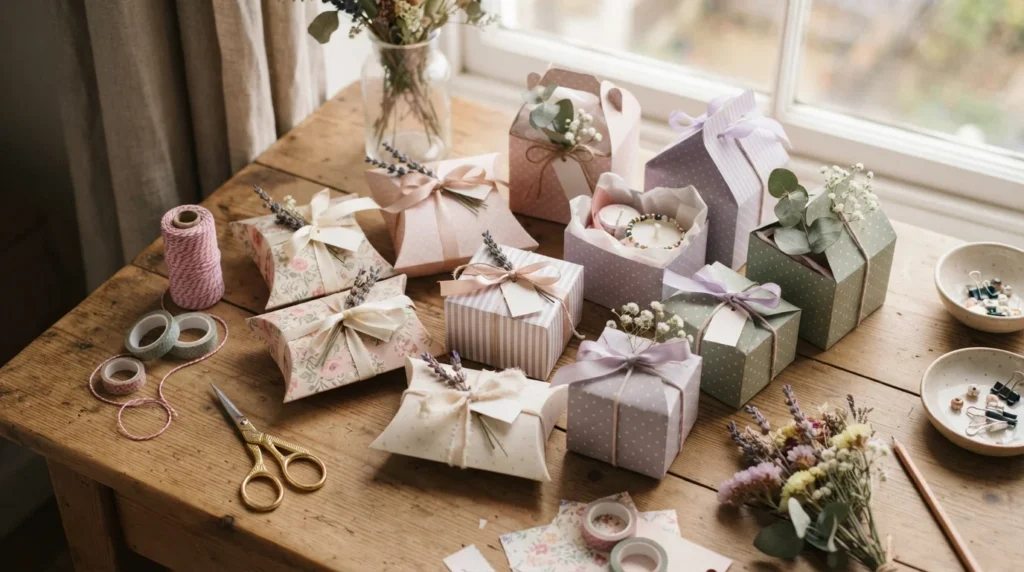
A tiny gift feels even more special when it comes in a box you made yourself. Printable gift boxes are an easy way to package handmade presents without buying expensive packaging or spending hours measuring cardboard. With a printable template, cardstock, scissors, and a little ribbon, you can create boxes that look polished and personal. Whether you’re wrapping jewelry, candies, notes, mini crafts, or small keepsakes, these boxes are a sweet finishing touch.
Choose the Right Printable Gift Box Template
Start by choosing a template that matches the size and shape of your handmade present. Small pillow boxes work well for jewelry and treats, while square or rectangular boxes are better for candles, soaps, accessories, and other small gifts.
Before printing, check the template dimensions. A box that looks cute on screen may be too small for your gift once assembled.
For the best results, gather:
- Cardstock or thick printable paper
- A home printer
- Scissors or a craft knife
- Ruler
- Glue or double-sided tape
- Ribbon, twine, or stickers
- Colored pencils or markers, if decorating by hand
Cardstock around 200–250 GSM is a good choice for many small boxes because it is sturdy enough to fold while still being easy to cut.

Print and Prepare the Template
Print the template at its original size whenever possible. Avoid changing the scale unless you have already checked how the finished box will fit your gift.
If your printer has a cardstock setting, select it before printing. Let the paper dry for a moment if the ink feels slightly damp.
Next, cut around the outside edges of the template. Keep your cuts smooth, especially around corners and small tabs. If the design includes fold lines, lightly score them with a ruler and a blunt craft tool before folding.
This small step makes the box much easier to assemble and gives the finished package cleaner edges.
Fold the Box Carefully
Once the template is cut, fold along every marked crease. Start with the larger folds before working on smaller tabs.
A ruler can help you create straight, sharp folds without crushing the paper. Run your finger gently along each crease to make it more defined.
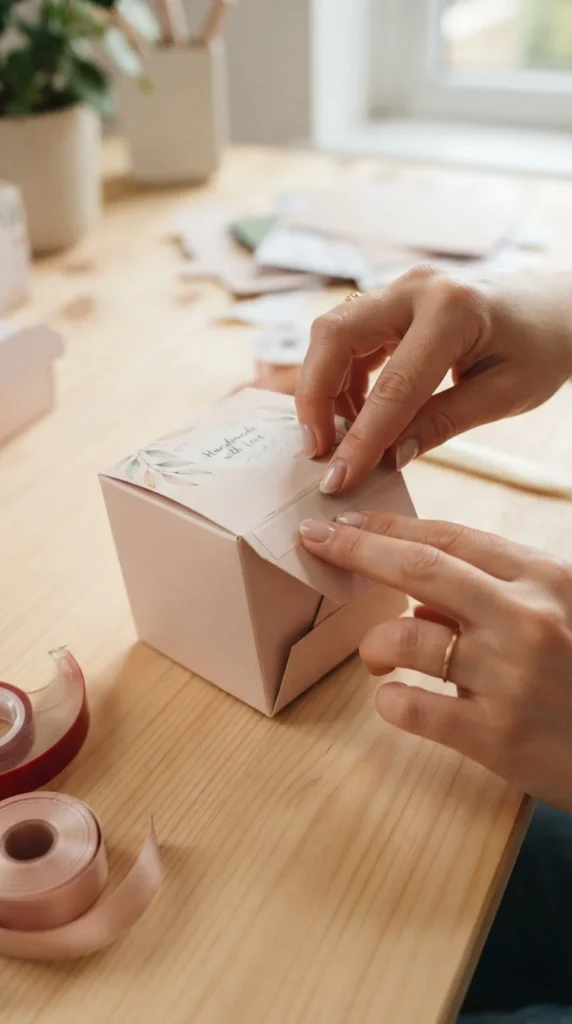
Pay special attention to the glue tabs. Fold them inward so they sit neatly inside the box. Apply a small amount of glue or use narrow strips of double-sided tape rather than covering the entire tab.
Hold each connection for a few seconds while the adhesive sets.
Add Cute Handmade Details
This is where a simple printable box can become truly personal. Match the decorations to the occasion and the person receiving the gift.
Try adding:
- Satin ribbon around the box
- Natural twine for a rustic look
- Small dried flowers
- Paper hearts or stars
- Washi tape
- Tiny bows
- Decorative stickers
- A small charm tied to the ribbon
For a handmade birthday present, pastel colors and a little bow can create a cheerful look. For a more rustic gift, use kraft-colored cardstock with jute twine and a dried flower.
You can also print the box in black and white and let children decorate it with crayons or colored pencils. This makes the packaging part of the handmade gift itself.
Fill the Box With a Small Handmade Present
Before adding your gift, test the box with the item inside. Make sure the sides stay secure and the lid closes without putting too much pressure on the paper.
For tiny presents, add a little tissue paper or shredded paper underneath. This gives the item some cushioning and helps it sit neatly inside the box.
Printable boxes work especially well for:
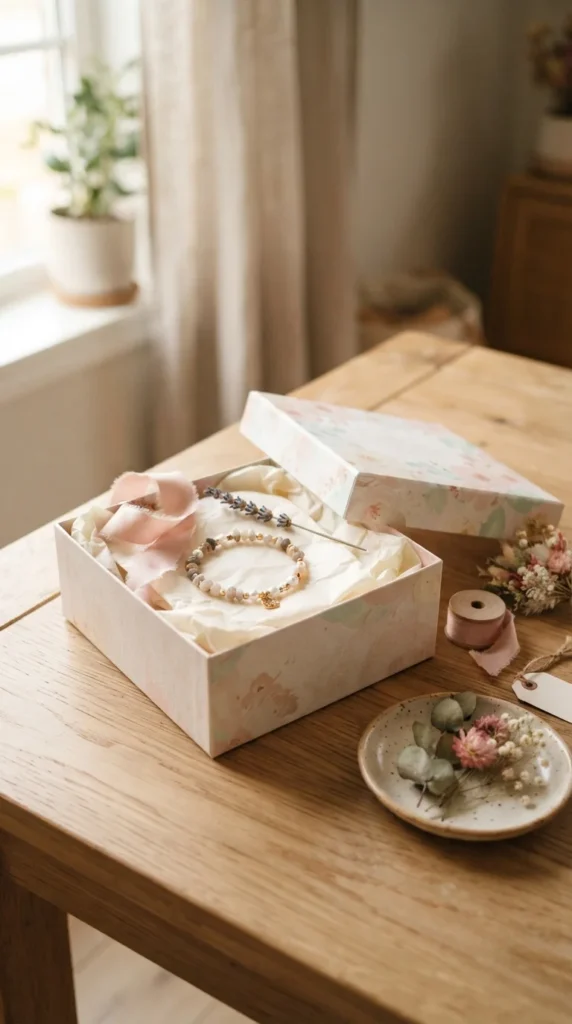
- Handmade bracelets
- Mini soaps
- Homemade cookies
- Small candles
- Friendship bracelets
- Scrunchies
- Handmade keychains
- Tiny photo gifts
- Personalized notes
- Small beauty accessories
If the gift is edible, place it in a suitable food-safe wrapper or bag before putting it inside the decorative box.
Make Several Boxes at Once
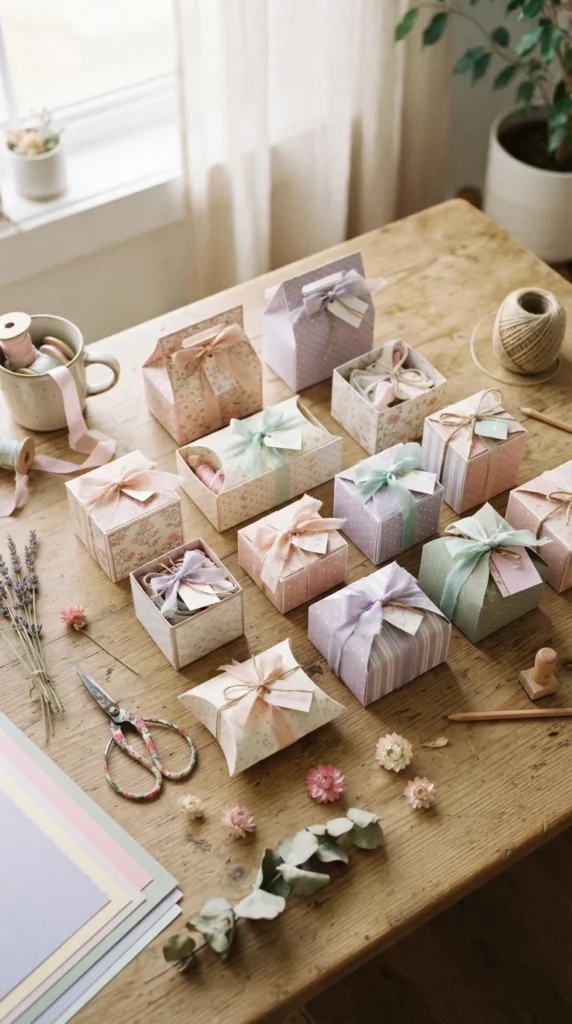
If you’re preparing gifts for a birthday party, bridal shower, classroom event, or holiday gathering, making several boxes together can save time.
Print all the templates first, then cut them in one batch. Score the fold lines next, followed by folding and assembly. Keep the decorations simple and repeat the same design across the boxes for a coordinated look.
You can also experiment with different paper colors while keeping the same template. A mix of pink, lavender, blue, cream, and green boxes can create a pretty display without requiring complicated decorations.
Final Thoughts
Printable gift boxes are an easy way to make handmade presents feel extra special. With a simple template and a few basic craft supplies, you can create packaging that matches the gift and the occasion. Start with one small box, test the template with your present, and then decorate it with your favorite ribbon or paper details. Save this idea for your next handmade gift project and give your presents a personal finishing touch.

Lily Summers is a digital artist and creative storyteller who loves bringing colorful characters to life. With a passion for cartoons, fan art, and playful sketches, she inspires others to explore their imagination through art. When she’s not sketching, you’ll find her dreaming up new ideas for CraftedWizard.com to spark creativity in every artist. 🌈✨