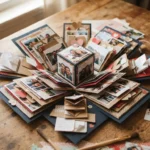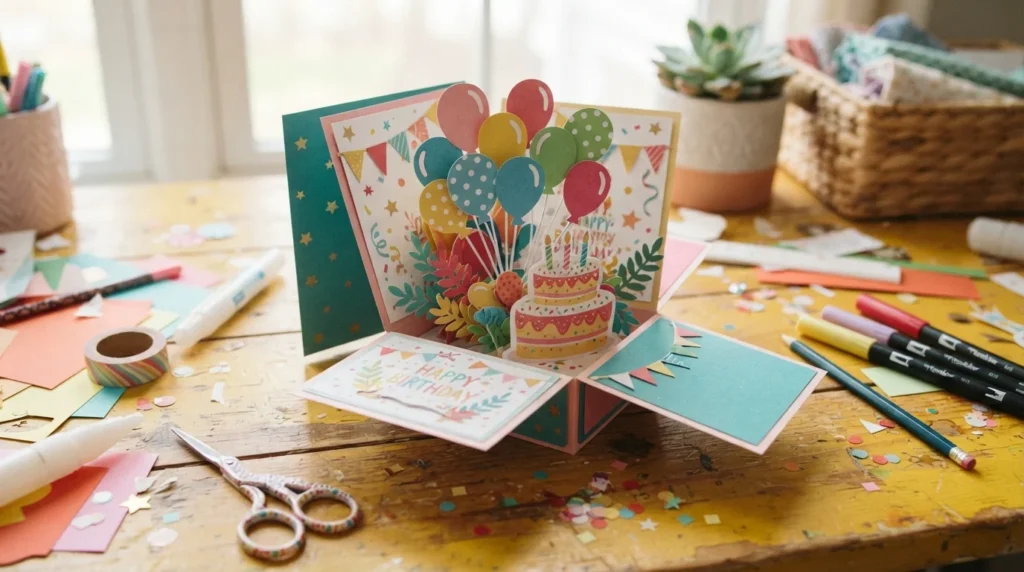
Want to turn an ordinary birthday card into a little moment of magic? A handmade pop up birthday card does exactly that. When the recipient opens it and a colorful surprise rises from the inside, it feels thoughtful, personal, and much more special than a store bought card.
The good news? You don’t need advanced crafting skills to make one. With cardstock, scissors, glue, and a few decorations, you can create a beautiful card in an afternoon.
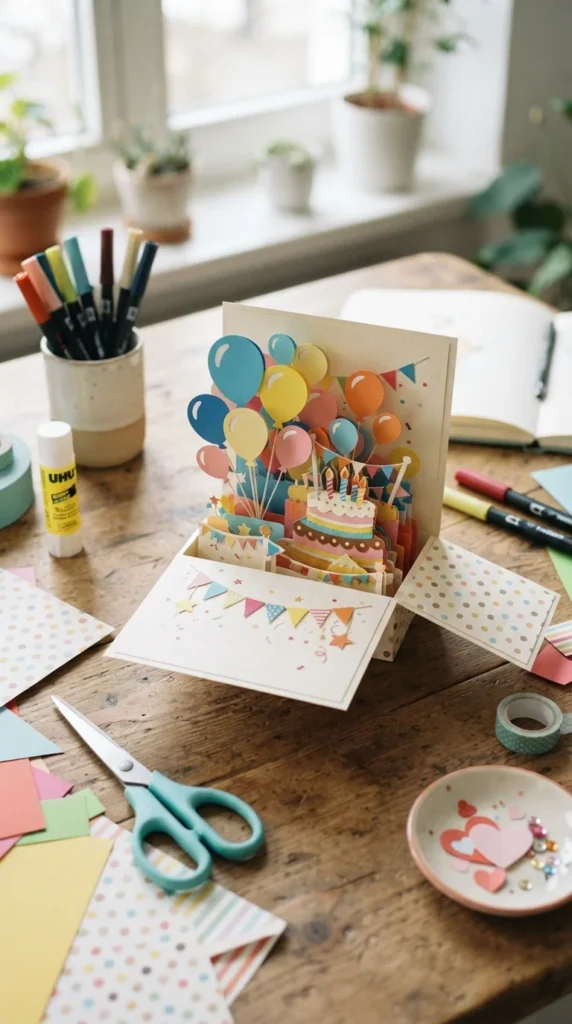
Gather Your Craft Supplies
Before you start, collect everything in one place. Keeping your supplies organized makes the project easier and more enjoyable.
You’ll need:
* Two sheets of cardstock in different colors
* Colored paper for decorations
* Scissors
* Pencil and ruler
* Glue stick or craft glue
* Colored markers or pencils
* Optional stickers, sequins, ribbon, or glitter
* A flat surface for crafting
Cardstock is ideal for the card base because it is sturdy enough to support the pop up pieces. For the decorations, ordinary colored paper works perfectly.
Choose colors based on the birthday person’s personality. Bright rainbow shades are fun for kids, while pastel, metallic, or elegant colors can create a more grown up look.
Make the Card Base
Start by creating the main card.
Take one sheet of cardstock and fold it in half. Run your finger firmly along the fold so you get a crisp crease.
Next, open the card and place it flat with the inside facing you.
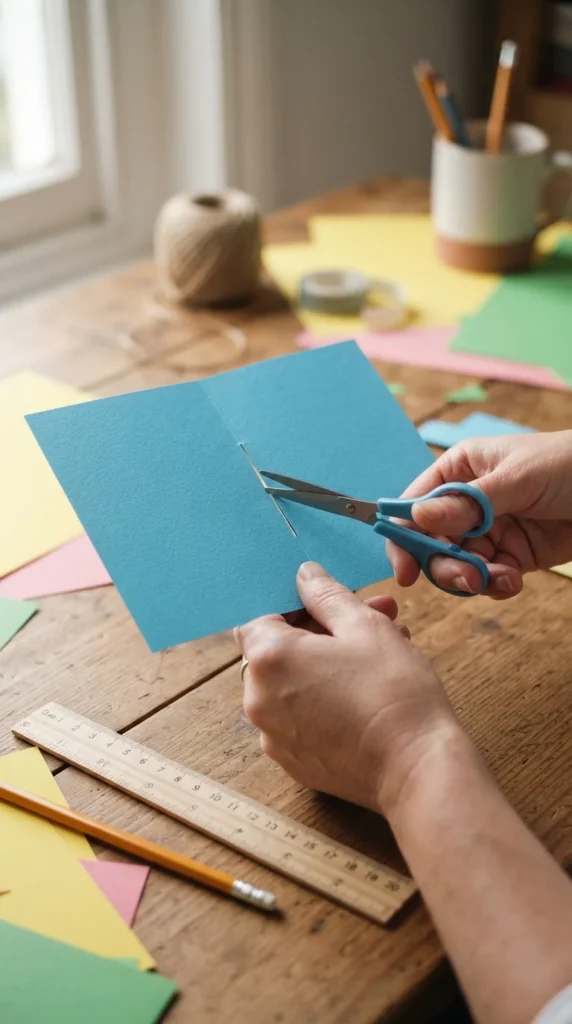
The pop up mechanism will be created by making two small cuts in the folded edge. These cuts form a little paper tab that will support your birthday decoration.
Measure about 1–2 inches from the center of the fold and make two short, parallel cuts. The length of the cuts will determine how far your pop up element stands when the card opens.
Tip: Don’t make the cuts too long on your first attempt. A small pop up tab is easier to control and gives you a sturdy base.
Create the Pop Up Birthday Cake
A birthday cake is one of the easiest and most impressive pop up designs.
Cut a simple cake shape from colored paper. You can make it as simple or decorative as you like.
For a layered cake:
1. Cut a large rectangle for the bottom layer.
2. Cut a slightly smaller rectangle for the middle layer.
3. Add a narrow top layer.
4. Decorate each layer with small paper shapes.
5. Cut tiny candles and flames from contrasting paper.
Fold a small tab at the bottom of the cake or attach the cake to the pop up tab inside your card. Make sure the cake sits flat when the card is closed.
Before gluing anything permanently, gently close the card. If the cake folds neatly inside, you’re ready for the next step.
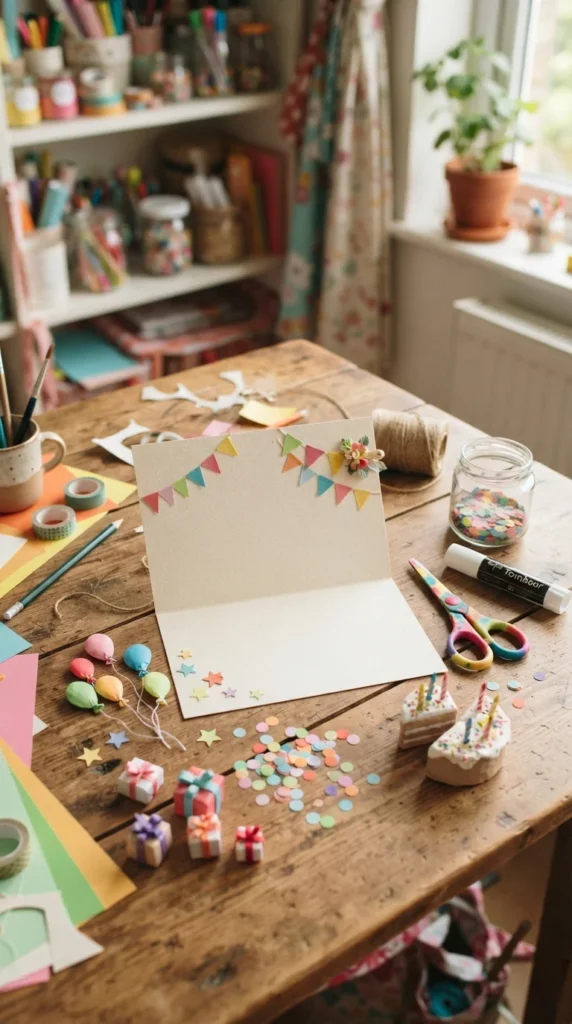
Add Balloons and Party Decorations
Now it’s time to make your card really pop!
Cut several balloon shapes from colorful paper. They don’t have to be perfectly identical—slightly different shapes can make the card look more handmade and charming.
Draw thin strings with a marker or cut them from narrow strips of paper.
You can also add:
* Confetti circles
* Stars
* Tiny presents
* Party hats
* Paper streamers
* Hearts
* Sparkly stickers
Keep some decorations flat and attach others at different heights. This creates a layered effect that makes the inside of the card more interesting.
Assemble the Pop Up Mechanism
Once your decorations are ready, attach the main birthday cake to the pop up tab.
Apply glue only to the part of the tab that should hold the decoration. Press it firmly into place and allow the glue to set for a moment.
Slowly close the card.
If the cake bends or catches on the edges, reopen it and adjust the placement. This little test is important because it prevents the finished card from getting damaged.
Once the main piece moves smoothly, glue the remaining decorations around it.
Pro tip: Keep bulky embellishments away from the fold. Flat decorations near the edges will help the card close neatly.
Personalize the Birthday Card
The pop up design is the star of the project, but personal details make the card unforgettable.
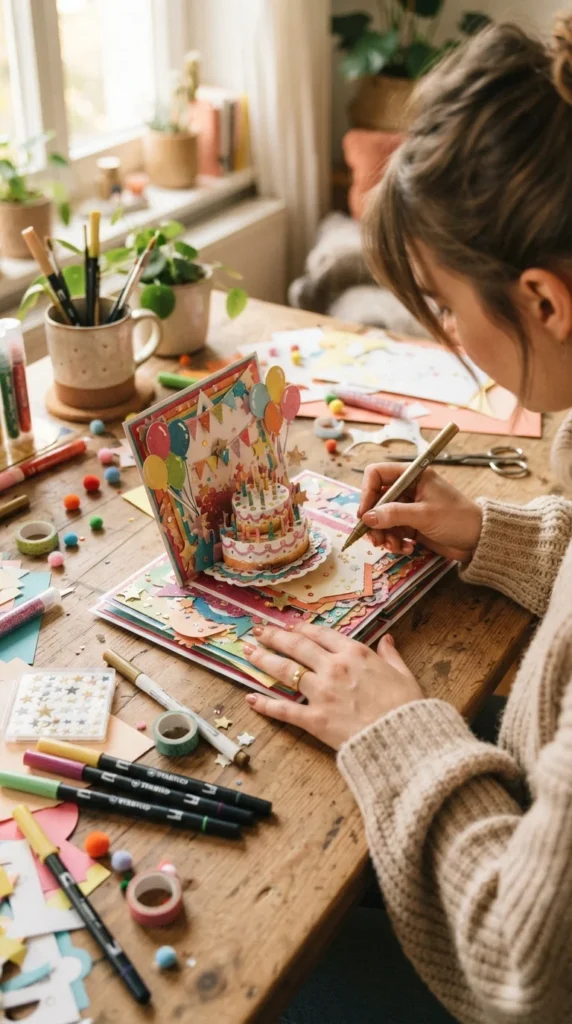
Use markers to draw tiny candles, confetti, flowers, or stars. Add the recipient’s favorite colors or create decorations based on their hobbies.
You could even turn the card into a mini scene—a birthday party with paper presents, balloons, a cake, and tiny characters.
Inside the card, leave enough room for a handwritten message. A few sincere sentences can make a handmade card feel even more meaningful.
Test and Finish Your Card
Before giving the card away, open and close it several times.
Check that:
* The pop up pieces move smoothly.
* Nothing catches on the edges.
* All decorations are firmly attached.
* The card can close completely.
* Glue has dried before you handle it too much.
If you want an extra special finish, add a simple paper border to the front of the card. You can also attach a few flat stickers or cut out shapes to create a coordinated design.
For a polished look, stick to two or three main colors rather than using every color in your craft box.
Make It Your Own
One of the best things about pop up cards is how easily you can change the design.
Instead of a cake, try making:
* A bouquet of paper flowers
* A bunch of balloons
* A gift box
* A birthday party hat
* A favorite animal
* A number representing the birthday age
* A collection of colorful stars
You can also make the pop up element extra dramatic by layering several pieces at different depths.
The Final Surprise
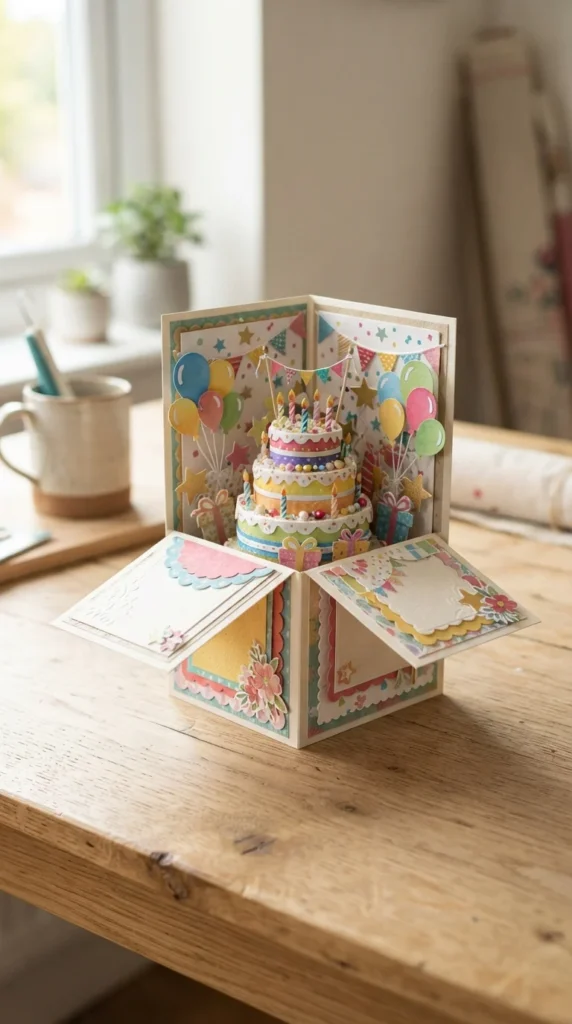
Making a pop up birthday card is simple enough for beginners but impressive enough to feel like a special handmade gift. The secret is taking your time with the folds, testing the pop up mechanism, and adding personal touches that reflect the person receiving it.
Don’t worry if your first card isn’t perfectly symmetrical. Handmade details are part of its charm and that’s what makes the surprise feel personal.

Lily Summers is a digital artist and creative storyteller who loves bringing colorful characters to life. With a passion for cartoons, fan art, and playful sketches, she inspires others to explore their imagination through art. When she’s not sketching, you’ll find her dreaming up new ideas for CraftedWizard.com to spark creativity in every artist. 🌈✨