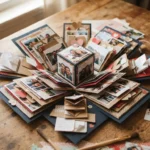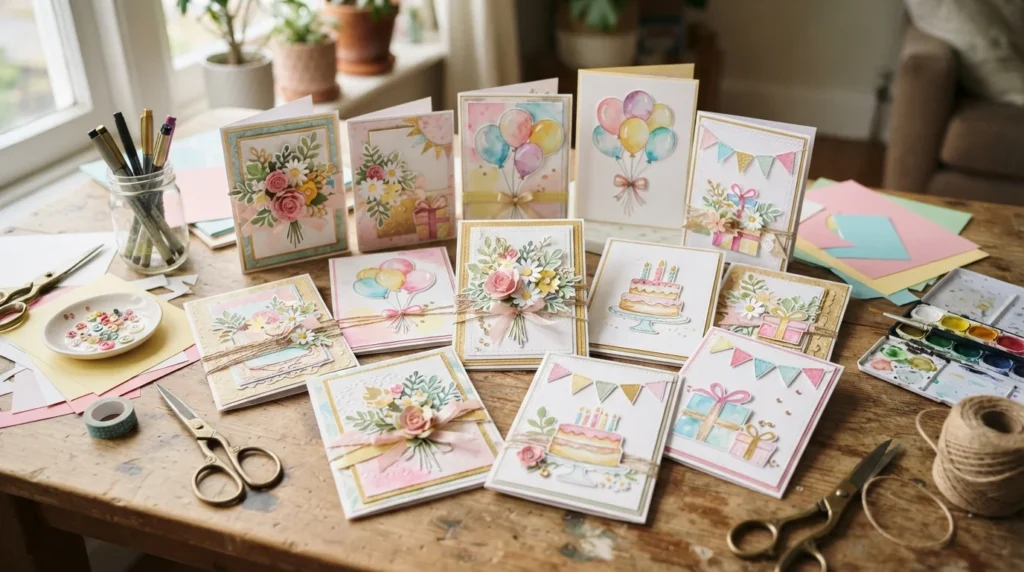
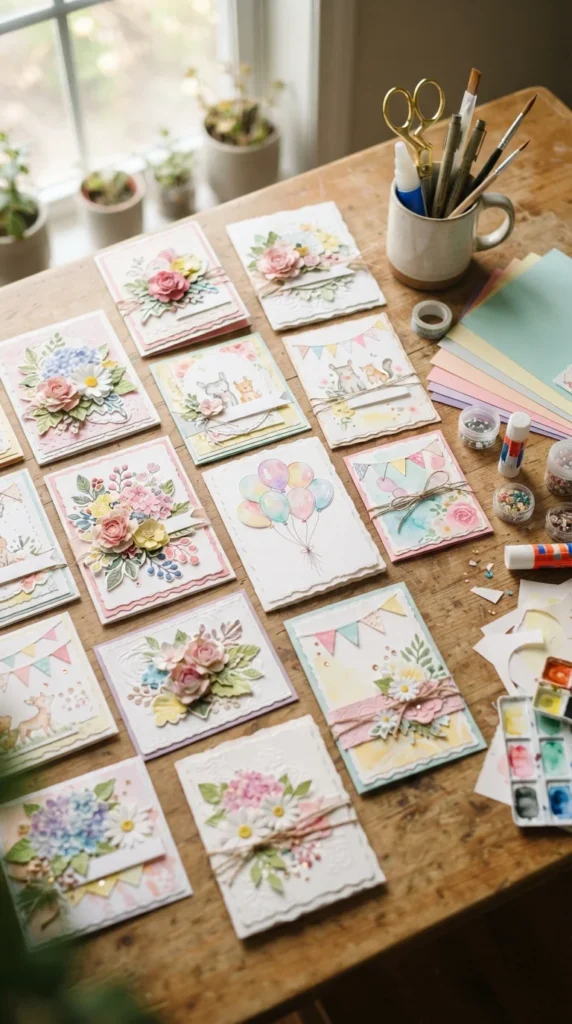
A handmade birthday card can turn a simple greeting into a keepsake the recipient will want to save. You can create something playful for a child, elegant for a friend, or sentimental for a family member using paper, cardstock, and a few basic craft supplies. The best part is that each design can be changed to match the person’s favorite colors, hobbies, memories, or personality. From pop-up surprises to delicate paper flowers, these 27 birthday card ideas make homemade greetings feel personal and special.
1. Layered Birthday Cake Card
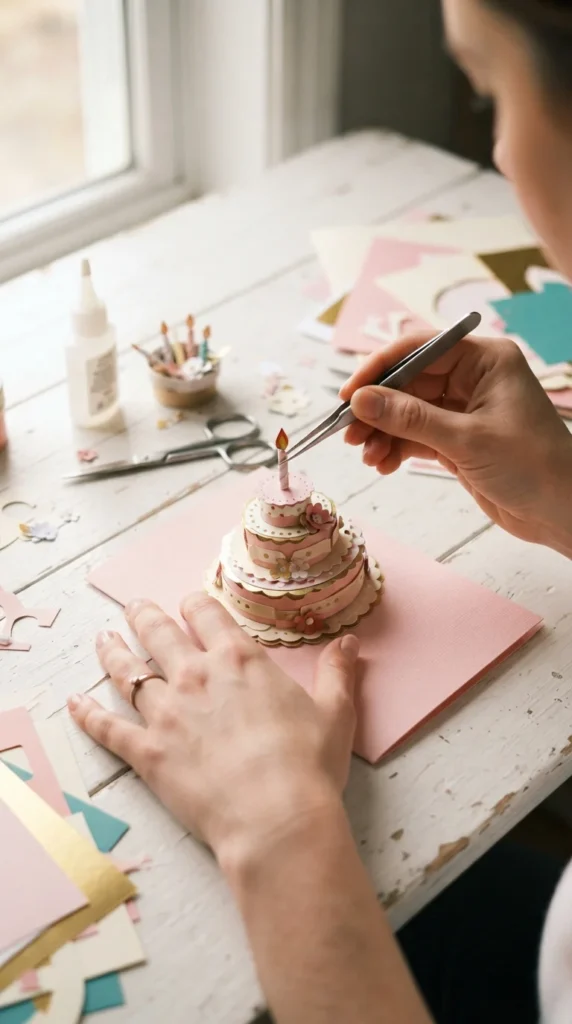
A layered birthday cake card is a simple project with a polished result. Start with a folded piece of cardstock, then cut three or four cake layers in different sizes. Stack them from largest to smallest and attach each layer with small pieces of foam tape for extra dimension.
Decorate the cake with paper candles, sprinkles, frosting shapes, or tiny punched circles. Choose colors that suit the birthday person rather than relying on traditional birthday shades.
For an extra personal touch, add a small paper plate beneath the cake or a row of tiny candles across the top. The raised layers make the cake stand out while keeping the card easy to mail.
2. Pop-Up Birthday Surprise
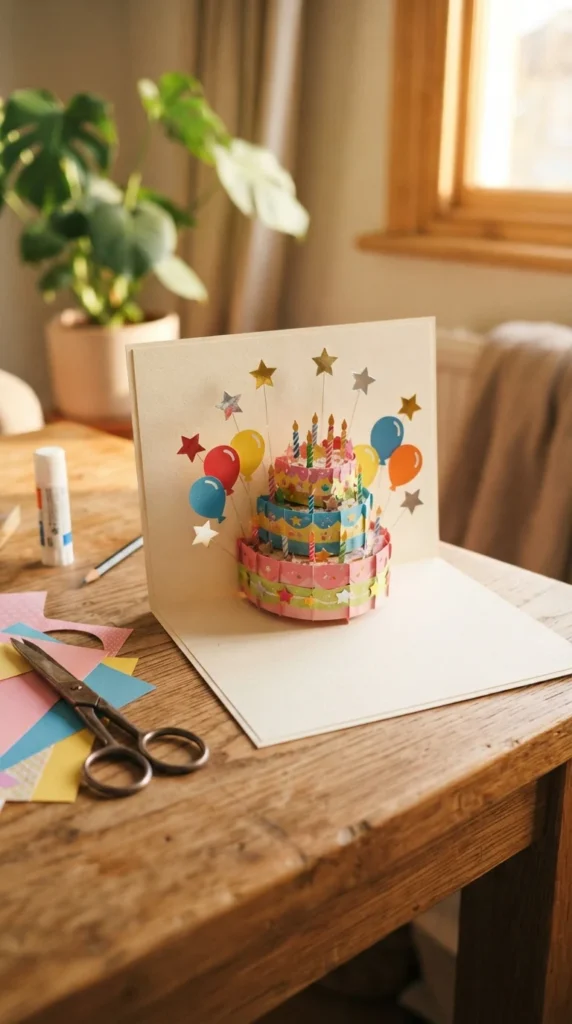
A pop-up card creates an instant surprise when the recipient opens it. Fold a sheet of cardstock in half, then make two short parallel cuts along the folded edge to form a paper tab.
Attach a small cake, gift box, balloon, or bouquet to the tab. Test the card by opening and closing it slowly before adding more decorations.
Keep bulky pieces away from the outer edges so the card closes flat. A few carefully placed pop-up elements can create plenty of drama without making the card difficult to assemble.
3. Paper Flower Bouquet Card
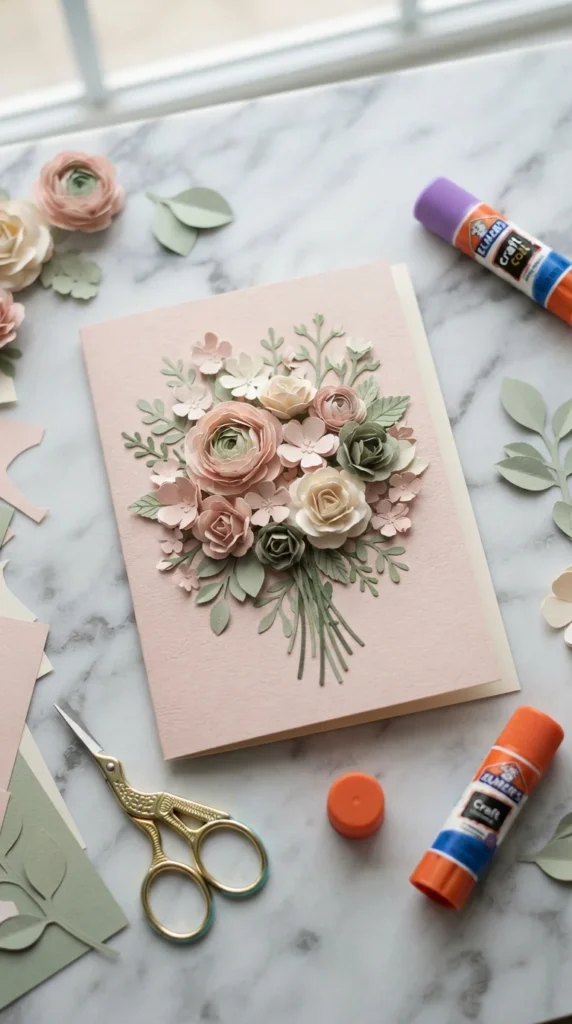
Paper flowers turn a birthday card into a tiny bouquet that lasts much longer than fresh flowers. Cut simple flower shapes in several sizes and layer them together with small dots of glue or foam adhesive.
Curl the petals slightly with your fingers to give them movement. Add green leaves and thin paper stems, then arrange the flowers into a loose bouquet on the card front.
Try matching the colors to the recipient’s favorite flowers. Roses, daisies, tulips, and wildflowers can all be created from simple paper shapes.
4. Watercolor Birthday Card
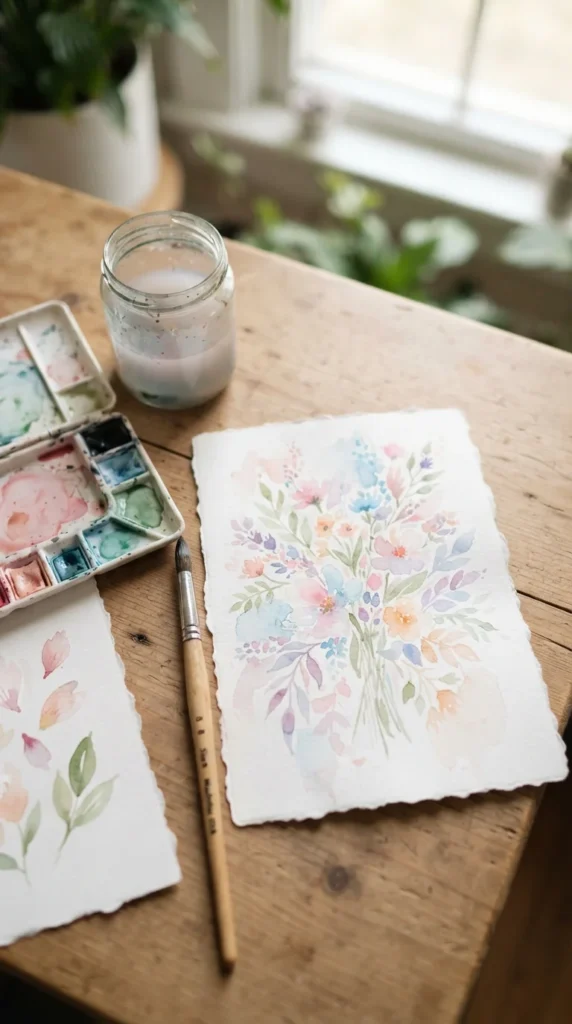
Watercolor gives handmade cards a soft artistic feel without requiring advanced painting skills. Use watercolor paper or heavyweight cardstock, then paint a simple background of loose flowers, leaves, dots, or abstract shapes.
Allow each layer to dry before adding darker details. You can use a fine brush to add stems and small accents once the background is dry.
For a clean finish, keep the design concentrated in one corner or along one edge. This leaves plenty of open space for a handwritten birthday message inside.
5. Birthday Balloon Bouquet
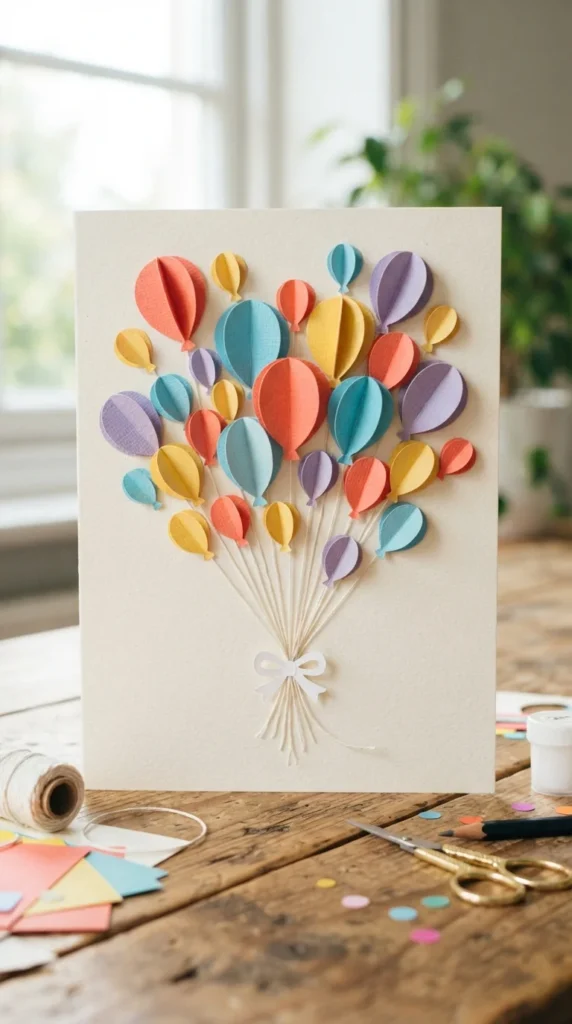
A balloon bouquet is one of the easiest designs to customize. Cut balloon shapes from colored cardstock and attach them with foam adhesive so they sit slightly above the card surface.
Draw or glue thin strings beneath the balloons and gather them together with a tiny paper bow. Mix several balloon sizes to create depth.
For a more playful design, use patterned paper for a few balloons. Polka dots, stripes, florals, and metallic cardstock can give the bouquet a party-ready appearance.
6. Birthday Gift Box Card
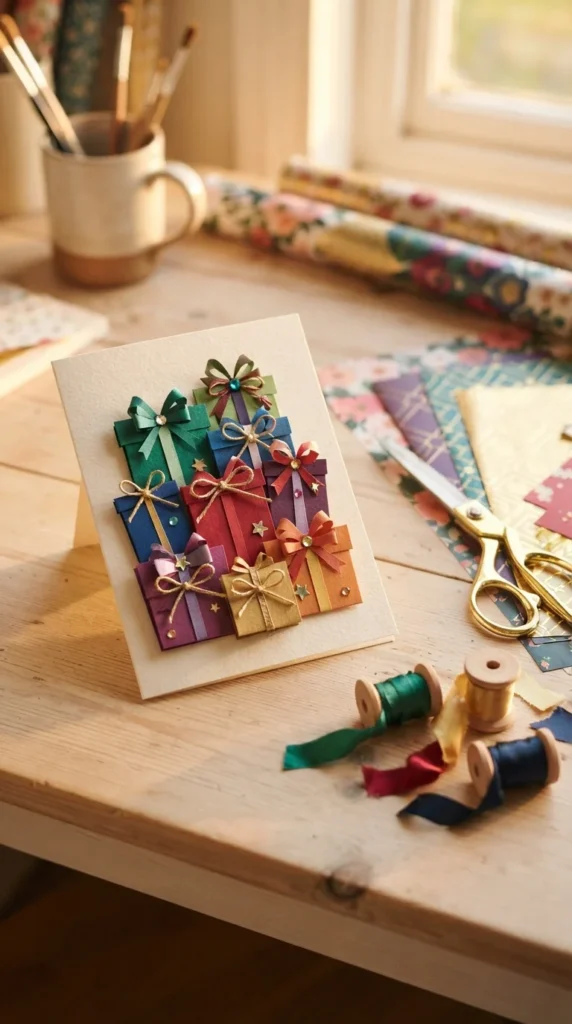
Tiny paper presents make a cheerful card for almost any age. Cut rectangles and squares from patterned paper, then add narrow strips of contrasting paper as ribbons.
Layer the packages at different heights using foam tape. Place a large gift near the bottom and smaller boxes around it to create a balanced arrangement.
You can make each package a different color or use a coordinated palette. Add small bows made from ribbon or paper strips for an extra handmade detail.
7. Floral Wreath Birthday Card
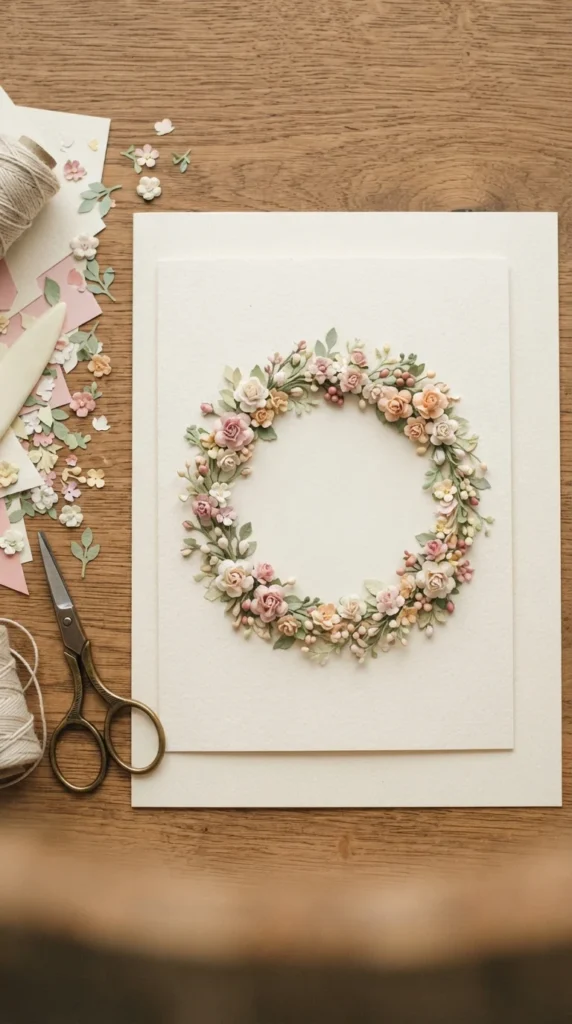
A floral wreath gives a birthday card a refined look while remaining simple to make. Start by lightly tracing a circle on the front of the card, then cover the outline with small paper leaves and flowers.
Vary the flower sizes so the wreath looks natural rather than perfectly uniform. You can leave the center open for a handwritten greeting.
For a modern style, use just two or three colors. Cream flowers with green leaves, or blush flowers with muted blue accents, can create a calm and elegant palette.
8. Handmade Confetti Card
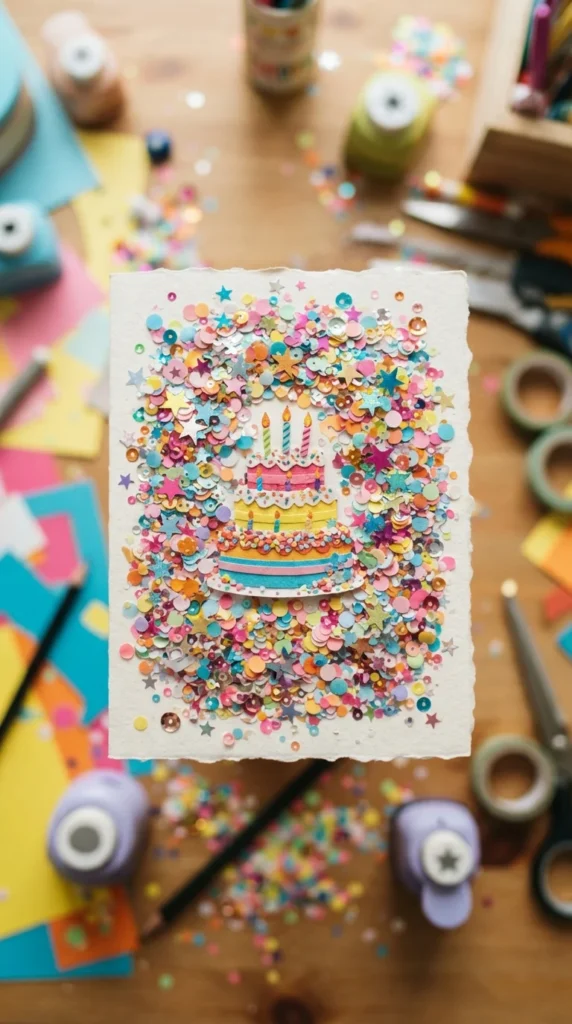
Confetti is an easy way to make a card feel like a celebration. Use a small paper punch to create circles from leftover cardstock, wrapping paper, or colorful magazine pages.
Arrange the pieces around a cake, balloon cluster, or gift box. A few metallic shapes can add sparkle without covering the entire design.
This idea is also useful when you have small paper scraps left from other projects. Keep a container of punched shapes and use them whenever a card feels like it needs another decorative detail.
9. Rainbow Birthday Card
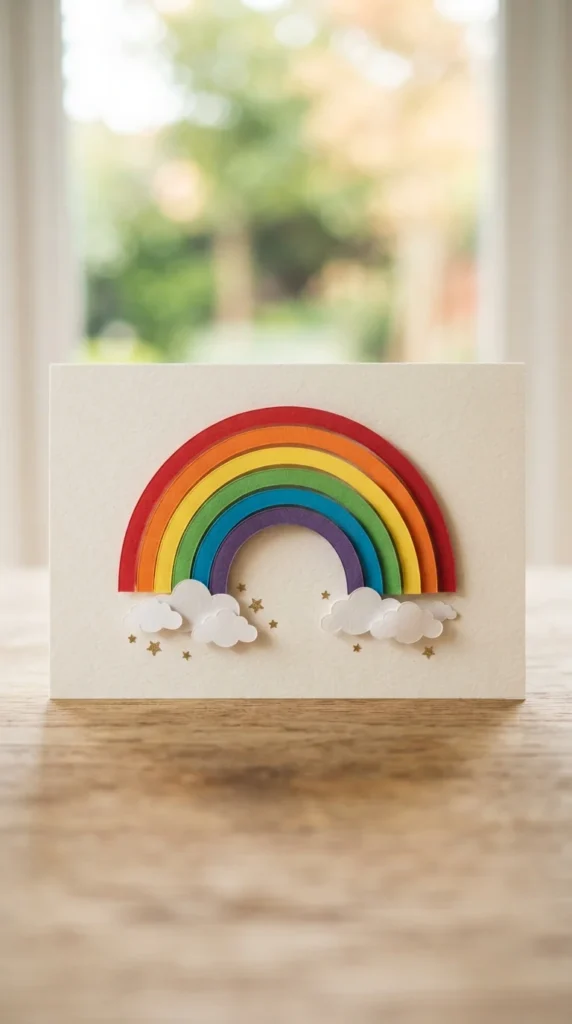
A paper rainbow brings plenty of color to a birthday greeting. Cut several curved strips in different colors and layer them from largest to smallest.
Add fluffy paper clouds beneath each end and a few stars around the top. Foam adhesive can help separate the layers and create a dimensional effect.
For a child, pair the rainbow with tiny animals or balloons. For an adult, try a muted rainbow made with dusty rose, mustard, sage, blue, and cream.
10. Photo Memory Card
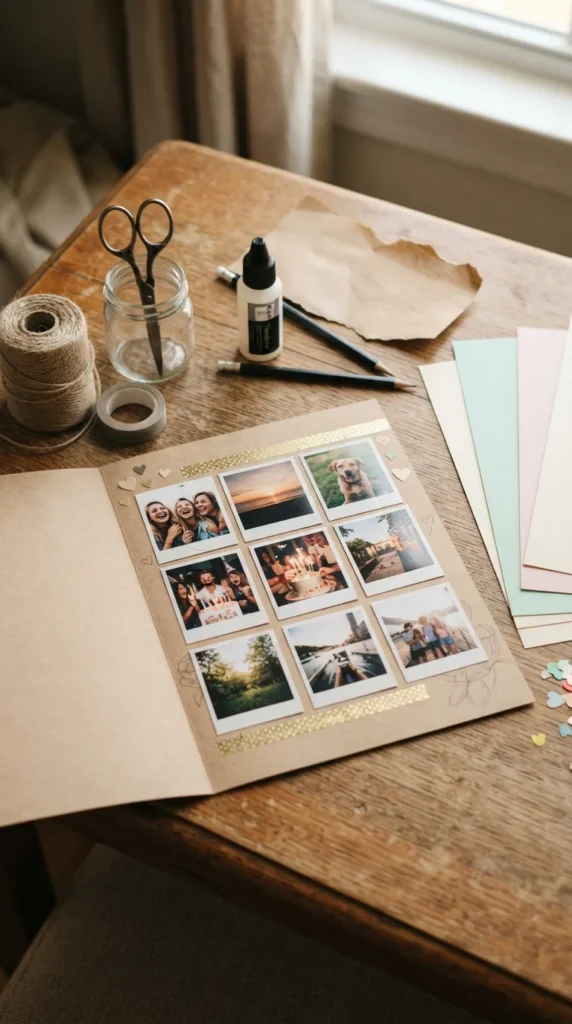
A photo card can turn favorite memories into part of the birthday greeting. Choose a few small photographs from trips, celebrations, family moments, or everyday memories.
Trim the photos into squares, circles, or Polaroid-style shapes and attach them to cardstock. Leave enough space between the images so the card does not feel crowded.
You can add tiny paper hearts, stars, or frames around the photos. The result feels personal because the design is built around moments that matter to the recipient.
11. Quilled Paper Card
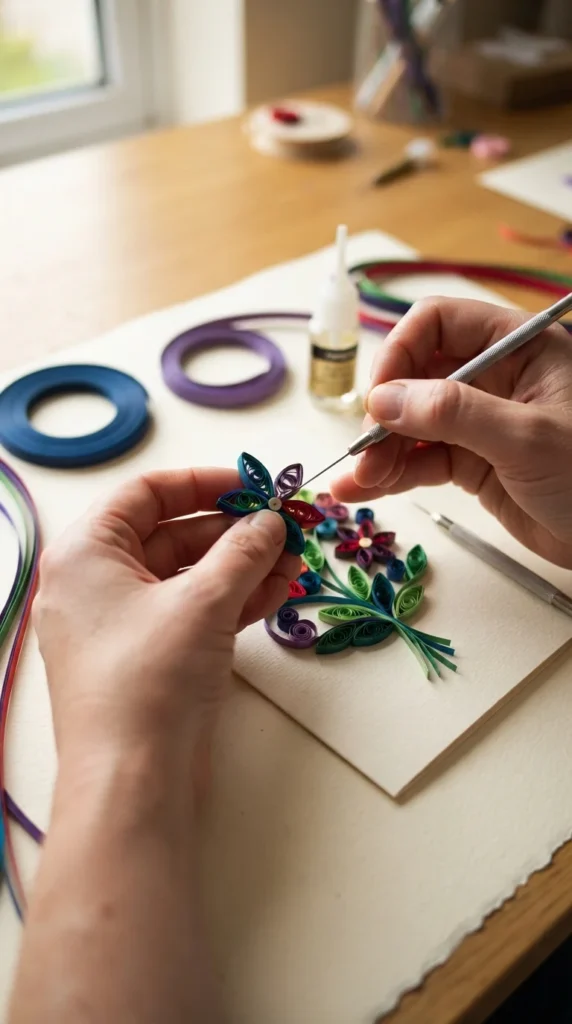
Paper quilling creates delicate curls and coils that can become flowers, hearts, balloons, or abstract patterns. Cut narrow strips of paper and curl them around a toothpick or quilling tool.
Shape the coils with your fingers, then secure the ends with a small amount of glue. Arrange several pieces into a flower or another simple design.
You do not have to fill the whole card. A single quilled flower bouquet in one corner can create a sophisticated focal point while keeping the rest of the card clean.
12. Button Birthday Card
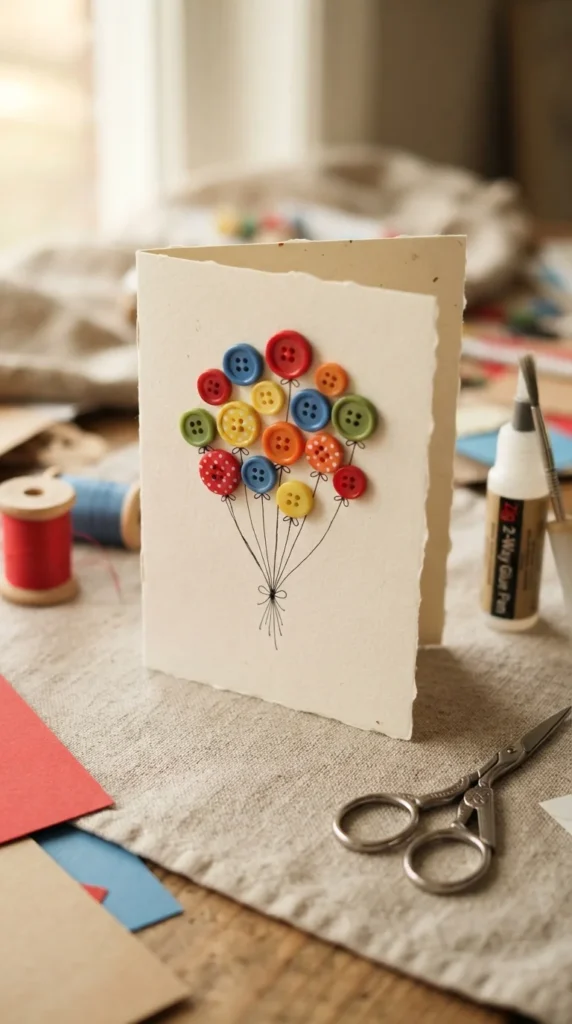
Buttons can become playful birthday decorations with almost no cutting required. Arrange colorful buttons in the shape of balloons, flowers, cupcakes, or confetti.
Glue each button securely to the cardstock, then draw thin strings beneath balloon-shaped groups. Flat buttons work best if the card will be mailed.
This design is a great way to use buttons left over from sewing projects. Choose several sizes and colors for a relaxed handmade appearance.
13. Birthday Cupcake Card
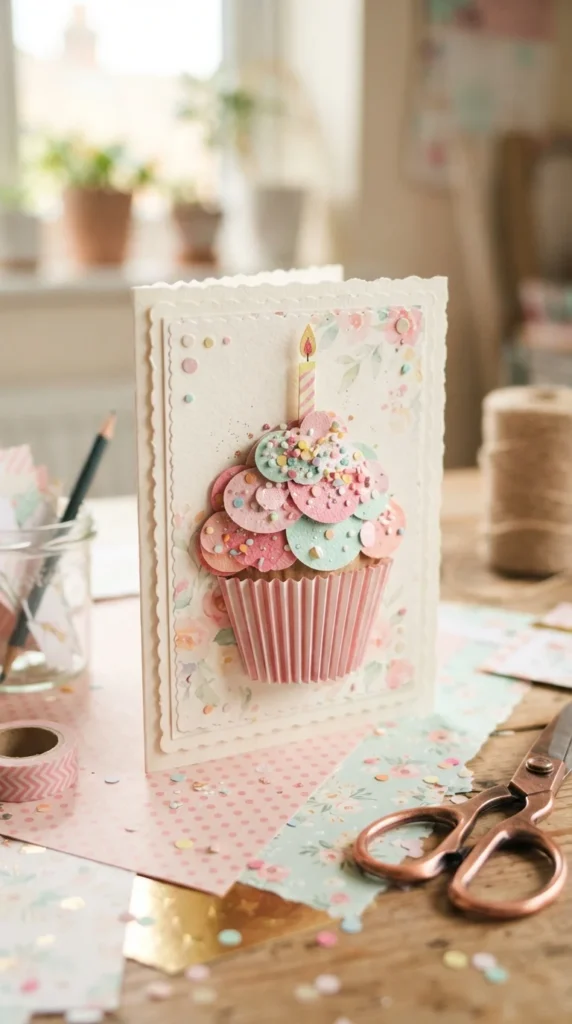
A cupcake design works especially well for a sweet and playful birthday greeting. Cut a cupcake wrapper from striped or textured paper and add a larger piece of paper for the frosting.
Layer the frosting pieces with foam adhesive to make them look fluffy. Add tiny paper sprinkles and a candle on top.
Try using patterned scrapbook paper for the wrapper and plain cardstock for the frosting. A small metallic paper candle can provide a simple finishing touch.
14. Handmade Heart Card
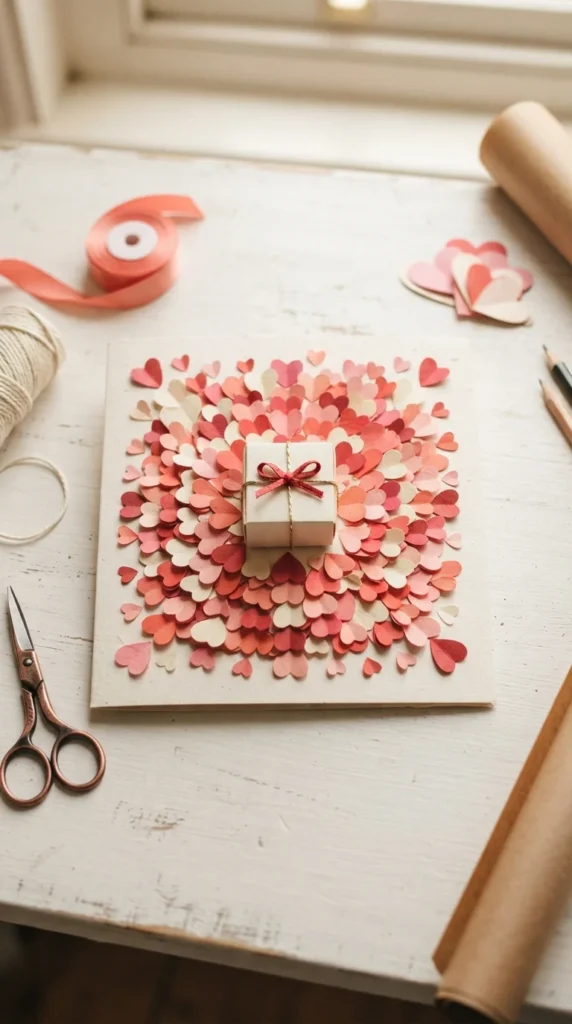
A heart-themed card works well for a parent, partner, close friend, or anyone you want to celebrate warmly. Cut hearts in different sizes and fold some down the center so they have a raised shape.
Arrange the hearts in a cluster, wreath, or scattered pattern. Add a small paper gift, flower, or balloon in the middle to create a focal point.
For a less traditional look, use colors such as navy, mustard, sage, cream, or terracotta instead of a classic red-and-pink palette.
15. Birthday Cake Window Card
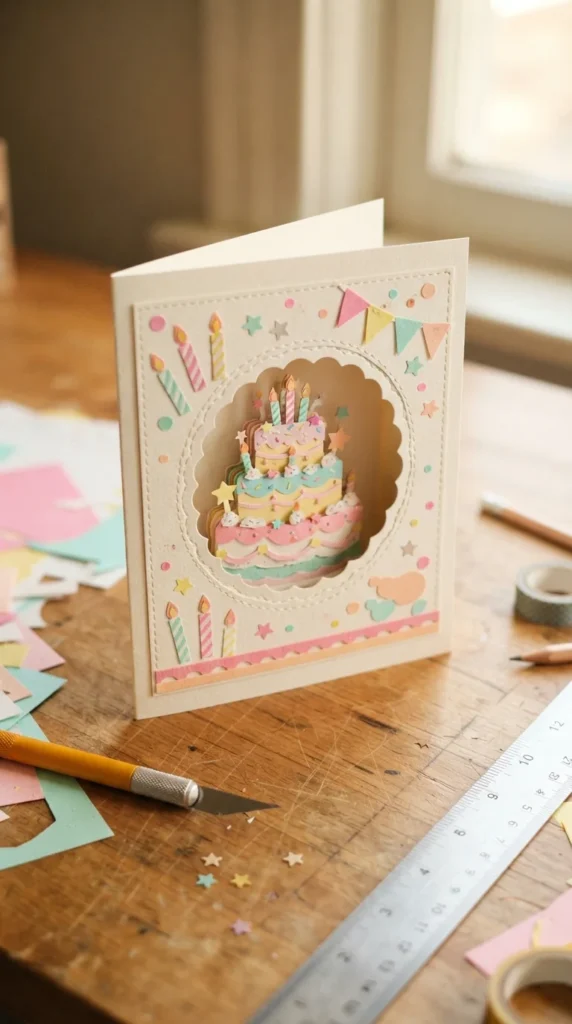
A window card adds a little mystery before the recipient opens it. Cut a simple rectangle, arch, or circle into the front panel, then place a colorful cake or balloon design behind the opening.
Use a craft knife only with adult supervision and a cutting mat. Keep the shape simple if you are making several cards.
The inside can reveal a larger decoration than the small front window suggests. This makes the opening moment feel like a tiny surprise.
16. Birthday Candle Card
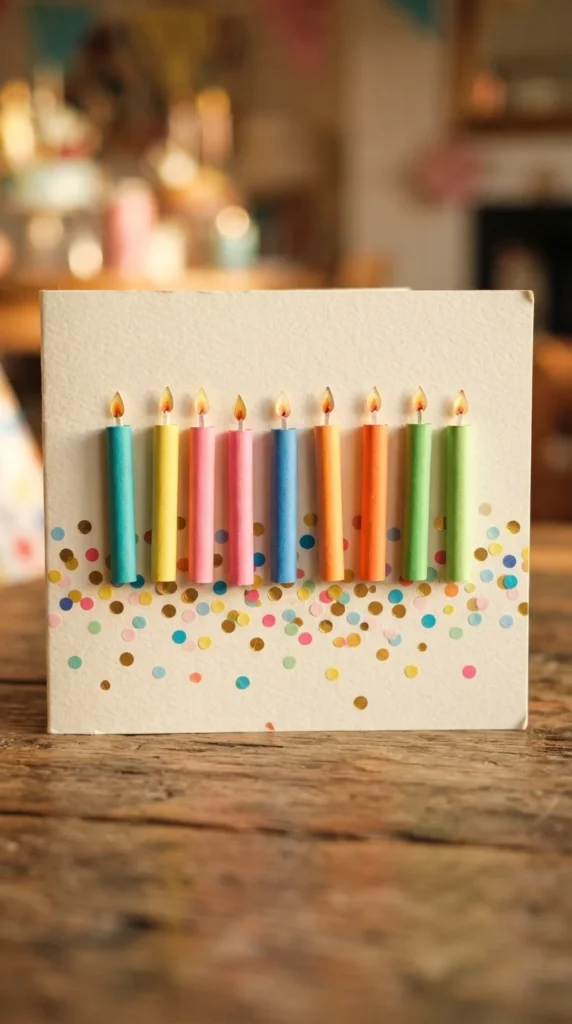
Turn the classic birthday candle into the entire card design. Cut narrow strips of colored paper for the candles and small flame shapes in yellow and orange.
Arrange the candles across the card in different heights. Add tiny paper dots as sprinkles or confetti around them.
For a more graphic style, use one candle color with contrasting flames. For a child’s card, use several bright colors and different patterns.
17. Watercolor Balloon Card
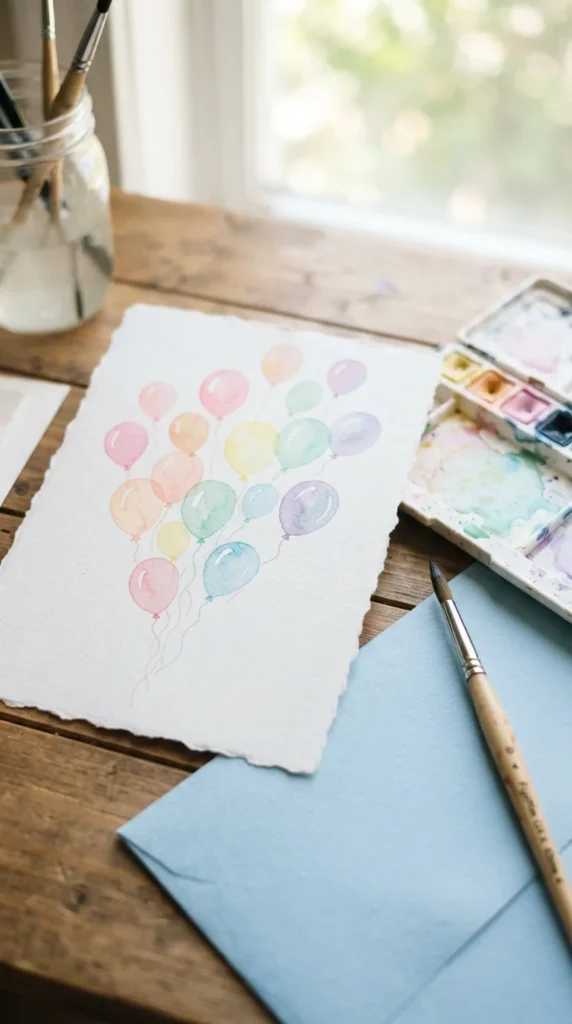
Watercolor balloons are easy to paint and have a light, artistic appearance. Draw loose oval shapes with a pencil, then fill them with diluted watercolor.
Allow the colors to dry before adding thin strings with a fine brush. Slight variations in color and shape make the balloons look handmade.
Try overlapping a few balloons while keeping the paint light. The white space around them gives the card an airy appearance and leaves room for a handwritten greeting.
18. Origami Birthday Card
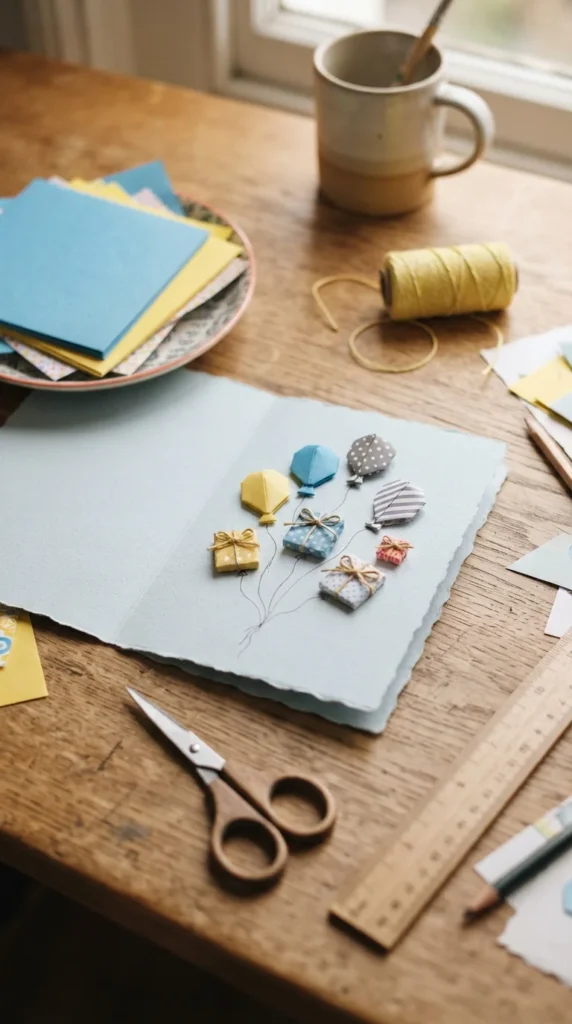
Origami pieces can give a birthday card a sculptural look. Fold small paper balloons, shirts, hearts, flowers, or gift boxes, then attach them to the card.
Choose lightweight origami paper so the finished card does not become too thick. Arrange the folded shapes in a simple pattern before gluing them down.
A row of tiny folded gifts along the bottom edge can look charming, while a single large origami balloon makes a strong focal point.
19. Birthday Animal Card
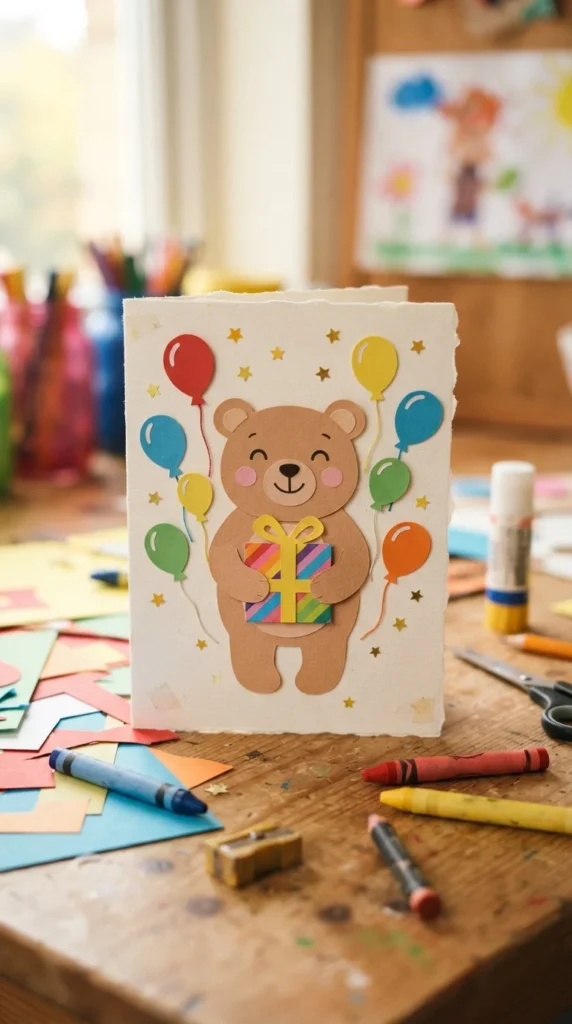
Animal birthday cards are easy to personalize for children and animal lovers. Choose a favorite creature and build the design from simple circles, ovals, triangles, and paper strips.
A bear can hold a gift, a cat can sit beside balloons, or a rabbit can carry a tiny birthday cake. Layering the shapes with foam adhesive gives the character a raised appearance.
Ask the child receiving the card which animal they like best before choosing the design. That small detail can make the greeting feel made especially for them.
20. Elegant Black-and-Gold Card
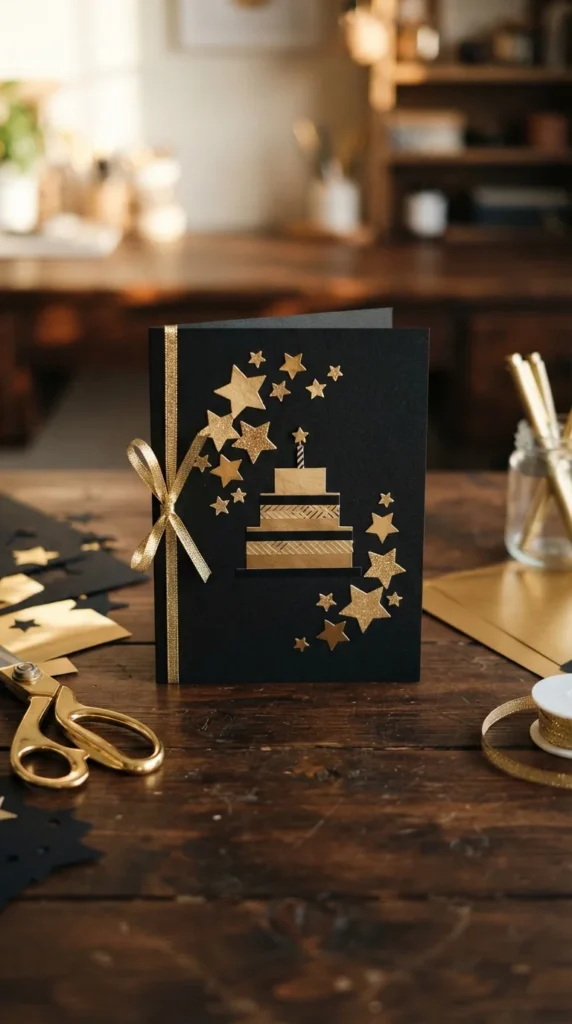
For an adult birthday, a simple black-and-gold design can feel polished without requiring complicated techniques. Start with heavyweight black cardstock and add gold paper shapes, ribbon, or metallic accents.
Keep the decorations sparse. A small layered cake surrounded by a few stars can have more impact than a crowded arrangement.
If you do not have metallic cardstock, gold marker or a small amount of gold paint can add similar accents. Let painted details dry completely before folding the card.
21. Handmade Birthday Flower Pot Card
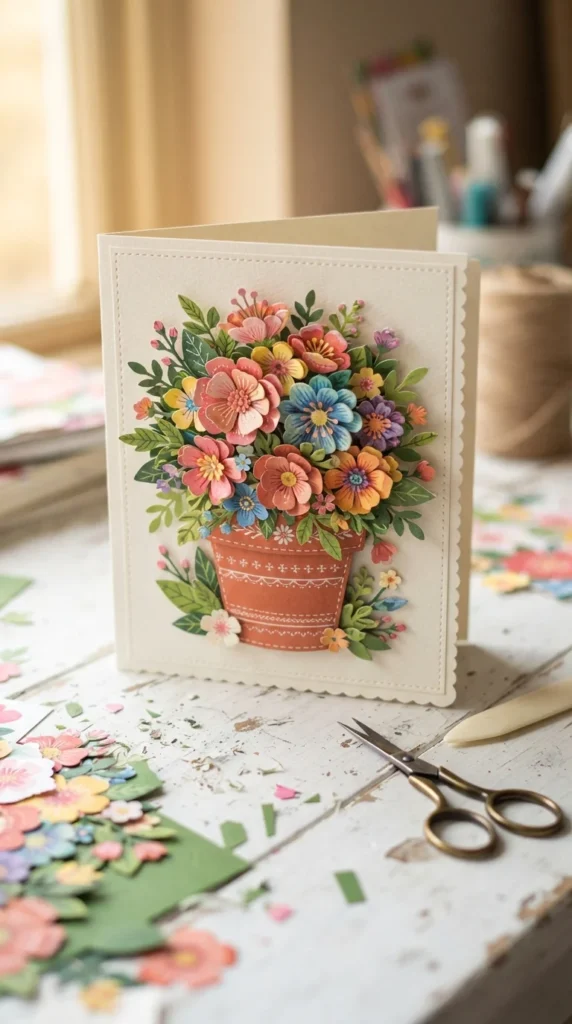
A paper flower pot makes a lovely birthday design for someone who enjoys gardening or flowers. Cut a small pot from brown, terracotta, or patterned cardstock and attach it to the bottom half of the card.
Create several flowers in different colors and tuck their stems behind the pot. Use folded leaves to add extra dimension.
You can make the flowers match the recipient’s favorite garden blooms. Daisies, tulips, sunflowers, and simple wildflowers are all easy to represent with basic paper shapes.
22. Birthday Spinner Card
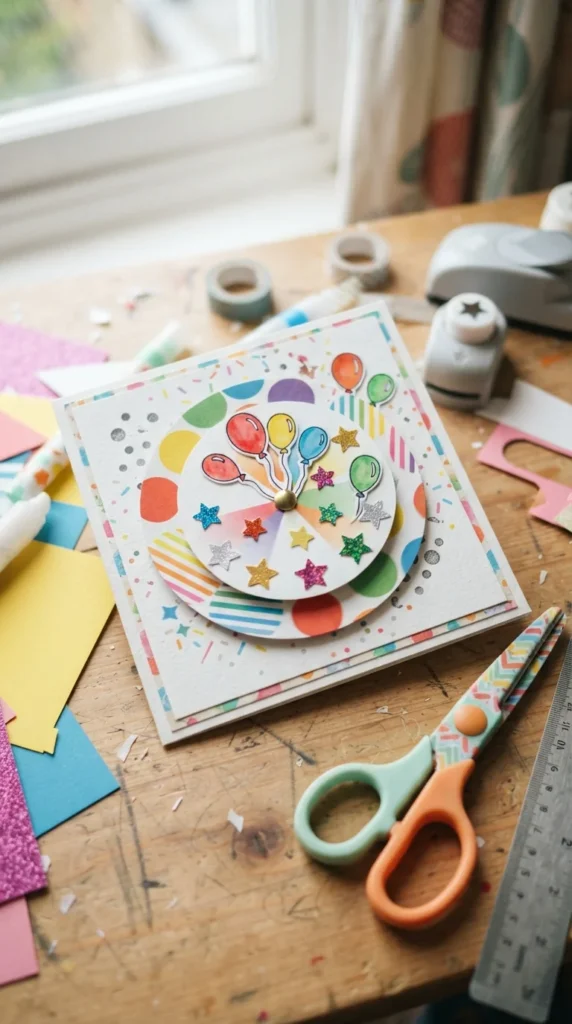
A spinner card adds movement to the birthday greeting. Cut two paper circles and attach one with a paper fastener so it can rotate over the other.
Decorate the circles with balloons, stars, cakes, hearts, or changing color patterns. Make sure the fastener is snug enough to hold the pieces together but loose enough for the wheel to turn.
This card works especially well for children because they can interact with it after opening. Keep the moving pieces fairly flat so the card remains easy to handle.
23. Birthday Garden Card
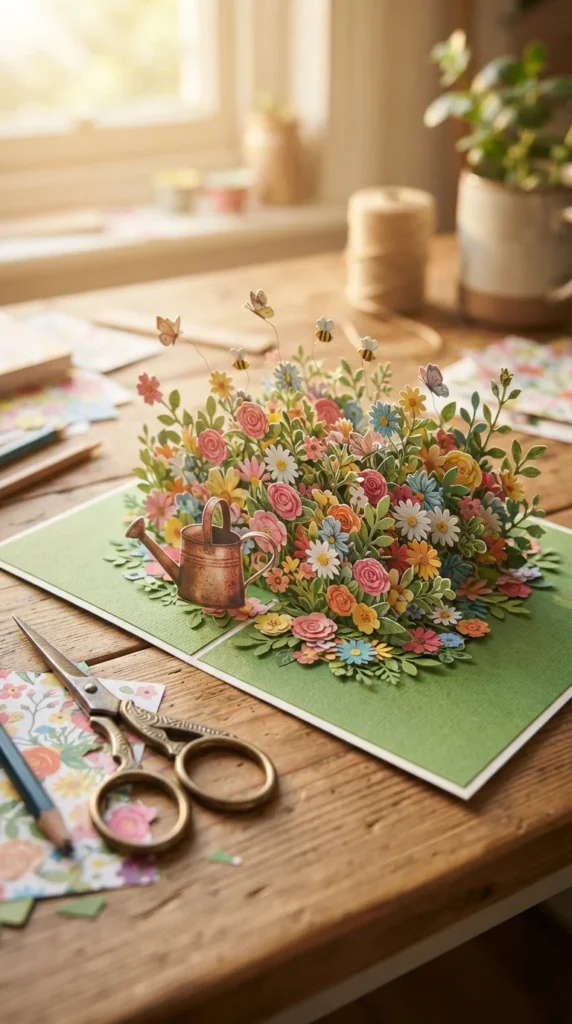
Create a tiny garden scene using paper flowers, leaves, butterflies, and other small shapes. Start with a green cardstock background, then layer taller flowers behind shorter ones.
Use foam adhesive on a few pieces to create depth. A tiny paper watering can, garden gate, or butterfly can add a fun focal point.
This design suits gardeners, nature lovers, and anyone who enjoys colorful handmade details. You can also adapt the flowers to resemble blooms from the recipient’s own garden.
24. Handmade Birthday Cake Shaker Card
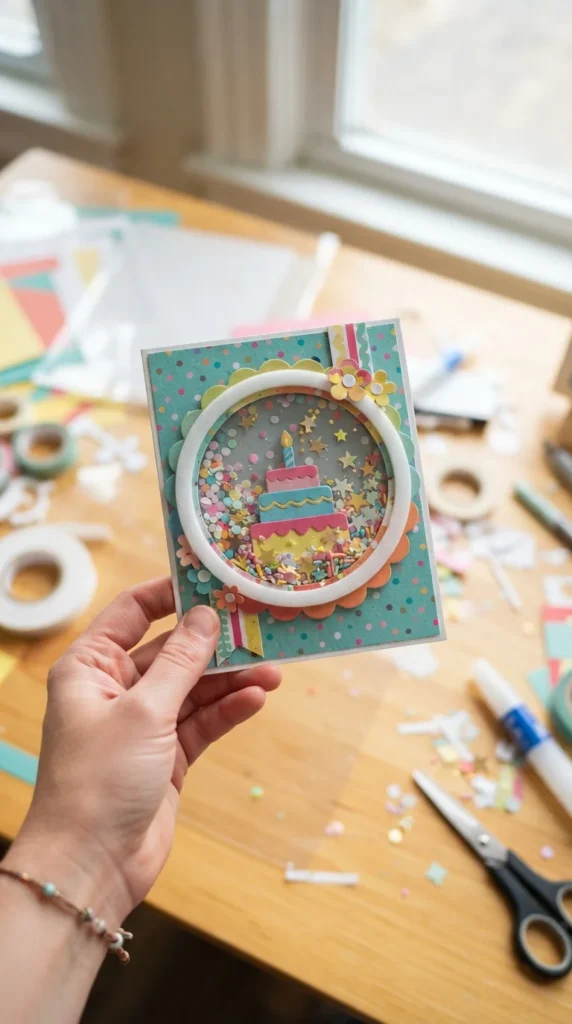
A shaker card adds movement with a small pocket filled with lightweight confetti. Cut a window into the front of the card and cover the opening with clear acetate.
Build a foam-tape border around the window, leaving the center open. Add a small amount of paper confetti before sealing it with another cardstock layer.
Use lightweight pieces rather than heavy beads or bulky decorations. When the recipient shakes the card, the tiny shapes will move around the birthday design.
25. Hand-Stamped Birthday Card
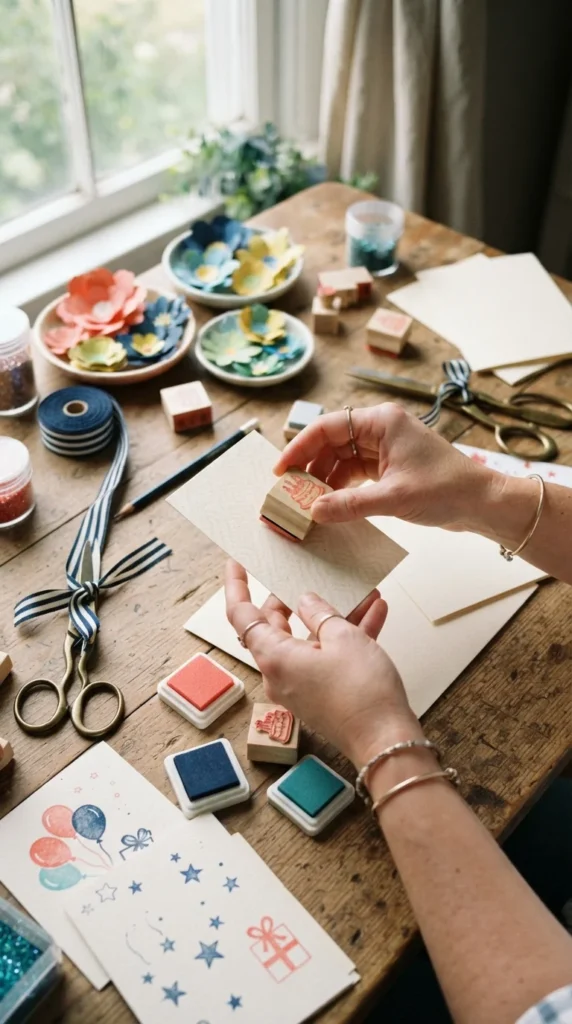
Rubber stamps make it easy to repeat simple birthday shapes. Use stamps featuring stars, balloons, flowers, dots, or small cakes and arrange them into a border or cluster.
Press the stamp evenly onto an ink pad, then onto scrap paper once before using it on the card if you want a lighter impression. Let the ink dry before adding other layers.
Mix stamped shapes with a few raised paper pieces for contrast. A stamped background paired with one dimensional cake can create a balanced handmade design.
26. Birthday Ribbon Card
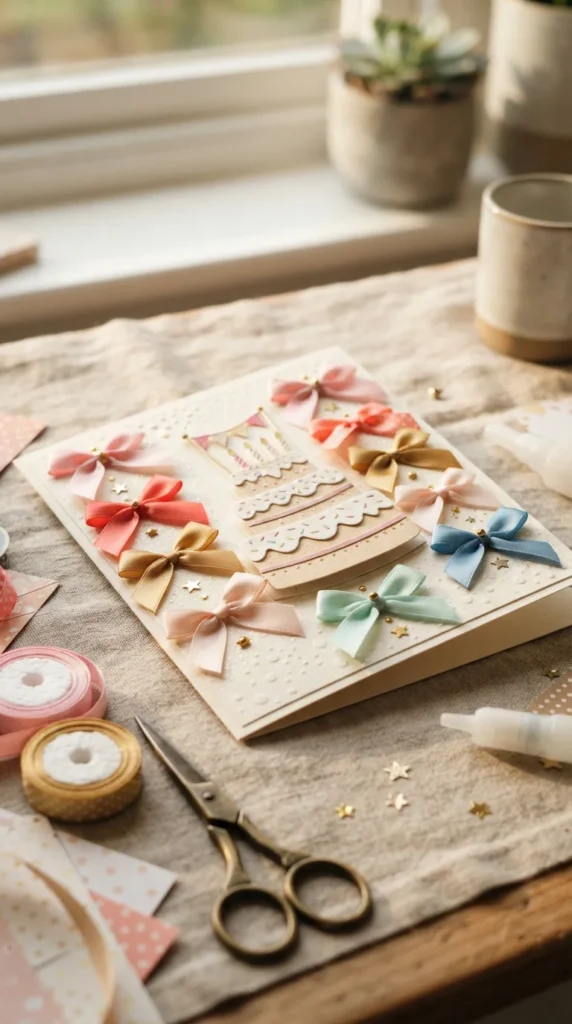
Ribbon adds texture and a soft tactile detail to handmade cards. Cut short pieces of ribbon and tie them into small bows, or use narrow strips to create gift-wrap-style designs.
Attach a ribbon bow to a paper present or place several tiny bows around a cake. Flat ribbon works better than thick varieties if you plan to mail the card.
Use leftover ribbon from gift wrapping or old craft projects. Mixing two coordinating colors can make the design feel intentional without requiring many supplies.
27. Birthday Memory Collage Card
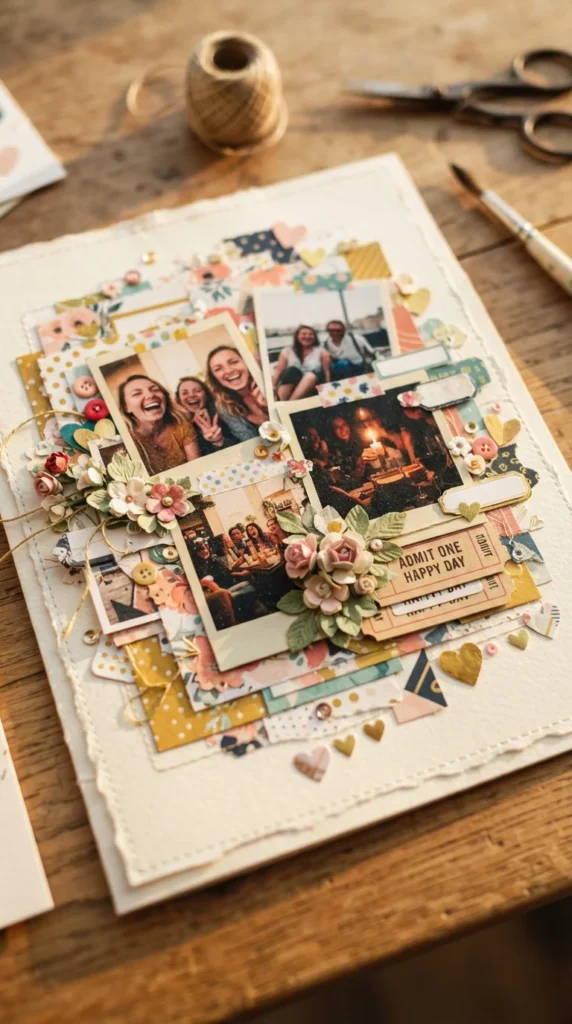
A memory collage card is a beautiful way to celebrate the relationship behind the birthday. Gather small photos, paper scraps, decorative shapes, and tiny keepsakes connected to shared moments.
Arrange the pieces before attaching anything. Try overlapping photographs with paper flowers, hearts, stars, or small borders to create a scrapbook-style composition.
Leave a little open space inside for a handwritten note about a favorite memory. The finished card becomes more than a birthday greeting; it becomes a small collection of moments the recipient can keep.
Final Thoughts
Handmade birthday cards offer a simple way to turn paper and everyday craft supplies into something personal. Whether you choose a dimensional cake, a colorful balloon bouquet, a photo collage, or a delicate paper flower design, the finished card can reflect the person you are celebrating. Pick one idea that matches their personality and gather your supplies before you start. Save this list for the next birthday on your calendar and make a handmade card that feels truly personal.

Lily Summers is a digital artist and creative storyteller who loves bringing colorful characters to life. With a passion for cartoons, fan art, and playful sketches, she inspires others to explore their imagination through art. When she’s not sketching, you’ll find her dreaming up new ideas for CraftedWizard.com to spark creativity in every artist. 🌈✨