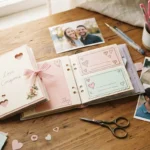
A handmade birthday card can turn a simple gift into something that feels truly personal. You can create beautiful designs with cardstock, paper scraps, ribbon, paint, buttons, and a few basic craft tools. The best part is that each card can match the recipient, from a playful card for a child to a soft floral design for Mom or a stylish geometric card for a friend. Here are 25 DIY birthday card ideas you can make at home without complicated crafting techniques.
1. Layered Paper Birthday Cake Card
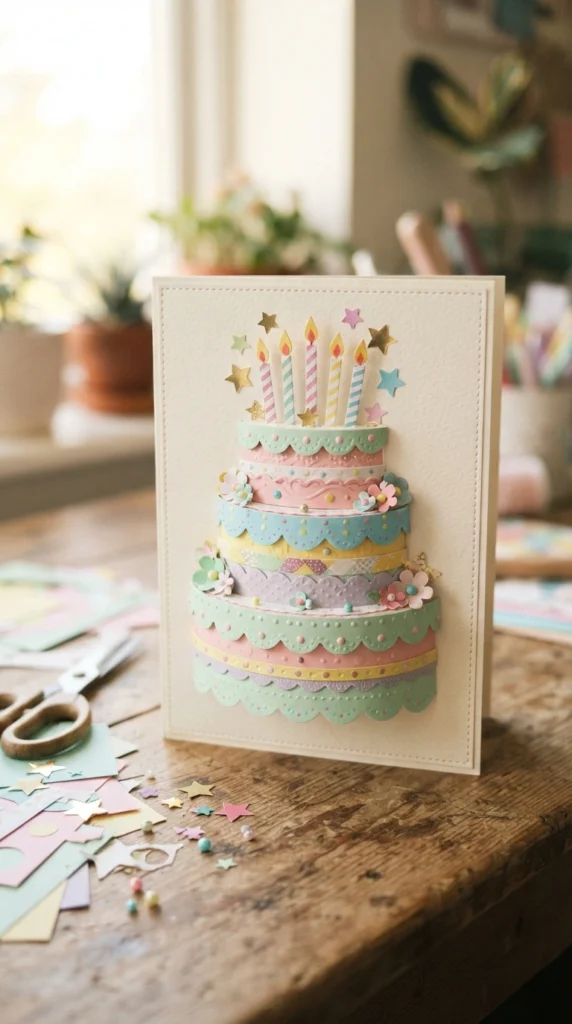
Turn an ordinary folded card into a tiny birthday cake scene using layers of cardstock. Cut three cake layers in different widths and stack them from largest to smallest. Add frosting-shaped strips along the edges and place small paper candles across the top.
For extra dimension, attach some pieces with foam adhesive instead of gluing everything flat. This creates gentle shadows between the layers and gives the cake a raised appearance. Use pink, yellow, blue, or lavender for a playful look, or choose cream and gold for something more grown-up.
You can also add tiny paper dots around the cake to look like sprinkles. A handmade cake card works for friends, siblings, children, parents, and almost anyone who enjoys a cheerful birthday surprise.
2. Watercolor Balloon Card
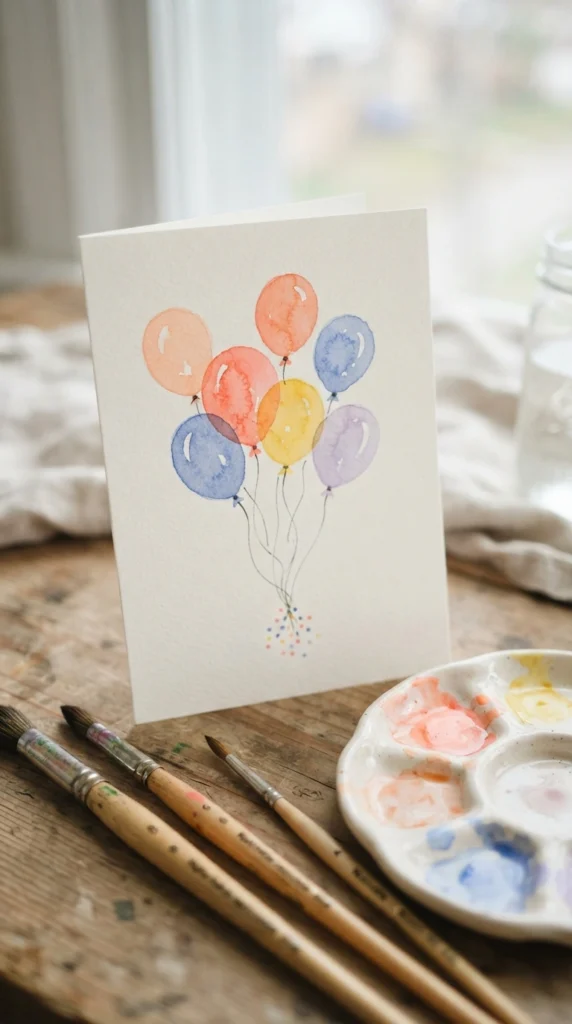
Watercolor balloons are simple enough for beginners and forgiving when the paint creates slightly uneven edges. Draw several oval balloon shapes lightly with pencil, then fill them with diluted watercolor. Let each color dry before adding a small highlight or darker edge.
Once the balloons are dry, paint thin curved strings beneath them. You can gather the strings toward the lower center of the card to create the feeling of balloons floating upward.
If you are not confident with painting, use watercolor pencils instead. Draw the balloons with colored pencils, then brush over them with a little water. The result has the soft appearance of watercolor while giving you more control over the shapes.
3. Pop-Up Birthday Cake Card
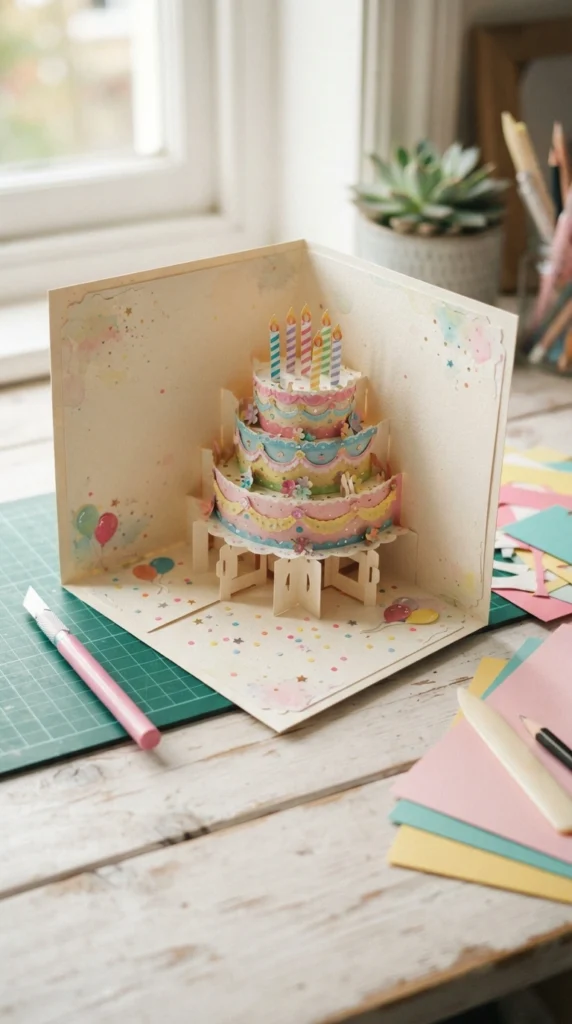
Give the recipient a surprise when they open the card with a simple pop-up cake. Fold a strip of cardstock into a small box-like shape and attach it inside the card so a decorated cake can stand upright when the card opens.
Cover the cake with frosting cut from contrasting paper. Add candles, sprinkles, cherries, or tiny stars to make it look like a miniature celebration.
Keep the pop-up structure fairly flat when designing the card so it can close without crushing the decorations. A little planning with scrap paper before using your favorite cardstock can save time and help you get the folds right.
4. Paper Flower Birthday Card
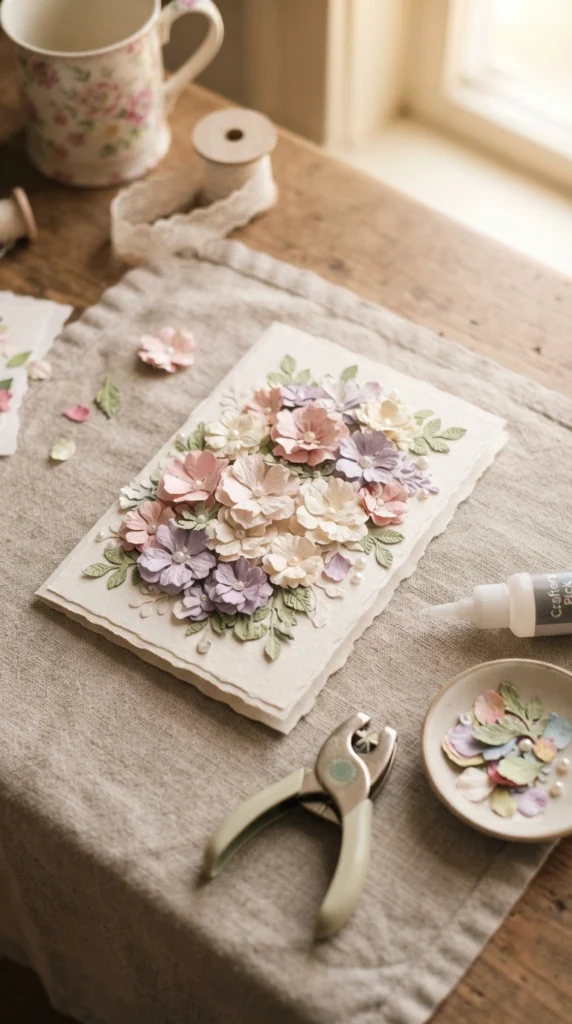
Paper flowers can make a birthday card feel special without requiring advanced tools. Cut simple five-petal flowers from colored paper, then curl the petals slightly with your fingers. Stack two or three flowers together and place a small circle, bead, or paper center in the middle.
Arrange the flowers along one corner or create a small bouquet near the bottom of the card. Add narrow paper leaves between the flowers to fill small gaps without making the design crowded.
For a softer look, use several shades from the same color family. You can also use leftover scrapbook paper, making this project a useful way to turn small paper scraps into decorations.
5. Photo Collage Birthday Card
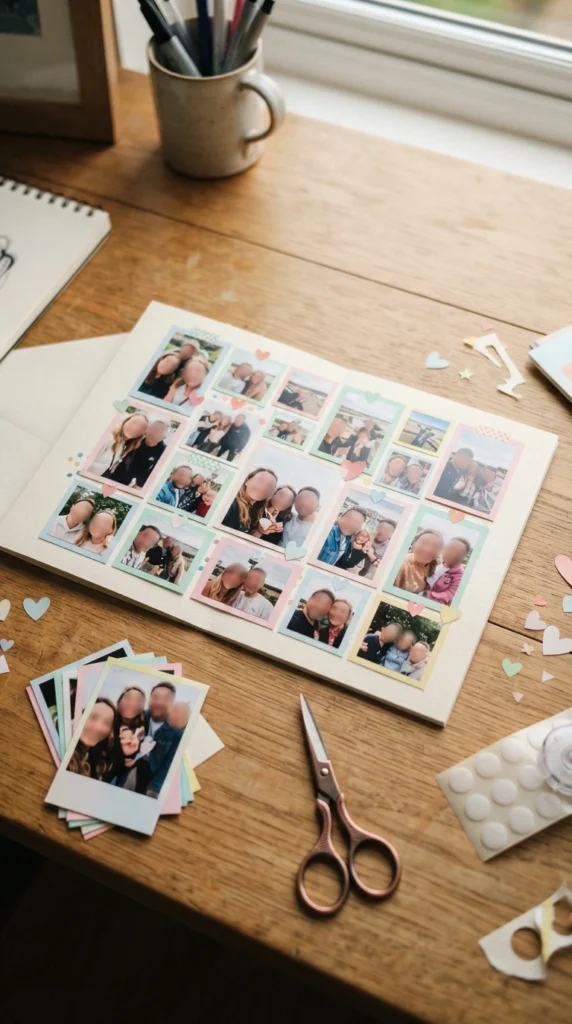
A photo card is a lovely way to bring shared memories into a birthday gift. Select three to six small photographs that show funny moments, trips, family gatherings, or everyday memories with the recipient.
Trim the photos into squares or rectangles and arrange them across the front of a sturdy cardstock base. Leave small spaces between the images so the card feels organized rather than crowded.
Add paper hearts, tiny stars, ribbon pieces, or small decorative borders around the photographs. If you are making the card shortly before the birthday, choose photos already stored on your phone and print only the few that matter most.
6. Balloon Punch-Out Card
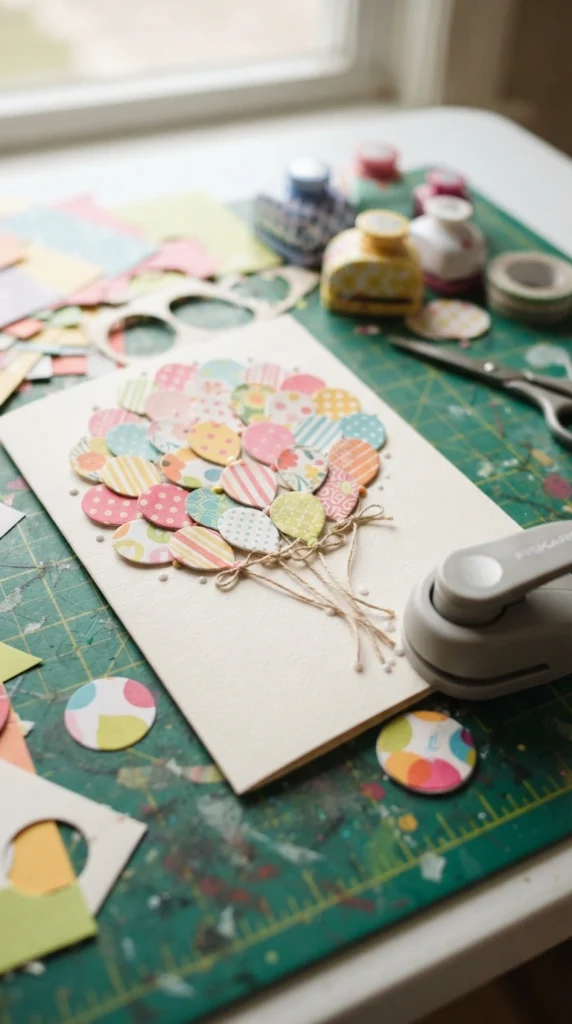
A circle punch can make balloon shapes quickly, especially when you are creating several cards. Punch circles from different colors of cardstock, then trim a tiny triangular piece from the bottom of each circle to create a balloon shape.
Attach the balloons at different heights across the card. Some can sit flat while others can be raised with foam adhesive for a layered effect.
Use patterned paper for a few balloons and plain colors for the rest. Thin thread or drawn lines can connect them to a small gathering point near the bottom, giving the design a tidy party feel.
7. Birthday Confetti Shaker Card
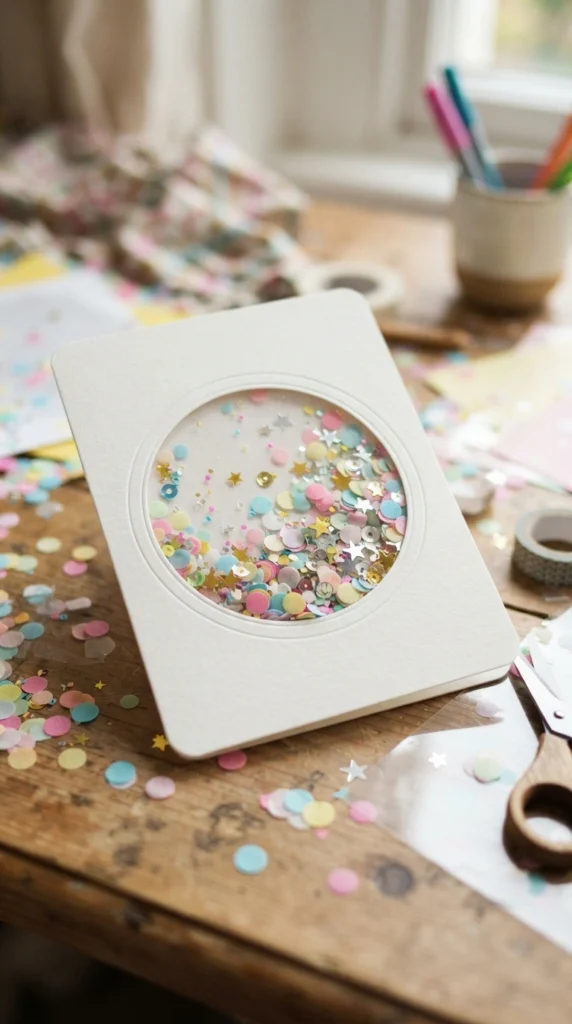
Make a card that actually moves when the recipient shakes it. Create a small window on the front of the card and cover it with clear acetate. Add strips of foam adhesive around the edges, leaving enough space for a handful of lightweight confetti.
Seal the window with another cardstock layer so the confetti stays inside. Tiny circles, stars, hearts, and small sequins all work well.
Keep the shaker filling light so it moves freely. Too much confetti can make the card bulky and stop the pieces from floating around the window.
8. Button Balloon Birthday Card
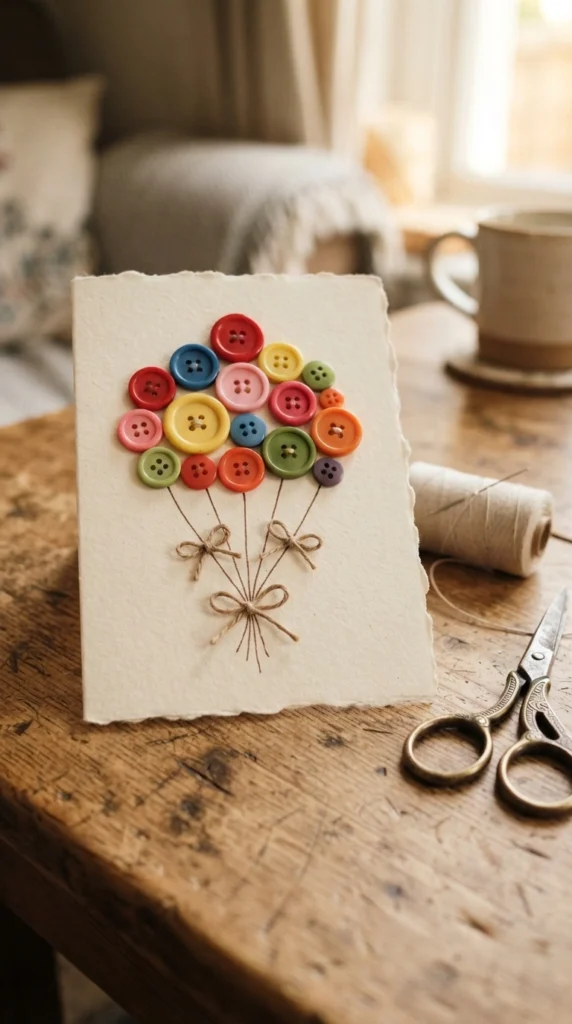
Turn spare buttons into a cheerful birthday scene. Choose round buttons in several colors and sizes, then arrange them across the front of a cardstock card as balloon shapes.
Draw a thin string from each button toward the bottom of the card. Small ribbon bows can be tied around a few strings for extra detail.
Flat buttons are easiest to attach with strong craft glue. If you are making the card for a young child, avoid loose small pieces that could become a choking hazard and choose larger decorations instead.
9. Washi Tape Birthday Card
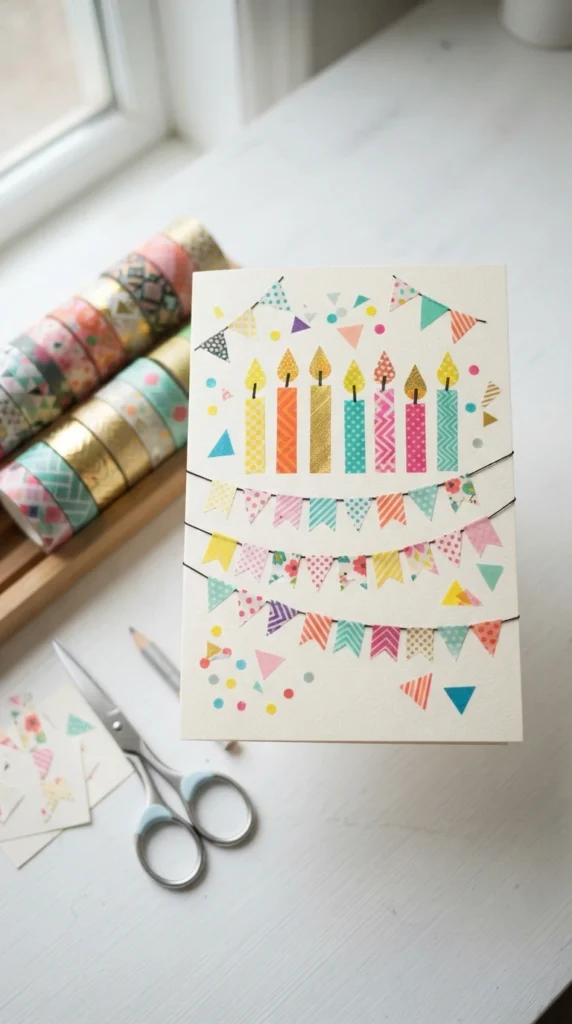
Washi tape is perfect when you want a polished card without drawing detailed shapes. Cut short pieces into rectangles and arrange them vertically as birthday candles. Add thin strips underneath as candle holders and draw small flames above them.
You can also use washi tape to make bunting across the top of the card. Fold small pieces over a thread, trim them into triangles, and attach the thread across the cardstock.
Mix two or three patterns rather than using every design in your collection. A simple color palette helps the finished card look intentional while keeping the project quick.
10. Quilled Paper Birthday Card
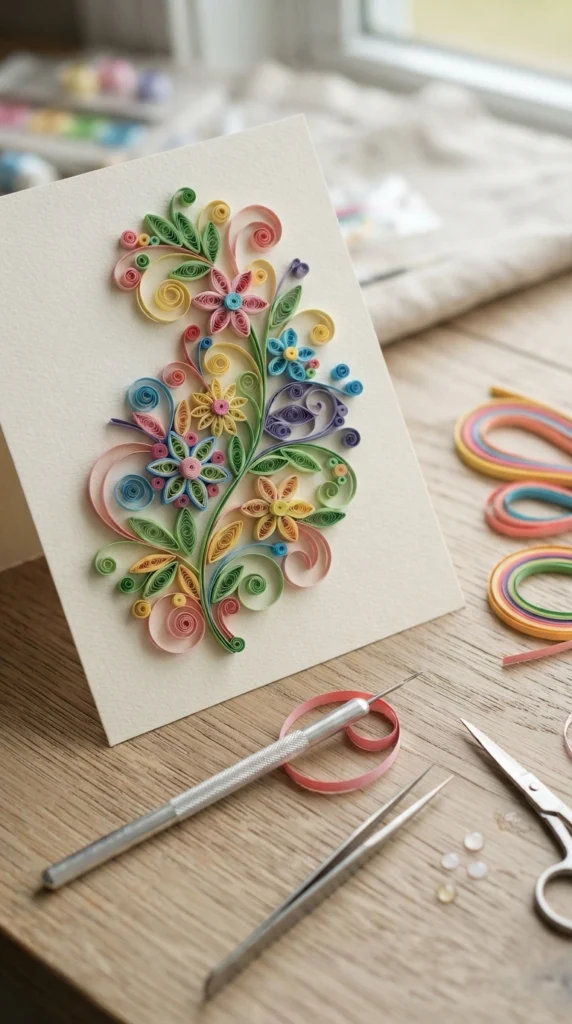
Paper quilling turns narrow strips of paper into curls, coils, flowers, and leaves. Start with simple tight coils and teardrop shapes before trying more detailed designs.
Arrange the pieces into a small floral cluster or colorful birthday balloon. Apply tiny amounts of glue with a fine-tip applicator so the paper remains clean.
Quilling is especially useful when you have leftover strips from other craft projects. Choose three or four coordinating colors and repeat them throughout the design for a neat finish.
11. Hand-Drawn Cake Doodle Card
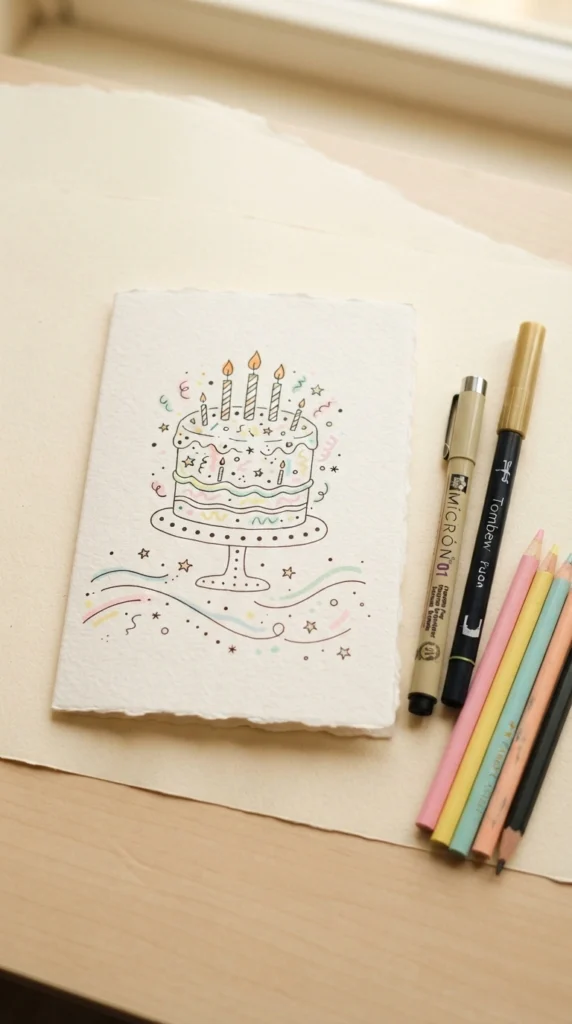
You do not have to be an experienced artist to make a charming doodle card. Sketch a simple cake using rectangles, curved frosting lines, candles, and small decorative dots.
Use a black fine-tip pen for the outline, then add a few pastel colors inside the shapes. Slight imperfections can make the drawing feel personal rather than machine-made.
Try drawing objects that remind you of the recipient. A favorite cake, hobby, pet, flower, or coffee cup can turn a basic doodle into a card with a personal story.
12. Ribbon-Wrapped Birthday Card
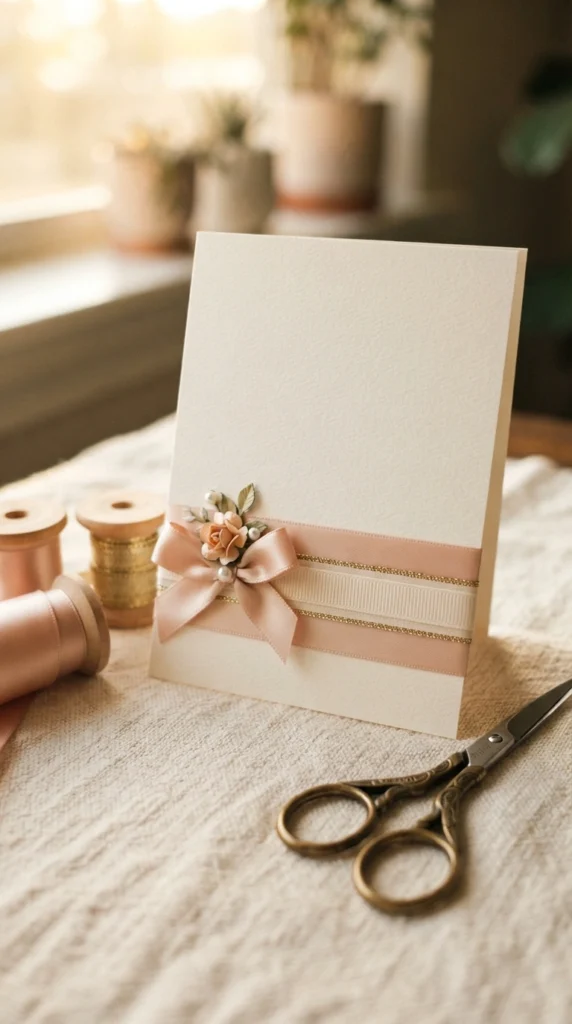
Ribbon can add texture and dimension to a plain cardstock card. Wrap a narrow strip horizontally around the front and secure the ends on the inside of the card.
Layer two ribbons with different widths or textures for a more detailed look. A small bow can sit near one corner without taking over the entire design.
For a clean finish, measure the ribbon before cutting and use strong double-sided tape beneath it. Satin works beautifully for elegant cards, while cotton or grosgrain ribbon gives the project a more casual handmade feel.
13. Embossed Birthday Card
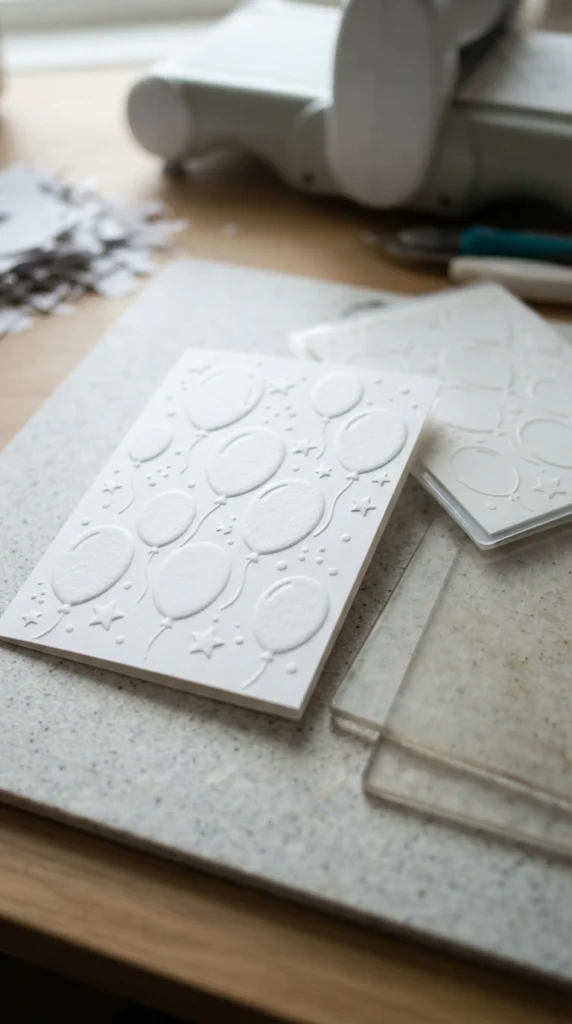
Embossing gives cardstock a raised texture that catches the light beautifully. If you have an embossing folder and machine, place the cardstock inside the folder and run it through according to the tool instructions.
For a simple design, emboss balloons, dots, stars, or a geometric pattern. Leave part of the card plain so the raised texture remains easy to see.
You can add a light wash of watercolor over the raised areas or leave the cardstock white for a clean modern design. Thicker cardstock usually holds embossed patterns better than thin printer paper.
14. Pressed Flower Birthday Card
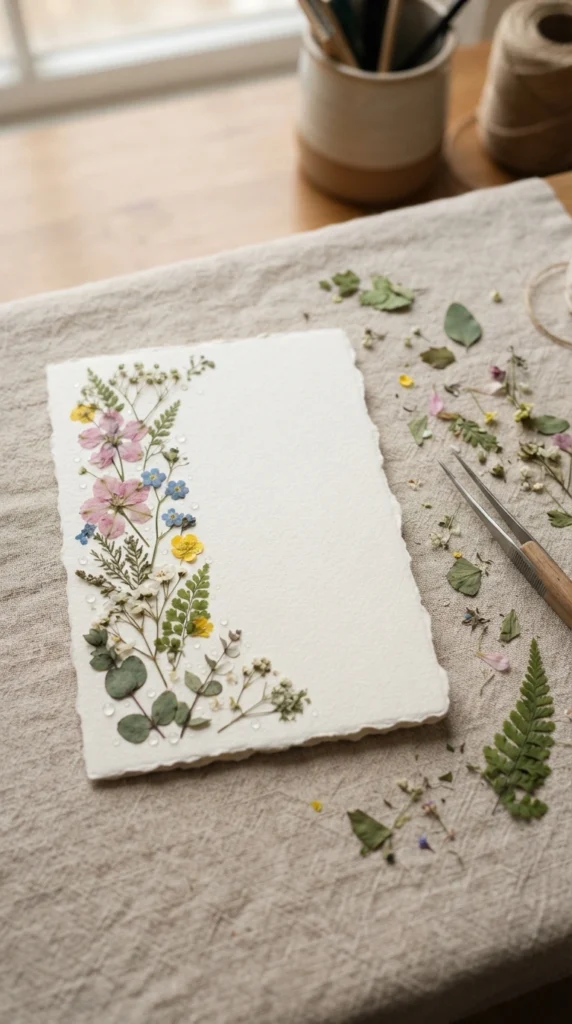
Pressed flowers can create a delicate botanical card with very little decoration. Arrange small dried flowers and leaves along one edge of the cardstock, forming a loose branch or tiny bouquet.
Use flat flowers that sit close to the paper, then secure them with craft glue or narrow strips of clear adhesive. Handle delicate petals gently with tweezers.
A neutral cardstock base lets the flowers remain the main feature. Keep the arrangement simple so each botanical detail can be seen clearly.
15. Cupcake Liner Birthday Card
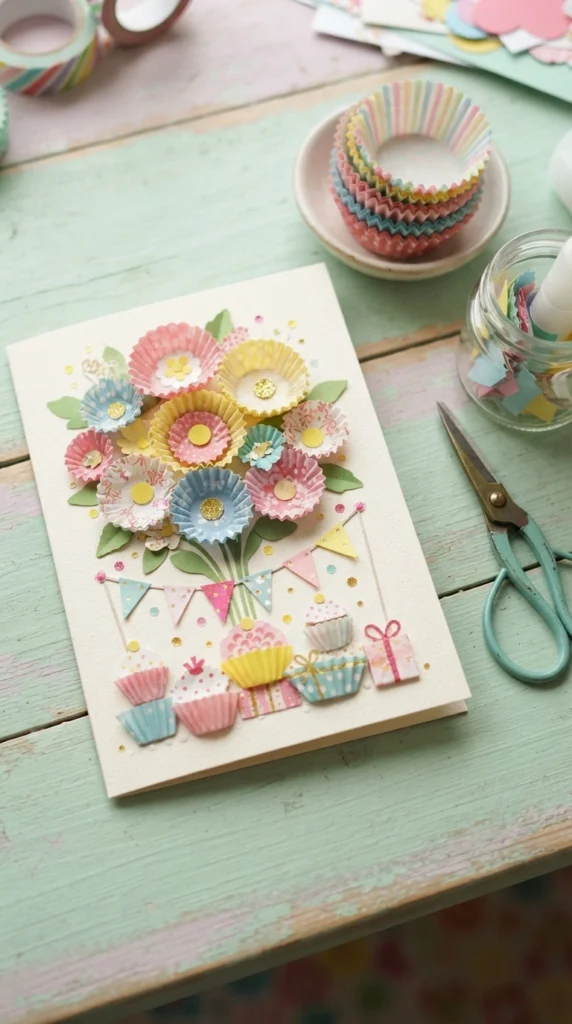
Cupcake liners can become surprisingly pretty card decorations. Flatten colorful liners and fold or trim them into simple flower shapes, then stack two or three pieces to create petals.
Add a small paper circle in the center and attach a few leaves underneath. You can arrange several flowers in a bouquet or use one large flower as the main focal point.
Patterned cupcake liners work especially well because their folded edges already create texture. This project is also handy when you have unused liners left from a baking session.
16. Geometric Birthday Card
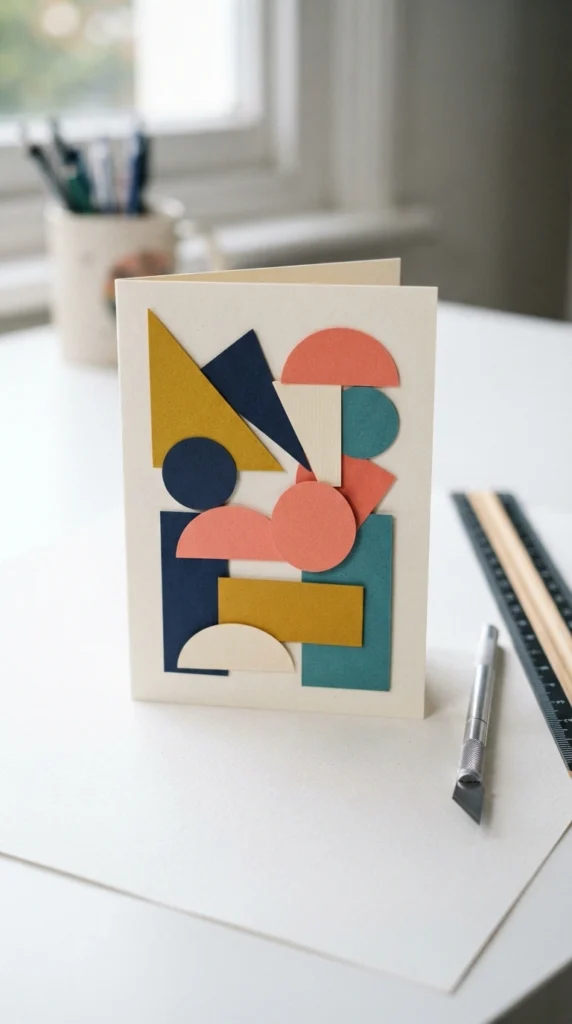
For someone who prefers modern designs, skip flowers and balloons and build the card from geometric shapes. Cut triangles, circles, rectangles, and semicircles from a small selection of cardstock colors.
Arrange the shapes in overlapping layers until you like the composition. Use foam adhesive behind a few pieces to create subtle depth.
A ruler and craft knife can help create crisp edges, but scissors work for simpler shapes. Stick to four or five colors so the design feels organized rather than busy.
17. Rainbow Birthday Card
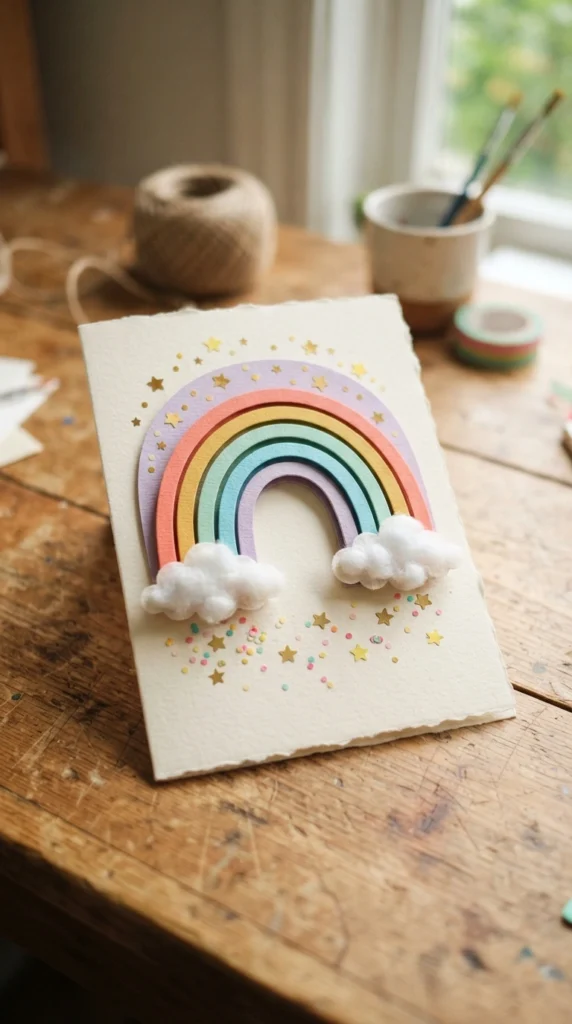
A paper rainbow is an easy way to create a colorful birthday card. Cut several curved arches from different shades of cardstock and layer them from largest to smallest.
Attach small white paper clouds at each end and add stars around the rainbow. Foam adhesive can separate some layers and give the arches more dimension.
You can change the colors to match the recipient’s favorite palette. For a softer version, use blush, cream, lavender, and pale blue instead of strong rainbow colors.
18. Mini Envelope Birthday Card
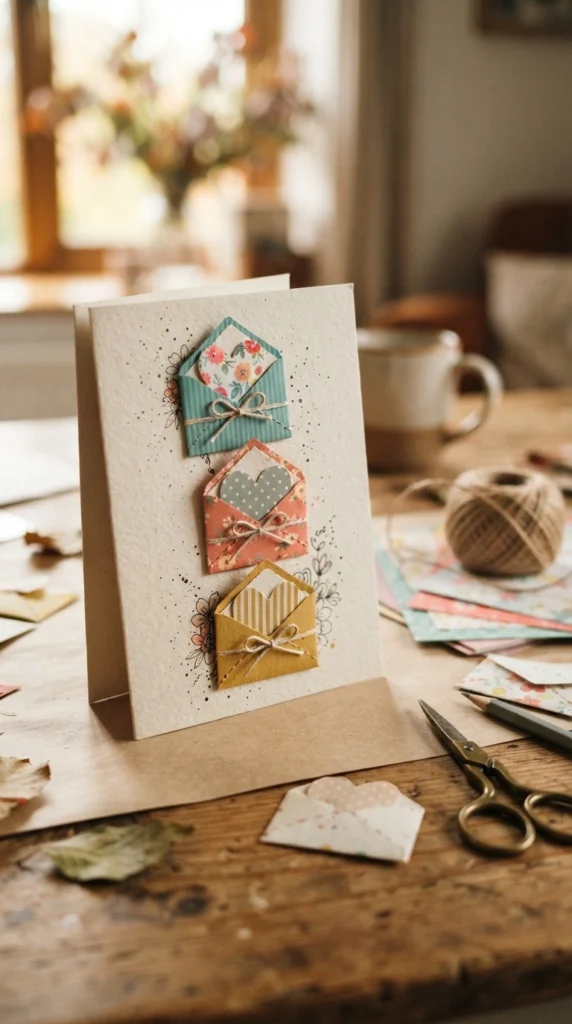
Tiny envelopes can turn a birthday card into a collection of small surprises. Fold miniature envelopes from patterned paper and attach two or three to the card front.
Slide small paper hearts, stars, or tiny photographs inside each envelope. You can also leave the inserts blank so the recipient can discover a personal message in each pocket.
Use different patterns while keeping the envelope sizes similar. This design works particularly well for close friends and family because each little pocket can represent a shared memory or reason you appreciate the person.
19. Birthday Candle Matchstick Card
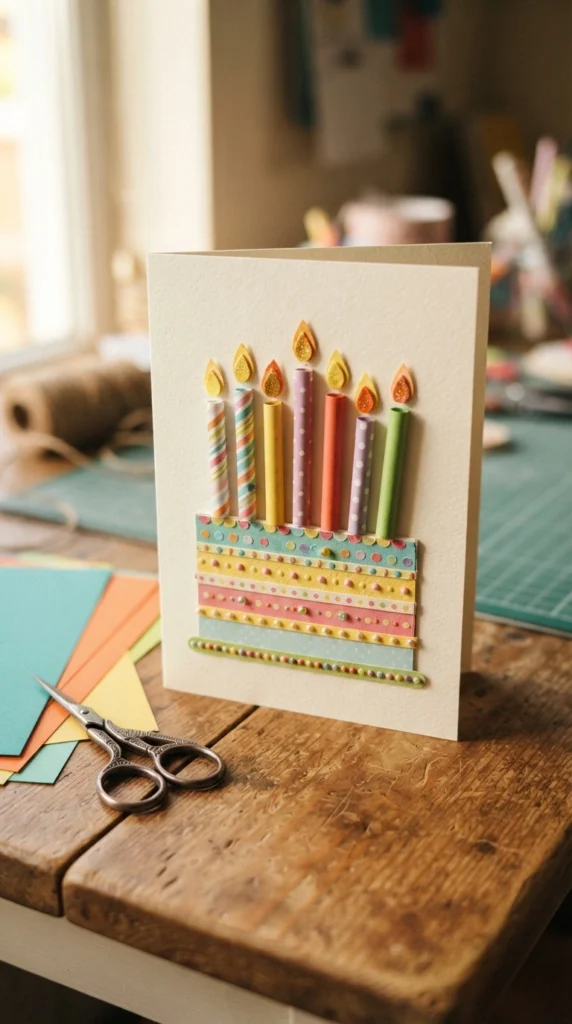
Create a row of colorful candles using narrow cardstock strips. Cut each candle to a different height and add tiny flame shapes above them.
Place the candles on a simple cake base made from one or two rounded paper shapes. Thin strips of contrasting paper can imitate frosting or candle stripes.
For a more tactile version, use decorative paper straws or clean craft sticks instead of paper. Keep the finished card flat enough to fit comfortably inside an envelope.
20. Metallic Foil Birthday Card
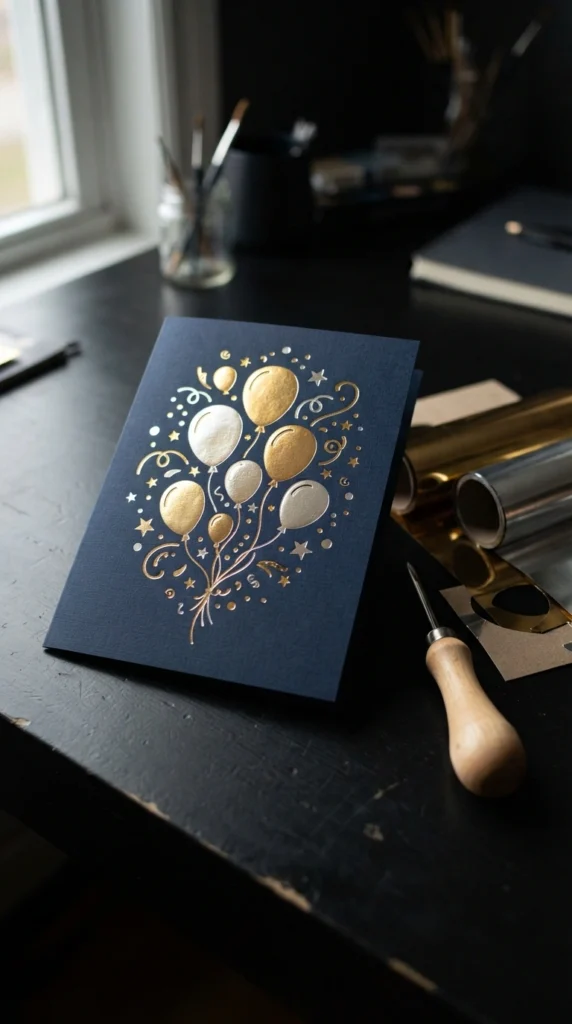
Metallic details can give a handmade card a polished party appearance. Start with dark cardstock and add gold or silver foil accents to balloons, stars, candles, or simple geometric shapes.
If you do not have specialized foil equipment, use metallic paper cutouts instead. Small pieces can create almost the same visual effect while keeping the project accessible.
Pair one metallic shade with a strong background color rather than covering the entire card in shiny decorations. Navy, black, cream, burgundy, and deep green all create a striking backdrop.
21. Birthday Garland Card
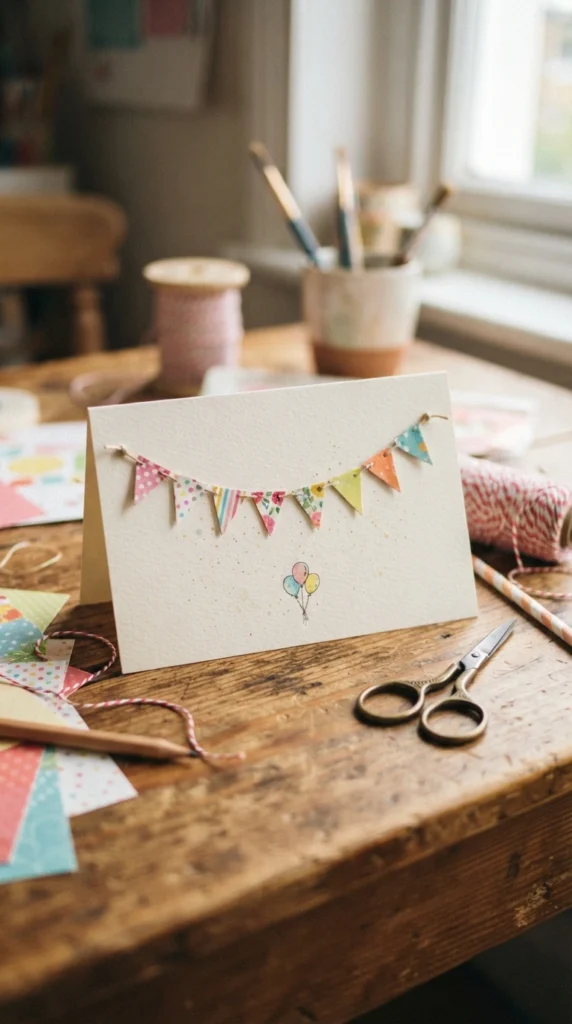
A tiny bunting garland can make a simple card feel like a miniature party. Cut several small triangles from patterned paper and fold their tops around a thin piece of thread.
Secure the flags with tiny dots of glue, then attach the finished garland across the front of the card. Let the thread curve slightly rather than pulling it completely straight.
Use two or three paper patterns and repeat the same colors throughout. A cream or white card base gives the garland plenty of room to stand out.
22. Monochrome Birthday Card
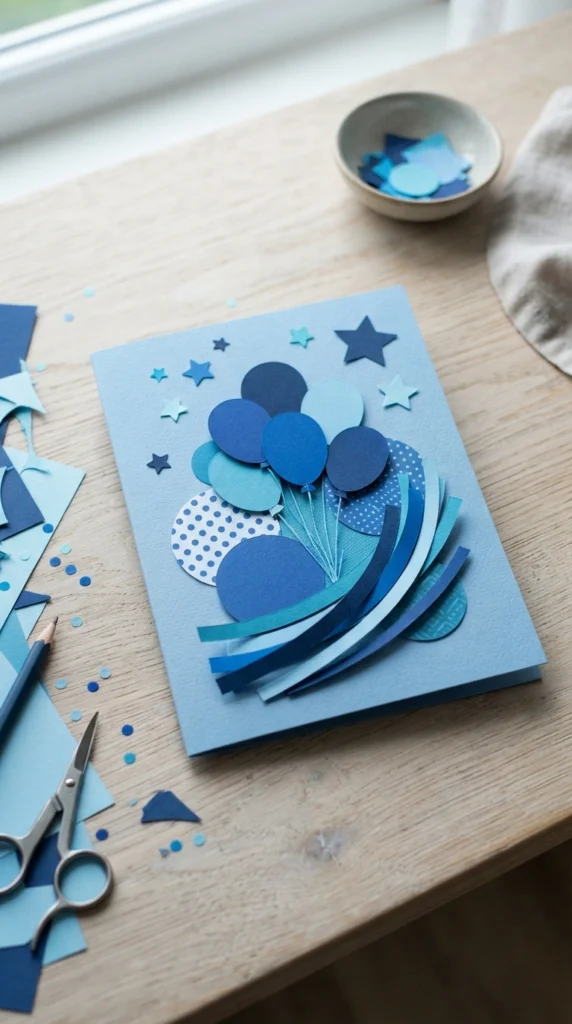
A monochrome card proves that you do not need many colors to create visual interest. Pick one color and collect several shades, from very pale to deep and saturated.
Use those shades to create balloons, flowers, circles, stars, or abstract shapes. Layer light pieces over dark cardstock or reverse the combination for contrast.
This approach works especially well for adults who prefer clean designs. Blue, green, purple, terracotta, or even different shades of cream can create a cohesive handmade card without complicated decoration.
23. Hand-Stitched Birthday Card
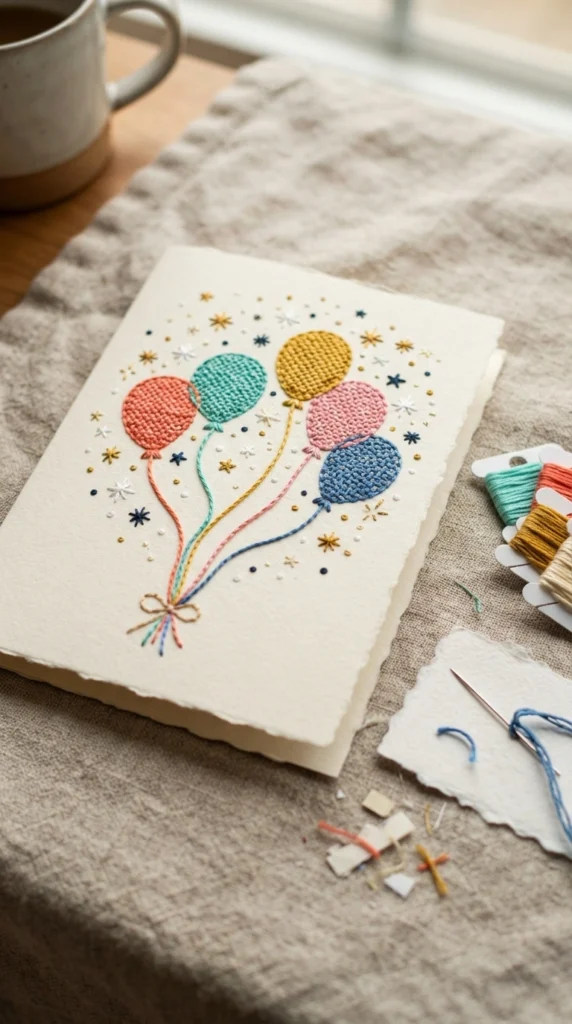
Paper stitching adds texture while keeping the design simple. Lightly sketch a balloon, heart, star, or flower on cardstock, then make small holes along the outline with a needle.
Thread embroidery floss through the holes to create a stitched design. You can use one color for a clean look or switch between two or three shades.
Place a sheet of scrap paper behind the cardstock while making the holes to protect your work surface. Keep the stitches evenly spaced, but do not worry if they are not identical. The handmade character is part of the charm.
24. Birthday Cake Paper-Cut Card
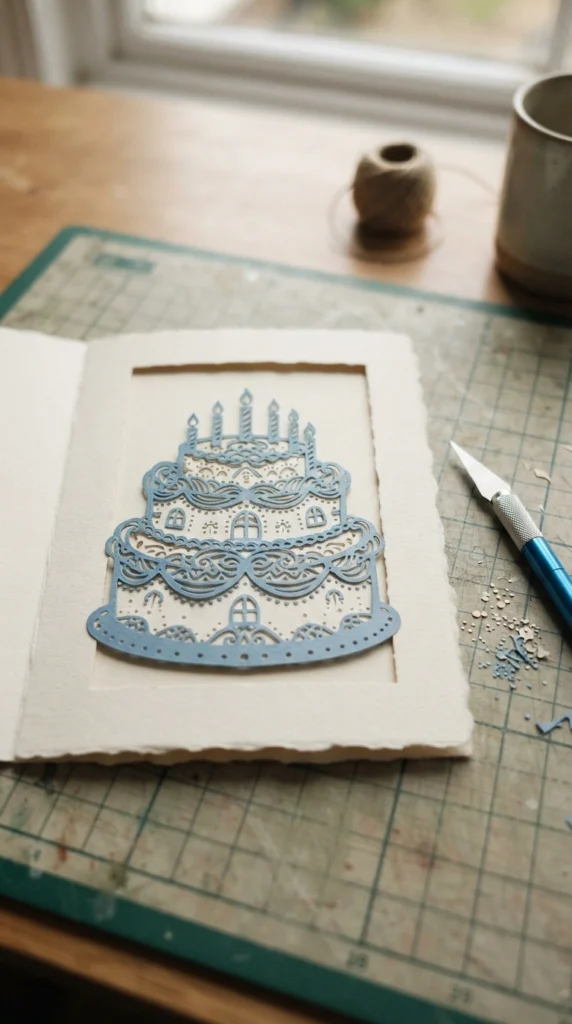
Paper cutting can create a clean, detailed birthday design from a single sheet of cardstock. Sketch a simple cake silhouette with frosting, candles, and decorative shapes before carefully cutting the design.
Place contrasting paper behind the cutout so the details become visible. A pale cake over a bright background creates a playful effect, while cream over dark cardstock feels more sophisticated.
Use a sharp craft knife on a proper cutting mat and work slowly around small corners. If this technique feels too detailed, simplify the design by using larger shapes and fewer cutout areas.
25. Personalized Birthday Memory Card
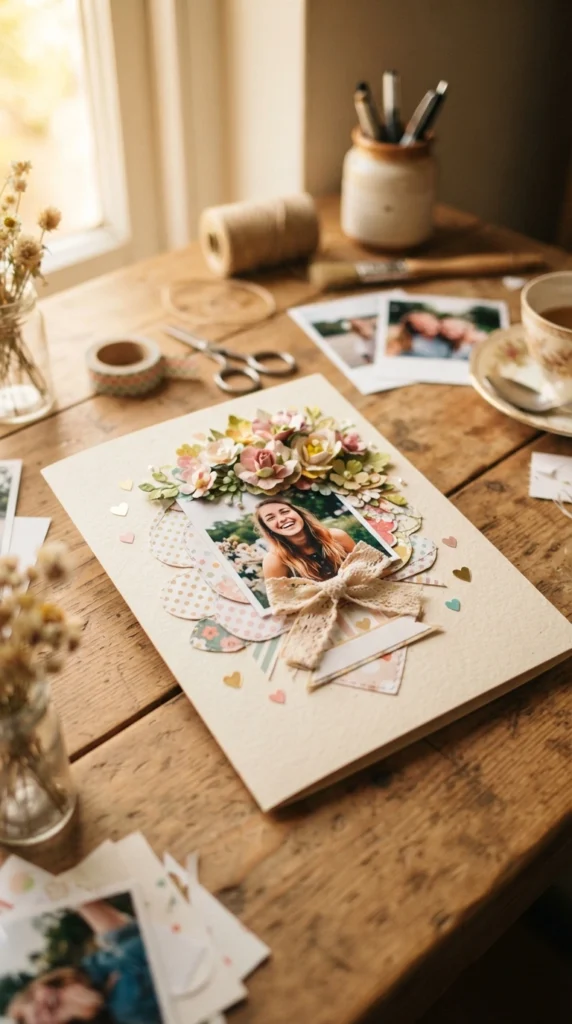
Bring several handmade techniques together for a card built around one special memory. Start with a favorite photograph, then add a small paper flower, ribbon, heart, or decorative border that connects to the memory shown in the picture.
You can make the design about a trip, family gathering, friendship, childhood moment, or shared hobby. Keep the decorations around the photo rather than covering important parts of the image.
Choose details that remind you of the recipient instead of simply adding every craft supply you have. A card with a few meaningful elements can feel much more personal than one covered from edge to edge with decorations.
Final Thoughts
DIY birthday cards give you a simple way to turn paper and everyday craft supplies into something personal and memorable. Whether you choose a pop-up cake, photo collage, watercolor balloons, stitched design, or memory card, the finished piece can reflect the person receiving it. Pick one idea that matches their personality, gather a few supplies, and make your card today. A little handmade effort can make the birthday gift feel much more personal.

Lily Summers is a digital artist and creative storyteller who loves bringing colorful characters to life. With a passion for cartoons, fan art, and playful sketches, she inspires others to explore their imagination through art. When she’s not sketching, you’ll find her dreaming up new ideas for CraftedWizard.com to spark creativity in every artist. 🌈✨