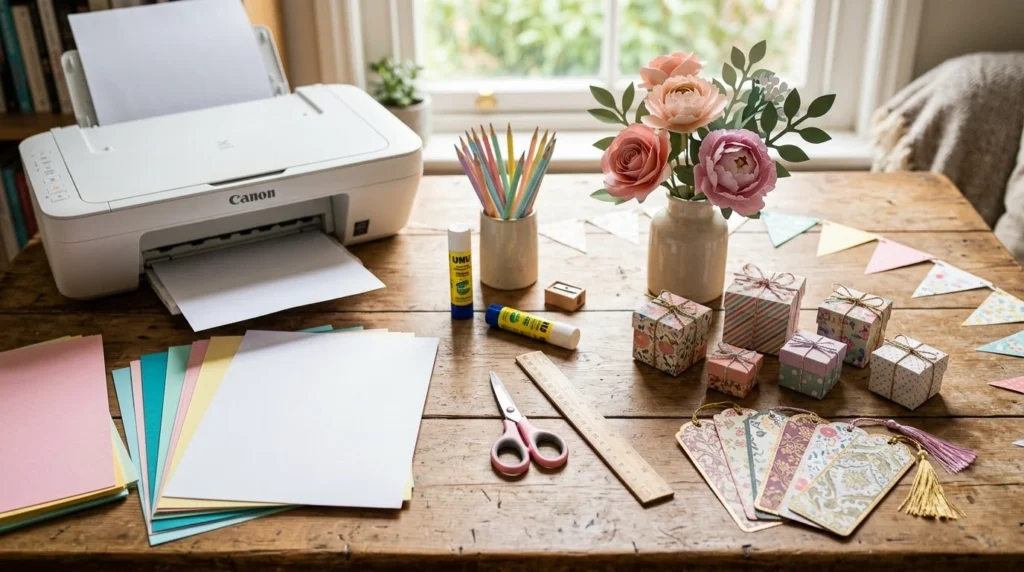
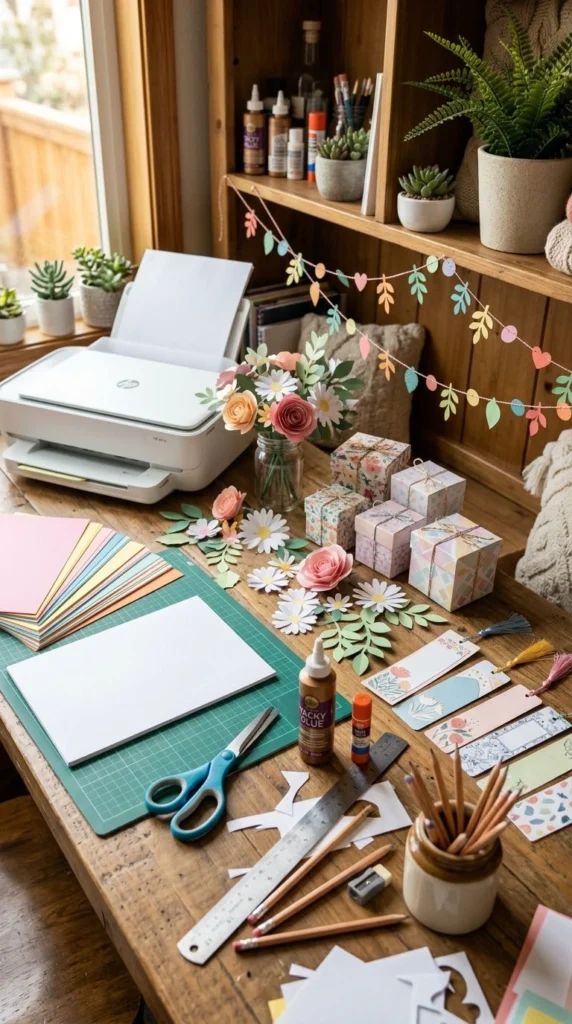
You don’t need an expensive craft room to make beautiful paper projects. With a home printer, paper, scissors, glue, and a few everyday supplies, you can turn simple printable designs into decorations, gifts, organizers, and fun activities. The best part is that you can start with projects that take only a few minutes and work your way toward more detailed crafts. Set up a small workspace, choose a printable design, and let’s turn ordinary sheets of paper into something special.
1. Gather Your Simple Craft Supplies
Start by collecting everything you are likely to use before printing your designs. A small box or basket can keep your supplies together, making it easier to sit down and craft whenever you have some free time.
You can make many printable projects with:
- Printer and regular printer paper
- Cardstock for sturdier crafts
- Scissors
- Craft glue or glue stick
- Double-sided tape
- Ruler
- Pencil and eraser
- Colored pencils or markers
- Hole punch
- Ribbon, yarn, or twine
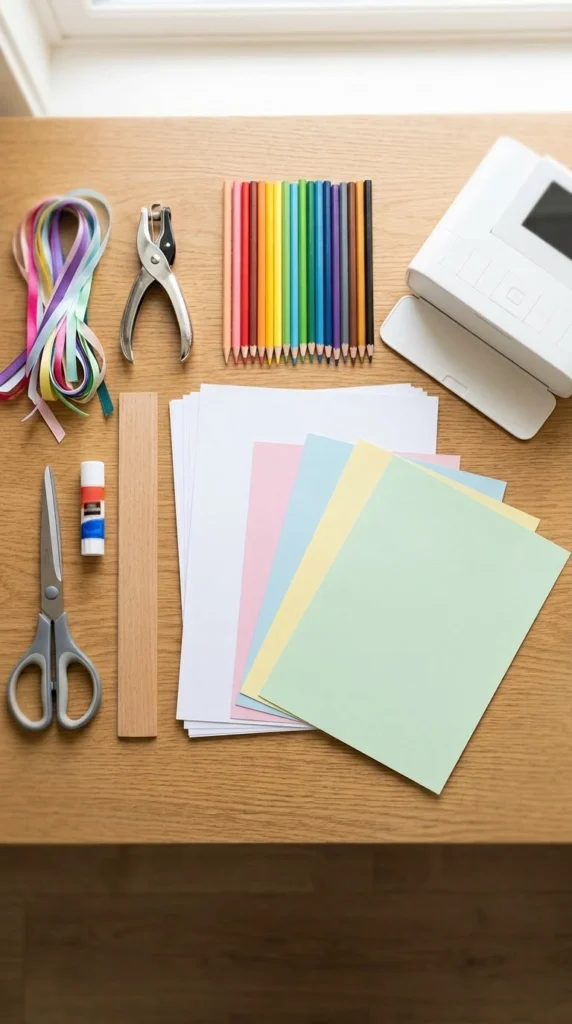
You don’t have to buy everything at once. Start with what you already have at home and add specialty supplies only when a particular project calls for them.
2. Choose the Right Paper
The type of paper you use can change how your finished craft looks and feels. Regular printer paper works well for simple templates, coloring pages, paper chains, and projects that require easy folding.
Cardstock is a better choice for items that have to stand up or hold their shape, such as gift boxes, bookmarks, greeting cards, crowns, and paper decorations. A medium-weight cardstock is usually easy to print on while still being strong enough for crafting.
Before printing a large batch, test one sheet. Check that the design fits the paper correctly and that your printer handles the selected paper without problems.
3. Print Your Craft Template
Once you’ve chosen a printable design, load your paper into the printer and check the print settings. For a template that will be cut and folded, make sure the entire design fits within the printable area.
Use regular quality for basic templates and a higher-quality setting when the printed colors or patterns are part of the finished craft. If you’re printing several copies, make one test print first.
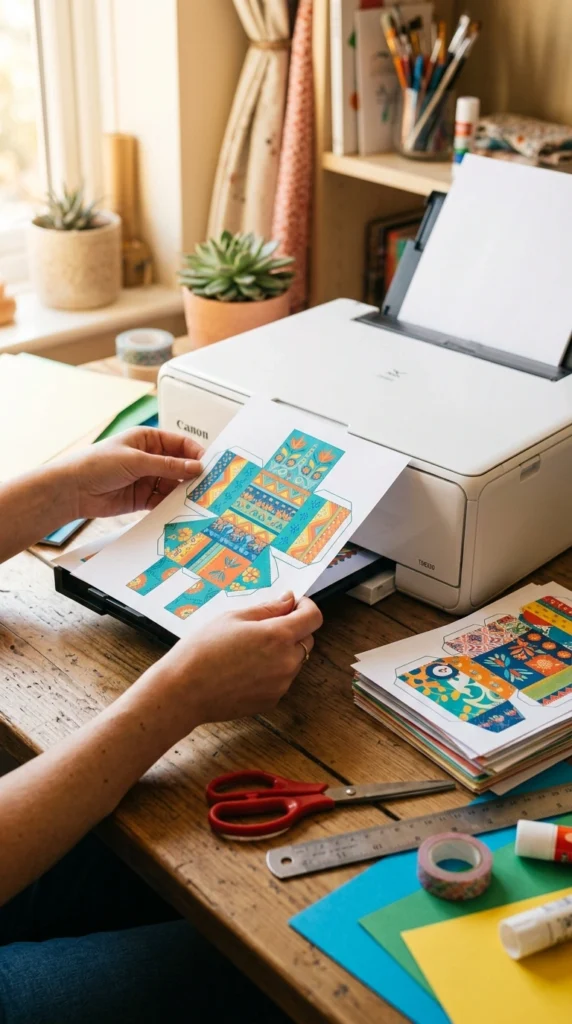
Let printed sheets dry for a moment if the ink feels damp. This small pause can prevent smudges when you start cutting or folding.
4. Cut Around the Shapes
Good cutting can make a simple printable craft look much more polished. Place the paper on a flat surface and use sharp craft or household scissors to follow the outside edges of each shape.
For straight lines, a ruler can help guide your cuts. For curves and small details, rotate the paper rather than twisting your wrist around every corner.
Don’t worry about making the first project perfect. If a small edge isn’t completely straight, it will often be hidden during assembly. Take your time around tiny tabs and narrow sections because those pieces can be easy to accidentally remove.
5. Fold Along the Lines
Many printable paper crafts include fold lines that show exactly where the paper should bend. Before folding, lightly score a straight line with the back of a butter knife or an empty ballpoint pen.
Fold the paper away from the printed surface when the design calls for a clean crease. Run your finger along the fold to sharpen it.
For boxes and three-dimensional decorations, accurate folds help the pieces line up during assembly. Make each fold one at a time rather than trying to bend several sections together.
6. Assemble With Glue or Tape
Once your pieces are cut and folded, it’s time to put the craft together. Apply a small amount of glue to tabs and press the pieces together for several seconds.
Double-sided tape is useful when you want clean edges without waiting for glue to dry. It works especially well for paper boxes, envelopes, cards, and wall decorations.
Avoid using too much liquid glue because it can make thin paper wrinkle. If the paper becomes slightly damp, place a clean book on top after assembly and let it dry flat.
7. Add Color and Personal Details
Printable crafts don’t have to stay exactly as they come out of the printer. Add your own personality with colored pencils, markers, stickers, ribbons, buttons, or leftover paper scraps.
For children’s projects, let them choose the colors and decorations. A plain printable animal can become a colorful puppet, while a simple paper flower can become part of a larger bouquet.
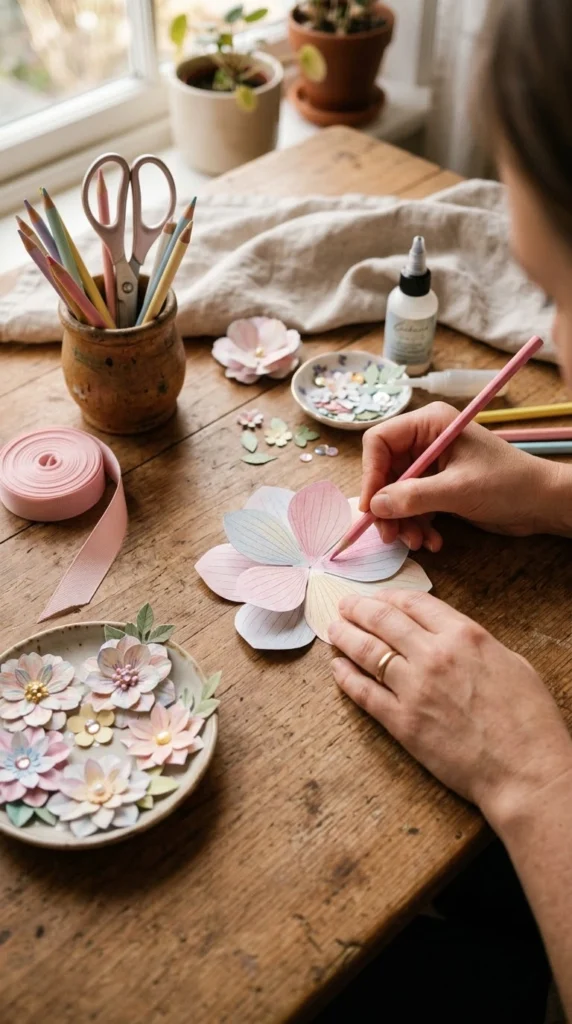
Try to keep heavier decorations toward the center or stronger parts of the paper. Very thin edges can bend when too many embellishments are attached.
8. Turn Printable Shapes Into Home Decor
One of the easiest ways to get more from printable crafts is to use them as decorations. Paper leaves can become a seasonal garland, butterflies can decorate a bedroom wall, and printable flowers can fill a vase.
Create several pieces using related colors so the display feels connected. You can also mix printed patterns with plain colored cardstock for contrast.
For temporary decorations, removable adhesive is useful because it lets you change the display without leaving much residue. Store reusable paper decorations flat between sheets of tissue paper or plain paper.
9. Make Printable Crafts Useful
Your printable projects can be more than decorations. Turn templates into bookmarks, gift tags, envelopes, storage boxes, notebook covers, recipe cards, or simple desk organizers.
Think about what you use around the house every day. A small printable box can hold paper clips, while a decorated bookmark can become a quick handmade gift.
Making useful crafts is also a good way to use leftover cardstock and printed sheets. Keep a folder for unused paper pieces so you can reach for them during your next project instead of throwing them away.
10. Create a Simple Craft Station
You don’t need a permanent craft room. A small section of a dining table, desk, or kitchen counter can become your temporary craft station.
Keep scissors, glue, pencils, and paper together in one container. If you print templates often, create a folder on your computer for your favorite designs and keep completed projects in a separate folder or storage box.
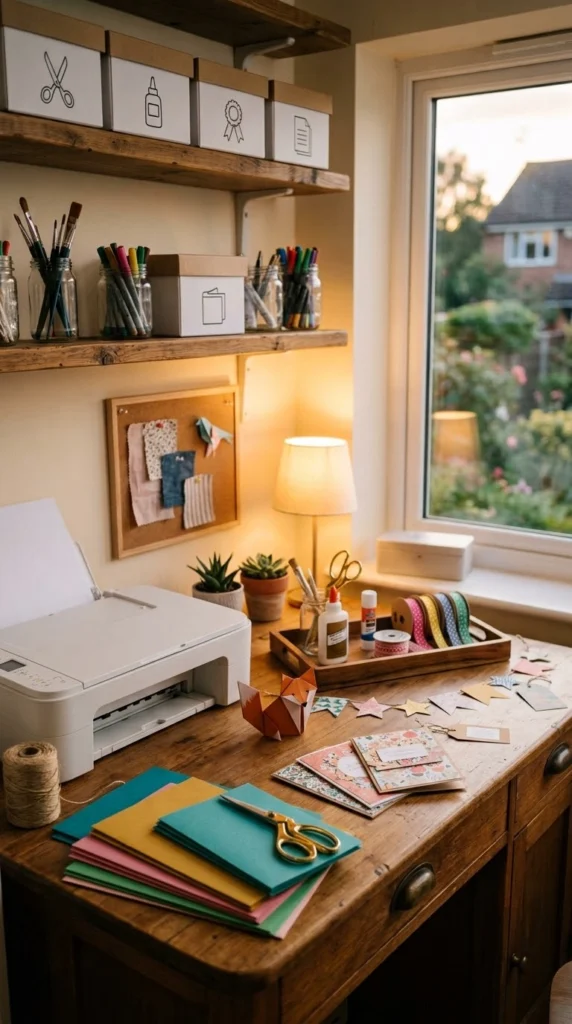
Clean the workspace after each session and return supplies to the same container. That makes the next crafting session much easier to start.
Final Thoughts
Printable paper crafts are a simple way to spend a creative afternoon using supplies you may already have at home. Start with an easy project such as a bookmark, paper flower, gift tag, or small box, then experiment with more detailed designs as your confidence grows. Keep your favorite templates and leftover materials together so they’re ready whenever inspiration strikes. Choose one printable craft today, gather your basic supplies, and make your first project.

Lily Summers is a digital artist and creative storyteller who loves bringing colorful characters to life. With a passion for cartoons, fan art, and playful sketches, she inspires others to explore their imagination through art. When she’s not sketching, you’ll find her dreaming up new ideas for CraftedWizard.com to spark creativity in every artist. 🌈✨