There is something irresistible about a beautiful swirl of color in handmade polymer clay. The best part? You do not have to be an expert sculptor to get that dreamy marbled effect. With a few colors, a little twisting, and the right amount of rolling, you can create clay that looks perfect for earrings, beads, trays, pendants, and other DIY projects. The secret is knowing when to stop mixing before those gorgeous colors turn into one muddy shade.
What You’ll Need
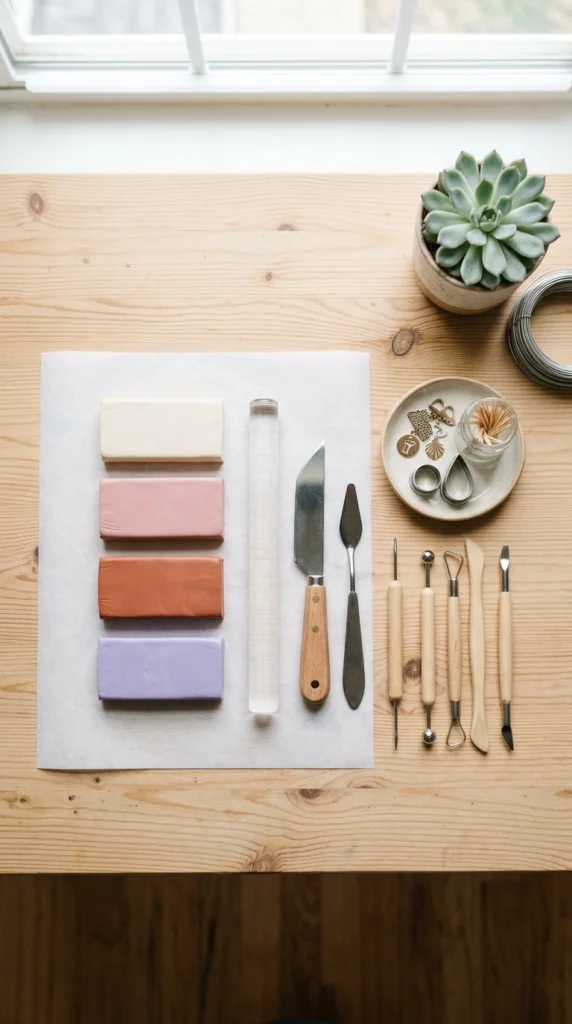
Marbling polymer clay is a fairly simple process, so you can start with a small collection of colors. Choose shades that look good together rather than grabbing every color from your craft box.
Here are the basic supplies:
- 2–4 blocks of polymer clay in coordinating colors
- Acrylic clay roller or pasta machine
- Sharp craft blade
- Clay work surface
- Ruler or shape cutters
- Baking tray
- Parchment paper
- Sculpting tools, optional
For your first attempt, try two contrasting colors and one neutral shade. Cream with terracotta and brown creates an earthy look, while pink, white, and lavender gives you something softer.
Choose Colors That Work Together
The colors you choose have a huge effect on the final marble pattern. You want enough contrast for each shade to remain visible after the clay is twisted and rolled.
A simple color formula is one light shade, one medium shade, and one darker accent. For example:
- Cream + sage + terracotta
- White + dusty pink + burgundy
- Beige + chocolate brown + black
- Lavender + pale blue + white
- Mustard + cream + rust
Avoid combining too many strong colors during your first attempt. When several colors are mixed repeatedly, they can lose their individual appearance.
It also helps to make small test pieces before committing to a large sheet. Roll a tiny amount of each color together and see how the shades interact. If the result looks good in miniature, you can use the same proportions for your main piece.
Condition the Clay First
Before creating your marble pattern, soften each clay color separately. Polymer clay becomes easier to shape after it has been warmed and worked between your hands.
Roll each color into a small rope or cylinder of similar thickness. Keeping the pieces roughly equal makes the final pattern more balanced.
If one color is much softer than another, work them separately until they have a similar texture. This helps prevent one shade from spreading too quickly through the others.
Do not rush this part. Well-conditioned clay is easier to twist, roll, cut, and shape without cracking.
Twist the Colors Together
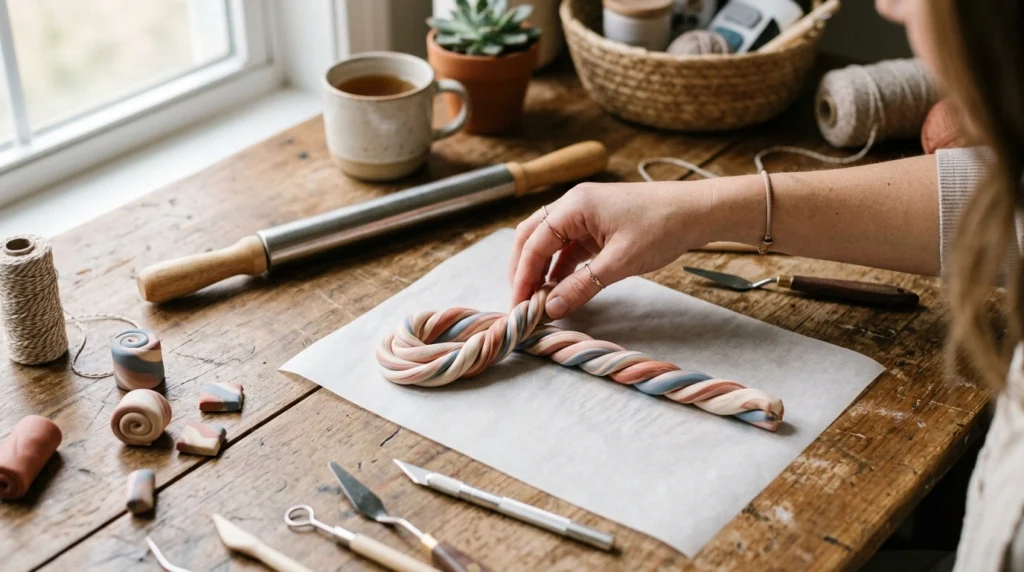
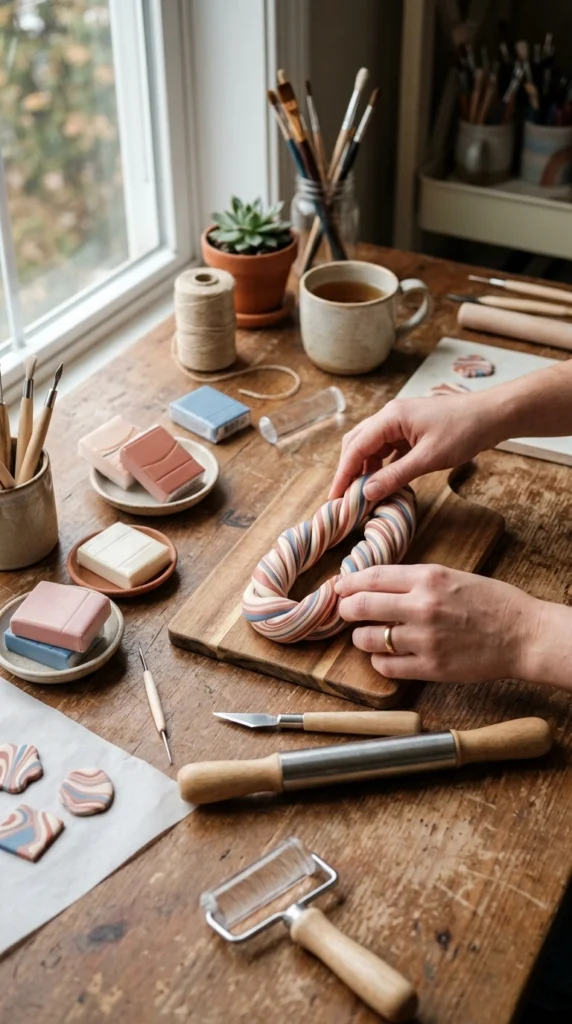
Now comes the fun part. Place your clay ropes side by side and gently twist them together. You do not have to create a tight spiral. A loose twist gives you larger areas of individual color, while a tighter twist creates finer lines.
Fold the twisted clay in half and gently roll it again. Repeat this process once or twice if you want more movement in the pattern.
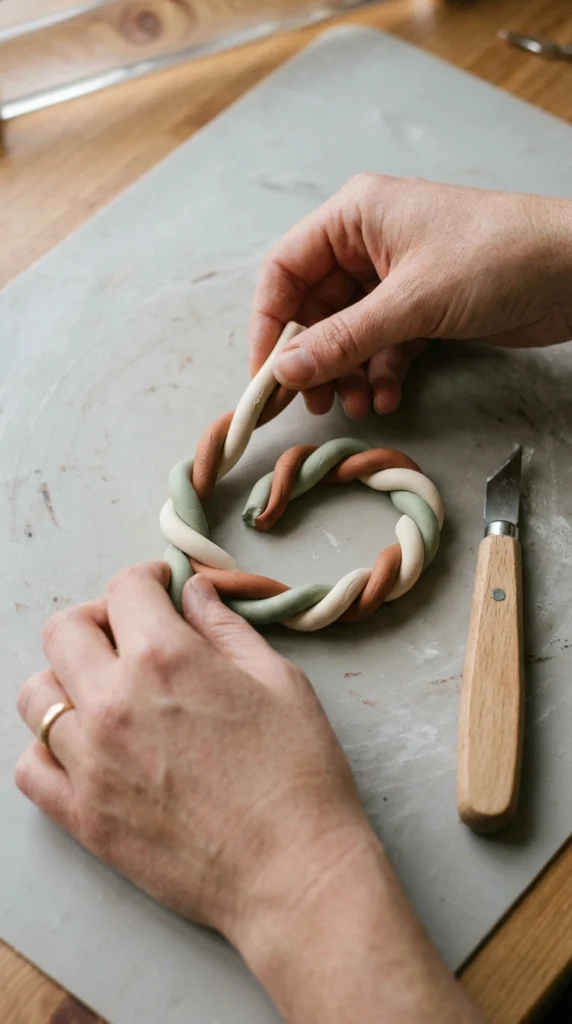
The key is to stop mixing early. If you keep folding and twisting, the colors will eventually merge into one shade.
For a bold marble effect, twist the colors just enough to connect them. For a softer stone-like pattern, give the clay a few additional folds.
Roll the Marble Sheet
Once your colors have been twisted, flatten the clay gently. Start with your hands, then use an acrylic roller to create an even sheet.
Roll in different directions rather than repeatedly rolling from one side to the other. This helps stretch the swirls across the surface.
A pasta machine can also work well if you have one. Feed the clay through on a wider setting first, then gradually make the sheet thinner.
Watch the pattern as you roll. You may notice the swirls becoming longer and more flowing. This is usually where the marble effect starts to look especially beautiful.
If you see a section that looks too mixed, do not keep rolling it. Cut that area away or use it for a smaller project.
Cut Your Marble Shapes
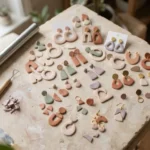
Your finished marble sheet can become almost anything. Use cutters, templates, or a craft blade to turn it into jewelry and decorative pieces.
Popular options include:
- Arch earrings
- Round pendants
- Statement earrings
- Bracelet beads
- Ring accents
- Hair clips
- Keychain charms
- Decorative buttons
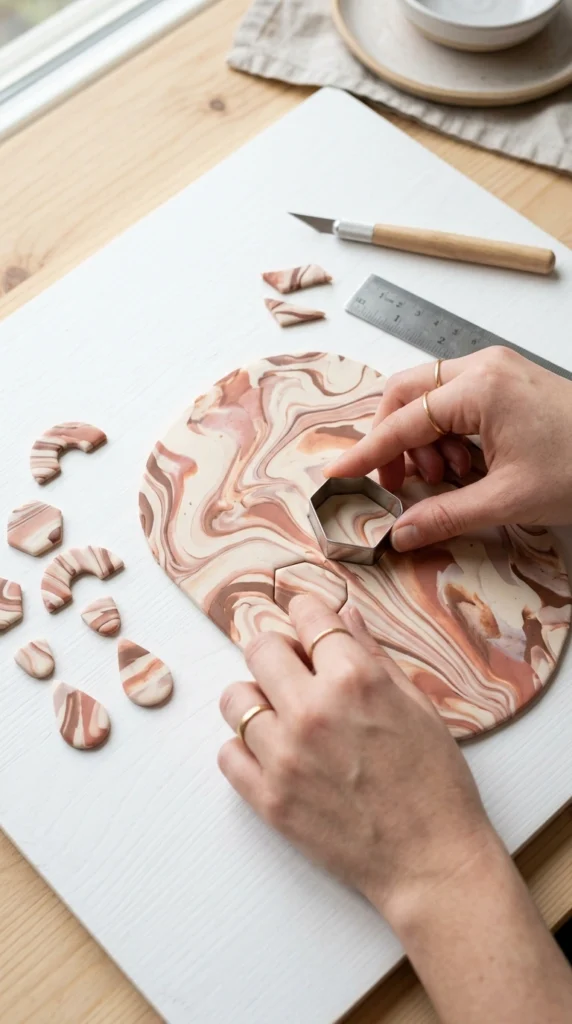
Keep your cutter clean between colors if you want crisp edges. If the clay sticks, place a thin sheet of parchment between the clay and your roller or cutter.
For earrings, remember to make matching pairs from sections of the sheet that have similar patterns. You can also deliberately choose two completely different sections for an asymmetrical design.
Create More Interesting Swirls
Once you understand the basic technique, experiment with the way you twist and fold the clay.
For larger swirls, use thicker ropes and fewer folds. For thin veins, use narrow ropes and a slightly tighter twist. You can also add a tiny amount of metallic clay to cream and brown for a stone-inspired appearance.
Another fun trick is to make two separate marble sheets and layer them together. Cut small sections from each sheet and combine them for a more complex pattern.
Try not to chase perfection. Natural marble has irregular lines, so small differences can make handmade clay look more realistic.
Bake and Finish Your Pieces
After cutting and shaping your designs, place them on a parchment-lined baking tray. Follow the temperature and baking time listed on your polymer clay package, since different brands can have different requirements.
Let the pieces cool completely after baking. The clay becomes firmer as it cools, making it easier to attach earring hooks, chains, ring bases, or other findings.
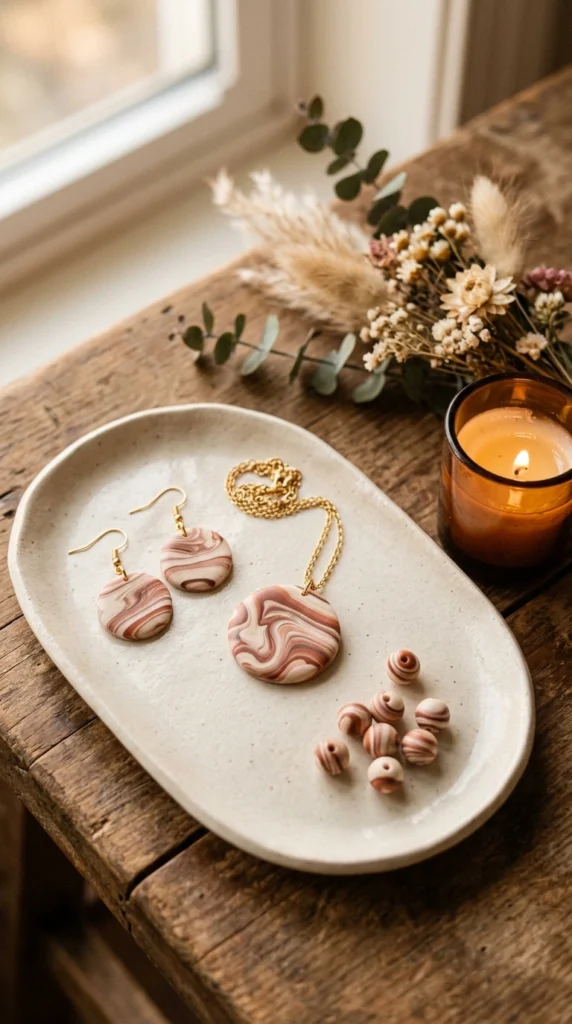
For a polished finish, gently sand rough edges with suitable fine-grit sandpaper once the pieces are fully cooled. A soft buffing cloth can also give the surface a smoother appearance.
Final Thoughts
Marbling polymer clay is all about finding the sweet spot between mixing and stopping. Start with two or three coordinating colors, twist them loosely, roll the clay gradually, and stop before the shades become muddy. Once you have your marble sheet, turn it into earrings, beads, pendants, or whatever catches your eye. Save this tutorial for your next craft weekend and try your own color combination.

Lily Summers is a digital artist and creative storyteller who loves bringing colorful characters to life. With a passion for cartoons, fan art, and playful sketches, she inspires others to explore their imagination through art. When she’s not sketching, you’ll find her dreaming up new ideas for CraftedWizard.com to spark creativity in every artist. 🌈✨