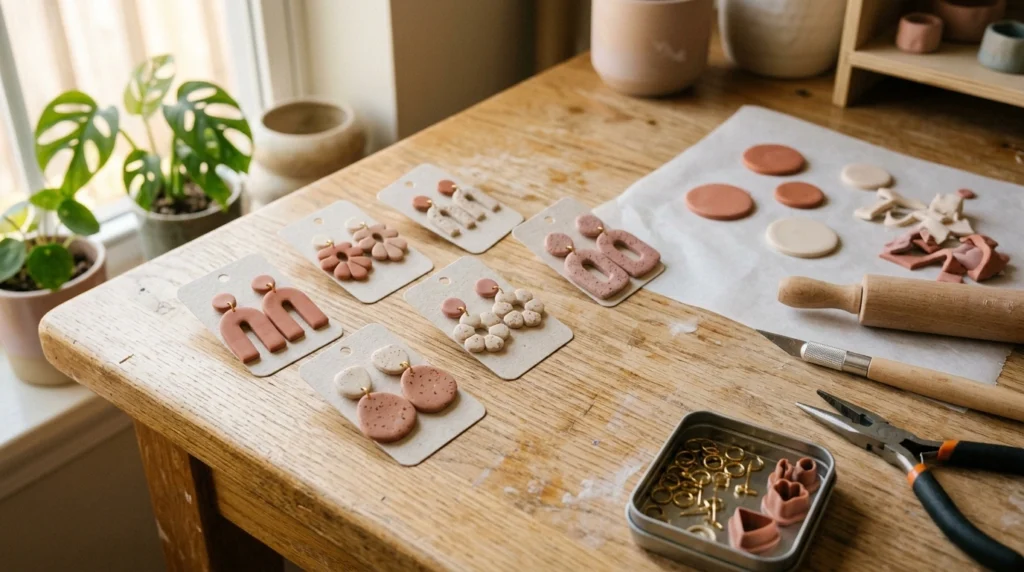
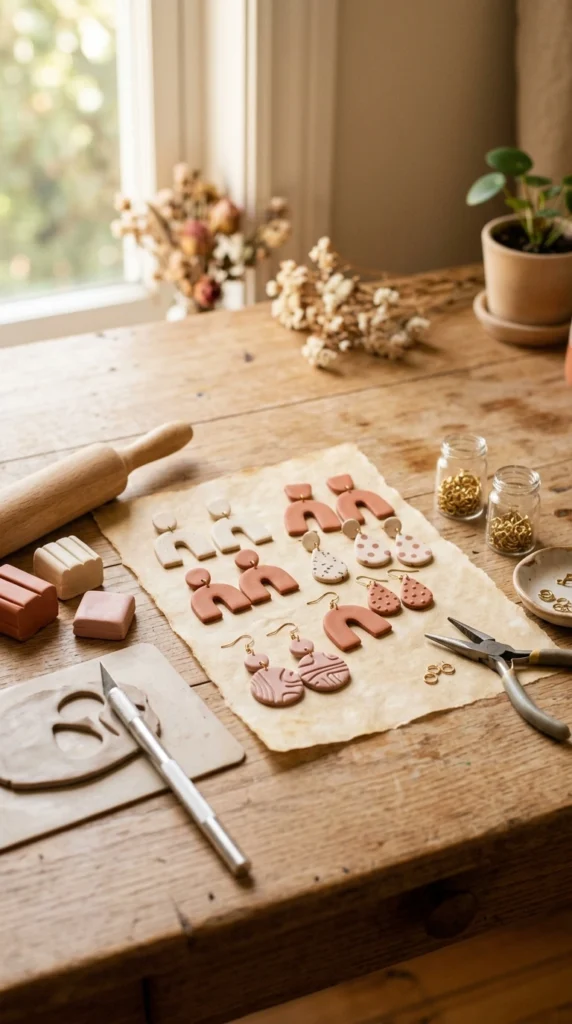
You don’t need a studio full of expensive equipment to make beautiful polymer clay earrings. A few basic household items, some polymer clay, and a little patience are enough to create earrings that look polished and completely handmade. The fun part is that you can experiment with shapes, colors, textures, and patterns until you find a style that feels like yours. If you’ve been wanting to try clay jewelry but don’t want to buy specialized tools, this beginner-friendly method is a great place to start.
1. Gather Simple Supplies
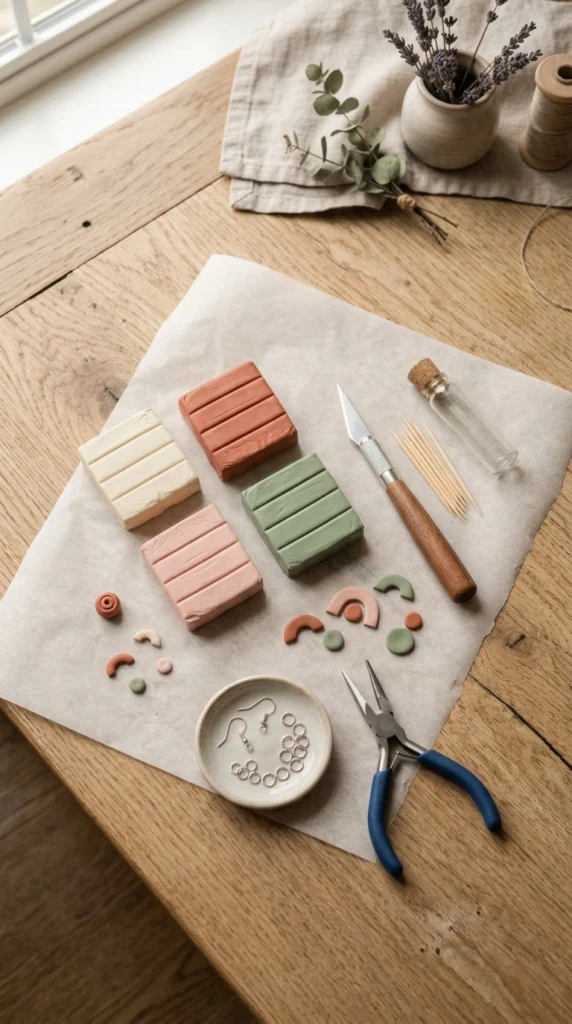
Start with a small selection of polymer clay in colors you enjoy. You don’t need every shade available; two or three coordinating colors are enough to make several designs.
For basic earrings, gather:
- Polymer clay
- Parchment or baking paper
- A smooth glass bottle or acrylic tube for rolling
- Craft knife or sharp kitchen knife
- Toothpick or wooden skewer
- Small cookie cutter, bottle cap, or handmade paper template
- Earring hooks
- Jump rings
- Small jewelry pliers
- Baking tray
A ceramic tile or piece of clean glass can also give you a smooth surface for shaping your clay. Before you begin, check the baking instructions on your clay package because baking temperatures vary by brand.
2. Condition the Polymer Clay
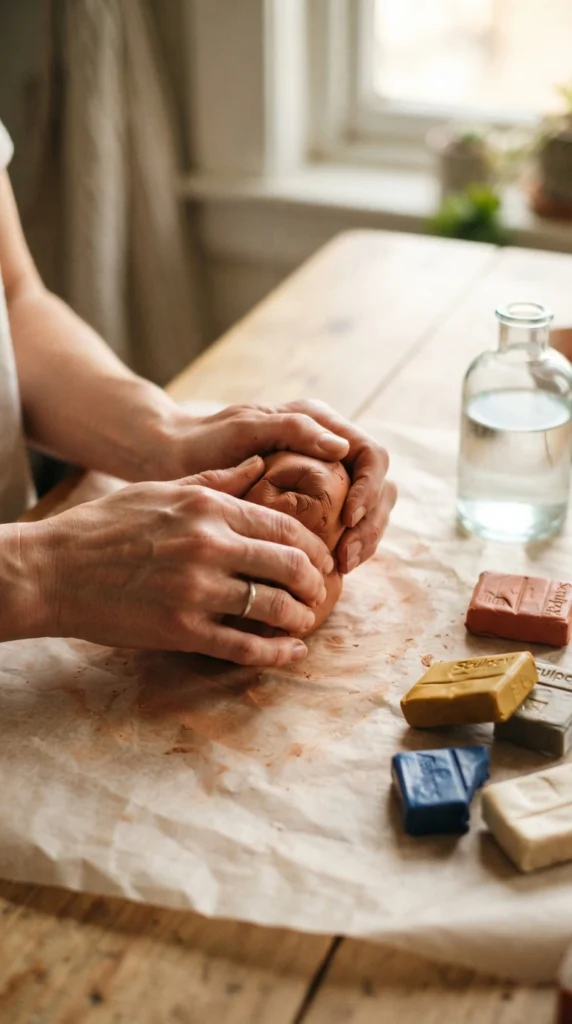
Polymer clay becomes easier to shape after you soften it with your hands. Start by cutting off a small piece and kneading it between your fingers until it feels flexible and smooth.
If the clay feels stiff, roll it into a log, fold it, and knead it again. Repeat until there are no obvious cracks when you bend it.
This step makes a big difference in the finished earrings. Well-conditioned clay rolls more evenly and is less likely to crack while you cut or shape your pieces.
3. Roll the Clay Without a Clay Roller
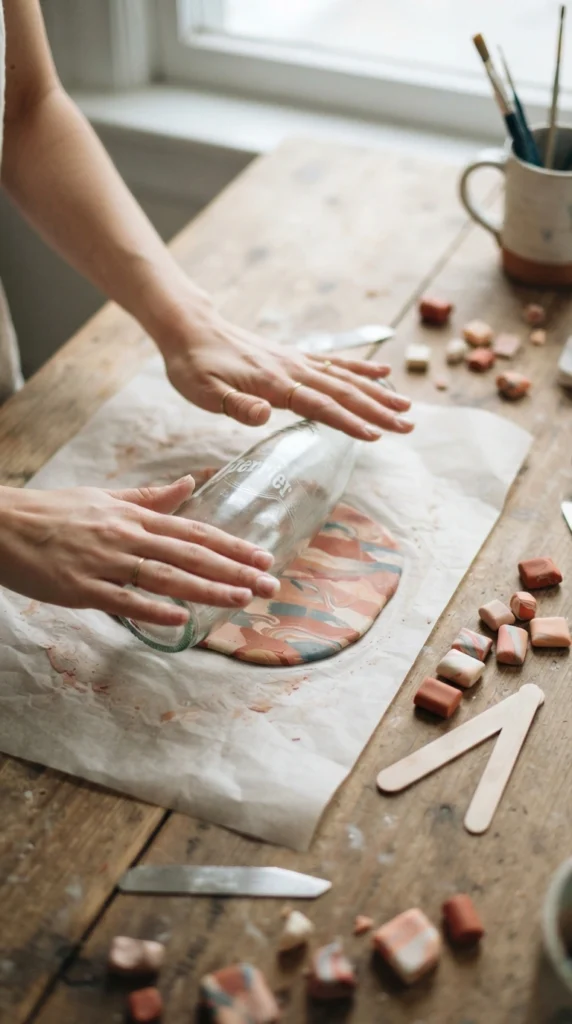
You can skip a specialized clay roller and use a smooth glass bottle instead. Place the conditioned clay between two sheets of parchment paper and gently roll over it.
Try to keep the thickness even from edge to edge. Earrings that are too thin can become fragile, while very thick pieces may feel heavy when worn.
For matching earrings, roll one larger sheet and cut both pieces from the same section. This helps keep their thickness and color consistent.
4. Cut Simple Earring Shapes
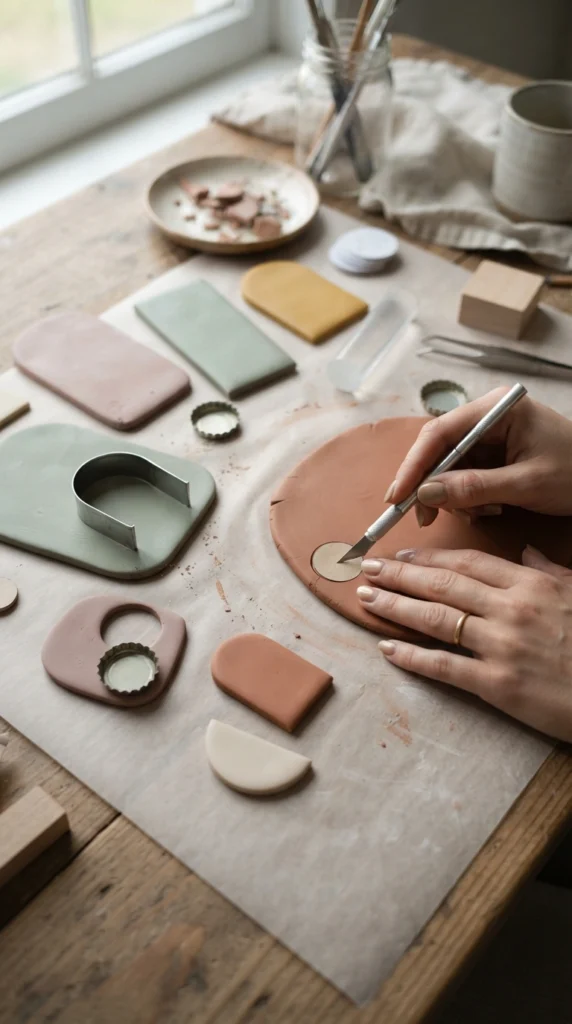
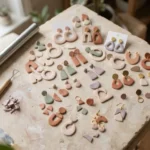
You don’t need fancy cutters to create attractive earrings. Bottle caps, small cookie cutters, paper templates, and even carefully drawn shapes can work.
Try beginner-friendly designs such as:
- Circles
- Half-moons
- Arches
- Rounded rectangles
- Simple leaves
- Small geometric shapes
Press your cutter straight down rather than twisting it. If the edges look slightly rough, gently smooth them with your fingertip.
For layered earrings, cut two shapes in different sizes. Once baked and assembled, the combination can create a much more detailed look without complicated techniques.
5. Add Patterns and Texture
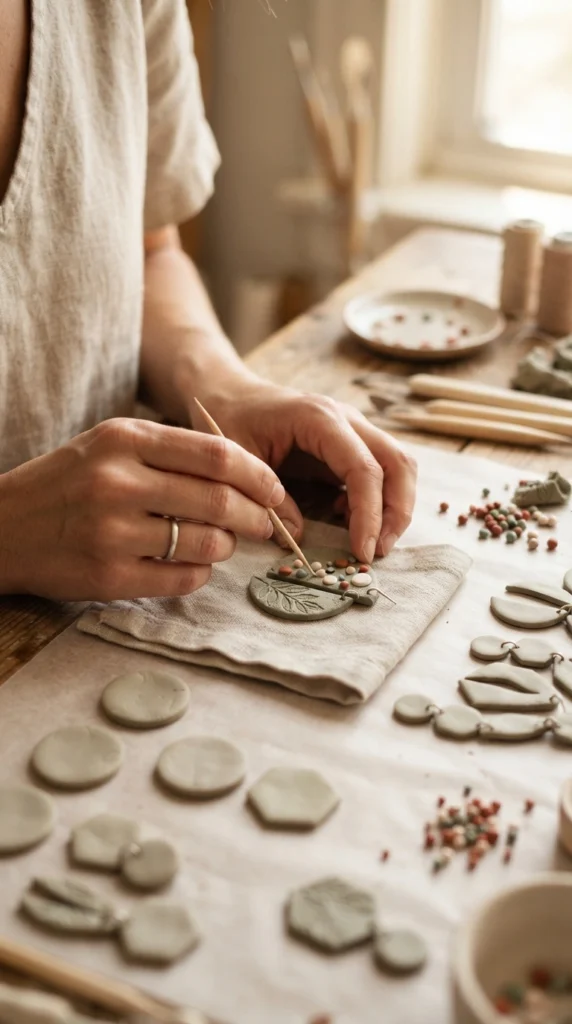
This is where simple earrings start to feel personal. You can create patterns using tiny pieces of contrasting clay or press household objects into the surface for texture.
A toothpick can make dots and lines, while a textured fabric, lace scrap, leaf, or small household object can create an interesting imprint.
Keep the decoration fairly shallow. Deep marks can weaken thin pieces or create awkward edges. If you’re making a pair, repeat the same pattern on both pieces or deliberately create a mismatched set.
6. Make the Hanging Holes
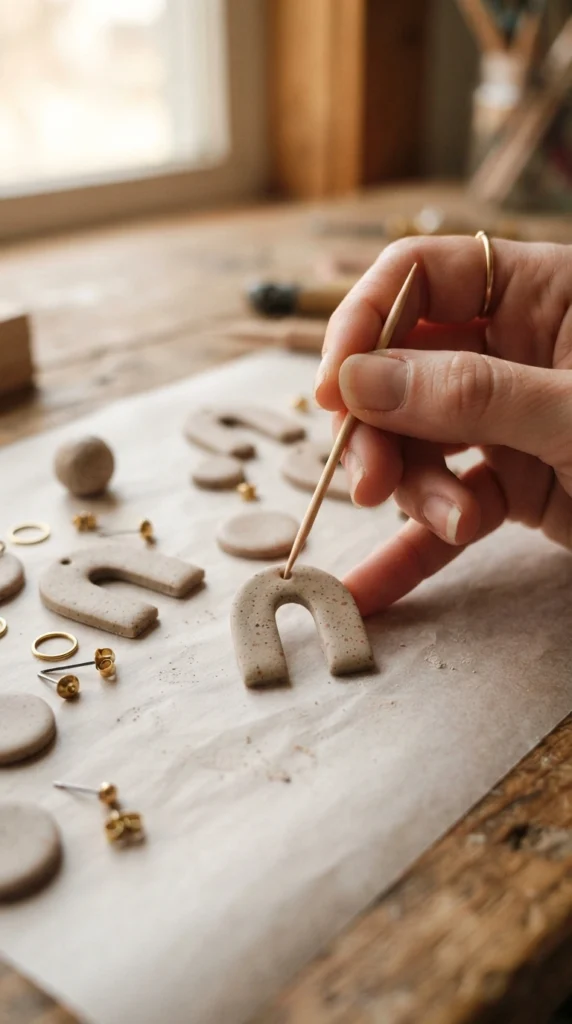
Before baking, make a small hole where the earring hardware will attach. A toothpick or wooden skewer works well for this.
Position the hole close enough to the top edge that the earring hangs naturally, but leave enough clay around it to prevent the edge from becoming weak.
Check both earrings side by side before baking. Matching hole placement helps the finished pair hang at the same height.
7. Bake the Earrings Carefully
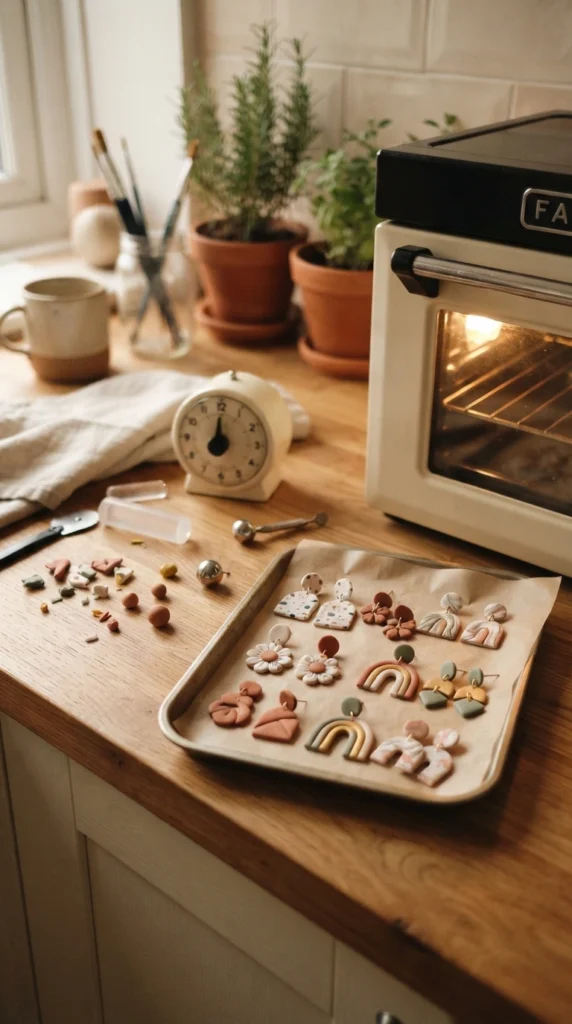
Place your finished clay pieces on parchment paper or another surface recommended by the clay manufacturer. Bake them according to the package directions.
Follow the manufacturer’s temperature and baking time rather than guessing. An oven thermometer can be useful if your oven tends to run hotter or cooler than its displayed temperature.
Let the earrings cool completely after baking. Polymer clay can feel softer while hot and becomes firmer as it cools, so avoid bending or attaching hardware immediately.
8. Smooth the Edges
Once the earrings are cool, inspect the edges. If you see tiny bumps or rough areas, gently smooth them with fine-grit sandpaper.
Work slowly and use light pressure. You want to soften rough spots without changing the shape of the earrings.
Wipe away any sanding dust before adding the hardware. Clean edges can make a simple handmade design look much more polished.
9. Attach the Jewelry Hardware
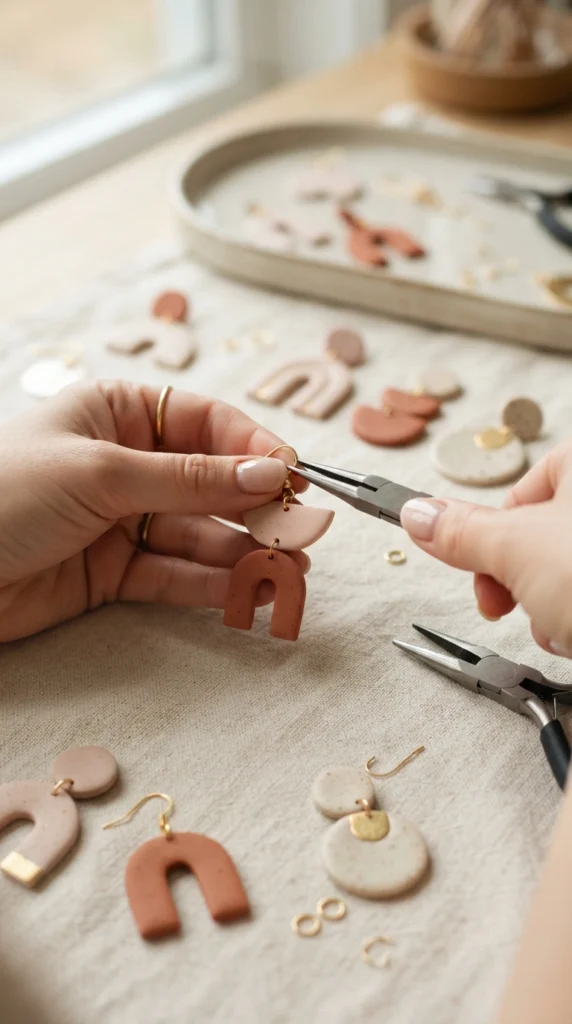
Use small jewelry pliers to open a jump ring by moving the ends sideways rather than pulling them apart. Slide the ring through the hole in the clay, add the earring hook, and close the ring securely.
Repeat the process with the second earring. Give each finished piece a gentle check to make sure the ring is closed and the hook moves freely.
You can use gold, silver, or antique-style findings depending on the look you’re after. Simple clay shapes often look especially stylish with understated metal hardware.
10. Try a Few Easy Design Combinations
Once you’ve made your first pair, start experimenting. Combining simple shapes can create earrings that look far more elaborate than the process actually is.
Try pairing:
- A cream arch with a small terracotta circle
- A sage half-moon with a blush accent
- Two different neutral geometric shapes
- Speckled clay with a solid-color layer
- Marbled clay with a simple gold-toned hook
Don’t worry about making every pair identical. Slight differences are part of the charm of handmade jewelry.
Final Thoughts
Making polymer clay earrings from scratch can be surprisingly simple when you work with basic shapes and household tools. A glass bottle can replace a clay roller, a toothpick can create texture and holes, and simple cutters can produce plenty of stylish designs. Start with one small pair, practice conditioning and shaping the clay, then experiment with colors and patterns as you gain confidence. Save this tutorial, gather your supplies, and make your first pair of polymer clay earrings today!

Lily Summers is a digital artist and creative storyteller who loves bringing colorful characters to life. With a passion for cartoons, fan art, and playful sketches, she inspires others to explore their imagination through art. When she’s not sketching, you’ll find her dreaming up new ideas for CraftedWizard.com to spark creativity in every artist. 🌈✨