Need a pretty gift box in a hurry? You can make one at home with basic craft supplies and a little creativity. A handmade box feels personal, looks charming, and can be filled with almost anything from homemade treats to small keepsakes. This project is perfect for birthdays, holidays, thank-you gifts, anniversaries, or those last-minute occasions when you want something that feels special.
Choose Your Box Style and Supplies
The easiest way to make a DIY gift box is to start with sturdy cardstock or lightweight cardboard. If you have an old packaging box at home, you can also reuse it and cover it with decorative paper.
For a simple box, gather:
- Thick cardstock or thin cardboard
- Wrapping or scrapbook paper
- Scissors
- Ruler
- Pencil
- Craft glue or double-sided tape
- Ribbon, twine, or satin cord
- Tissue paper
- Stickers or small decorations
Choose paper colors based on the occasion. Soft pastels work nicely for birthdays and baby gifts, while kraft paper, black, cream, or deep blue can create a simple look for an adult gift.
Measure and Cut the Cardstock
Start by deciding how large you want the finished box to be. A small box works well for jewelry, chocolates, notes, candles, or other tiny presents, while a larger design can hold several small items.
For a basic square box, draw a large square in the center of your cardstock. Then mark equal-sized squares or rectangles around each side. These outer sections will fold upward to form the walls.
Use a ruler to make straight lines and lightly score the folds with the back of your scissors. Do not press hard enough to cut through the paper.
Cut along the outer lines and remove the corner sections where necessary. Measure twice before cutting because a small mistake at this stage can affect the final shape.
Fold and Assemble the Box
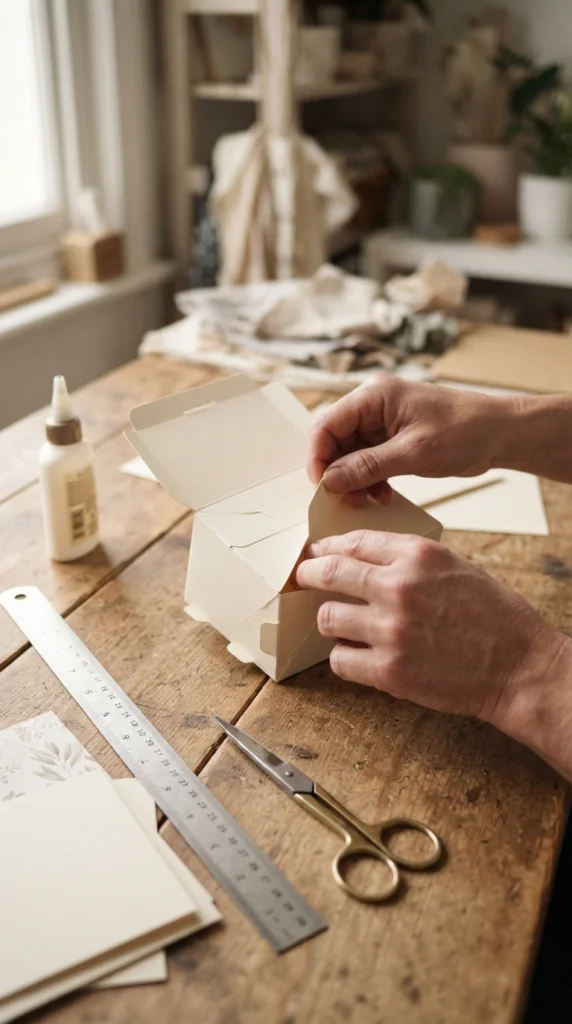
Once the cardstock is cut, fold each side upward along the scored lines. Add glue or double-sided tape to the small tabs and attach them to the inside of the neighboring walls.
Hold each corner for a few seconds while the adhesive sets. If you are using glue, place a small book or another flat object against the sides while they dry.
For the lid, repeat the same process with a slightly larger piece of cardstock. The lid should be just a little wider than the base so it can slide over it without bending the sides.
Decorate the Outside
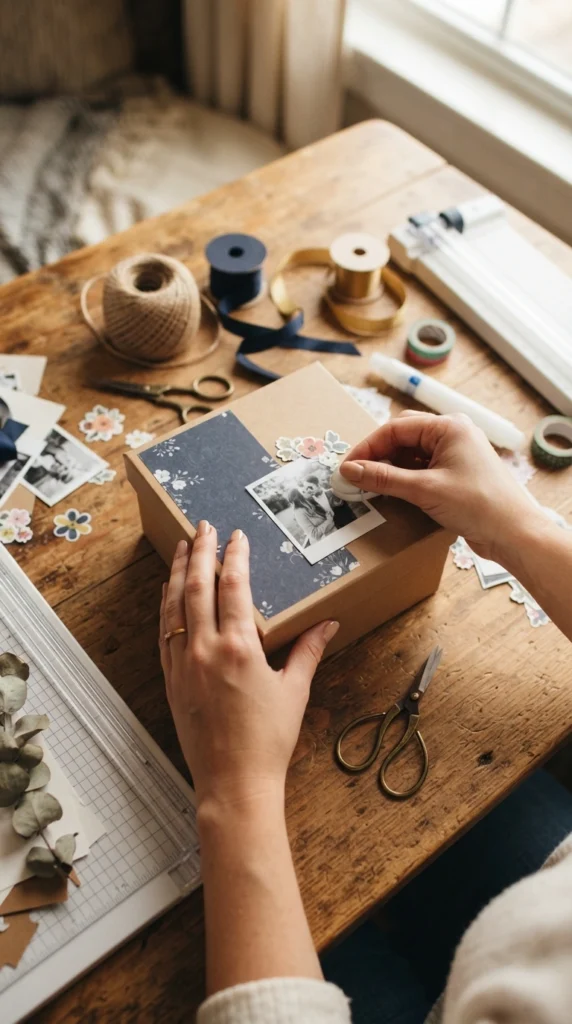
Now comes the fun part. Cover the outside of the box with scrapbook paper, wrapping paper, fabric, or painted details.
You can keep the design very simple. A strip of patterned paper around the middle of the box can be enough to give it a finished appearance. Another easy option is to decorate the lid while leaving the base in kraft paper.
Try adding:
- A satin ribbon around the lid
- Small paper flowers
- Washi tape
- Dried flowers
- Wooden beads
- Simple stickers
- A handmade paper bow
If you are making several boxes for an event, use the same paper palette for all of them. One strong decorative detail is often enough to make a small box look polished.
Add Tissue Paper and Your Gift
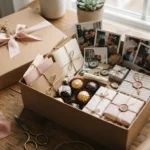
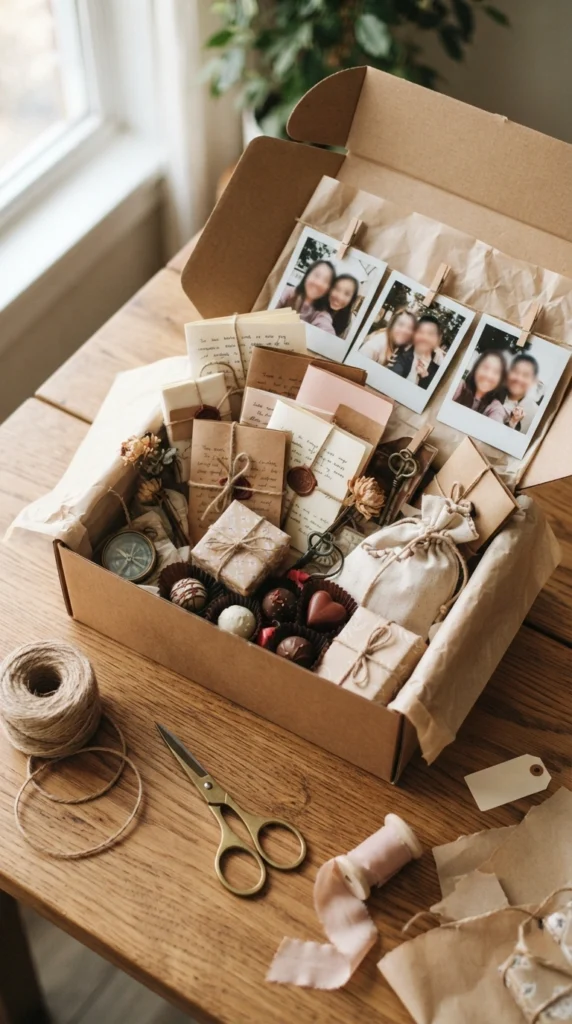
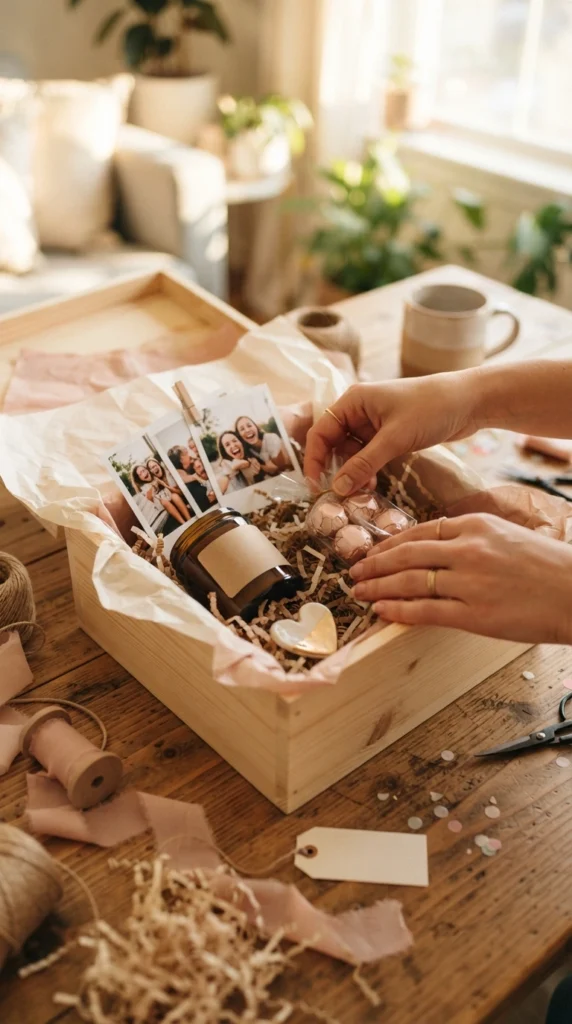
Before putting the gift inside, line the box with tissue paper, shredded paper, or a small piece of soft fabric. This gives the contents a cushioned base and adds another layer of color.
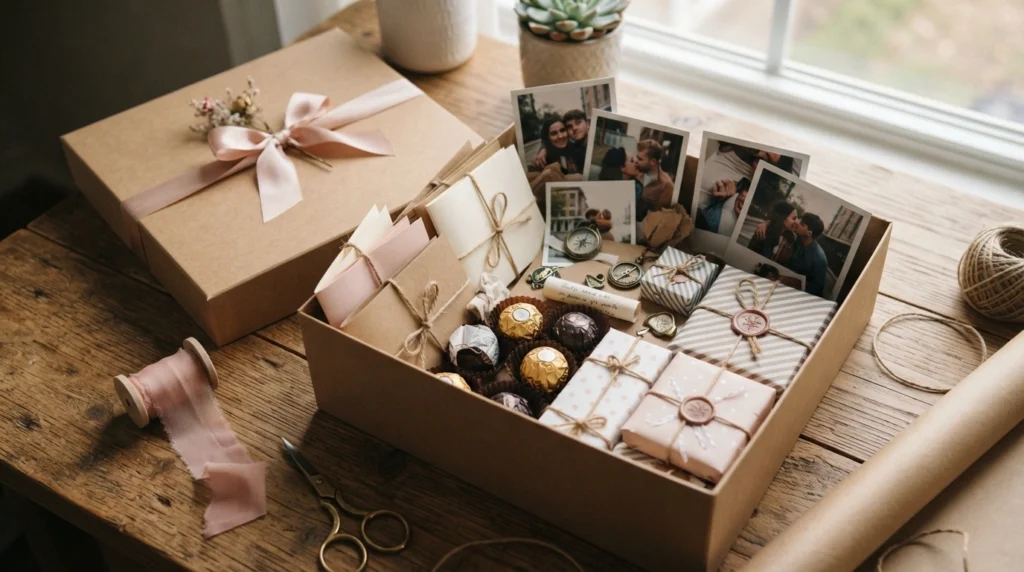
Arrange the items so the larger pieces sit at the bottom and smaller surprises are visible near the top. If you are giving several small gifts, wrap a few of them separately.
Good fillers include:
- Homemade cookies
- Chocolates
- Mini candles
- Tea bags
- Small soaps
- Jewelry
- Photos
- Handmade bookmarks
- Tiny plants
- Gift cards
Make a Simple Handmade Gift Tag
A handmade tag is an easy way to finish the box without buying extra packaging. Cut a small rectangle, circle, or decorative shape from leftover cardstock.
Punch a hole near the top and thread a piece of ribbon or twine through it. You can decorate the tag with a tiny paper flower, sticker, painted border, or pressed botanical detail.
Write the recipient’s name or a short personal message on the tag. If you prefer a clean look, leave the outside plain and place your message inside the box.
For a more personal touch, tuck a handwritten note underneath the tissue paper. Finding a little message after opening the gift can make the experience feel more special.
Finish With a Pretty Presentation
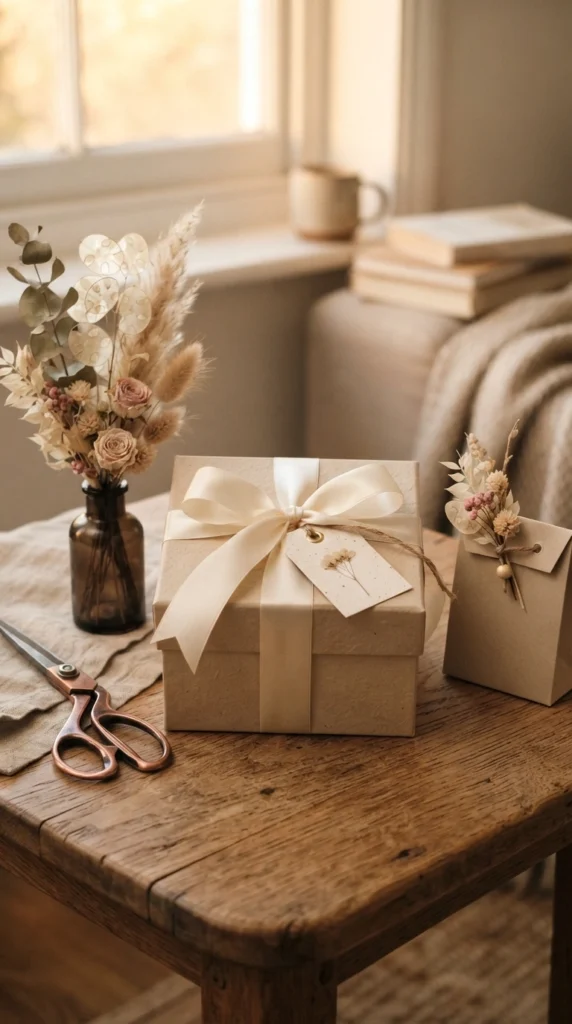
Close the lid carefully and wrap ribbon around the finished box. A simple bow in the center can make the package look ready for a special occasion.
For a rustic style, use kraft paper and jute twine. For a softer look, try cream cardstock with satin ribbon. You can also place the finished box inside a small gift bag if the recipient will be carrying it somewhere.
Final Thoughts
Making a DIY gift box at home is a simple way to turn ordinary craft supplies into beautiful packaging with a personal touch. Once you have the basic box shape, you can change the paper, colors, decorations, and contents for almost any occasion. Start with materials you already have, keep the design simple, and fill the box with a few carefully chosen surprises. Save this DIY gift box idea for your next celebration and make one at home today!

Lily Summers is a digital artist and creative storyteller who loves bringing colorful characters to life. With a passion for cartoons, fan art, and playful sketches, she inspires others to explore their imagination through art. When she’s not sketching, you’ll find her dreaming up new ideas for CraftedWizard.com to spark creativity in every artist. 🌈✨