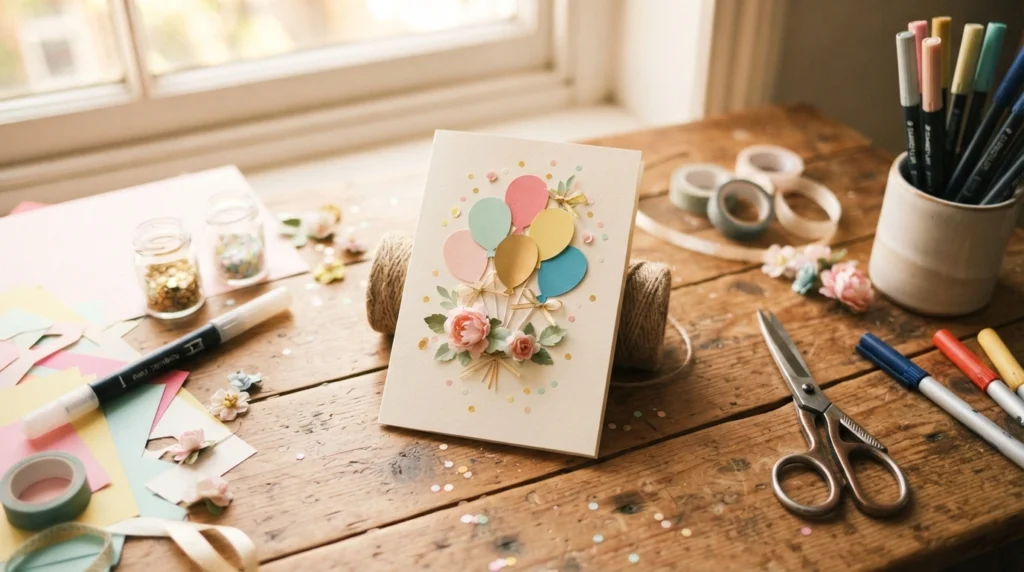
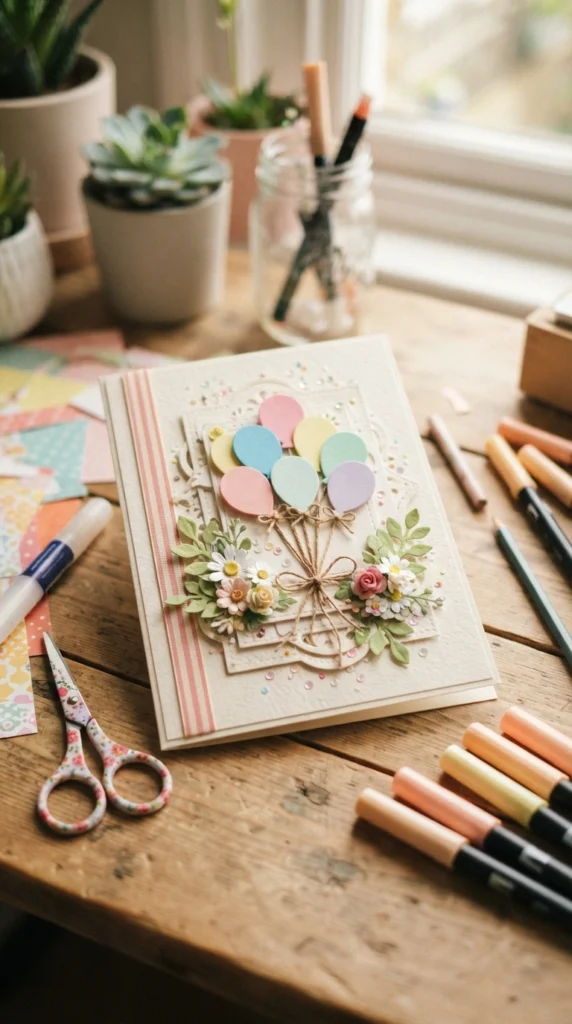
A handmade birthday card can make even a simple gift feel much more personal. You do not need expensive craft tools or advanced skills to create something beautiful. With a few sheets of cardstock, colored paper, glue, scissors, and some creativity, you can make a card that looks thoughtful and special. This easy DIY project is perfect for birthdays when you want to add a personal touch without spending hours crafting.
Supplies You’ll Need
The best part of this project is that most of the supplies may already be sitting in your craft drawer. Before you start, gather everything on your workspace so you can focus on designing the card.
Basic supplies:
- One sheet of thick cardstock for the card base
- Colored or patterned paper
- Scissors
- Craft glue or double-sided tape
- Pencil and ruler
- Colored markers or fine-tip pens
- Ribbon or twine
- Small stickers, buttons, or paper decorations
- Optional: hole punch, glitter, foam adhesive, or washi tape
Choose two or three main colors that work well together. Pastel shades create a soft look, while brighter colors make the card feel playful and festive.
Step 1: Create the Card Base
Start with a sheet of cardstock. A4 or letter-size paper works well, but thicker cardstock will give your card a sturdier feel.
Fold the sheet carefully in half. Use a ruler or the edge of a clean card to press along the fold so you get a neat crease.
For a different shape, trim the cardstock into a square before folding it. You can also use colored cardstock as the base and add a lighter piece of paper inside for writing your message.
Tip: Test your design on scrap paper before gluing anything onto the card. This makes it easier to change the arrangement if something does not look right.
Step 2: Make Simple Paper Balloons
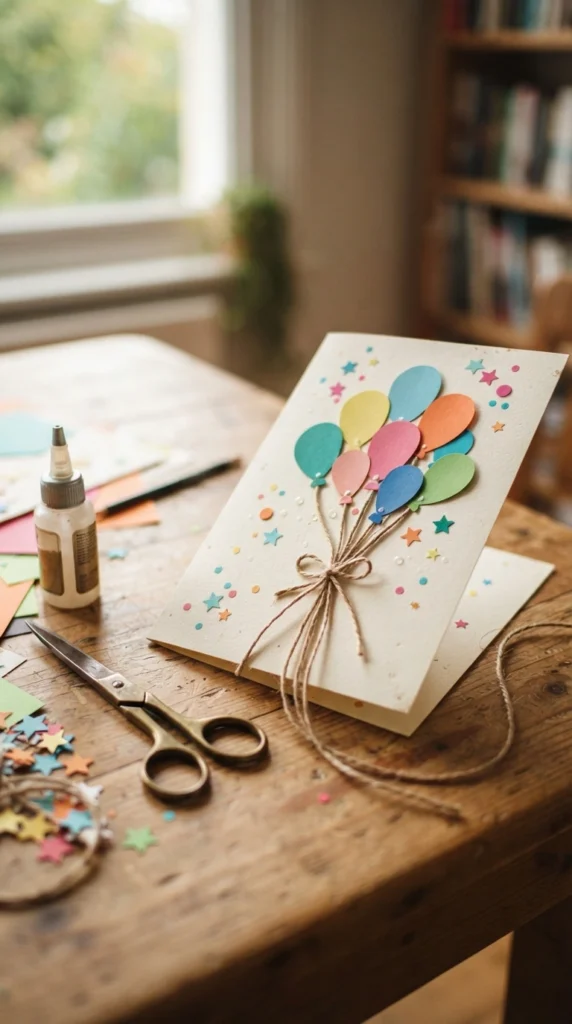
Now it is time to create the main decoration. Draw several oval shapes on colored paper and cut them out. You can make five or six balloons in different sizes.
Cut tiny triangle shapes from the same paper and attach one to the bottom of each balloon. These small pieces make the balloons look more realistic.
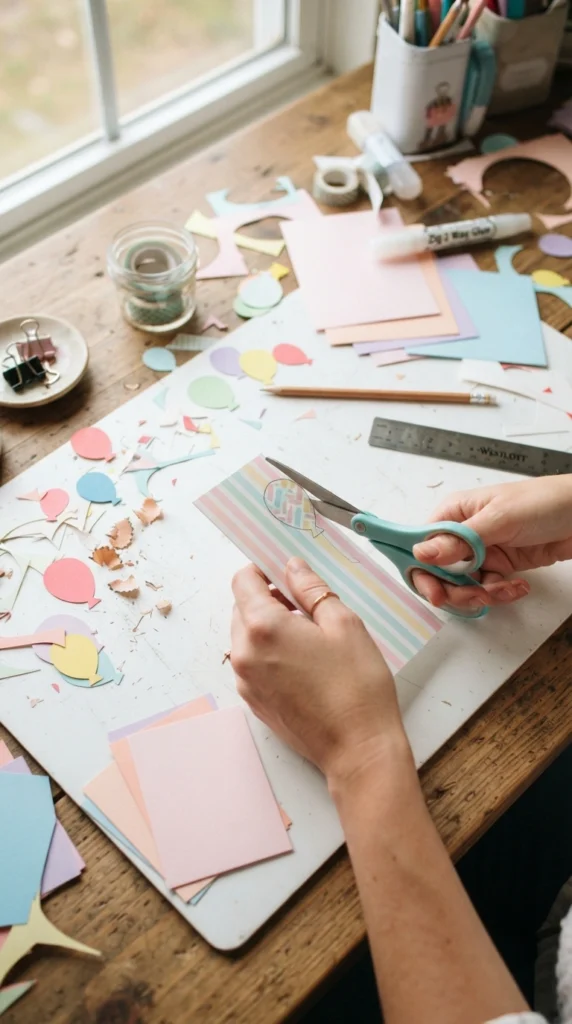
Arrange the balloons on the front of the card without gluing them yet. Try placing some higher than others to create movement.
Once you like the arrangement, attach them with glue. For extra dimension, use small pieces of foam adhesive behind a few balloons so they sit slightly above the card.
Step 3: Add Balloon Strings and Decorations
Cut several short pieces of thin ribbon, twine, or colored thread. Attach one beneath each balloon and let the strings curve naturally toward the bottom.
If you do not have ribbon or twine, simply draw the strings with a fine-tip marker. A black, white, or matching colored pen can give the card a clean finish.
Add a few small paper circles, stars, hearts, or confetti shapes around the balloons. Keep these decorations fairly small so the balloons remain the main feature.
Step 4: Add a Personal Touch
This is where your DIY card becomes different from a store-bought card. Think about the person receiving it and add one detail connected to them.
For example:
- Add their favorite colors.
- Include a tiny paper flower if they love gardening.
- Use music-note shapes for a music lover.
- Add a small photo for a close friend or family member.
- Create a tiny paper cake or cupcake.
- Attach a ribbon in their favorite color.
You can also draw a simple border around the card using a colored marker. Keep the design clean and leave enough empty space so the decorations do not feel crowded.
Step 5: Decorate the Inside
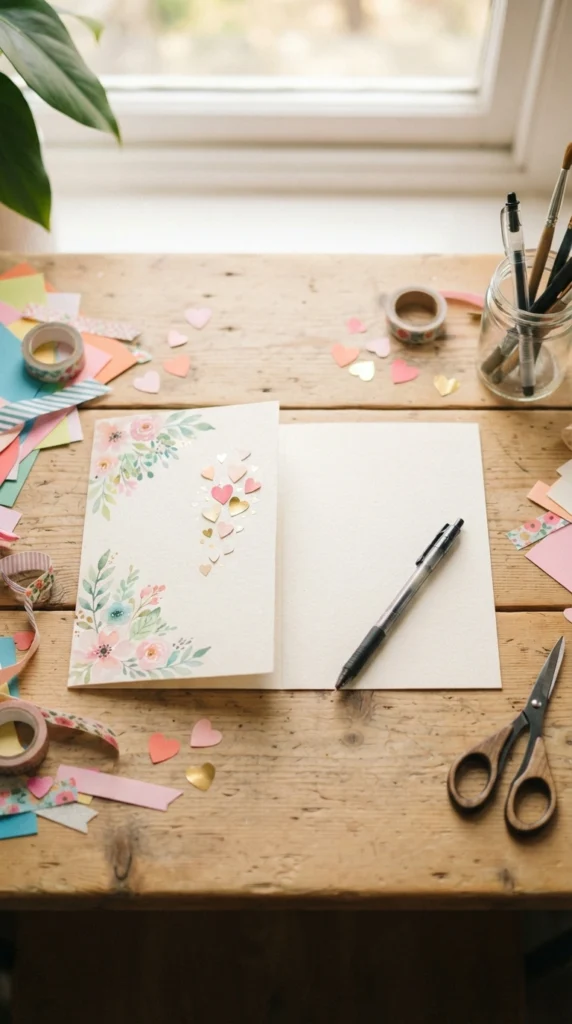
The outside gets attention, but the inside is where your personal message belongs. Use a fine-tip pen to write a short birthday wish in your own handwriting.
You could add a few tiny hearts, stars, or dots around the message. If your handwriting is not your favorite, write the message on a separate piece of cream or white paper and glue it inside.
Step 6: Give the Card a Finished Look
Before calling your card finished, check the edges and decorations. Remove any visible glue threads and trim loose pieces of ribbon or paper.
If you want more dimension, attach one or two decorations with foam adhesive. You can also add a small ribbon bow to one corner.
Avoid adding too many elements at this stage. A few well-placed details can look cleaner than covering every empty space.
Place the finished card under a light book for a few minutes if any corners are curling upward. This helps the paper sit flat while the glue sets.
Final Thoughts
Making a DIY birthday card is a simple project that can turn basic craft supplies into a meaningful gift. The design does not have to be perfect—the handwritten message and personal details are what make it special. Try this project with your favorite colors and add one decoration that reminds you of the birthday person. Save this DIY birthday card idea for the next celebration and make someone smile with something made by hand!

Lily Summers is a digital artist and creative storyteller who loves bringing colorful characters to life. With a passion for cartoons, fan art, and playful sketches, she inspires others to explore their imagination through art. When she’s not sketching, you’ll find her dreaming up new ideas for CraftedWizard.com to spark creativity in every artist. 🌈✨