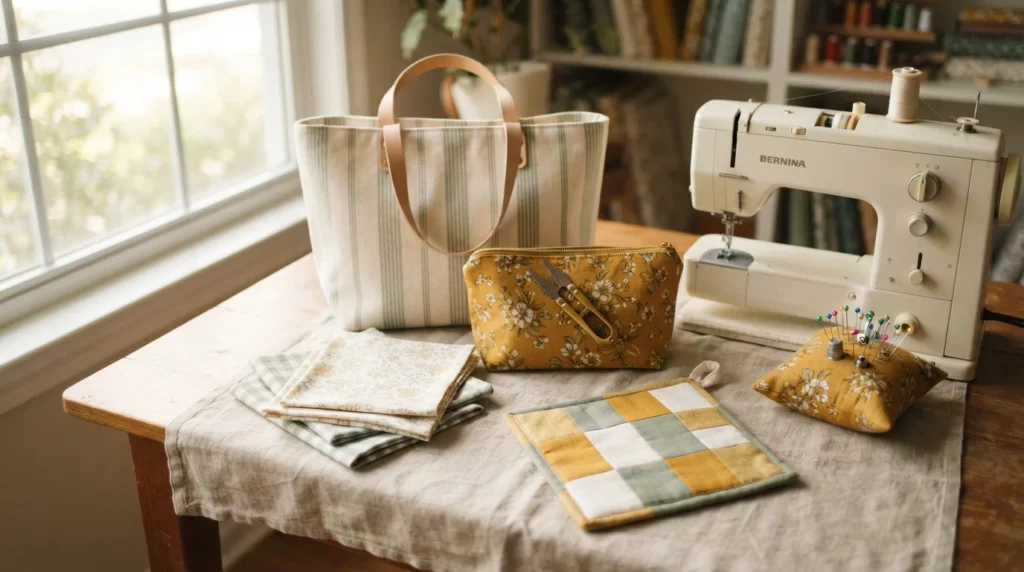
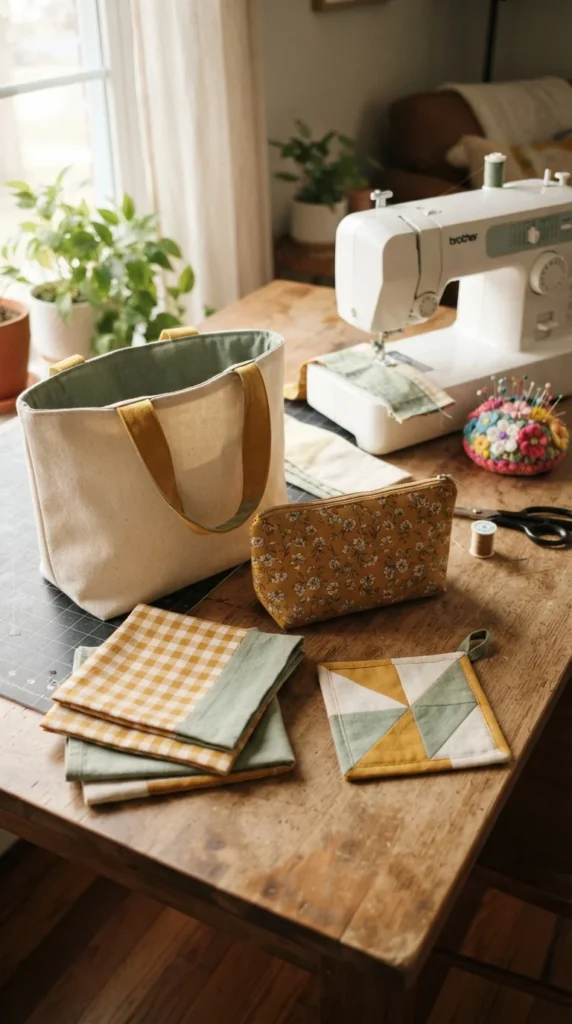
Learning to sew gets easier when every project ends with something you actually want to use. This list starts with straight-seam basics and moves toward zippers, curves, and simple shaping. Each project teaches one skill and takes an afternoon or less. Pick one, grab a scrap of cotton, and make your first useful thing this weekend.
1. Simple Pillowcase
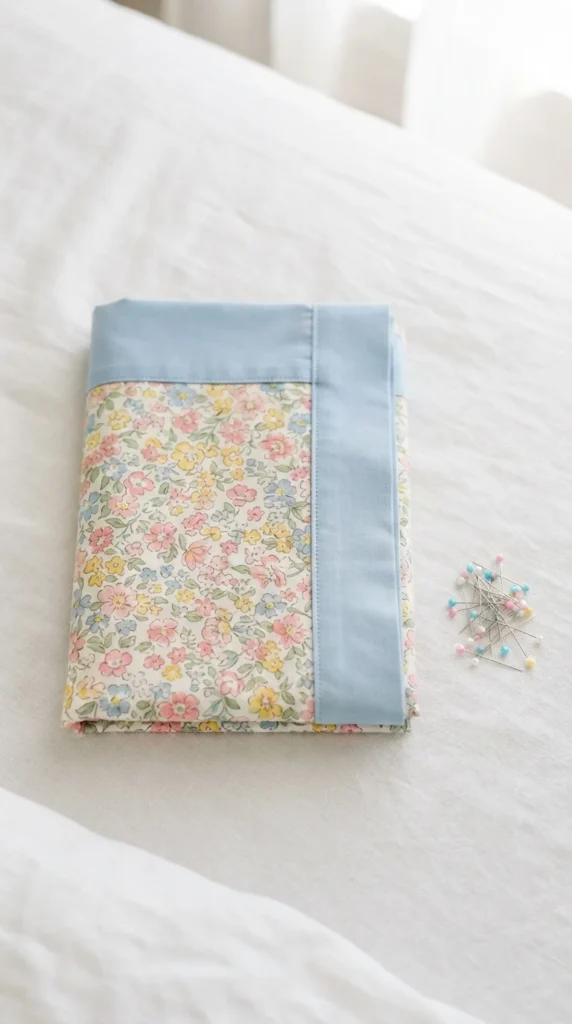
A pillowcase is three straight seams, which makes it the best first project there is. Cut one piece of main fabric about 27 by 36 inches and a cuff piece about 9 by 40 inches. Fold the main piece in half, right sides together, and sew down one long side and across the bottom.
Attach the cuff by sewing it to the open end, then fold it over and press. You will practice pressing, pinning, and keeping a steady seam allowance, which are the habits that make every later project look better. A French seam on the inside gives a clean, professional finish.
Pick a tightly woven cotton so the case holds up in the wash. Quilting cotton from the clearance bin works well and keeps your cost low. Make a matching pair once you feel confident, and you have a gift ready to wrap.
2. Drawstring Bag
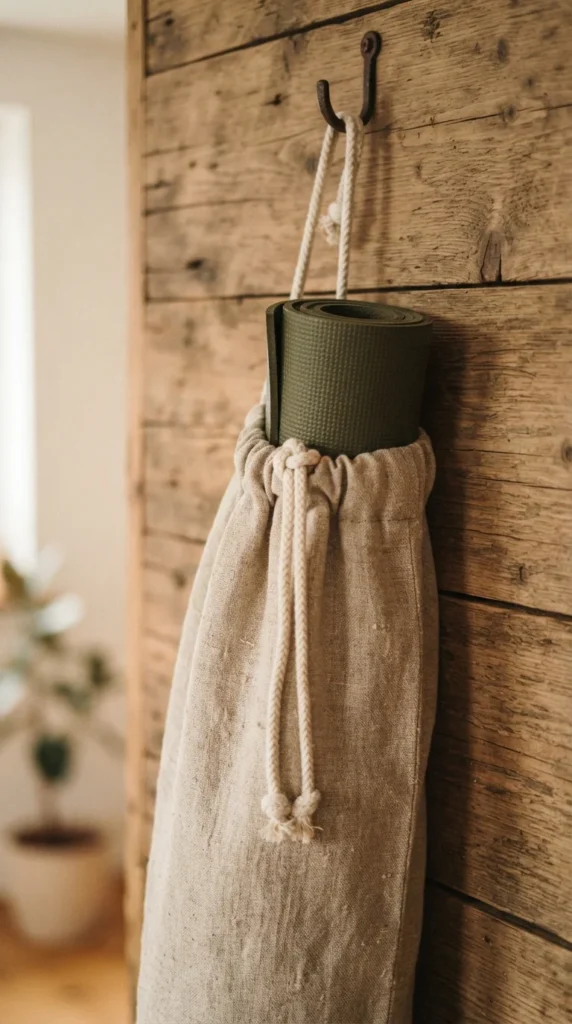
A drawstring bag teaches you how to sew a casing, which is a folded channel that holds cord or elastic. Cut a rectangle, fold it in half, and sew up the sides, leaving a small gap near the top of each side seam. Fold the top edge down and stitch it to form the tunnel.
Thread a cord through the casing with a safety pin and knot the ends. The same method shows up later in pajama pants, hoodies, and cinch-top pouches. Once you can do it, a lot of patterns open up.
Make a set in different sizes for shoes, laundry, or toys. Lined versions feel sturdier, and a bag in waxed canvas holds up to hard use. These also sell well at craft fairs, since they take about twenty minutes each.
3. Cloth Napkins
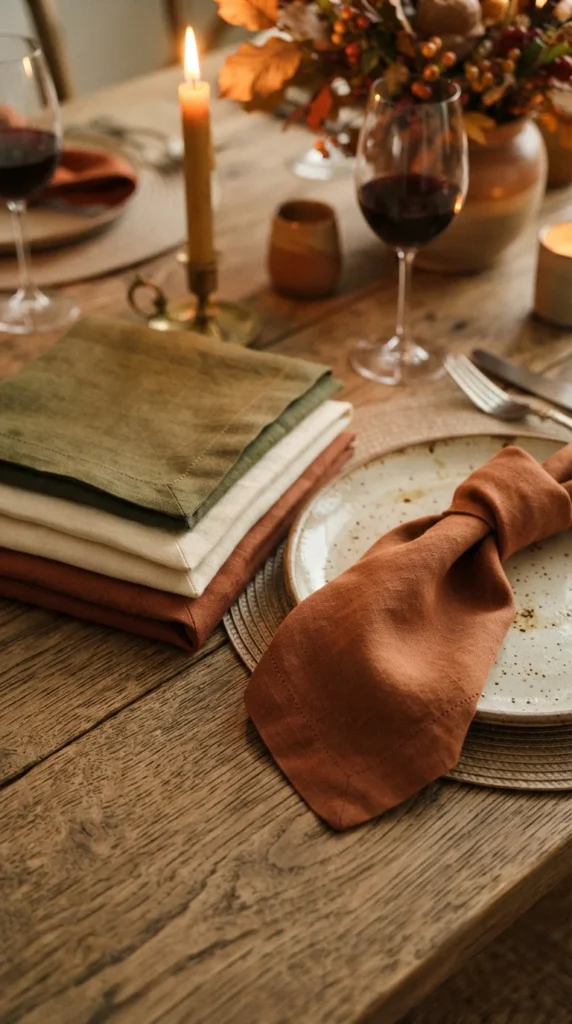
Cloth napkins are all straight lines and a good place to learn crisp hems. Cut squares of cotton or linen about 18 inches wide. Fold each edge over a quarter inch, then again, press it, and stitch close to the fold.
Mitering the corners is the skill to learn here. It is a small diagonal fold that makes the corners sit flat instead of bulky. Watch a short video once, and you will use the trick on placemats, tablecloths, and quilts.
Cut a dozen at a time and sew them in a chain, feeding one square after another through the machine without cutting the thread. It saves time and gives you a full set for the table. Tea towel fabric and old cotton sheets both work well and cost very little.
4. Zippered Pouch
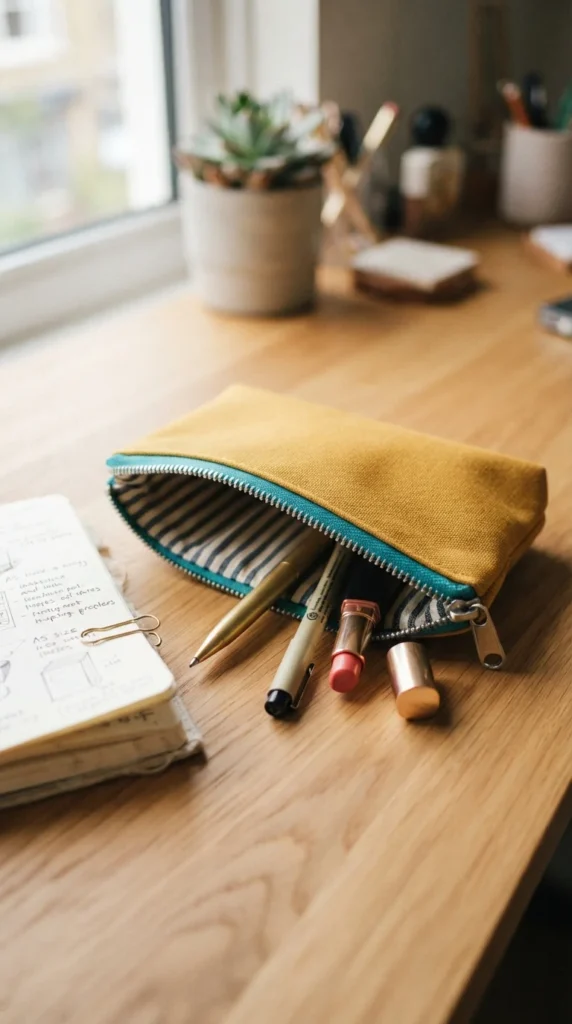
Zippers look scary until you sew one. A pouch uses the simplest method: sandwich the zipper between the outer fabric and the lining, then stitch along the edge with a zipper foot. Flip the layers, press, and repeat on the other side.
After that, sew the side seams and box the corners so the pouch stands up. The first one may be wobbly, and that is fine. By the third pouch, your zipper lines will look straight and neat.
Buy zippers a little longer than your pattern calls for, since you can trim the extra after sewing. Use them for makeup, pencils, cables, or a passport. A bright zipper against a plain fabric makes a simple pouch look store-bought.
5. Elastic Waist Skirt
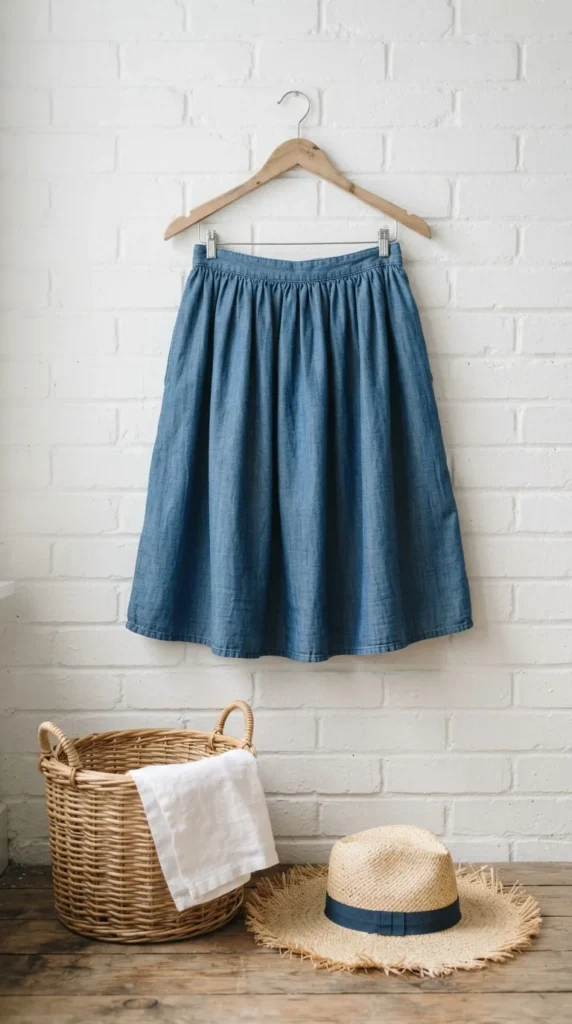
An elastic waist skirt is a gentle first step into clothing. You need two rectangles of fabric, elastic, and no pattern beyond measuring your hips. Sew the side seams, fold down the top for a casing, and thread the elastic through.
Fitting is forgiving because the elastic does the work. Measure your waist, subtract a couple of inches, and cut your elastic to that length. Try it on before closing the casing so you know it feels right.
Pick a light cotton, rayon, or chambray that drapes well. Heavy fabrics bunch at the waistband and feel stiff. Hem the bottom with a simple double fold, and you have a skirt you will wear all summer for less than the cost of lunch.
6. Tote Bag
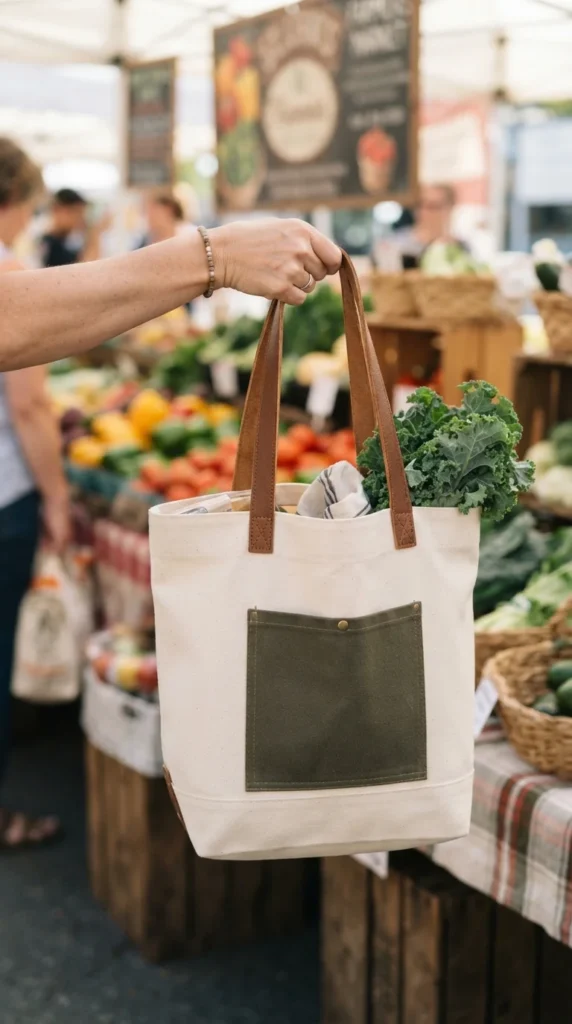
A tote bag is the project nearly every sewist makes early on. Cut two body pieces and two long strap pieces from canvas or heavy cotton. Fold and stitch the straps, then pin them to the top of the bag body and sew the side and bottom seams.
Reinforce the strap ends with a small box stitch, which is a square with an X inside it. This single detail keeps the bag from tearing under a heavy load. You will use the same reinforcement on backpacks and aprons.
Add an inside pocket and a lining to level up the bag. Old curtains and denim jeans make excellent free fabric. A tote needs just a yard of material, so it is a low-risk way to try a bold print.
7. Patchwork Pot Holders
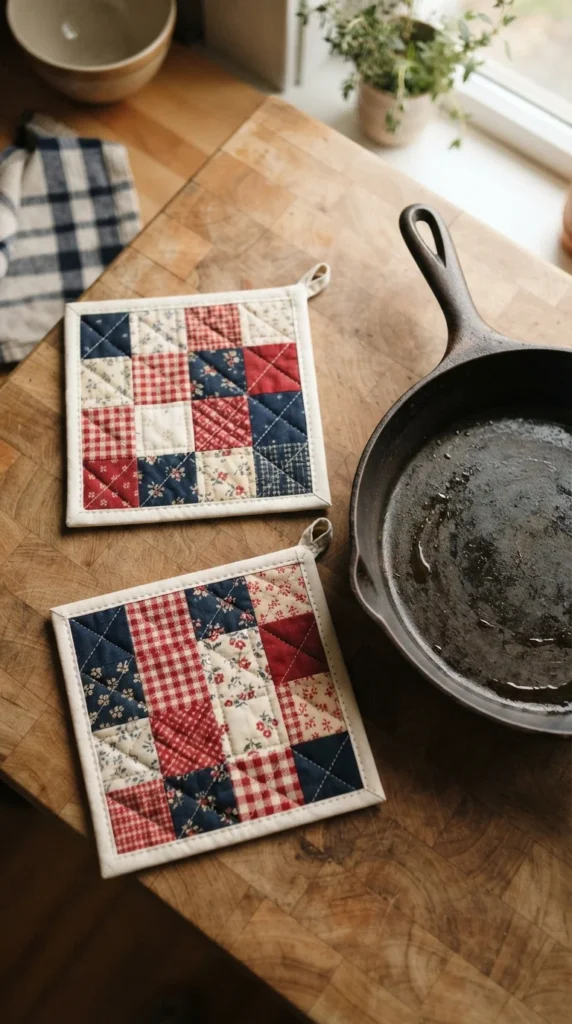
Pot holders are a small way to learn patchwork. Cut a handful of two-inch squares, sew them into rows, then join the rows into a block. Press the seams in opposite directions so the corners line up.
Layer the block over insulated batting and a backing square, then quilt a few straight lines through all three. Finish with bias binding around the edge. You will practice matching seams, quilting, and binding in one tiny project.
Use 100 percent cotton for the top and backing, since synthetic fabric can melt. Insulated batting made for heat protects your hands. Scrap squares from other projects work well here, so keep a small bin of leftovers.
8. Fabric Baskets
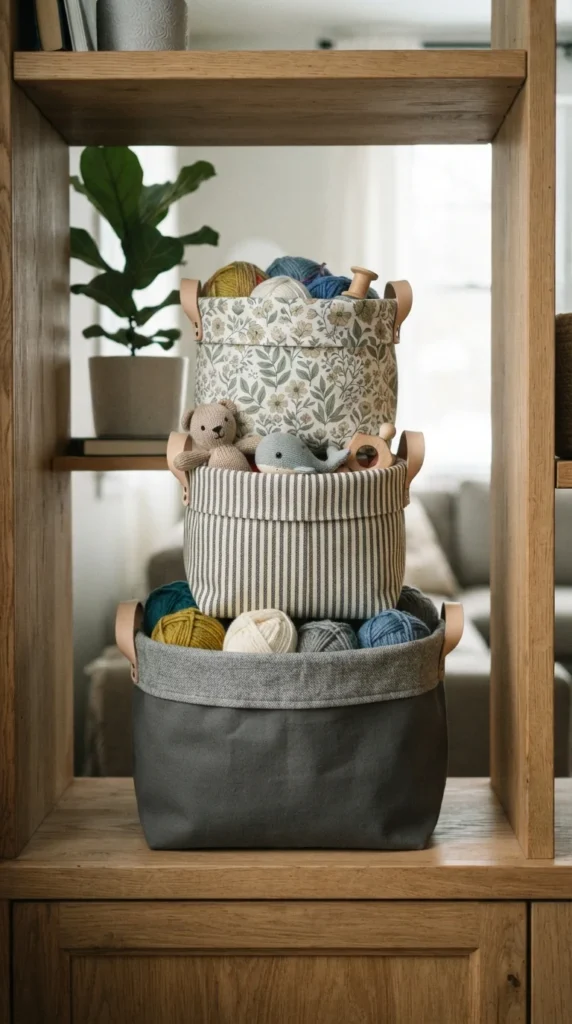
Fabric baskets turn scraps into storage. Cut two rectangles for the outside and two for the lining, plus a stiff interfacing layer. Sew the side seams, box the bottom corners, and join the lining to the outer piece at the top.
Boxing the corners is the new skill here. You pinch each bottom corner flat, line up the seam, and sew straight across to make the basket stand up. Once you learn it, you can make bags, pouches, and bins in any size.
Fold the top down to make a cuff that shows off the lining. A heavy-weight interfacing keeps the sides upright. Make three in graduated sizes for a nursery shelf or a bathroom.
9. Scrunchies
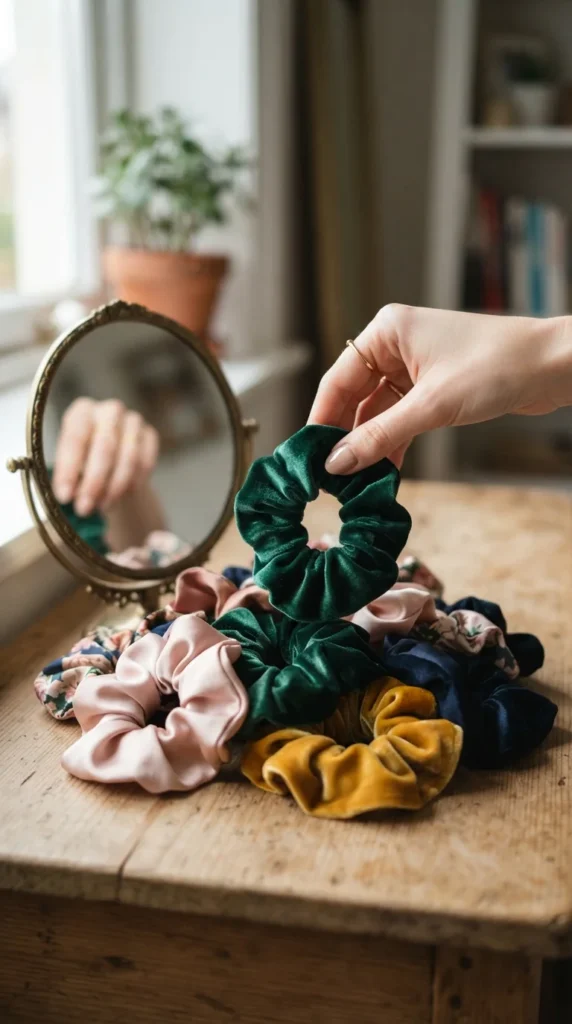
Scrunchies take about ten minutes and use up scraps. Cut a strip of fabric about 22 by 4 inches, fold it lengthwise with right sides together, and sew the long edge. Turn the tube right side out with a safety pin.
Thread a piece of elastic through the tube and tie it. Tuck one raw end into the other and stitch the opening closed by hand or by machine. You get practice with turning tubes and joining ends neatly.
Silk, satin, and velvet feel soft in the hair and look special. Cut several at once from a single fat quarter, which costs only a few dollars. They make easy gifts, and they sell quickly at school fairs and markets.
10. Reusable Snack Bags
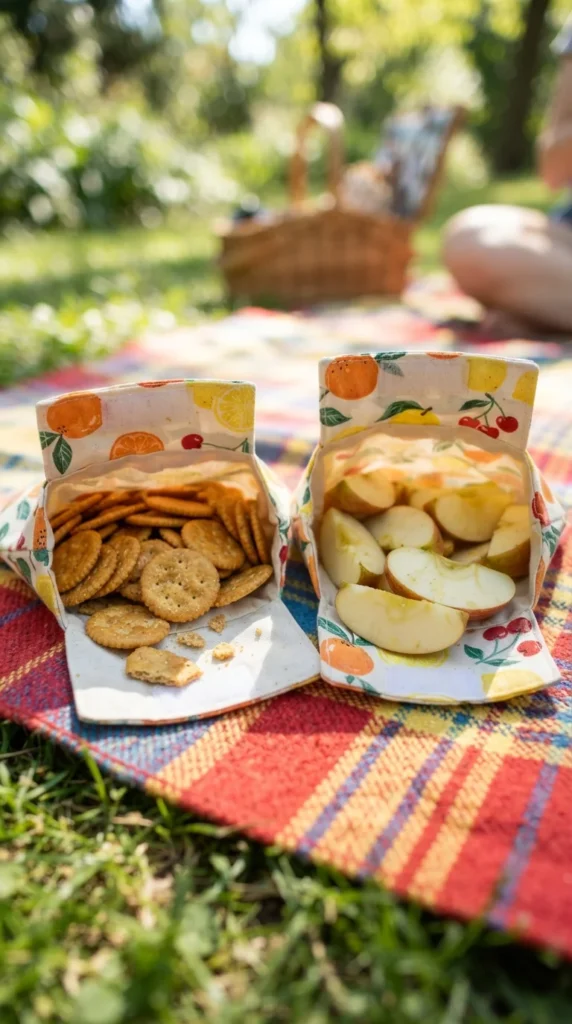
Snack bags replace plastic and are simple to make. Cut a rectangle of food-safe laminated cotton and a matching piece of lining. Sew the layers together along the top edge, turn them right side out, and fold the bottom up to form a pocket.
Stitch up the sides, then add a strip of hook-and-loop tape to the flap. You will practice working with a slippery coated fabric and using clips instead of pins. Clips avoid leaving holes in the laminate.
Wipeable laminate or ripstop nylon both work well and wash clean. Make a few sizes for sandwiches, snacks, and bread. They are a thoughtful gift when you pack them with a few homemade treats.
11. Cloth Face Wipes
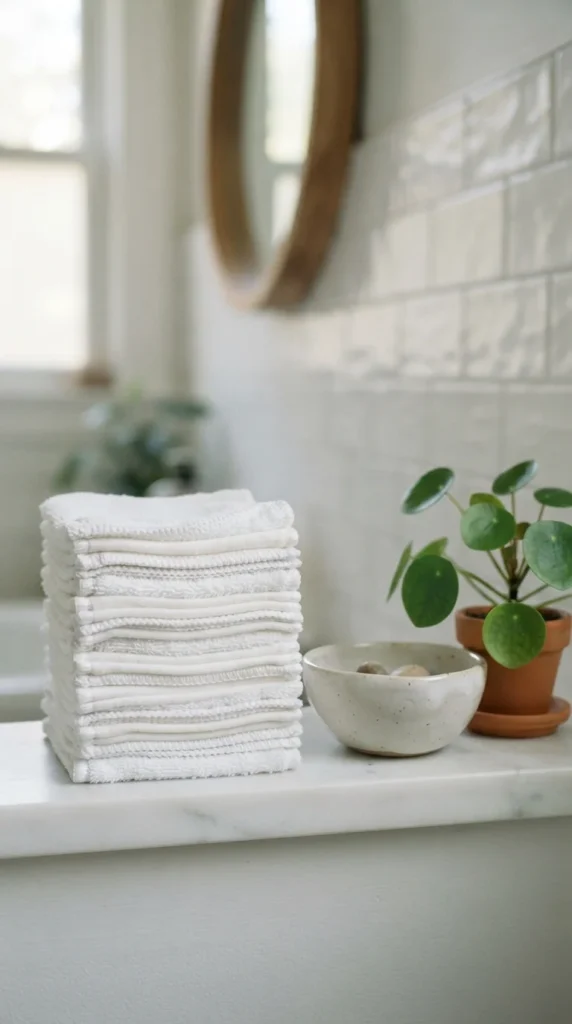
Reusable wipes are a quick way to practice edge finishing. Cut squares of flannel, cotton terry, or bamboo fleece about five inches wide. Layer two squares together and sew around the edge with a zigzag stitch.
A zigzag stitch locks the raw edges so they do not fray. It is a useful skill for knits and for any fabric without a serger. You can also round the corners slightly so the wipes lie smoother.
Wash a batch of fabric first, since terry and flannel shrink. Use them for makeup removal, baby care, or kitchen cleanup. A stack of twenty costs a fraction of a box of disposable wipes.
12. Throw Pillow Cover
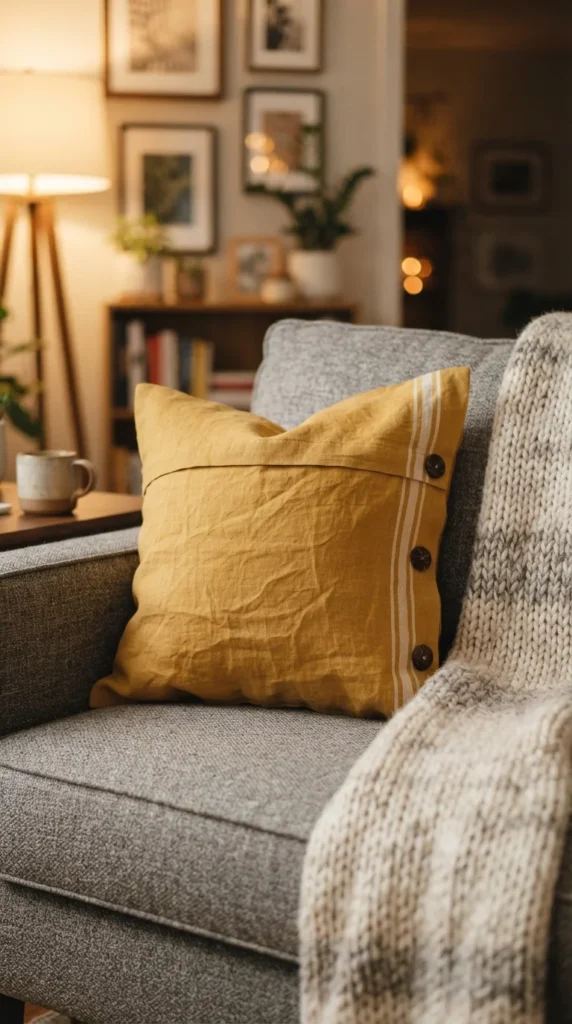
An envelope pillow cover has no zipper and no buttons. Cut one front piece the size of your pillow form and two back pieces that overlap by about four inches. Hem the inner edges of the back pieces first.
Lay the front piece right side up, place the back pieces on top, wrong sides out, and sew around all four sides. Clip the corners and turn it right side out. The overlap holds the pillow in place with no closure at all.
Choose a mid-weight fabric like linen, canvas, or cotton twill. Cut the cover slightly smaller than the pillow form for a plump look. A change of covers is the cheapest way to refresh a room each season.
13. Cloth Produce Bags
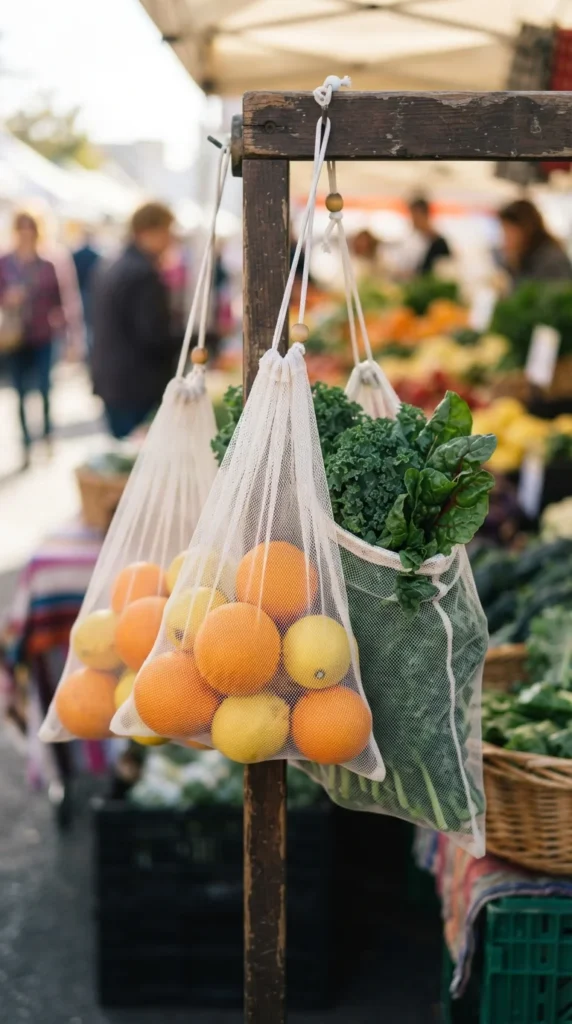
Produce bags are drawstring bags in lighter fabric. Cut a rectangle of mesh, tulle, or sheer cotton and fold it in half. Sew the side and bottom seams with a narrow zigzag so the mesh does not unravel.
Fold the top over to make a casing and thread a cord through. Sheer fabrics slip around, so pin them often and sew slowly. You will build patience with delicate materials that make future projects easier.
Wash and dry them with your regular laundry. Make a few sizes for apples, greens, and loose bulk items. They weigh almost nothing at the checkout, which helps at stores that sell by weight.
14. Apron
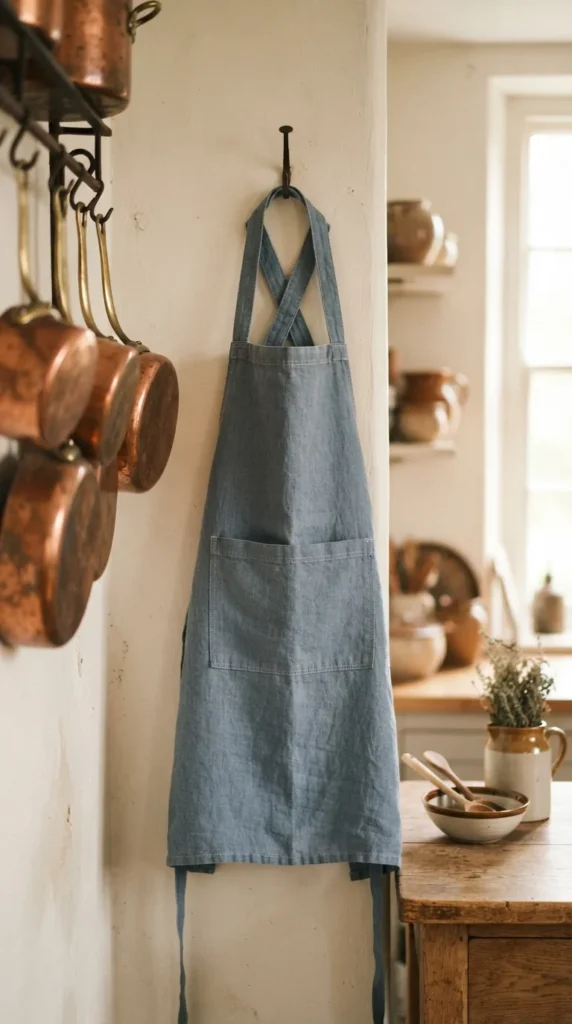
An apron teaches you how to make ties and pockets. Cut a rectangle for the body, a long strip for the neck band, and long strips for the waist ties. Hem the sides and bottom, then attach the neck and waist pieces.
A patch pocket adds practice with corners. Fold the top edge, press the sides under, and stitch the pocket onto the front. Sew it in a square with a double line across the top for strength.
Use a sturdy cotton twill or canvas that stands up to stains. Adjustable neck straps with a button or buckle make the fit work for everyone. Kids’ aprons use the same pattern at a smaller size.
15. Fabric Coasters
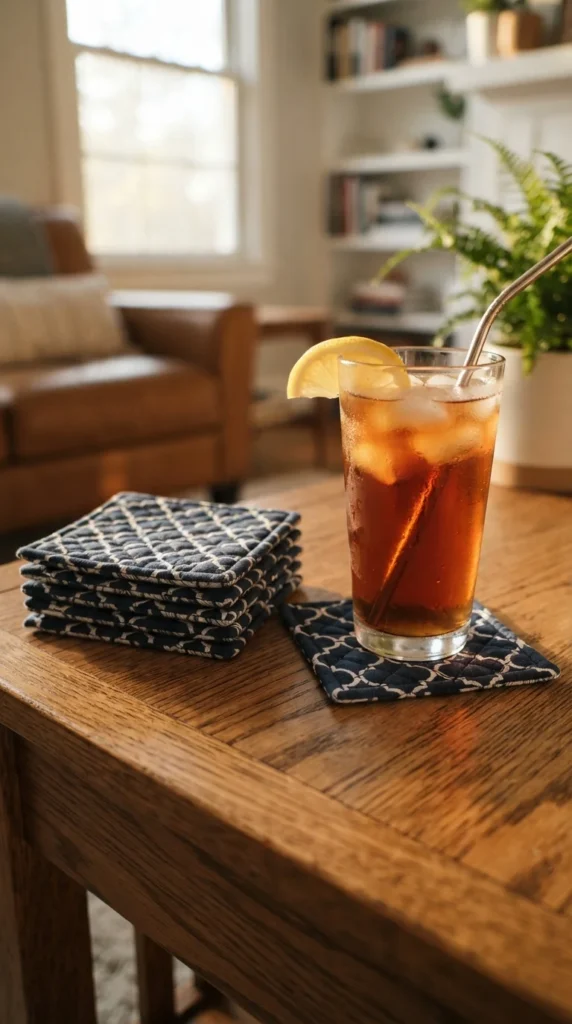
Coasters are the smallest practice square you can sew. Cut two four-inch squares of cotton and one of batting. Layer them with the batting in the middle and sew around the edge, leaving a gap for turning.
Clip the corners, turn, press, and topstitch around the edge to close the gap. Add one or two lines of quilting across the middle. Because the pieces are so small, you finish quickly and feel the progress.
Make a set of four or six and tie them with ribbon for a housewarming gift. Use heavier cotton so the coaster absorbs condensation. Leftover fabric from other projects is perfect here.
16. Pajama Pants
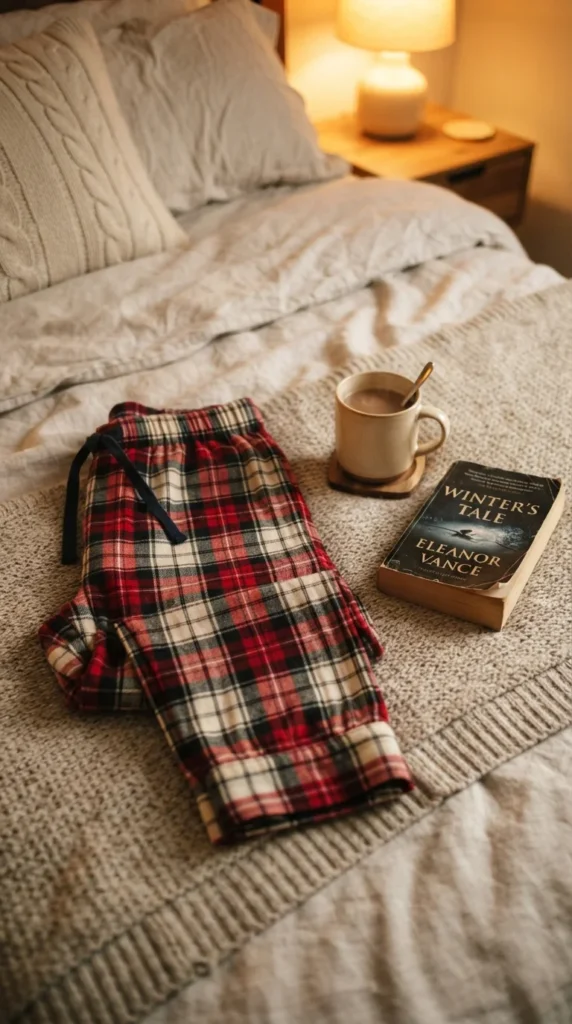
Pajama pants are the first real garment for many sewists. You cut two leg pieces, sew the inseam and crotch curve, and add an elastic waistband. The curve is the new skill, and a gentle snip into the seam allowance helps it lie flat.
Try the pants on before hemming so you know the length is right. Flannel, cotton jersey, and lightweight cotton are comfortable and easy to handle. Avoid slippery fabrics until you have a few projects behind you.
A free pattern from a sewing blog works well for your first pair. Make a matching set for kids or a partner using the same pattern in different sizes. Few gifts feel as personal as pajamas made by hand.
17. Tissue Pouch Covers
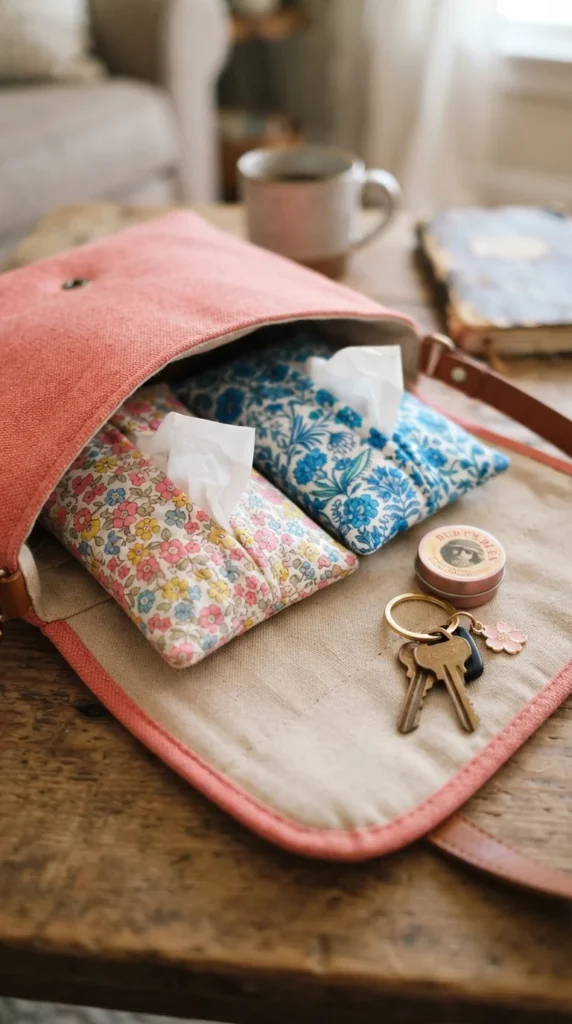
A tissue pack holder is a tiny pocket with a flap. Cut a rectangle of cotton, fold the short edges toward the center, and overlap them slightly. Stitch the top and bottom seams to form a sleeve.
Turn it right side out and slide in a travel pack of tissues. It teaches you how to sew small seams and handle tight turns. The overlap creates a clean opening without any closure.
Make a handful at once, since the pieces use almost no fabric. Slip one in every bag, car, and desk drawer. They also make good stocking stuffers and teacher gifts.
18. Hair Bows
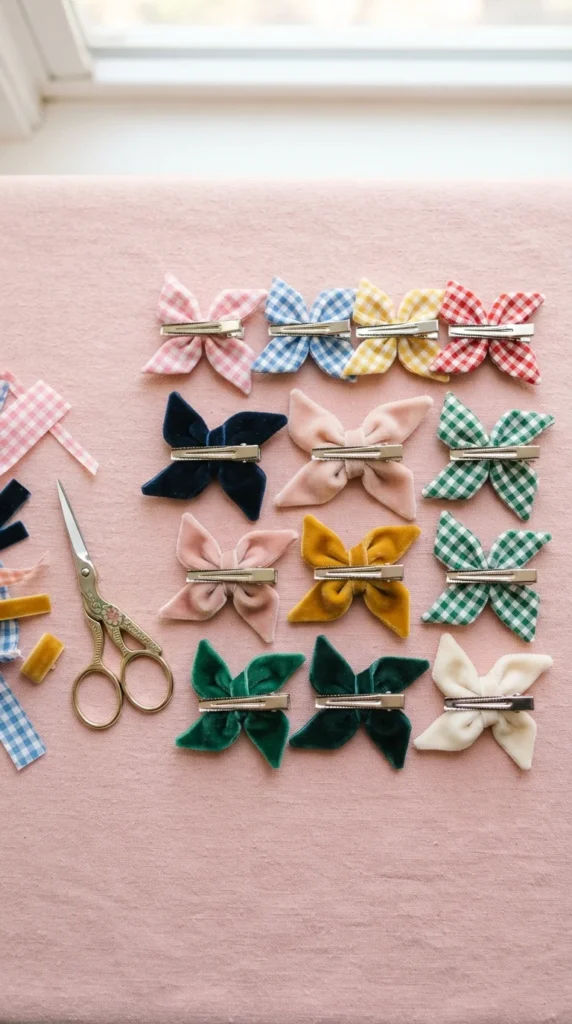
Hair bows are small projects that teach turning and pressing. Cut a rectangle of fabric about 8 by 4 inches. Fold it in half lengthwise with right sides together and sew around the edge, leaving a gap to turn.
Turn it right side out, press, and stitch the gap closed. Pinch the center into a bow shape and wrap it with a small strip of fabric. Glue or stitch the wrap in place, then attach a clip.
Use stiff cotton or velvet so the loops hold their shape. A fat quarter makes several bows. They sell well at fairs and make a sweet gift for a niece or a friend with a little girl.
19. Zipper Tote Liner
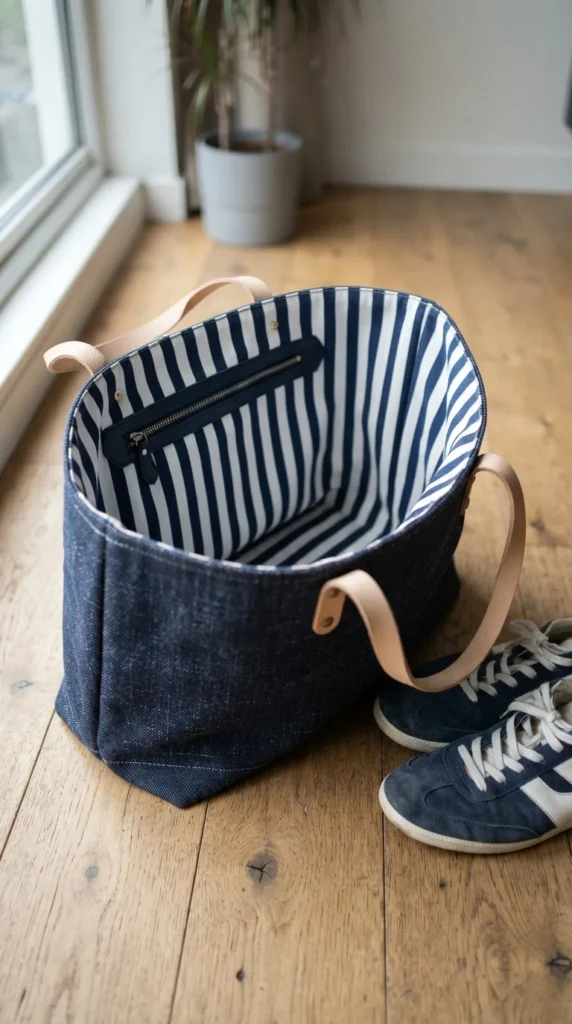
A lined tote is the next step after a basic tote. Sew a second bag from lighter fabric, leave the lining a bit smaller than the outer bag, and slip it inside. Join the two at the top edge, leaving a gap to turn.
Add a zippered pocket on the lining before you sew it up. This brings together two skills, the zipper and the lining. Place the pocket about three inches below the top edge so it is easy to reach.
Contrasting lining fabric makes the inside feel cheerful. A magnetic snap at the top keeps things from falling out. This version holds up to years of use and feels like a bag you would buy.
20. Baby Burp Cloths
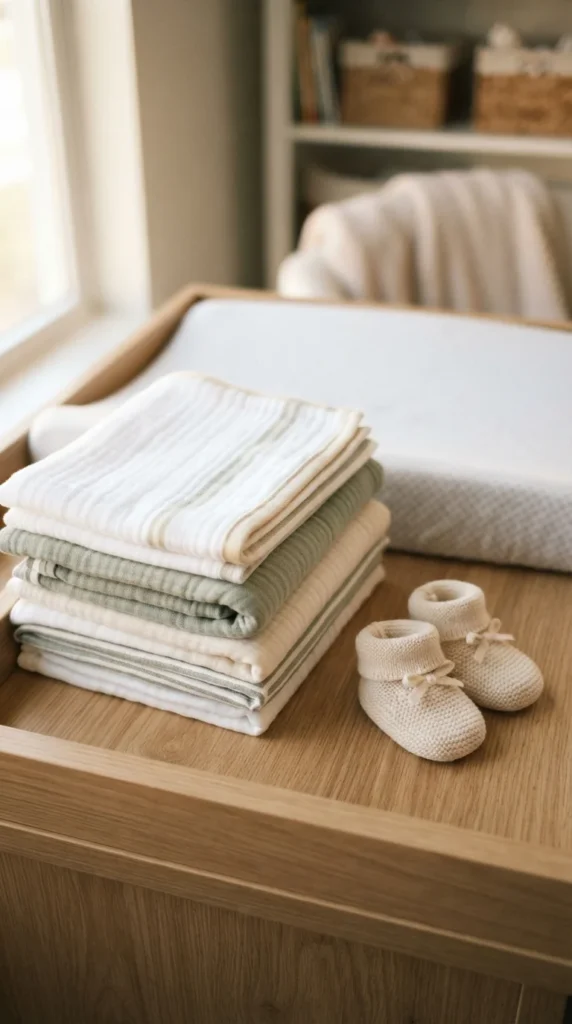
Burp cloths use two layers and a few straight seams. Cut a rectangle of cotton flannel and one of terry or muslin, about 10 by 18 inches. Place them right sides together, sew around, and leave a gap for turning.
Turn, press, and topstitch the whole edge. A line or two of stitching down the middle holds the layers in place after many washes. The result is a thick, absorbent cloth for any new parent.
Wash the fabric twice before sewing so it finishes shrinking. A set of three or four in coordinating prints and a matching bib makes a baby shower gift. Cotton flannel gets softer with each wash.
21. Padded Hot Pad Trivet
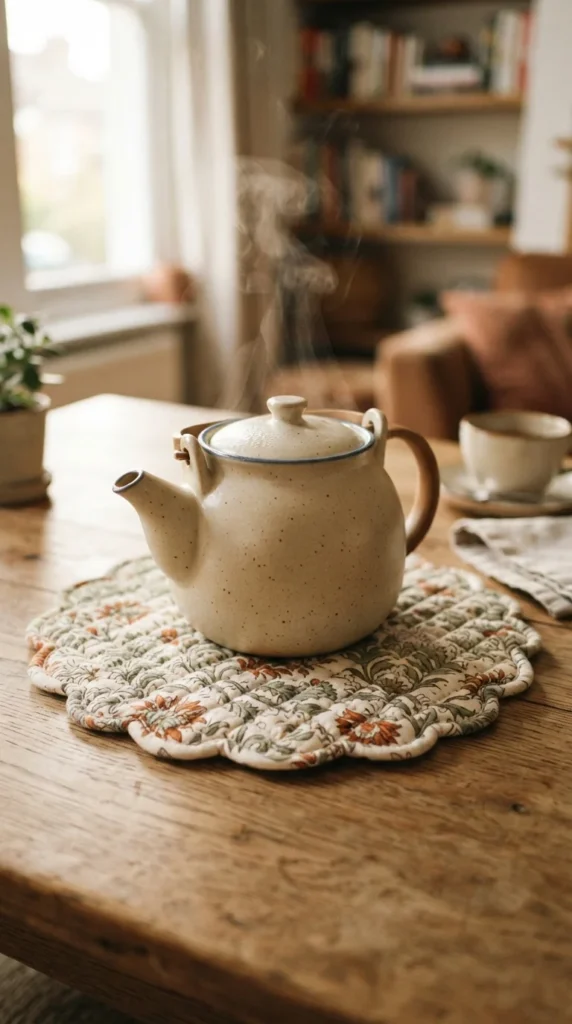
A trivet adds curves to your skills. Cut two circles of cotton and two layers of insulated batting. Layer them with the batting in the center, then sew around the edge with a gap for turning.
Clip small notches in the curve so it lies flat when turned. Press, topstitch, and quilt a few swirling lines across the surface. Curves feel awkward at first, but practice makes them smooth.
A saucer or a plate makes a handy template. Choose heat-safe batting, and keep it away from open flame. A trivet protects the table from hot pans, and a pretty one doubles as decor.
22. Bean Bag Toys
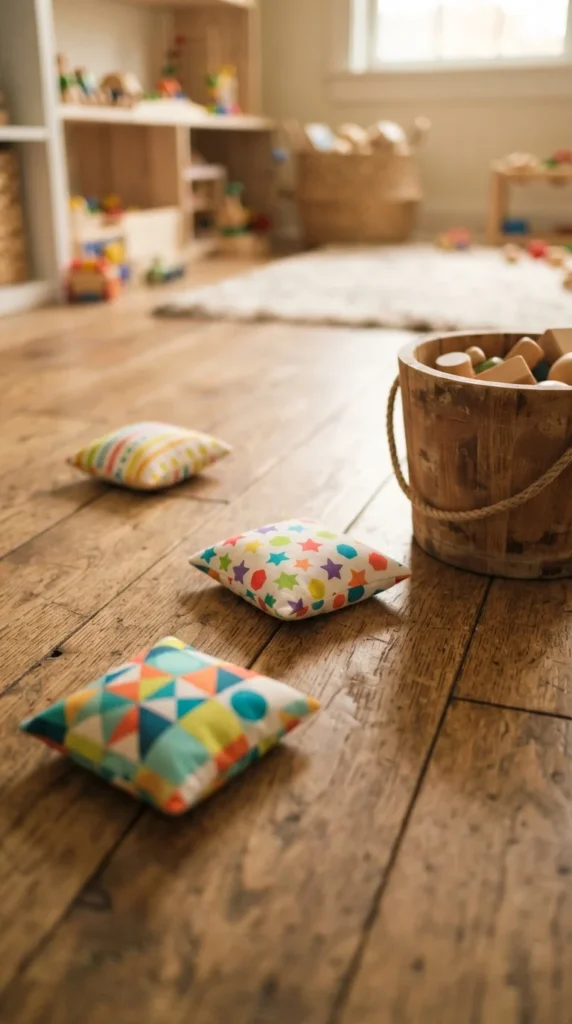
Bean bags are a quick project for practicing small seams. Cut two squares of sturdy cotton, about five inches wide. Sew three sides, turn, and fill with dried beans, rice, or poly pellets.
Stitch the last side closed with a neat topstitch. Sew a second line right next to the first for extra strength. A double seam keeps the filling from leaking out.
Use tightly woven fabric so the filling stays put. Make a set of six for a toss game or a juggling kit. They also work as hand warmers when filled with rice and heated in a microwave.
23. Simple Curtains
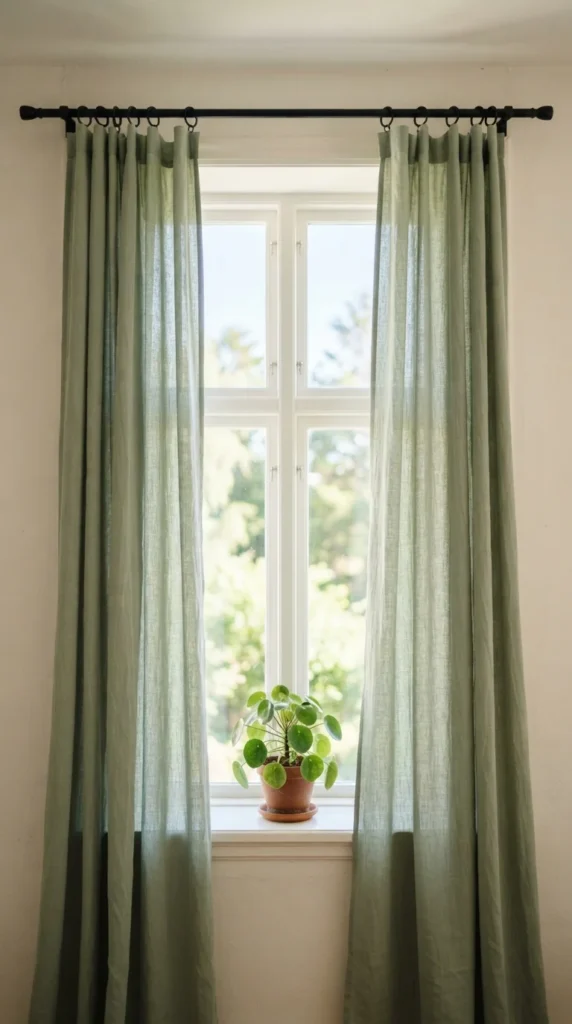
Curtains are long straight lines, which suits beginners. Measure the window, add a few inches for hems, and cut panels from a medium-weight fabric. Hem the sides and bottom with a double fold, then stitch a rod pocket across the top.
Press each hem before sewing so the lines stay crisp. Long seams build confidence with feeding fabric evenly through the machine. Hang the panels and adjust the length before sewing the bottom hem.
Linen, cotton, and cotton blends hang well and wash easily. Lined curtains block more light and last longer. A handmade pair costs far less than store-bought and fits any window size.
24. Reversible Bandana

A bandana is two squares sewn together. Cut two squares of cotton about 20 inches wide, place them right sides together, and sew around three sides with a gap. Clip the corners, turn, and press.
Topstitch the edge to close the gap and add a clean finish. You practice sewing corners and turning, which show up in many future projects. Fold the square into a triangle to wear it.
Pick two prints that look good together for a reversible look. Make smaller sizes for dogs and larger ones for hair or neck wear. A set is a great gift for pet lovers.
25. Kitchen Towel With Hanging Loop
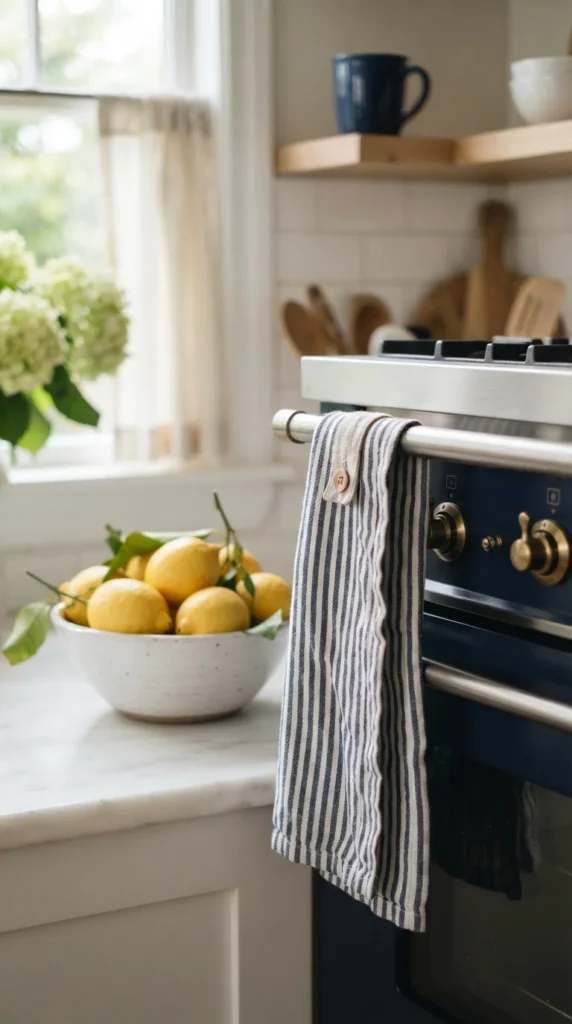
A hanging loop turns a plain towel into a useful kitchen piece. Hem a rectangle of absorbent cotton or linen on all four sides. Cut a short strip of fabric, fold it into a loop, and sew it to one corner with a button.
Learning to attach a button by machine or by hand is a small, valuable skill. Reinforce the loop with a few extra stitches so it stays on during use. The towel hangs neatly on the oven door.
Waffle weave and linen are both absorbent and dry quickly. Make a set in matching colors for the kitchen or a gift. A handmade towel brightens a kitchen far more than a store-bought one.
26. Quilted Table Runner
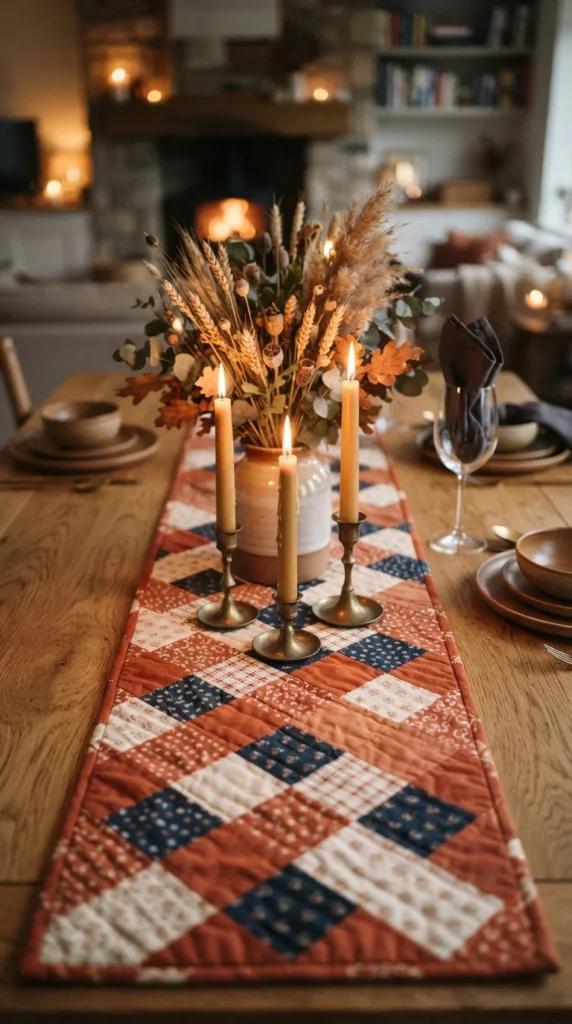
A table runner is a big step toward quilting. Cut squares or strips, piece them into a long panel, and layer them with batting and backing. Quilt along the seams with straight lines, then bind the edges.
The binding is the main skill to practice. You fold a long strip over the raw edge and stitch it down, mitering the corners. It takes patience, but it gives a clean frame for any quilt.
Choose a simple pattern, such as alternating squares or long strips. A runner is small enough to finish in a weekend. It also makes a thoughtful gift for a wedding or a new home.
27. Fitted Dog Bed Cover

A dog bed cover pulls together the skills you built across this list. Cut a top, bottom, and side panels from sturdy canvas, then sew them into a box shape with a zipper along one side. Attach the side strip to the top and bottom with careful corners.
Take your time on the zipper, and use a zipper foot for a straight line. A removable cover is easy to wash, which is the whole point. Insert a store-bought pillow insert or old blankets for the filling.
Pick tough fabric like canvas, denim, or outdoor cloth. Pre-wash everything so the cover does not shrink around the bed. You will have a useful gift, and a furry friend who loves it.
Final Thoughts
Each project here teaches a single skill, from straight seams and hems to zippers, curves, and binding. By the time you finish a handful, you will sew with confidence and see your fabric stash as a source of useful things. Pick the project that fits your skill level, cut your fabric tonight, and finish your first piece this weekend.

Lily Summers is a digital artist and creative storyteller who loves bringing colorful characters to life. With a passion for cartoons, fan art, and playful sketches, she inspires others to explore their imagination through art. When she’s not sketching, you’ll find her dreaming up new ideas for CraftedWizard.com to spark creativity in every artist. 🌈✨