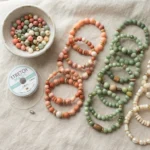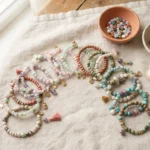
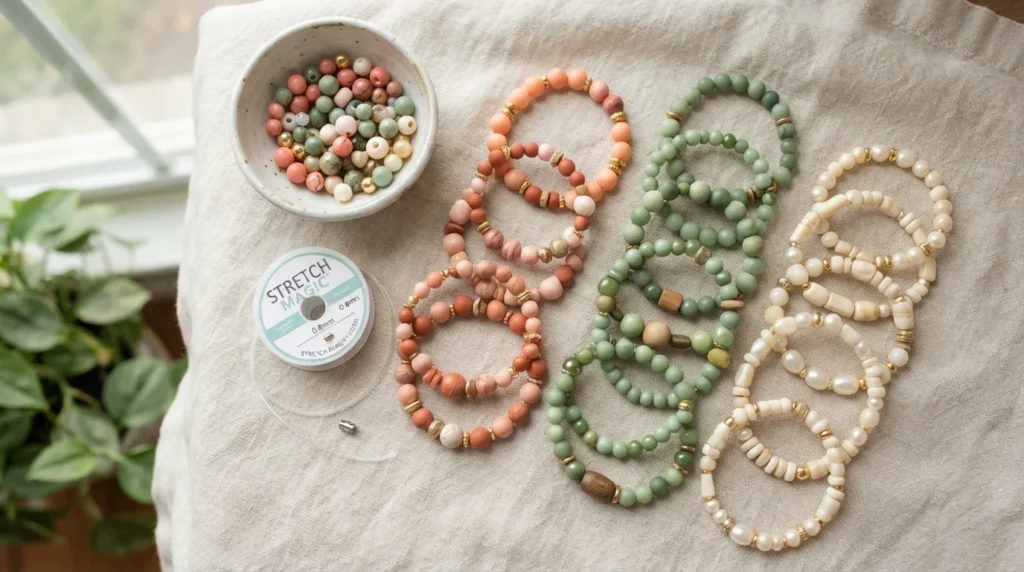
Ever wished you could turn a handful of pretty beads into a bracelet you’ll actually wear? You can, and it takes about ten minutes. Stretch bracelets are the easiest jewelry project out there. No clasps, no fancy tools, just beads, cord, and one good knot.
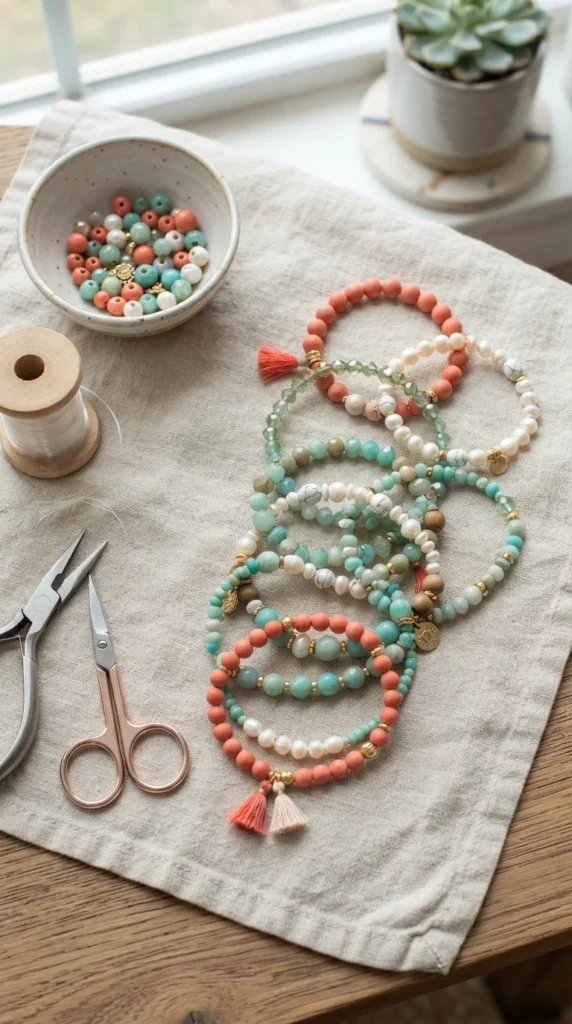
Ready to make your first one? Let’s go!
What You’ll Need
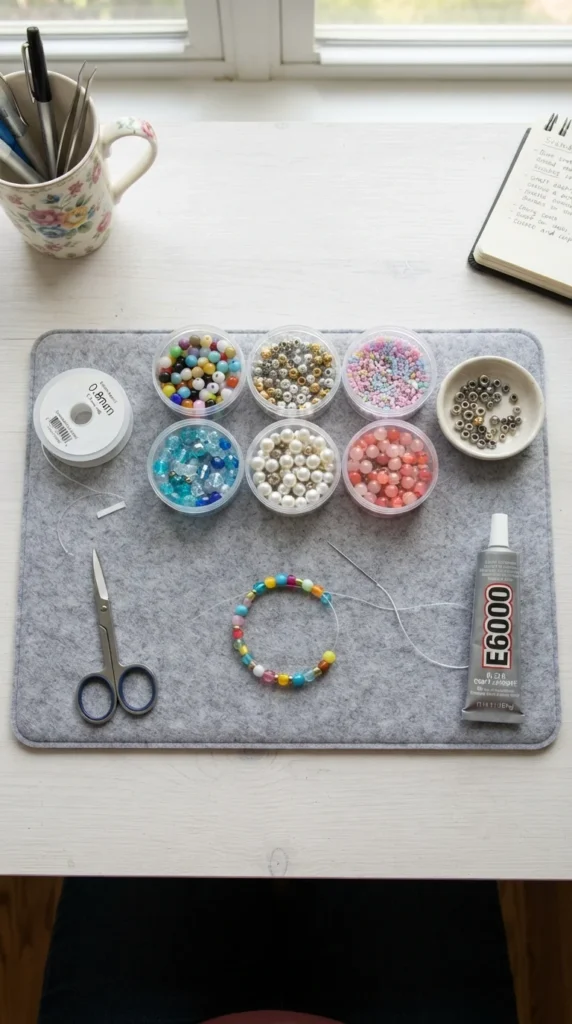
Gather everything before you start so you aren’t hunting for supplies mid-project:
- Stretch cord: 0.7-1mm clear elastic cord, about 10 inches per bracelet
- Beads: about 30-40 beads, depending on their size (6mm beads are a great starting point)
- Scissors: for a clean cut
- Clear glue or jewelry cement: to seal your knot
- Bead mat or towel: keeps stray beads from rolling away
- Tape: to hold the cord end while you string
Tip: Thicker cord is easier to handle, but check that it fits through your bead holes. If a bead is too snug, switch to thinner cord or a different bead.
Step 1: Measure Your Wrist
A good fit starts with a good measurement.
- Wrap a piece of string or measuring tape around your wrist.
- Note the length, then add about half an inch for comfort.
- Most adult bracelets land between 6.5 and 7.5 inches.
Cut your cord to your bracelet length plus 4 extra inches for tying. Extra is always better than not enough. You can trim the tails later.
Step 2: Plan Your Design
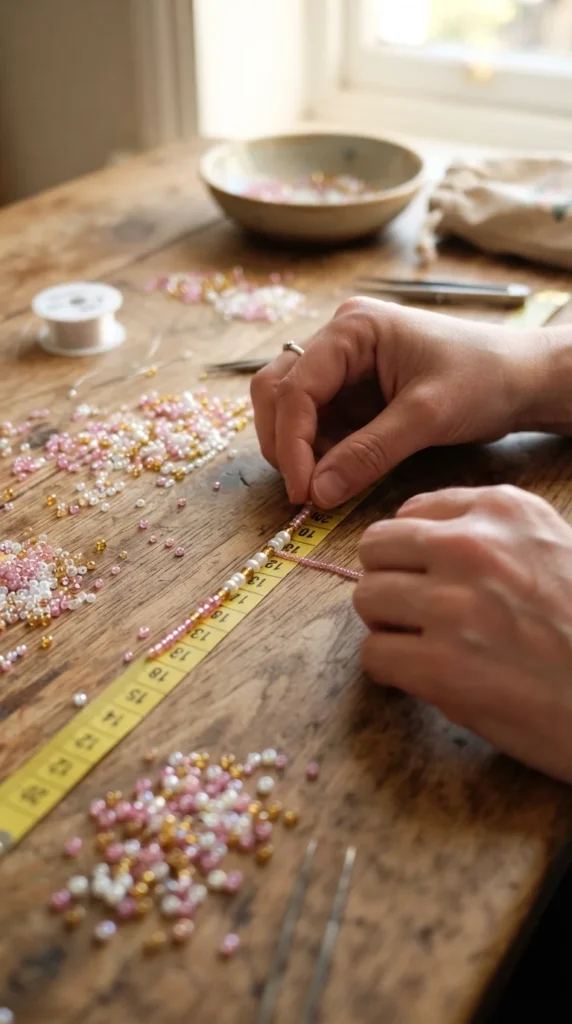
Before you string, lay your beads out in a row on your mat. This is the fun part!
- Try a pattern: alternate two colors, or repeat a three-bead sequence
- Go random: a mix of sizes and shades gives a playful, boho look
- Add a focal bead: one larger bead in the center draws the eye
- Use spacers: tiny gold or silver beads add polish between bigger ones
Hold your laid-out row against your wrist to check the length. Adjust until it looks right, then you’re ready to string.
Step 3: String Your Beads
Tape one end of the cord to your table so your beads don’t slide off. Then:
- Thread the beads onto the cord one at a time, following your layout.
- Stop when the strand is a little shorter than your wrist measurement.
- Slide the beads toward the middle so you have equal tails on both ends.
Tip: If the cord frays at the tip, snip it at an angle. A diagonal cut slides through bead holes much more easily. A dab of glue on the end, dried stiff, works like a built-in needle.
Step 4: Tie the Knot
This is the step that makes or breaks your bracelet. Use a surgeon’s knot, which holds much better than a regular knot.
- Bring both cord ends together to form a circle.
- Cross the right end over the left, then pass it through the loop twice.
- Pull gently to tighten.
- Cross the left end over the right and pass it through once.
- Pull the knot snug, but not so hard that you strain the beads.
Give the cord a gentle tug to test the knot. It should feel firm and stay put. If it feels loose, retie it now rather than later.

Step 5: Finish and Seal
A few small touches keep your bracelet looking great for months:
- Add a drop of glue: place a tiny amount on the knot and let it dry for at least 24 hours before wearing
- Trim the tails: cut the extra cord about 1/4 inch from the knot once the glue sets
- Hide the knot: slide a bead with a large hole over the knot, or gently tuck it inside one
Let it dry flat so the glue doesn’t stick to anything. Patience pays off here.
Troubleshooting Tips
Even simple projects can have hiccups. Here are quick fixes:
- Bracelet is too tight: remake it with an extra bead or two
- Knot keeps slipping: use a surgeon’s knot and make sure to pull it firmly
- Beads won’t fit the cord: try a thinner cord or switch to a bead with a bigger hole
- Cord snaps: make sure the cord isn’t being stretched too far while stringing
Style It and Share It
Once you’ve mastered one bracelet, you can make dozens! Try these ideas:
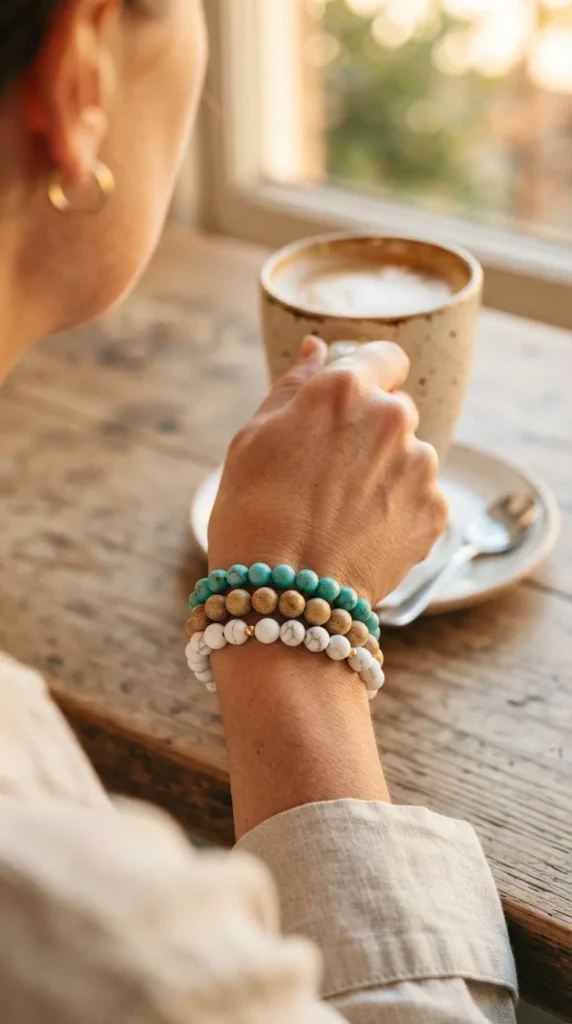
- Stack three bracelets in related colors for a layered look
- Make matching sets for friends and family
- Use birthstone colors for a personalized gift
- Add a charm or letter beads for a name bracelet
Final Thoughts
Making a stretch bracelet is quick, affordable, and endlessly customizable. With just a few beads and one good knot, you can create something you’ll love wearing or giving away. Once you finish your first bracelet, you’ll probably want to make a dozen more.

Lily Summers is a digital artist and creative storyteller who loves bringing colorful characters to life. With a passion for cartoons, fan art, and playful sketches, she inspires others to explore their imagination through art. When she’s not sketching, you’ll find her dreaming up new ideas for CraftedWizard.com to spark creativity in every artist. 🌈✨